I recently came across some cute oval frames at a thrift store and wanted to somehow incorporate them into my existing little gallery wall in my living room.
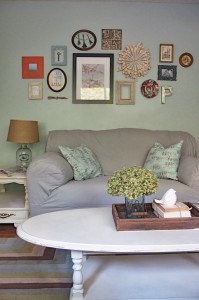
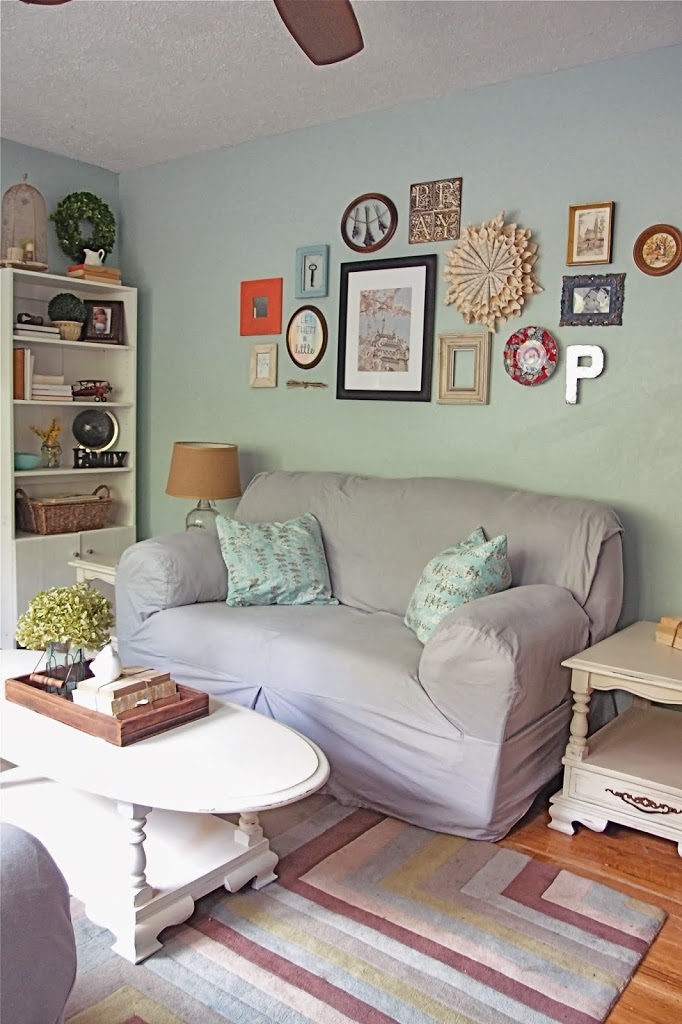
Here is what it looked like before:
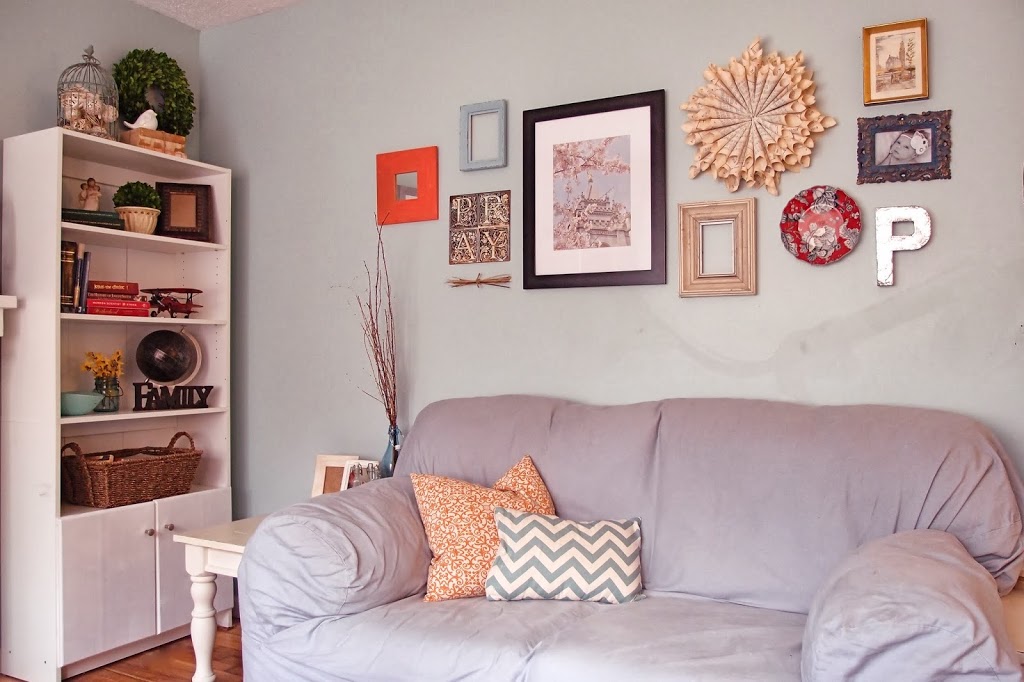
As you can see there are two circular things on the right side, but none on the left, so it needed some balance. So, before I knew what I was going to fill the oval frames with, I played around with their location on the wall until I was happy with the overall shape and balance of the objects in the gallery wall.
Once I knew where I wanted everything, then I thought about color balance and texture balance.
Here is what I came up with, all of which were things I found in my home or created. It was SO easy, I hope it inspires you to look around your home for something creative to add to your decor!
1. WATERCOLOR PRINT

I grabbed some cardstock (watercolor paper would have been superior, but I didn’t mind), some watered-down craft paint and cup of water. First, I brushed water on the entire sheet of paper because I wanted the color gradients to blend smoothly, with no visible brush strokes. I wanted the colors to bleed into one another.
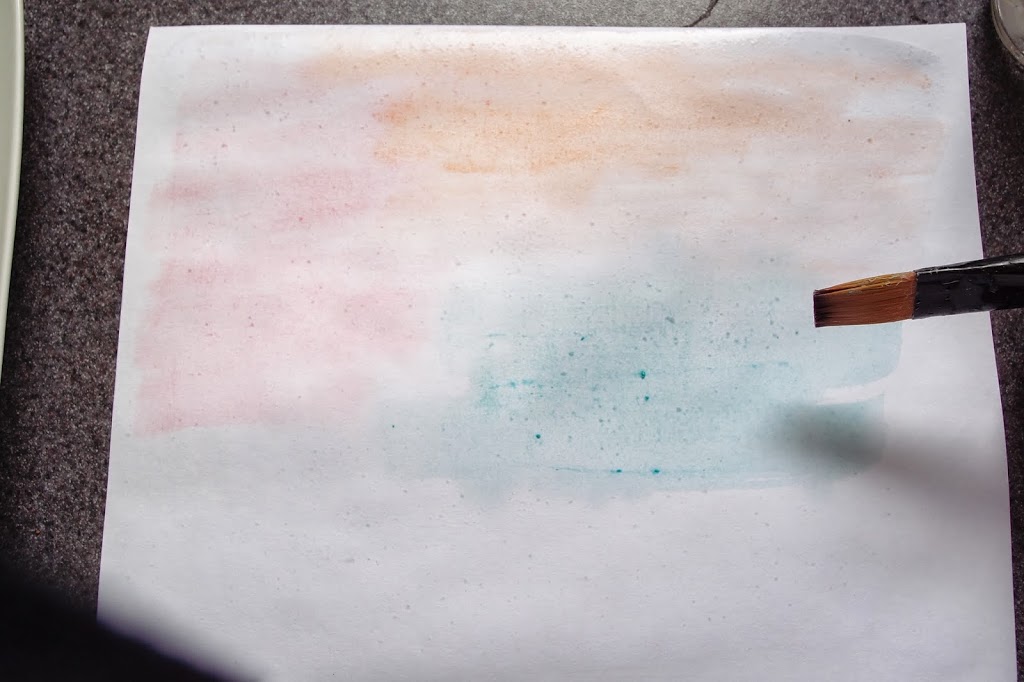
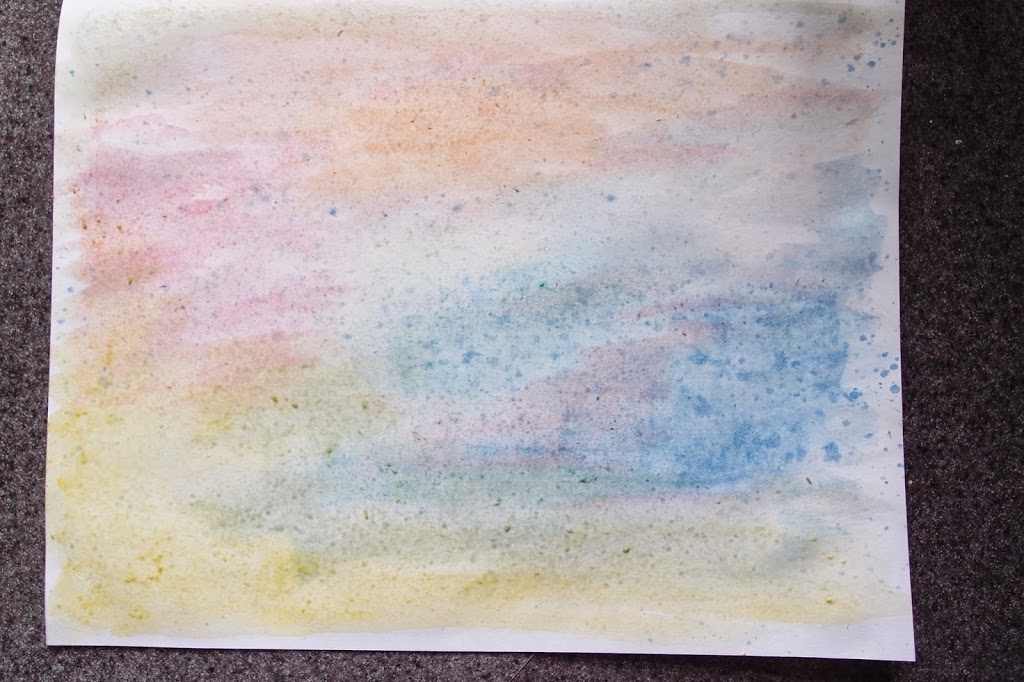
Then, I just started painting on different colors and adding more concentrated color where I wanted more slightly more contrast. I also held my brush above the paper and splattered some paint over it.
After it was COMPLETELY dry, I printed this sweet “Let them be little” print that I purchased awhile back from Small Fry Blog‘s fundraiser for Sandy Hook Elementary. Aubrey with Maypole was the artist that handlettered the print and I thought this was the perfect opportunity to finally display it in my home!
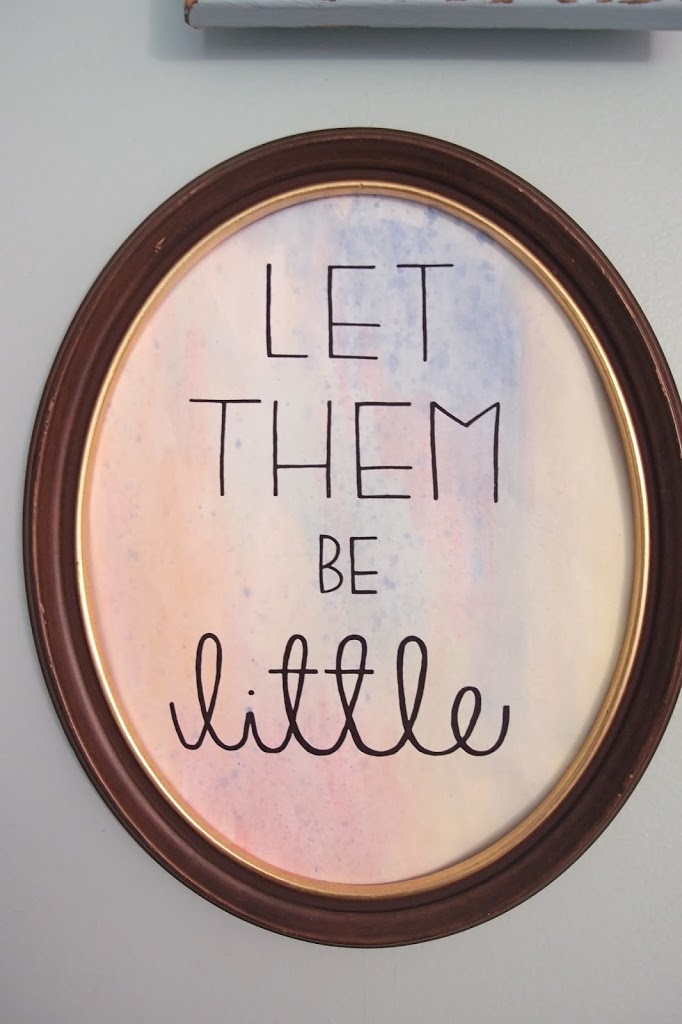
Subtle coloring, but makes the print stand out a little more.
2. Hand-Drawn Tree
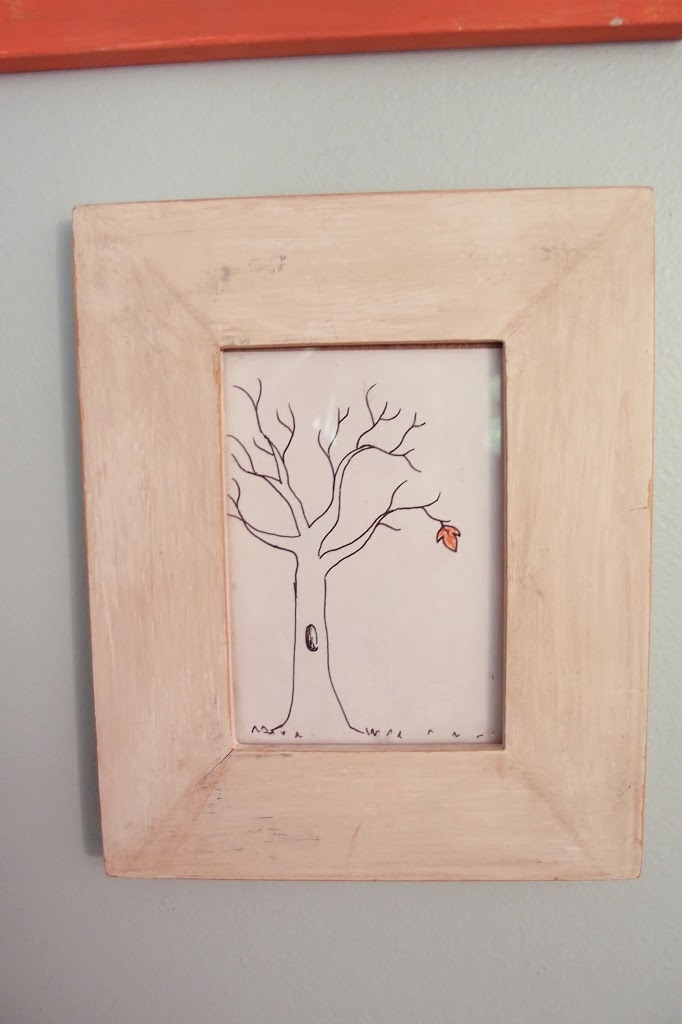
Fall is officially here, so when I was thinking of something to draw I immediately thought of a tree.
I just drew a simple bare, black and white tree, with a single orange leaf. This took me maybe 5 minutes. I like this because it is neutral in color (balancing the other beige frame) and easy to change out/update with the seasons.
3. Skeleton Key
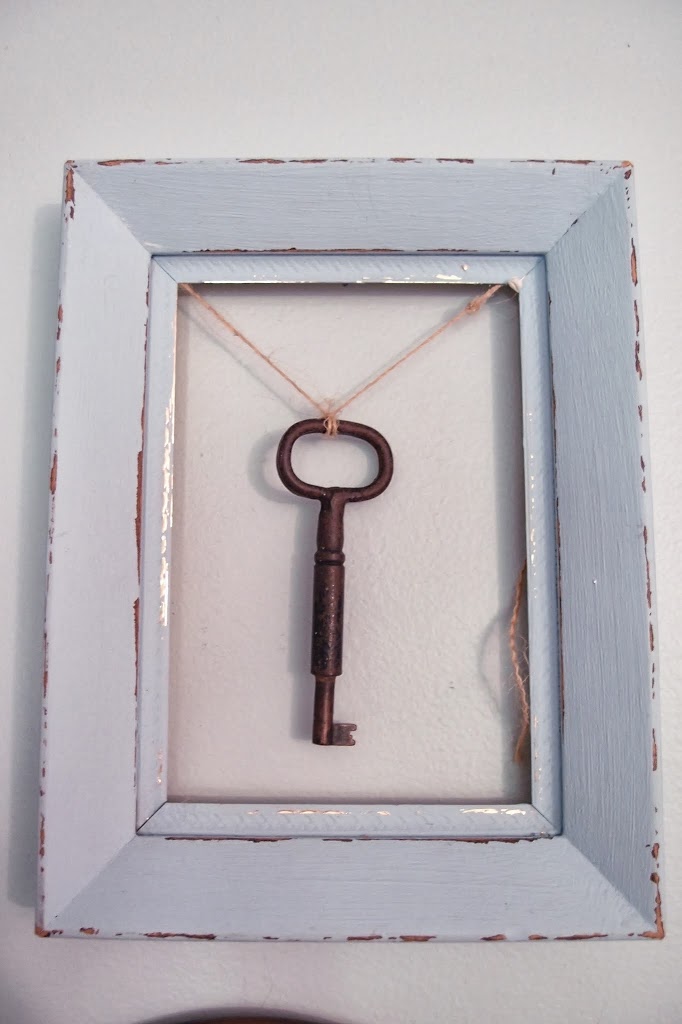
I was recently gifted this beautiful, large skeleton key by my husband’s step-sister! She lives in Rio de Janeiro and it belonged to an antique chest that was in her room. The key stopped working in the lock years ago so she sent it to me! I LOVE it! When I was at Vintage Market Days I came across several vendors that sold all kinds of skeleton keys of all different sizes. Vintage fairs and markets are great places to find unique items like this!
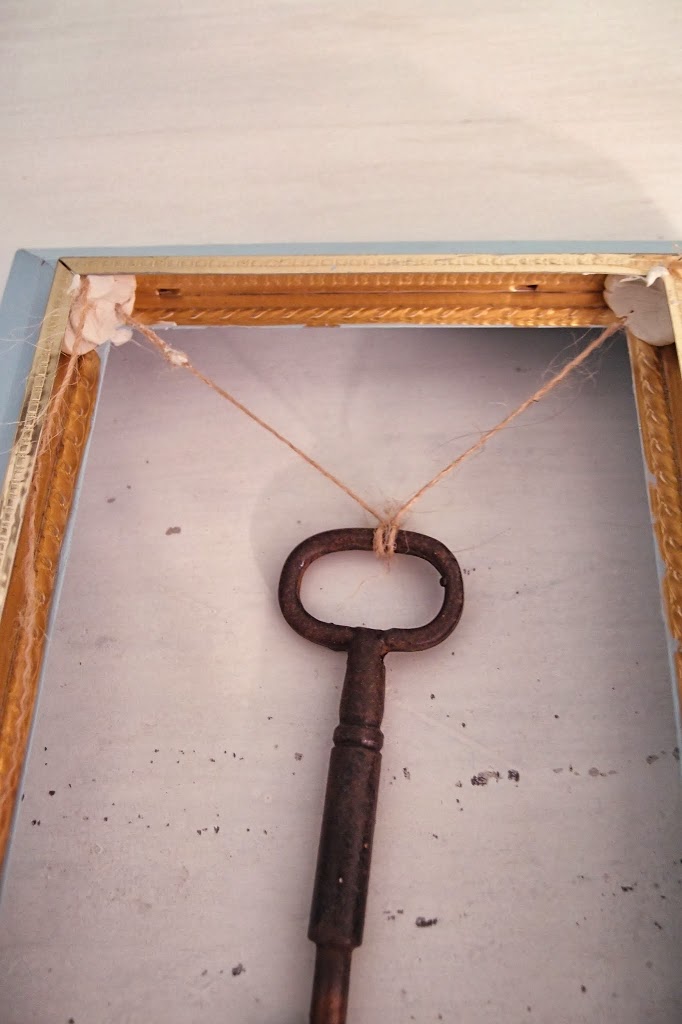
I just took some putty and embedding the string that held the key into each side. Nothin fancy here!
4. Hanging Lavender Vignette
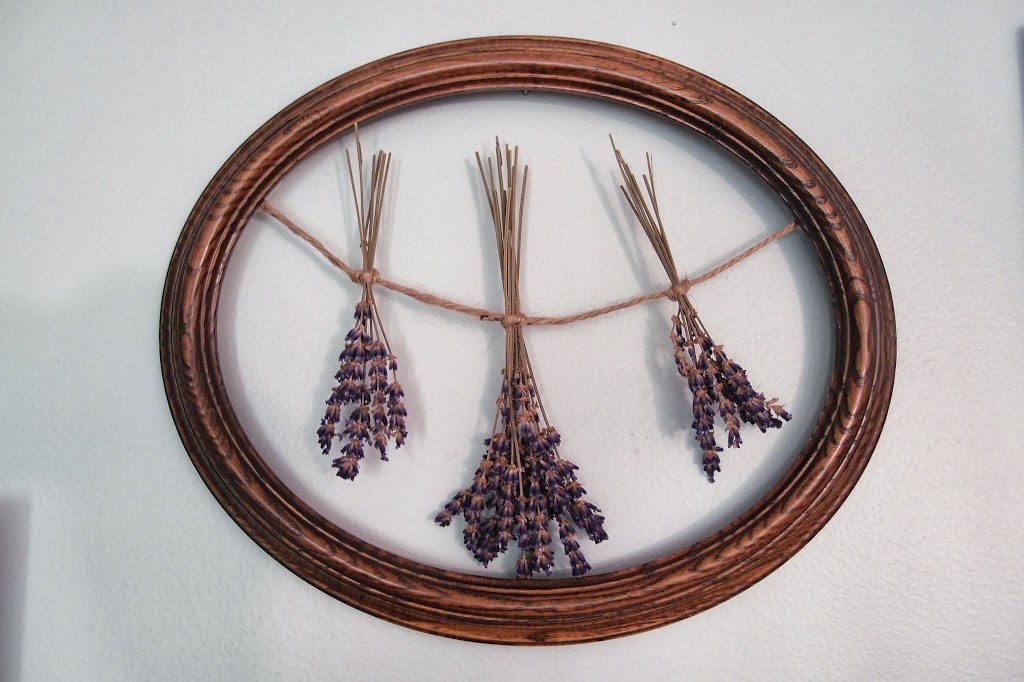
This was SO simple. I was recently looking through pictures of a french kitchen where little lavender bunches were hung everywhere! It was so pretty, so I created my own hanging lavender vignette. I love the texture it adds by bringing in a natural element to the gallery wall.
I just snipped off little bunches, with the middle being the largest, and tied them tight, evenly spaced, with jute twine.
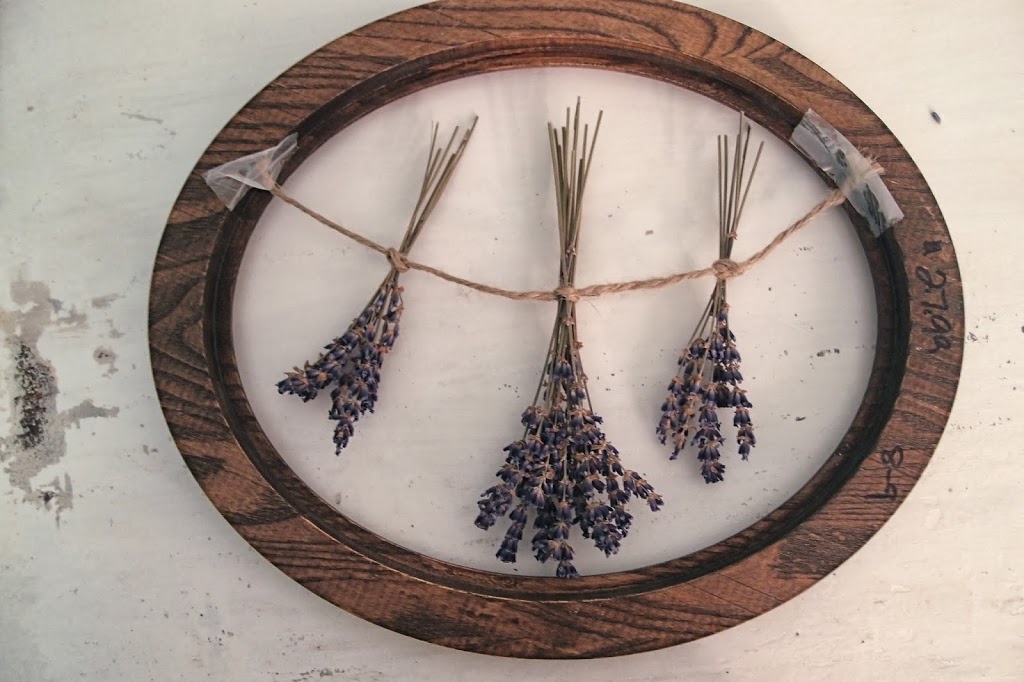
Does this make me look cheap or lazy? haha… I didn’t want to use nails or staples… so I just used some tape. No one sees behind the frame, so who cares! 🙂


End result
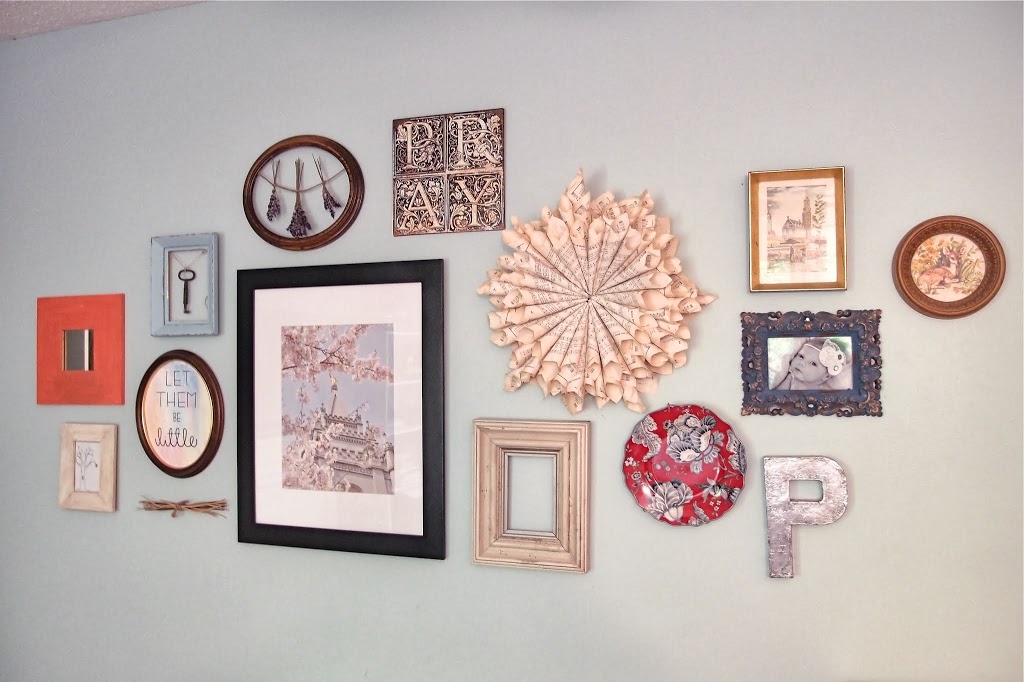
for now… 🙂

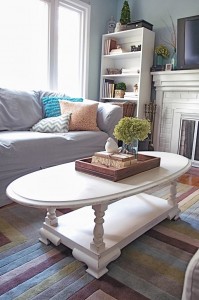
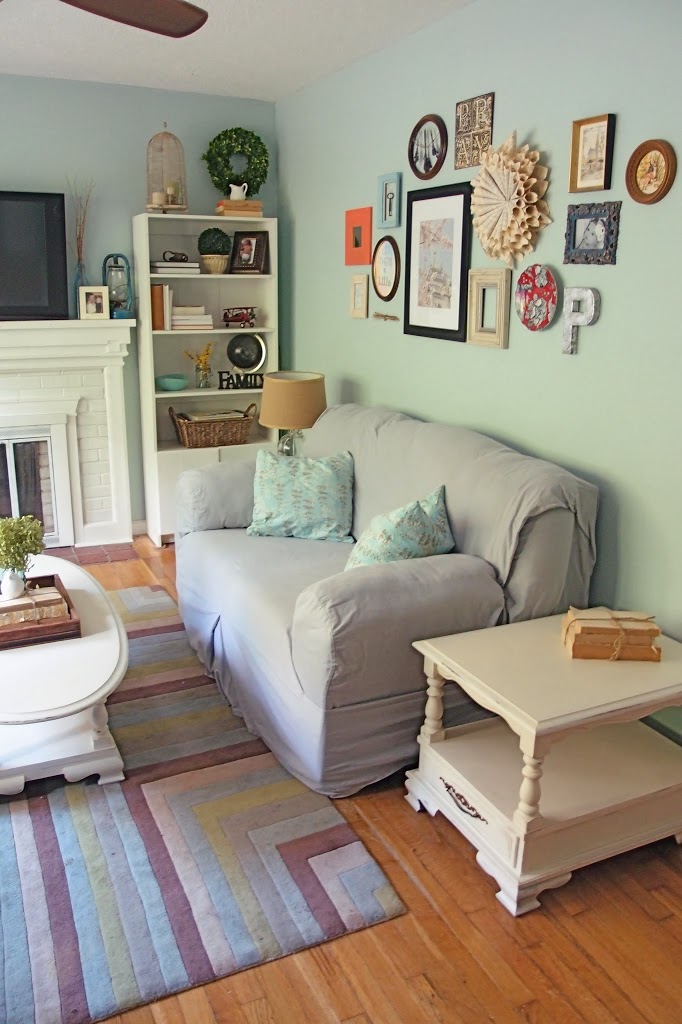
Stepping back for a little perspective,
The other side…

Some might call the space small, but I call it cozy! 🙂
The coffee table and end tables are for sale for anyone who is local! Send me an email if you are interested! shadesofblueinteriors (at) gmail (dot) com
Linking Up With:


I like how you did the water color picture with a statement.
betsy