Last week I shared this fun and easy tutorial on my friend Jenn’s blog, Clean and Scentsible as part of her Trim the Tree Party! She shared a week’s worth of hand-made ornaments that are definitely worth checking out! In fact, I’m participated in the GIVEAWAY for this party, so if you haven’t entered (most of the entries are related to Pinterest, so that is super easy), you NEED to! $200 gift card to Target or via Paypal! Who wouldn’t want a little extra $$ this season? I know I would!
On to the tutorial…
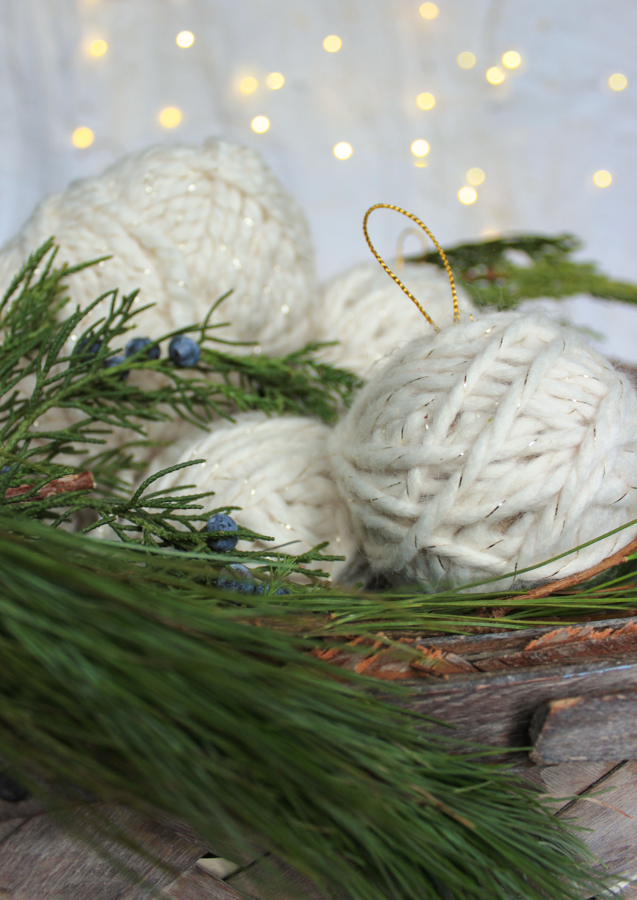
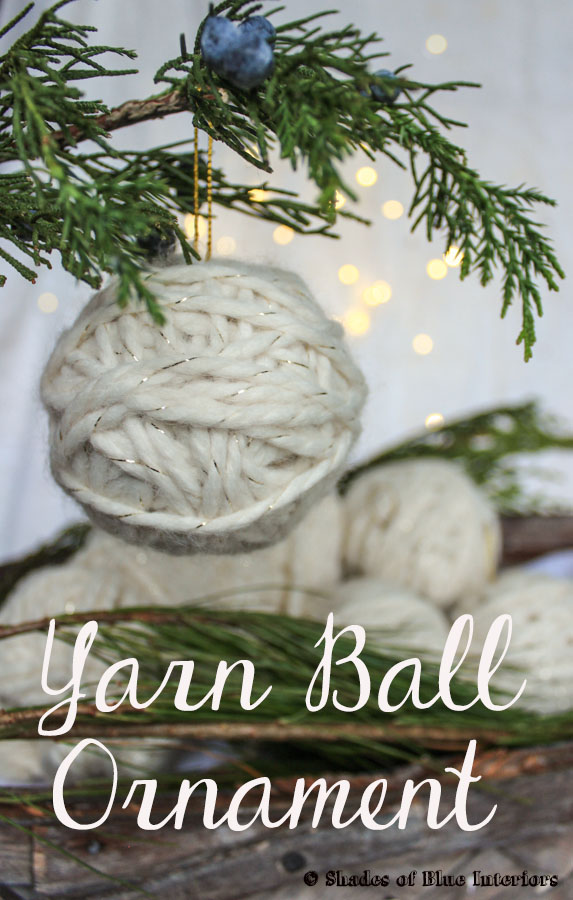
I think I make ornaments every year, and this year I was inspired by cozy knit sweaters and the classic imagery of kittens chasing yarn balls by the fire. So, I came up with a pretty yet simple hand-made ornament: Yarn Ball Ornaments! If you have a kitten, maybe don’t hang these ones down low! 😉
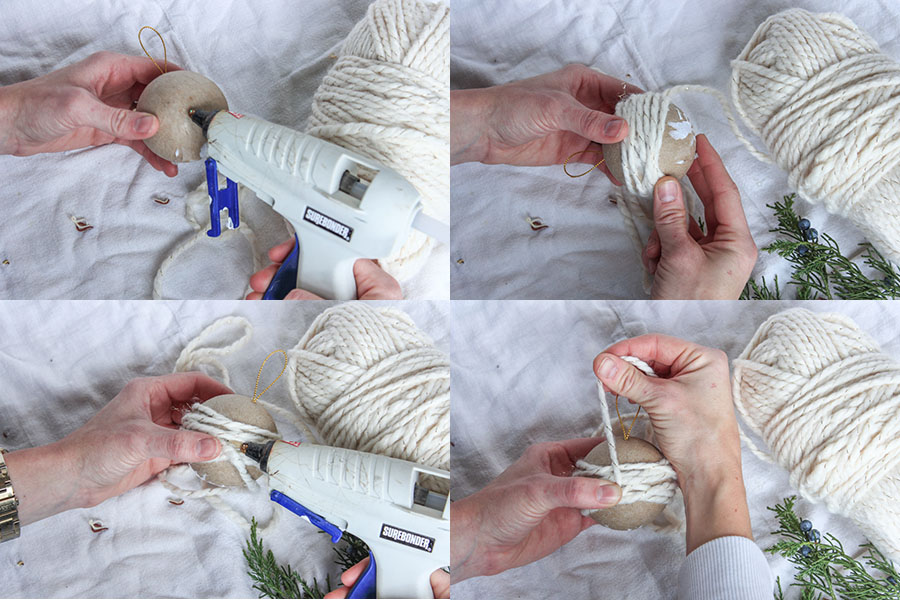
Supplies are minimal: chunky soft yarn, paper mache ornament ball (I found them at Michael’s for $1.50), and a hot glue gun.

Step 1- Use a dab of hot glue to secure your starting point of yarn. Make sure it dries before you start wrapping.
Step2- In order to conserve yarn, switch directions as soon as you have covered one area.
Step 3- Use a dab of hot glue (making sure it dries all the way before continuing) to secure the yarn before switching directions.
Step 4- Go in the opposite direction, wrapping around and covering all the brown areas, until everything is covered. The idea here is to change directions often, so you cover the most area possible without overlapping too much.
Step 5- (Not pictured) Secure end piece with a dab of glue.
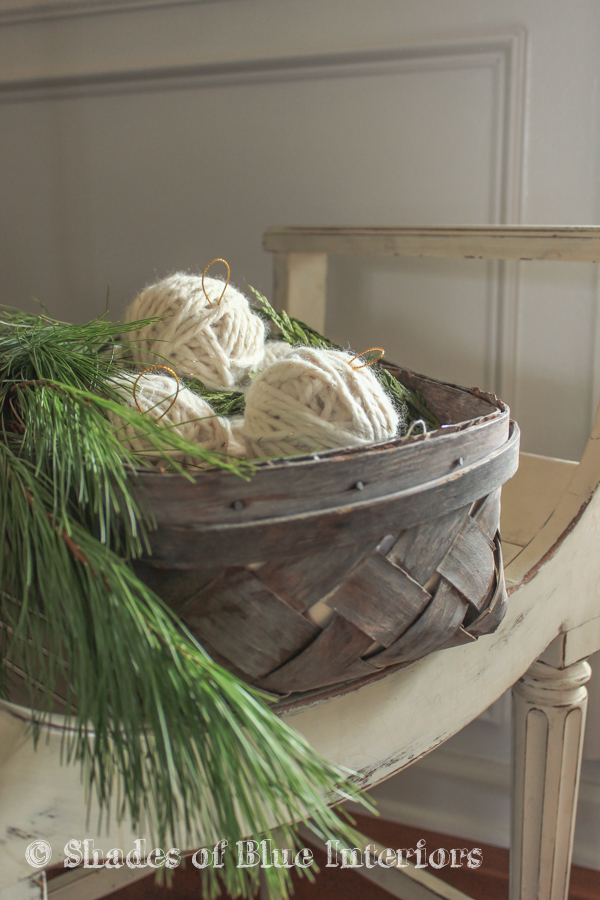
You can also display them in a dish, basket, or vase… they add that extra cozy touch!
Ta-da! How easy was that?! These add just the right about of texture variation to any tree, and while I love the look of a creamy-white, these would look beautiful in red or burgundy as well!
Leave a Reply