Please forgive my absence! My husband was in Brazil for 2 weeks during Thanksgiving, then I had 3 kids gets bronchitis (one right after the other), then my parents were in town, then it was Christmas, PLUS my camera broke! So all of my latest projects were captured on the iPhone, so bear with me for the next month, until our camera is repaired! Pictures will be a bit grainy, but that’s all I got! And as my sister reminded me, something is better than nothing!
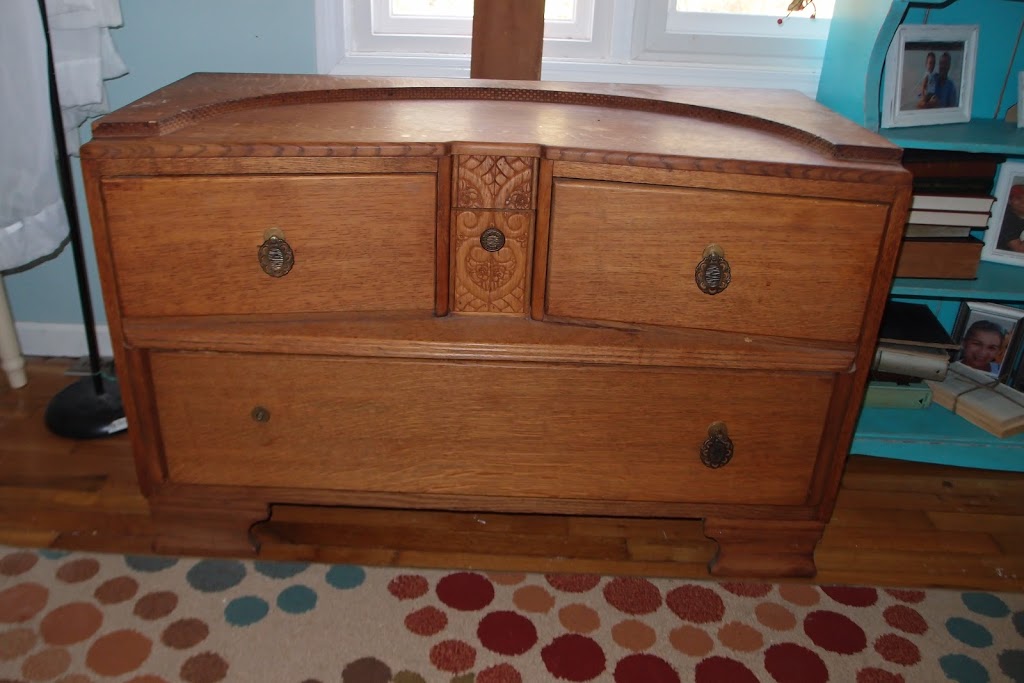
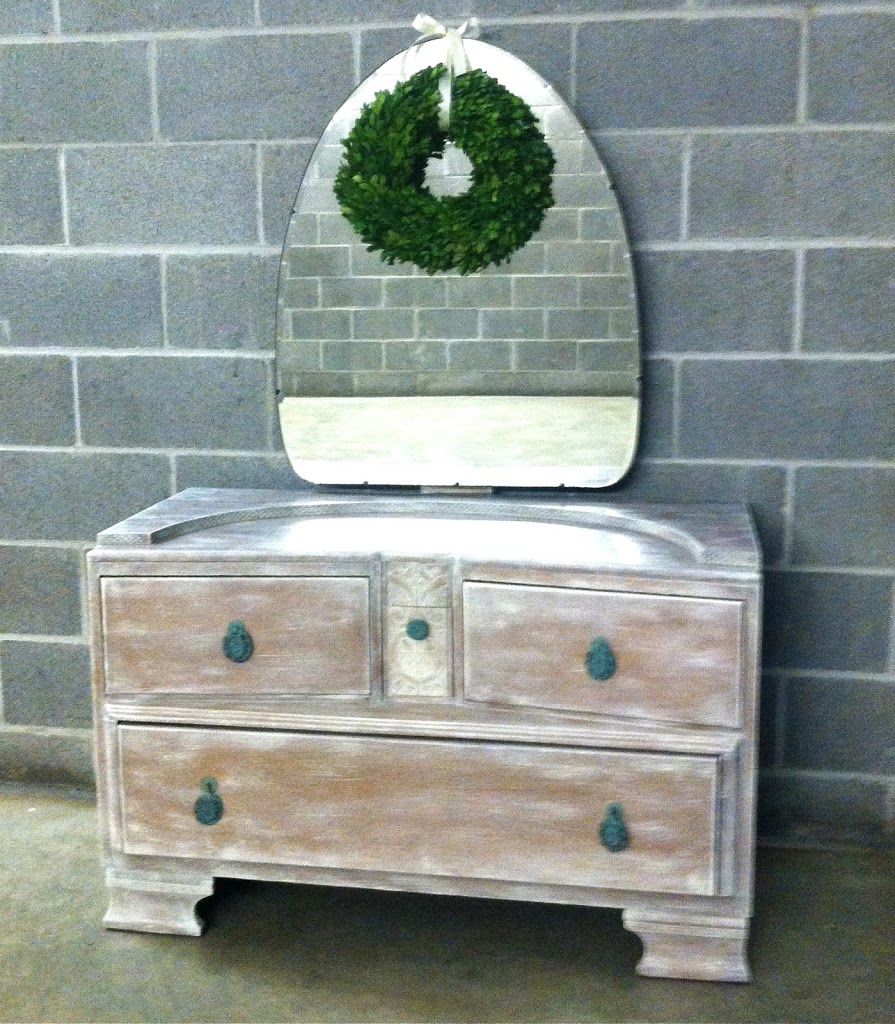
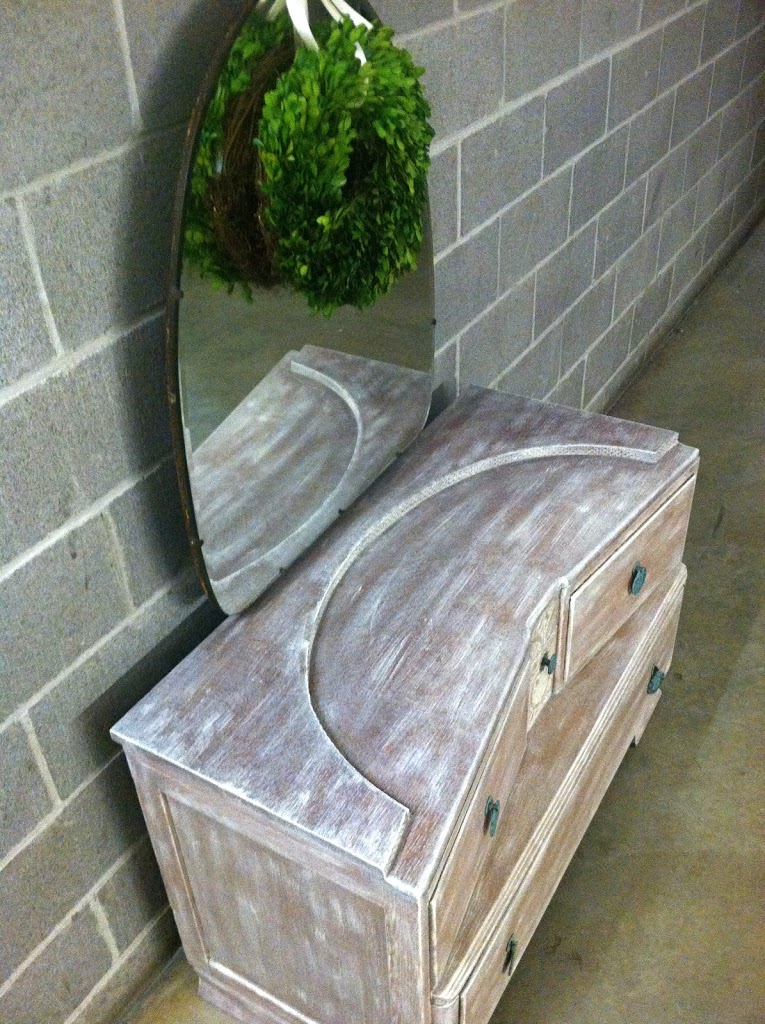
I have an amazingly generous friend who GAVE me this awesome tiger oak Art Deco vanity a couple months ago. It needed a little work and it had been just collecting dust at her house, so she passed it on to me with a mission to find someone who would love it!


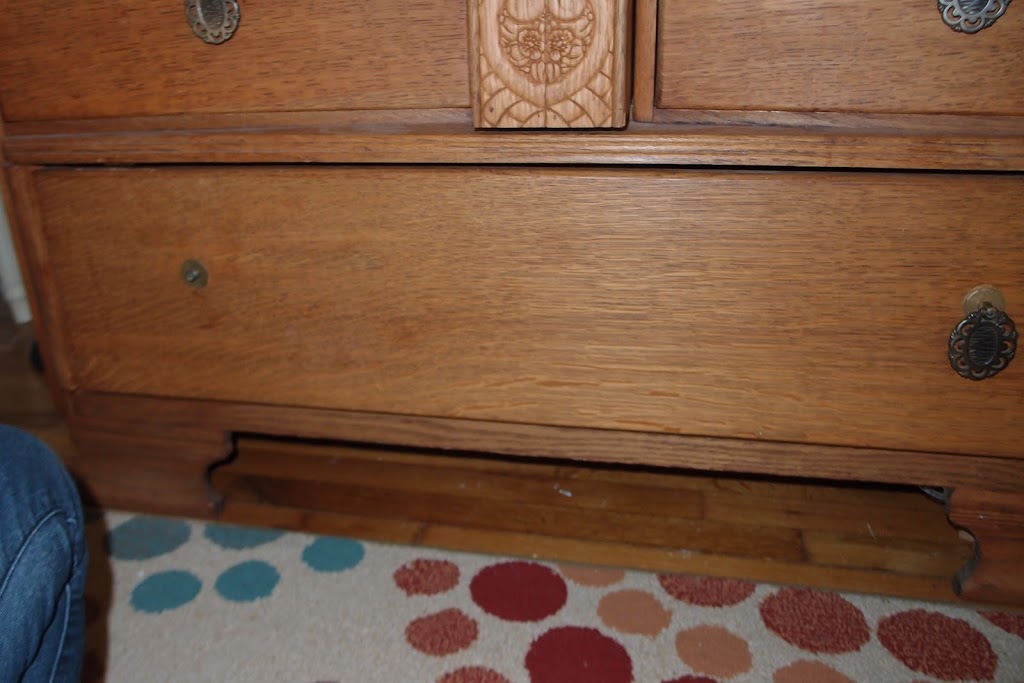
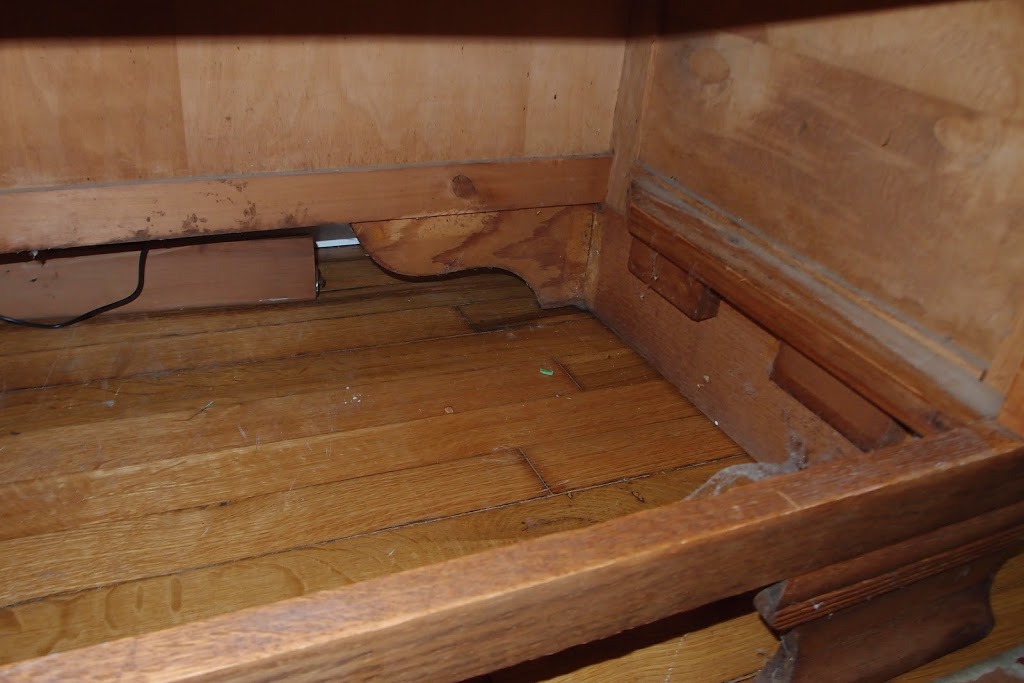
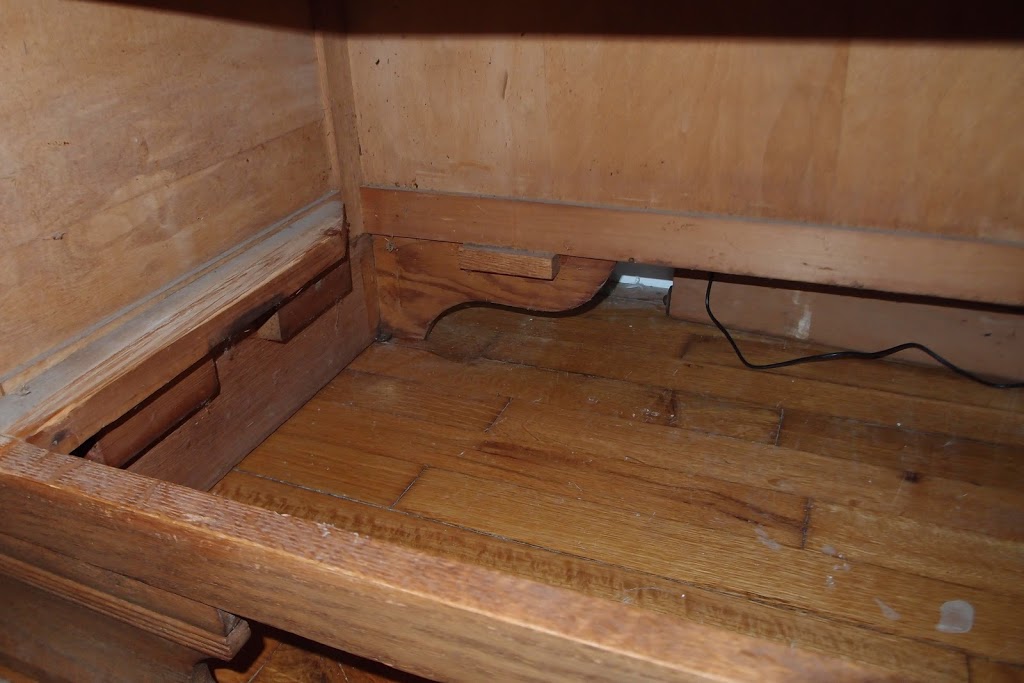
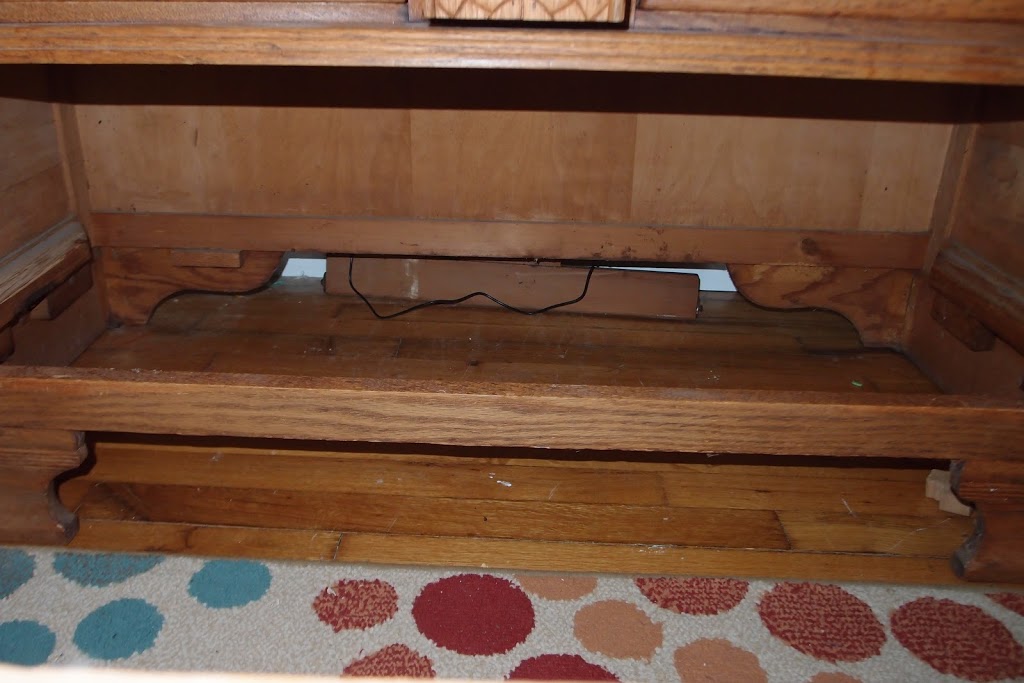
I also had to buy some 2×1’s and glue them in behind the bottom drawer and some 1×1’s on the sides to keep it from going in too far, and moving from side of side a lot.
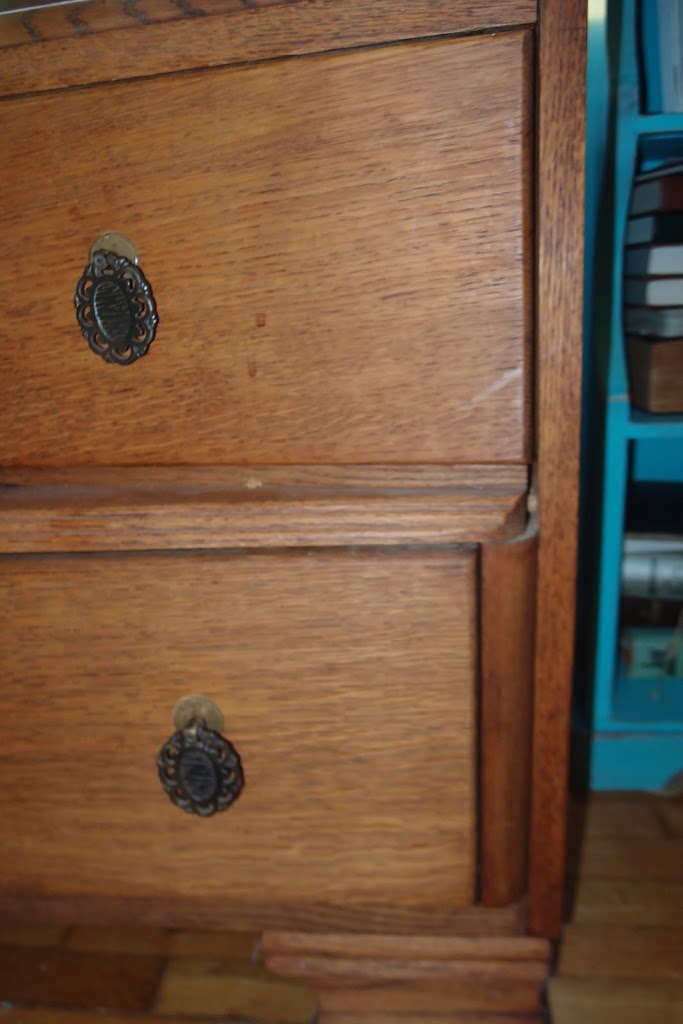
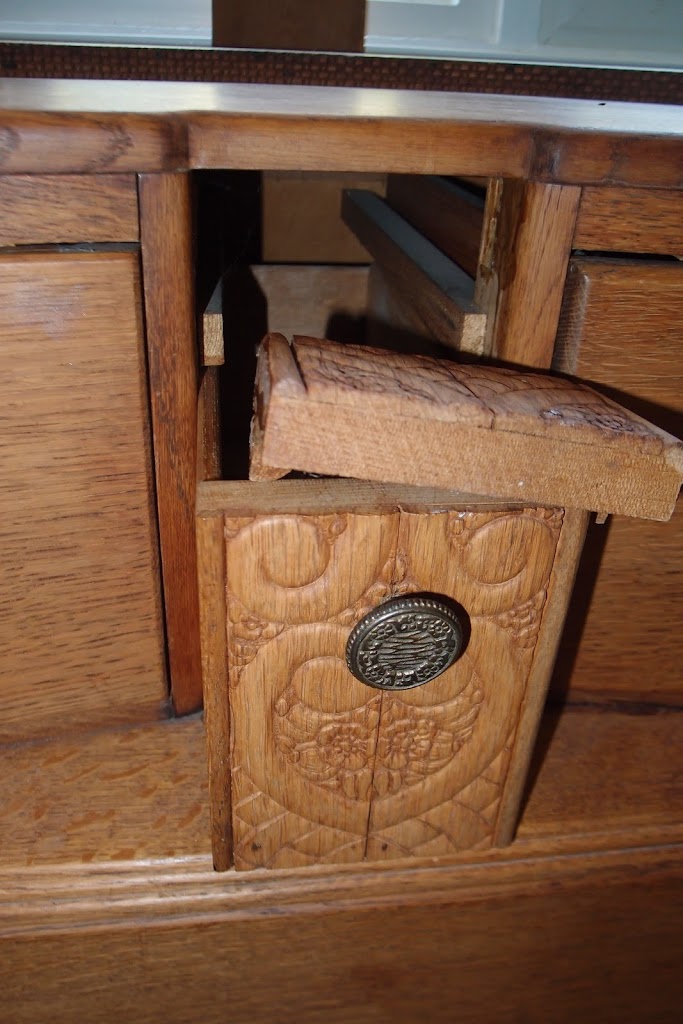
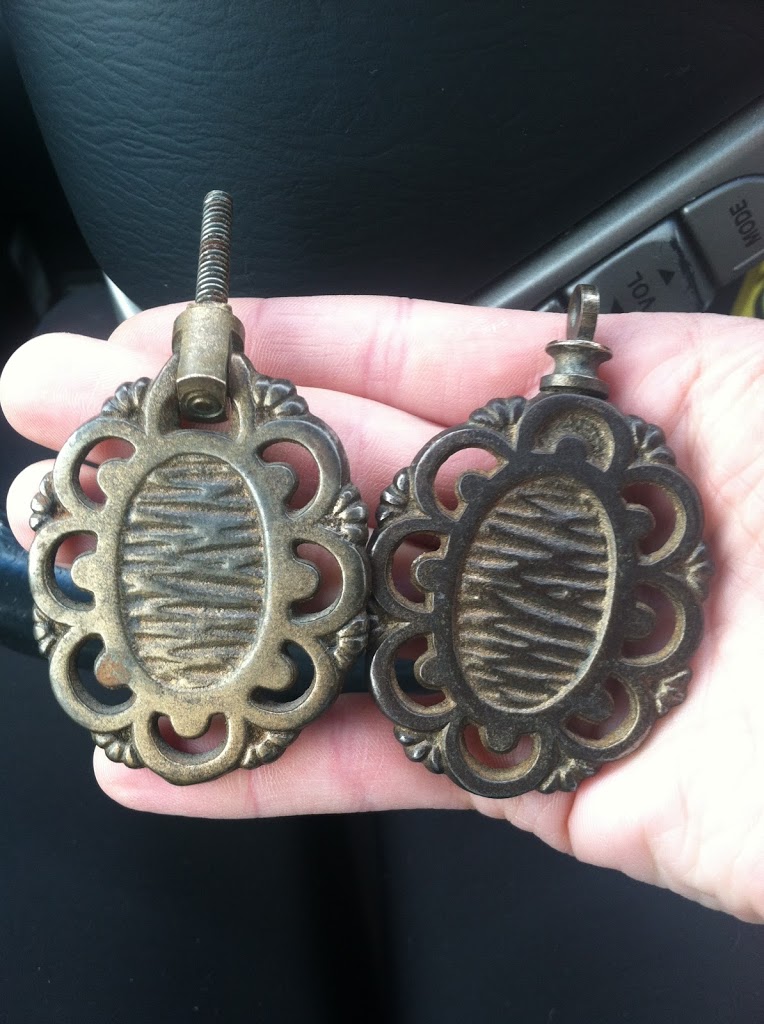
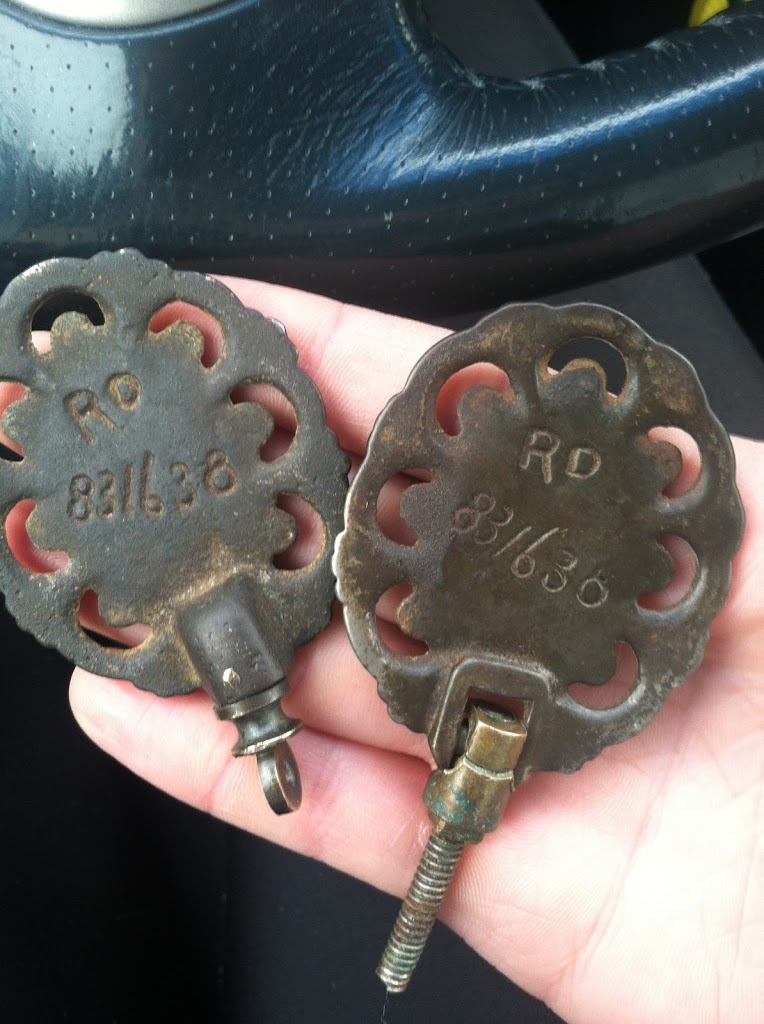
My friend told me she bought this piece from an antique dealer who purchased it in England and had it brought over. The drawer pulls are like nothing I have ever seen. Incredibly ornate and beautiful! One of them wasn’t attached but I figured I could find a way to make it work.
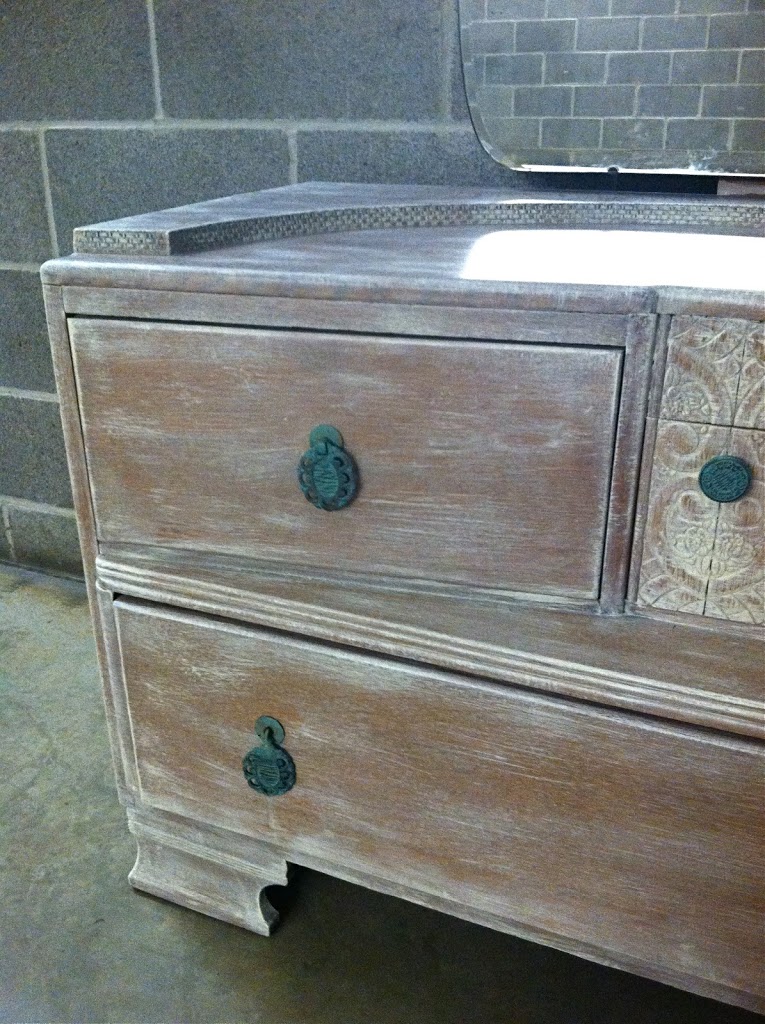
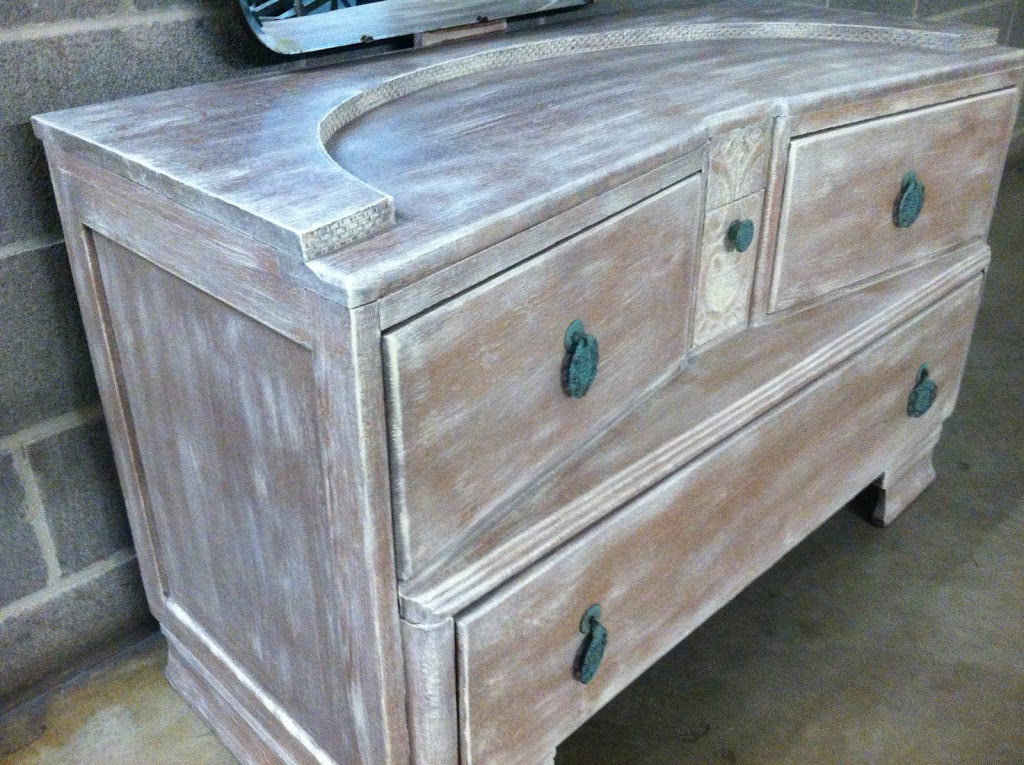
Once I got everything in working order, I decided to go with a white wash technique so I wouldn’t cover up completely the tiger oak. It has such a beautiful grain! Once I white washed the entire piece, I dry brushed it, instead of distressing it, which gives a similar aged look, but instead looks like it has been aged outside at the beach or something.
The next thing I tackled was the drawer pulls. Upon inspection of the broken one, I realized it had a completely different type of attachment piece at the top, making it impossible to make it work and match the other side of the drawer.
So I went to a welder and asked him what he could do. It wasn’t cheap but he ended up making both of them with a loop at the top. Problem was, how could I attach them to the drawer front now? I seriously couldn’t come up with an idea. So I went to visit my super-handy neighbor, Dave. I showed him the two drawer pulls and after a bit, he pulled out some heavy duty wire (the kind used for cattle fences) and suggested stringing it through the top of the drawer pull, twisting the ends together, then sending it through the hole in the drawer, making another little loop, and putting a small screw to secure it on the inside of the drawer. Clear as mud, no? Sorry I don’t have pictures of how it all looked. I’ll try to snap a few on my next visit to Wood Icing.
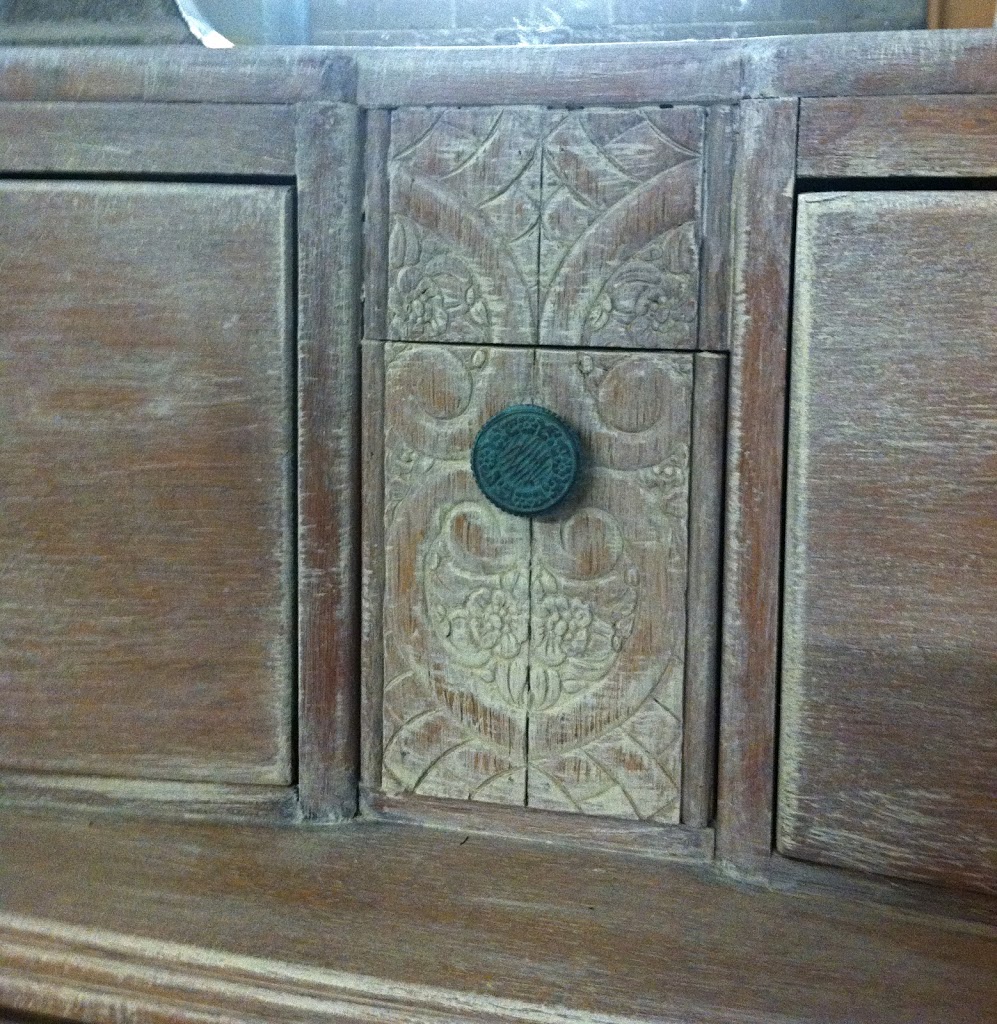
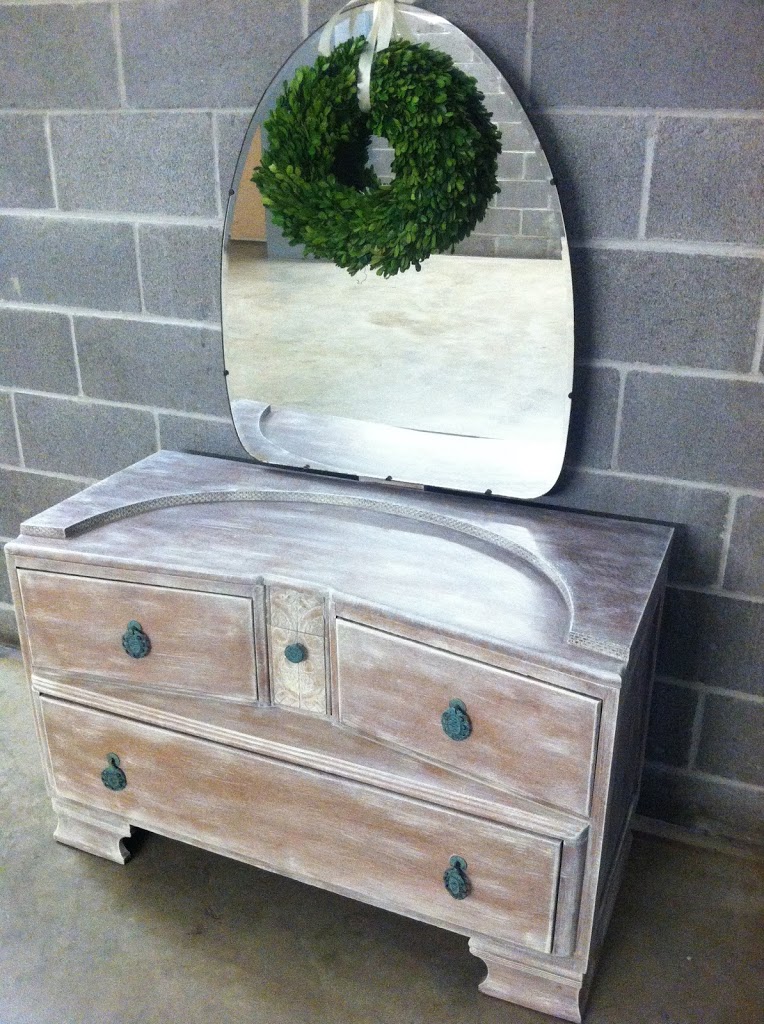
Point it, it worked, they are VERY sturdy, and look like a dangly pair of earrings in my opinion. Because the welder had to change the look of one of the pulls (making it lose its patina and look very shiny), I had to disguise it. I chose to go with a faux verdigris technique. Basically I wanted them to look aged, exposed to the elements, and oxidized copper is the prettiest rust out there! I mixed some Provence and Antibes Green chalk paint and dry brushed the pulls. They look so pretty!

So happy with how this turned out. It is truly unique!

Ohhhh…!!!! That piece is truly awesome ♥♥♥ I bet it is even more so in person. I just may have to drive in to Wood Icing and check it out :0) I’ve been meaning to do that anyhow :0)
That is gorgeous! What a unique piece of furniture, and I love the whitewash and the pulls. All of it is just awesome.