I got a few requests for dimensions and plans of the picture frames I built last month for my botanical herb printables. Since I made them from scrap wood, they are a much more affordable option than going to buy some, plus you can achieve a completely custom look, very easily! So I decided to show you a quick tutorial, featuring my first GIFs! They aren’t GREAT, but they are a good starting point and add some fun variety this here ol’ blog! I’ll get much better at them in the future, I promise!
P.S. I used and fell in love with the Kreg Jig, before Kreg sent me my own. While they provided me with this tool, this is not a sponsored post. If you choose to purchase a Kreg Jig through the affiliate links provided, I receive a very small percentage as compensation.
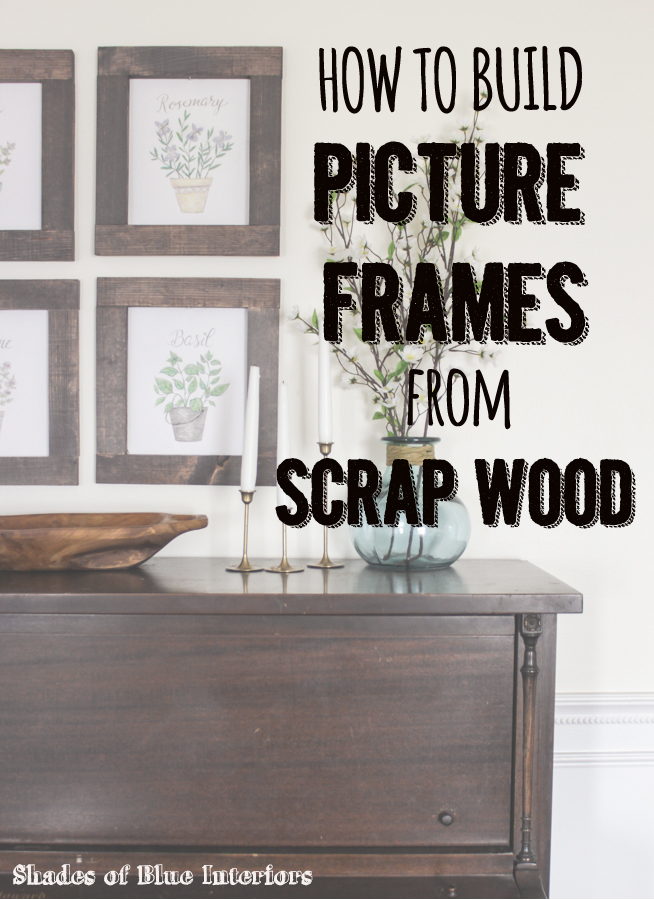
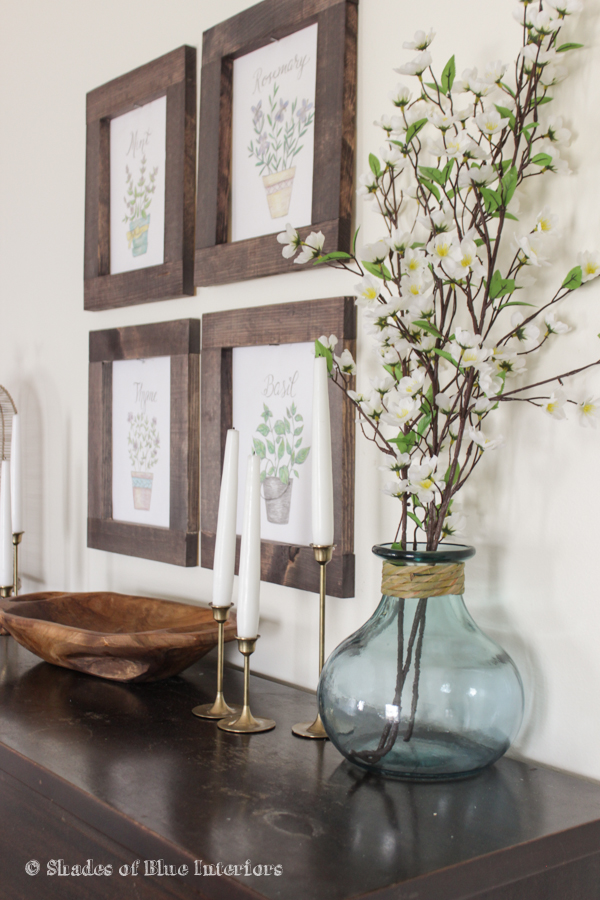
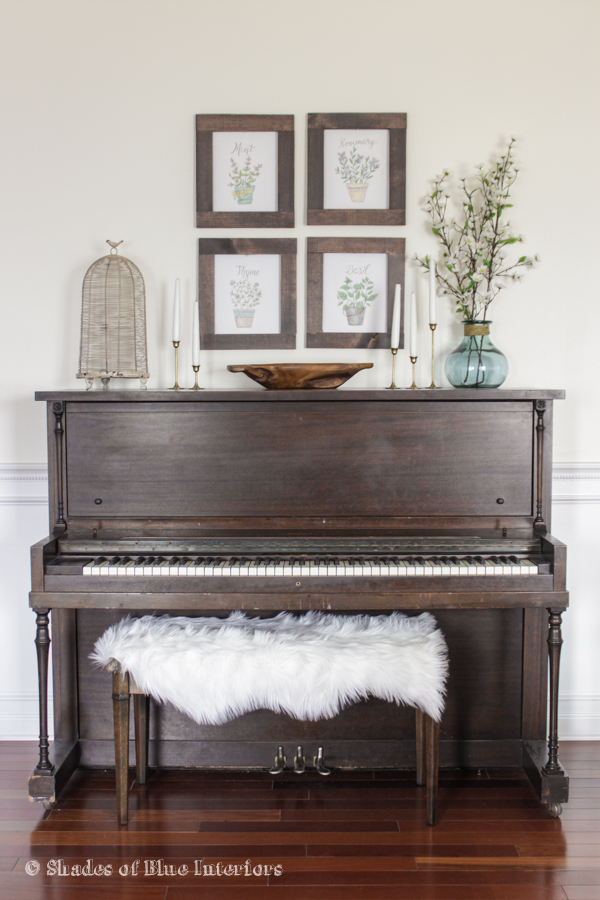
This tutorial is for making 4, 8×10 frames!
(that is, they hold a, 8×10 picture)
Tools Needed:
Circular saw
Cordless Drill
Table saw (optional, if you want to rip cut 1×10’s down to 2″ widths, like I did)
Protective eyewear
Protective mask
Hearing protection
Supplies Needed:
15′- 1x2s or 1x3s or whatever scrap 1x you have
wood glue
sandpaper
Minwax Dark Walnut Stain
Minwax Classic Gray Stain
cotton rag to apply stain
picture hangers
Cut List:
8 – 1×2 @ 1′
8 – 1×2 @ 10″

Step 1- Drill
Drill pocket holes in both ends of the 10″ boards, using your Kreg Pocket Holes Jig System. Now, just in case you haven’t seen how easy it is to use this tool, I created a little GIF for you. Basically there are 3 adjustments you have to make, which are super fast. This is one of the easiest tools to use and gives you a VERY strong and secure joinery, both if you are joining two pieces of wood adjacently (flat, like we are with these frames) or perpendicularly (like for a box).
How to adjust a Kreg Pocket Hole Jig System
1- Loosen screw for the hole guide. Adjust the jig up or down, to match width of wood you will be drilling into, then tighten screw again.
2- Loosen bolt on clamp, adjust to width of board, so that, once clamped down, has tight secure fit, then tighten bolt.
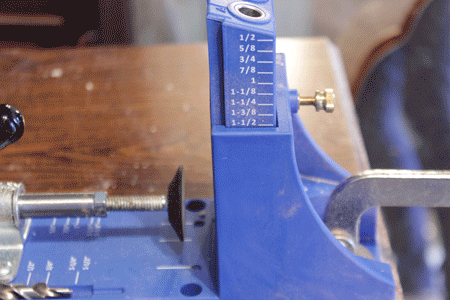
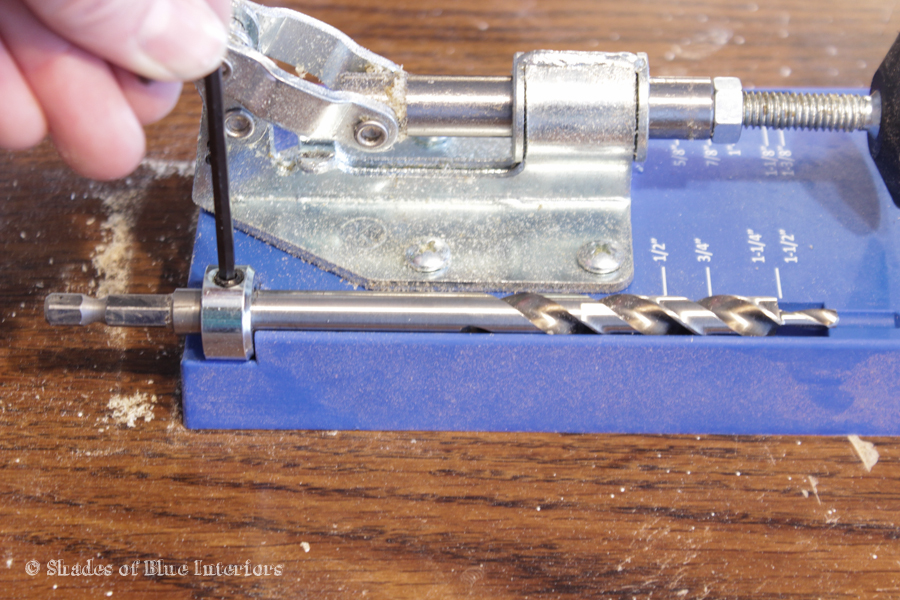
3- Loosen depth collar on drill bit (provided with kit) with allen wrench (provided), and adjust the drill bit so the step of the drill tip lines up with the thickness of the wood you will be drilling. Tighten with wrench again.
This is what your pocket hole jig system will look like for these frames. Notice the top part is at 3/4″, and the drill bit is adjusted to 3/4″
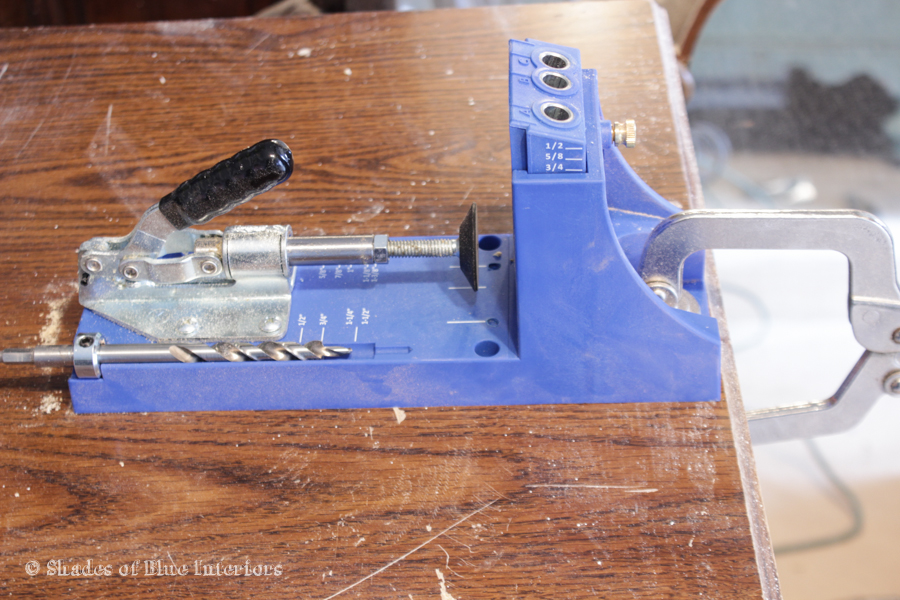
That’s all the adjustments you have to make!
To drill, just place board on the jig, push down clamp, then drill a hole, using a higher clutch speed. I chose to drill in the B hole, since it was pretty centered.
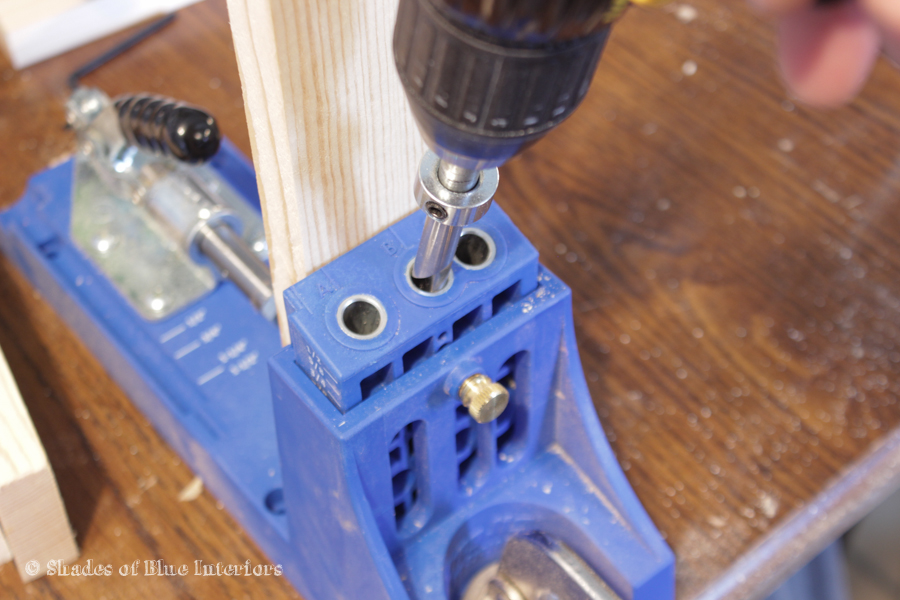
If this was a piece of furniture it would do 2 pocket holes, but since this is just a picture frame, I’m only going to do 1.

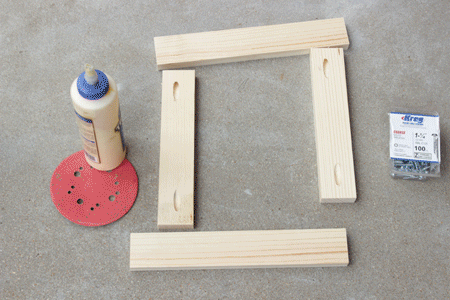
Step 2- Sand & Glue
Sand rough edges of all boards, glue and clamp smaller piece in between the two longer pieces.
Step 3- Screw
Using the pocket-hole screw tip (square shape, provided with kit), attach wood pieces together with 1 1/4″ pocket hole screws. Repeat the same thing for the other side.
*Make sure to clean up any excess glue, as it will not take a stain.
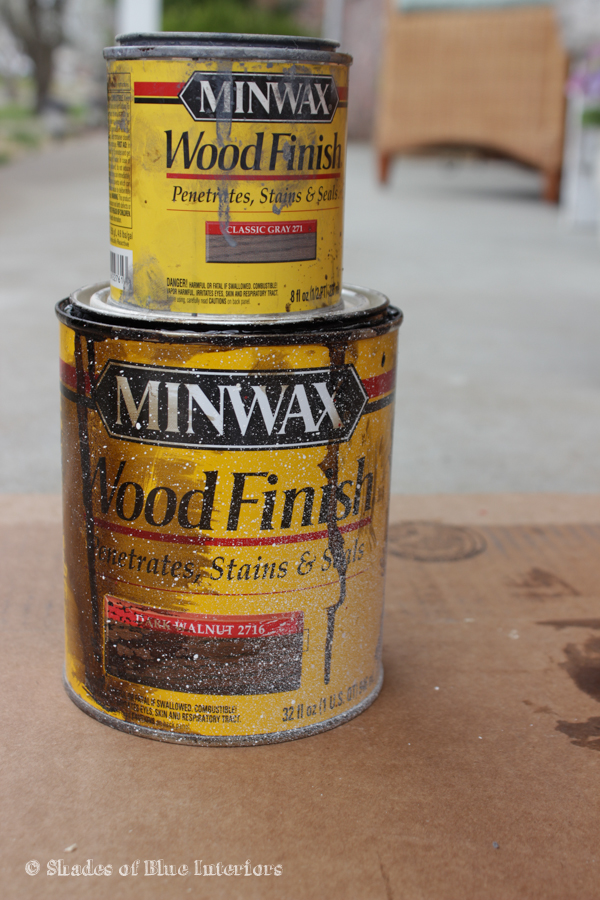
Step 4- Stain
Wipe on dark walnut stain on front of frame with a cotton rag, let it soak in for a minute before wiping off excess. Using the same rag, wipe on the gray stain on top of the dark walnut stain, allowing the two colors to mix. Wipe off excess after 1 minute.
The stains I used are Minwax Dark Walnut, and Minwax Classic Gray.
Step 5- Hang
Attach picture hangers on back, hang, and enjoy!
Great tutorial! And I LOOOOVE the Kreg Jig – totally life changing for building basically anything!
I love these and the Kreg Jig is awesome!
LOVE this! My Kreg Jig just arrived and we can’t wait to start using. 🙂
How did you attach your picture to the frame?
Tape!