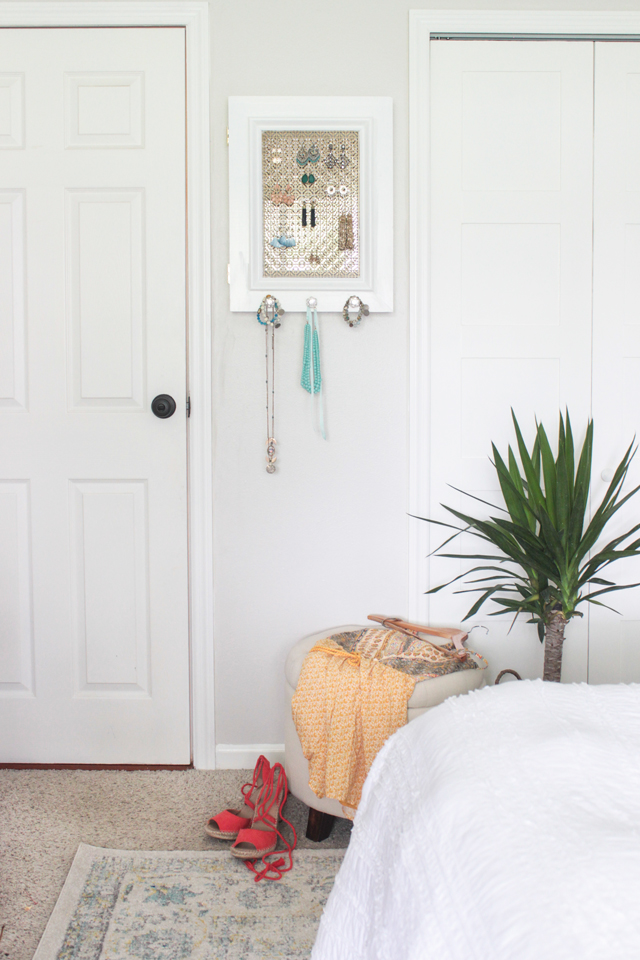
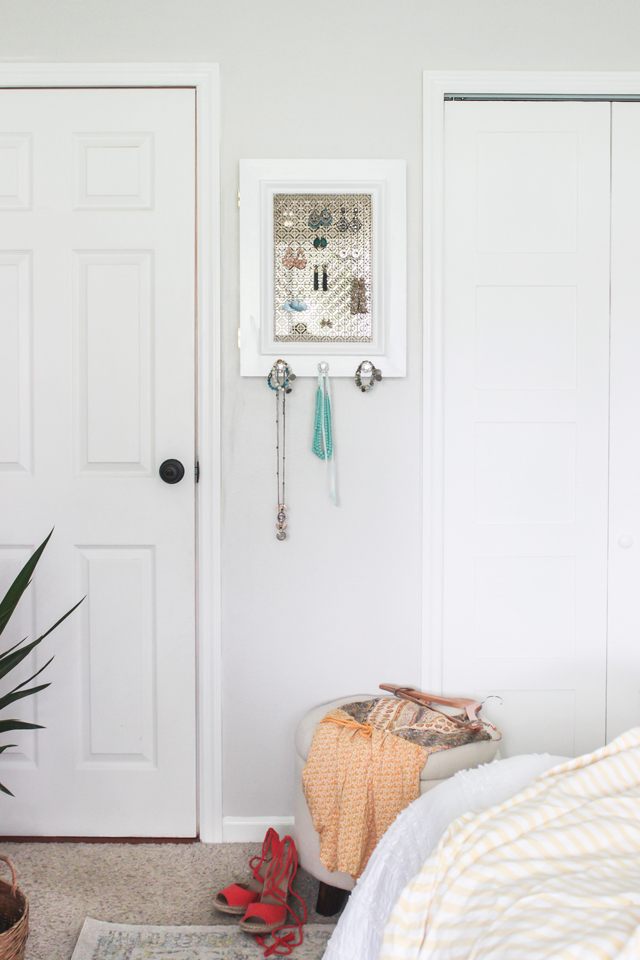
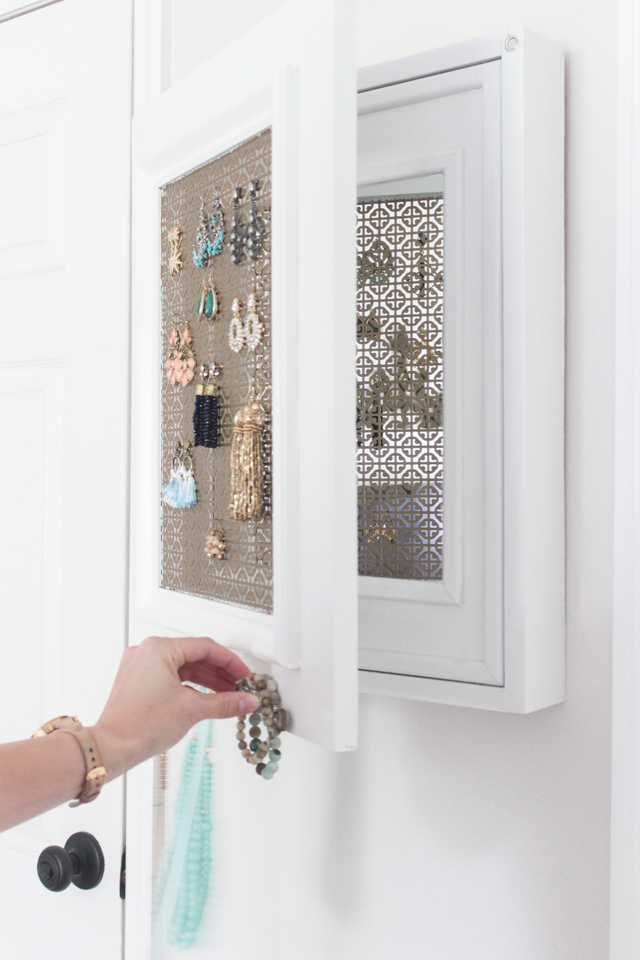
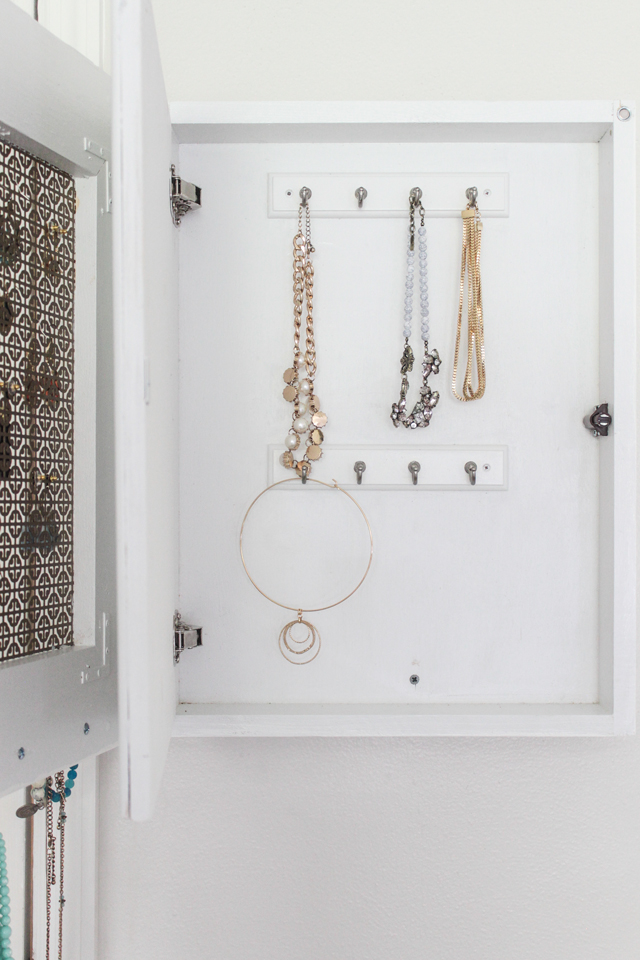
This post is sponsored by the Home Depot. Today I’m sharing a fun project I worked on with the Home Depot, customizing a Jewelry Holder! I created a secret compartment that is hidden by a push-mirror and I’m obsessed with how it turned out.
(Affiliate links used in this post)
The Home Depot offers Workshops at all of their locations for do-it-yourselfers of all ages and experience levels.
- There are three types of Workshops offered: Do-It-Yourself (DIY), Do-It-Herself (DIH) and Kids.
- Customers can learn how to build décor projects, how to make easy home repairs and how to operate tools through demonstrations and step-by-step instructions.
- Visit http://workshops.homedepot.com to learn more.
To register for the workshop near you this coming Thursday, GO HERE.

I took me a bit to figure out the right place for it, since it sticks out a few inches from the wall. I think this would be super cute in a bathroom, but I put it alongside my closet. I love having the jewelry so accessible alongside my clothes and the convenience of a mirror right there is so nice too!

Here is an animated GIF I made to show how it works:

Tools needed:
Miter saw (unless you get everything cut at Home Depot)
Nail gun (optional)
Shopping list:
1 1/2″ nails, 18 gauge (if using brad nailer)
3/4″ nails, 18 gauge
2- 3″ wood screws (to attach to studs in wall) OR picture hanger hook
2 pairs – 3″ flat corner brace
2 pairs – 2″ flat strip brace
1 pair – 90 degree Surface Mount Hidden Spring Hinge
1- 1’x2′ Satin nickel Mosaic Aluminum Sheet
1 pair- 2″ long Brass Middle Flat Hinge
1 Mirror (about the size of a piece of paper)
1×4 board @ 6′, Cut– 2 @ 22″ long side with 45 degree miter cuts, 2 @ 15″ long side with 45 degree miter cuts
1″ wide Colonial Moulding, Cut 2 @ 9 1/2″ short side with 45 degree miter cuts, 2 @ 16″ short side with 45 degree miter cuts
Strip moulding – 1/4″ thick with rounded edges, Cut 2 @ 20 1/4″ long side with 45 degree angle miter cuts, 2 @ 13 1/4″ long sides with 45 degree angle miter cuts, 2 @ width of mirror for short side and 45 degree angle miter cuts, 2 @ length of mirror for short side and 45 degree angle miter cuts
1/4 sheet of 1/2″ plywood, Cut– 20 3/8″ x 13 3/8″
1×3 board @ 6′, Cut– 2 @ 22″, 2 @ 13 1/2″
1/4 sheet of 1/4″ plywood, Cut– 22″ x 15″
Liquid nails
Wood glue
Wood filler
220 grit Sandpaper
White semi-gloss paint
Satin Bronze Metallic Spray Paint
Painter’s tape
White caulk
Step 1: Build Frame
Place wood glue on the mitered ends of the 1×4 pieces and attach corners using the flat corner braces and the flat straight braces. Turn over the frame and staple the miter seam with the heavy duty stapler. Place the staples about 3/4″ from the inside corner so that the trim will cover it. (p.s. I ended up removing the flat braces once it was completely dry– so it could shut more flush against the box frame.)

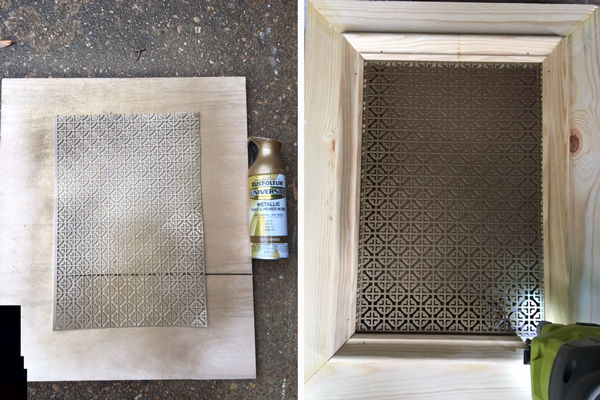
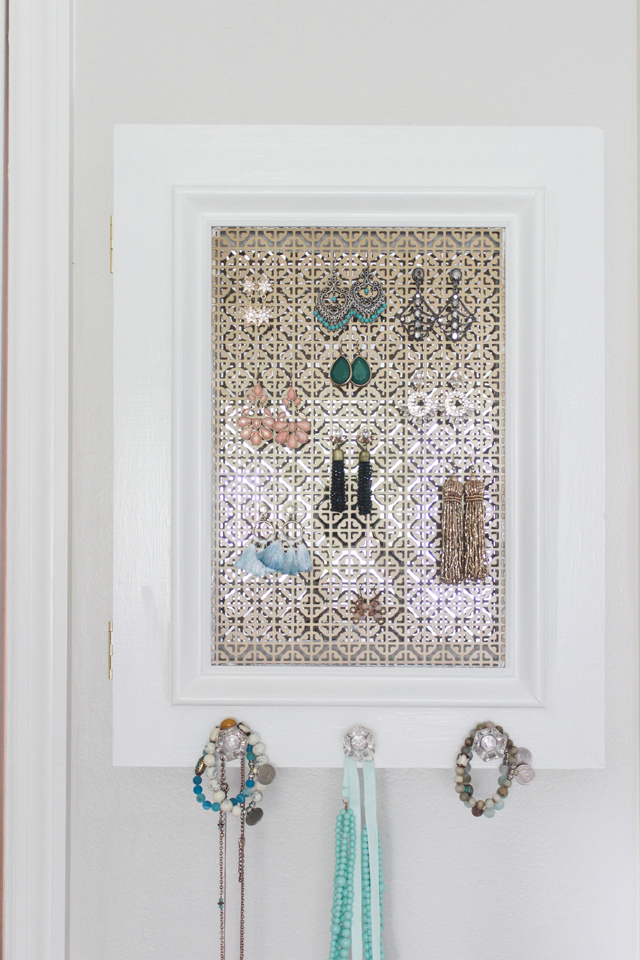
Step 2: Attach Aluminum Sheet
Cut the aluminum sheet to size and spray bother sides with the gold/bronze spray paint. Attach the the face of the frame using the stapler. Nail the colonial moulding on top of the aluminum sheet using 3/4″ nails.
Step 3: Build Secret Compartment
Place wood glue on the ends of the 1×3 pieces and arrange them to make a box frame. Place the secret compartment door (1/2″ plywood) inside the box and make sure there is a tiny (1/16″) gap on all sides before nailing the frame together. Nail at the ends using the 1 1/2″ nails. Place some scrap 1/4″ thick pieces of plywood under neither the 1/2″ plywood so that it is in the position it will be once attached to the hinges. Mark where the push latch needs to be positioned when closed, as well as the 90 degree angle hinges. Attach the push latch with the screws provided about half way down the side of the frame. Attach hinges first to the sides then to the secret compartment door.
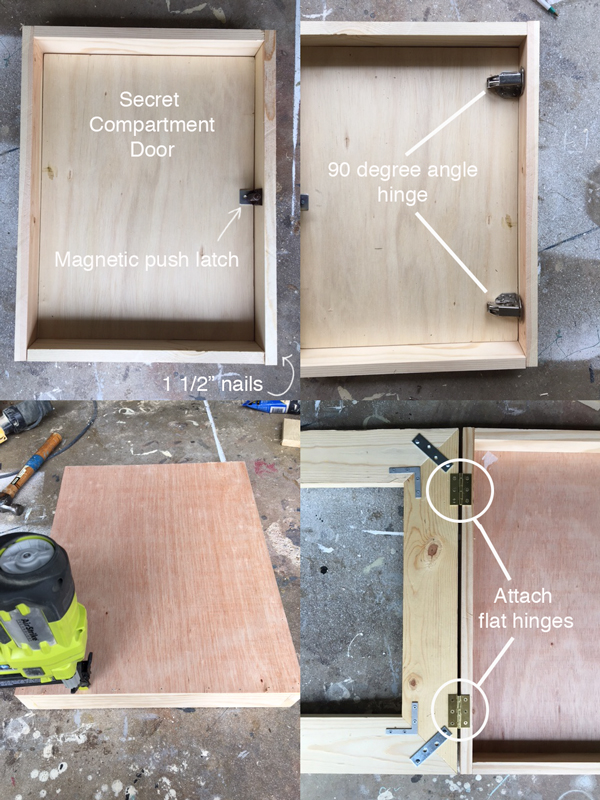
Nail the back of the secret compartment (1/4″ plywood) to the box frame. Attach the front face frame that has the aluminum sheet attached (not pictured) to the box frame using the flat hinges.
Step 4: Attach Mirror & Trim Out
Center the mirror on the secret compartment door and attach it using the liquid nails. Attach the trim using liquid nails around the mirror, then along the outer edge of the secret compartment door. Hold in place using painter’s tape. Fill seams with white caulk.
Step 5: Paint White
Fill holes and cracks with wood filler and sand everything smooth. Tape off aluminum sheet and mirror and paint everything with 2 coats of white paint (inside and out).
Step 6: Attach Key Holder Racks & Magnetic Door Latch
Measure and mark desired placement of key holder racks (I attached one about 2 inches from the top and the second about 6 inches down from that).
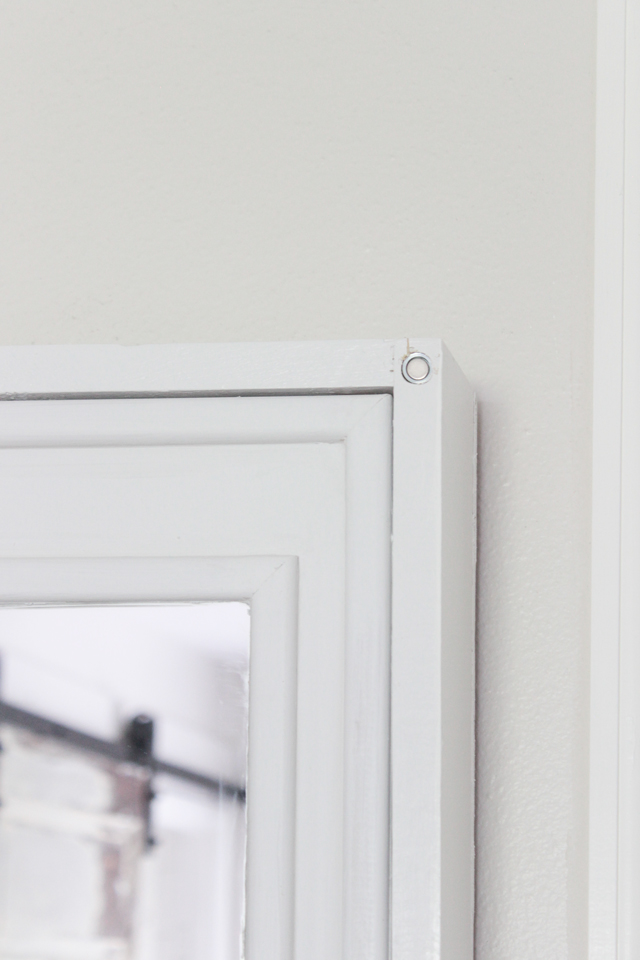
Drill the hole for the magnetic latch using 1/2″ drill bit on the top corner of the secret compartment frame. Screw magnet holder into place and other end of latch on the top corner of the back side of the face frame door.
Attach this to the wall using screws or a picture hanger hook.
Are you ready to build one of your own? You can build the face frame at the workshop and then do the secret compartment box at home! Home Depot will even cut all the wood for you! 🙂

Have you recently attended an in-store Workshop at The Home Depot? If so, The Home Depot would love to hear your thoughts! Feel free to complete the survey here to share your experience.
Make sure to check out everyone else’s versions of this project!
Domestically Speaking
DIY Huntress
The Turquoise Home
Inspiration for Moms
Shades of Blue Interiors
Remodelando La Casa
Sawdust 2 Stitches
Live Laugh Rowe
Petticoat Junktion
Cherished Bliss
*I acknowledge that The Home Depot is partnering with me to participate in this Virtual Party (the “Program”). As a part of the Program, I am receiving compensation in the form of products and services, for the purpose of promoting The Home Depot. All expressed opinions and experiences are my own words. My post complies with the Word Of Mouth Marketing Association (WOMMA) Ethics Code and applicable Federal Trade Commission guidelines.
That’s amazing! I love all the secret compartments. Great job!
Super cool!!! Love that you made it with a hidden compartment.
WOW!! I love this and the hidden compartment is so ingenious!