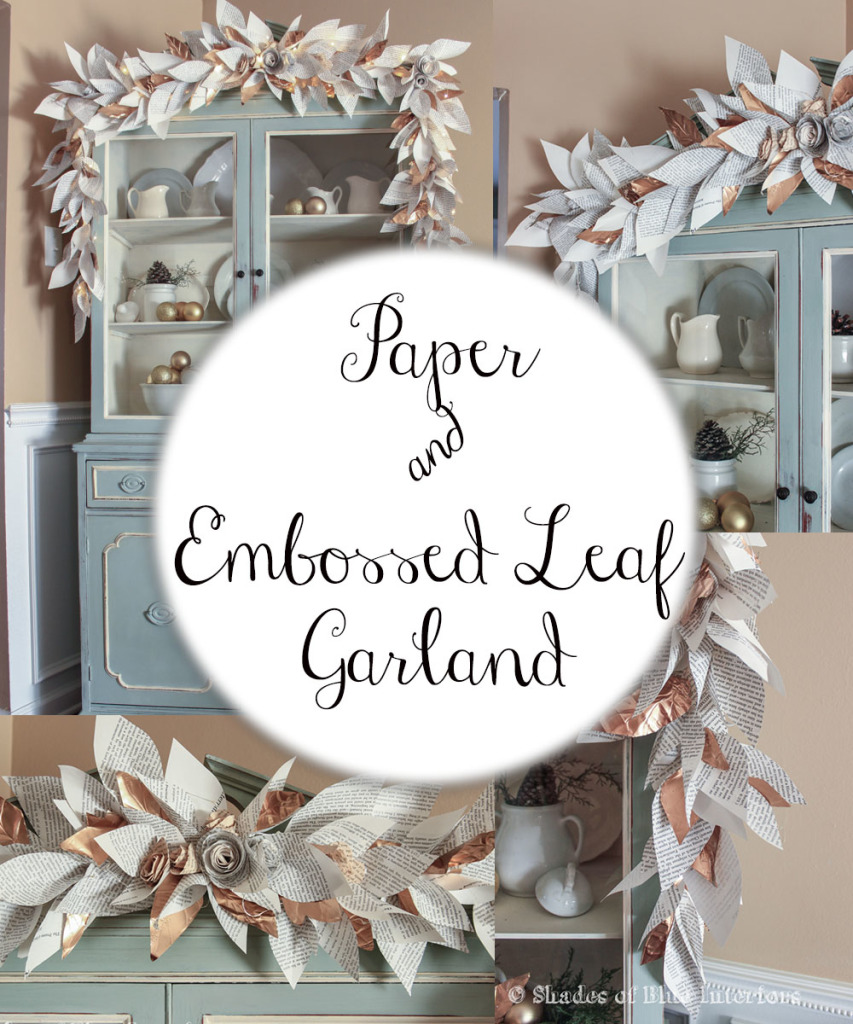
I have been wanting to decorate for Christmas for a couple weeks now, but have been so busy with other projects that I simply didn’t have time to get out the Christmas stuff until everything was cleaned up and put away. So, this past weekend, I finished up an idea that had been mulling around in my head for a couple weeks. I was thrilled when it turned out just as beautiful as I had imagined it, and I took pictures along the way, so I could show you all how to make one too!
This garland is a result from marrying two idea that I absolutely LOVED as soon as I saw them…. the book page garland by The Nester, and the Embossed Foil Wreath by Craftberry Bush.
IMPORTANT! You will want to go to Lucy’s (Craftberry Bush) tutorial HERE first, before you begin, and follow her instructions to create the embossed leaves. Instead of making the wreath, come back here and follow the instructions below.
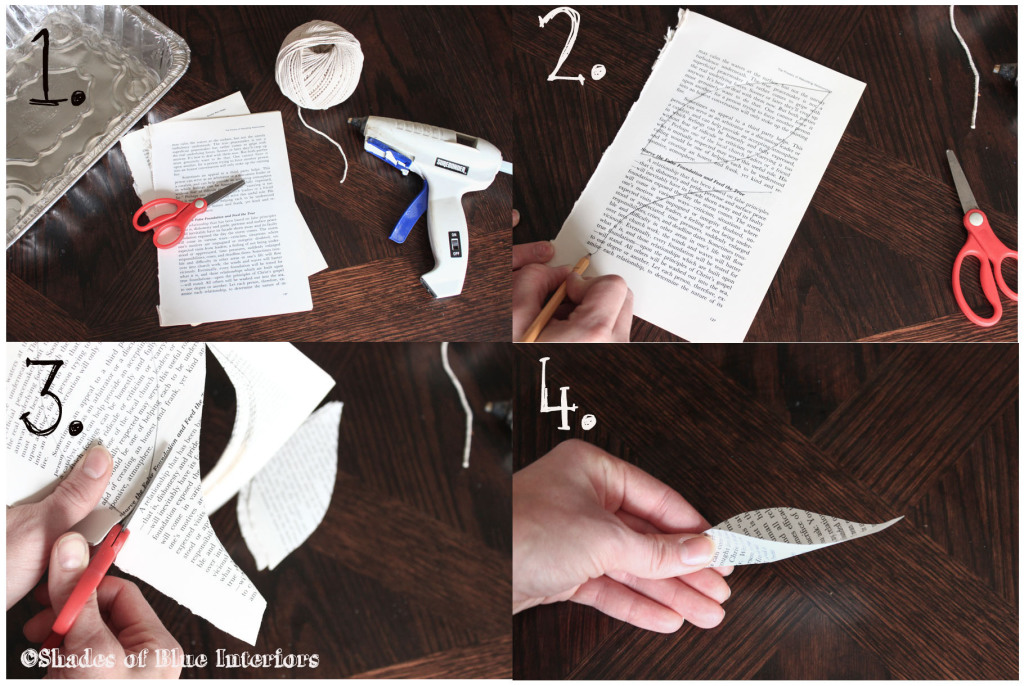
Step 1- Gather materials:
String (you could use hemp or thick cotton)
Scissors
Hot glue gun (& hot glue)
Book pages (I used maybe 100 including for the rosettes… you could also use plain paper or colored paper)
3-4 Aluminum pans (the kind you put casseroles in– this is for the embossed foil leaves)
Gold metallic spray paint (for Lucy’s embossed foil leaves)
2. Draw large leaf shapes on small stacks of paper
(draw various sizes and subtle variations in shape to make the garland more interesting)
3. Cut out leaves, several papers at a time
4. Crease one end of the leaves, to give them dimension
You can stack several leaves of the same size and crease them at the same time. Also, I put a small dab of glue on some of the leaves to keep it from opening too much. Having some leaves more open than others makes it more interesting when assembling the garland.
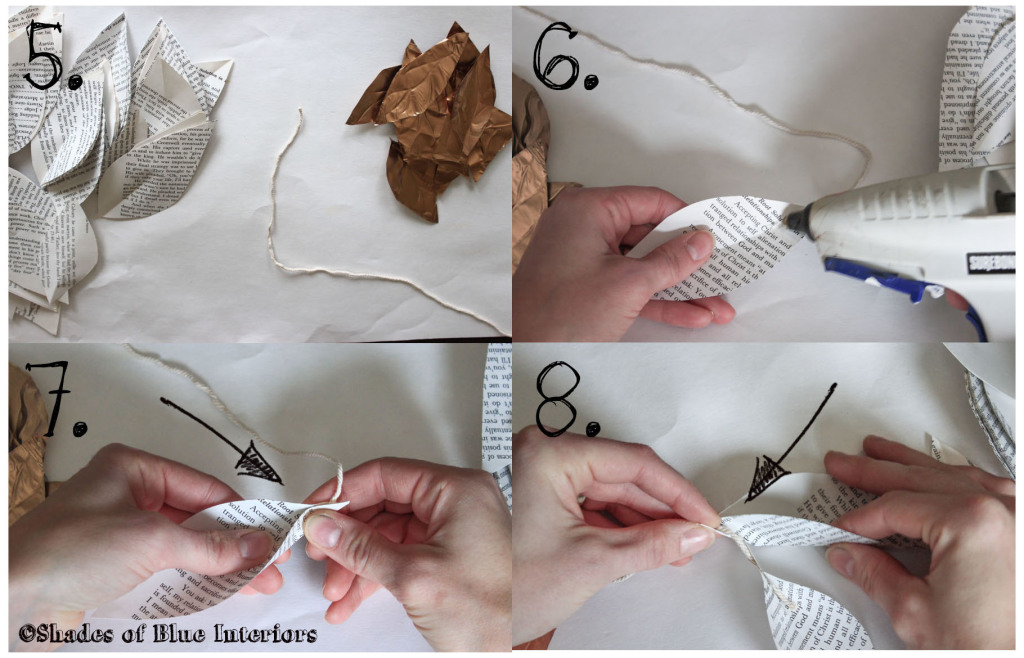
5. Get your leaves handy and your string, and heat up your glue gun
6. Put a small dab of hot glue on the creased end of a medium-sized leaf.
7. Pinch the leaf closed around the end of the string.
8. With another leaf, wrap the creased end around the string, a little further up from the first leaf. You don’t need to wrap it around very much, just really an angular fold, so that the leaf falls to the side of the first leaf.
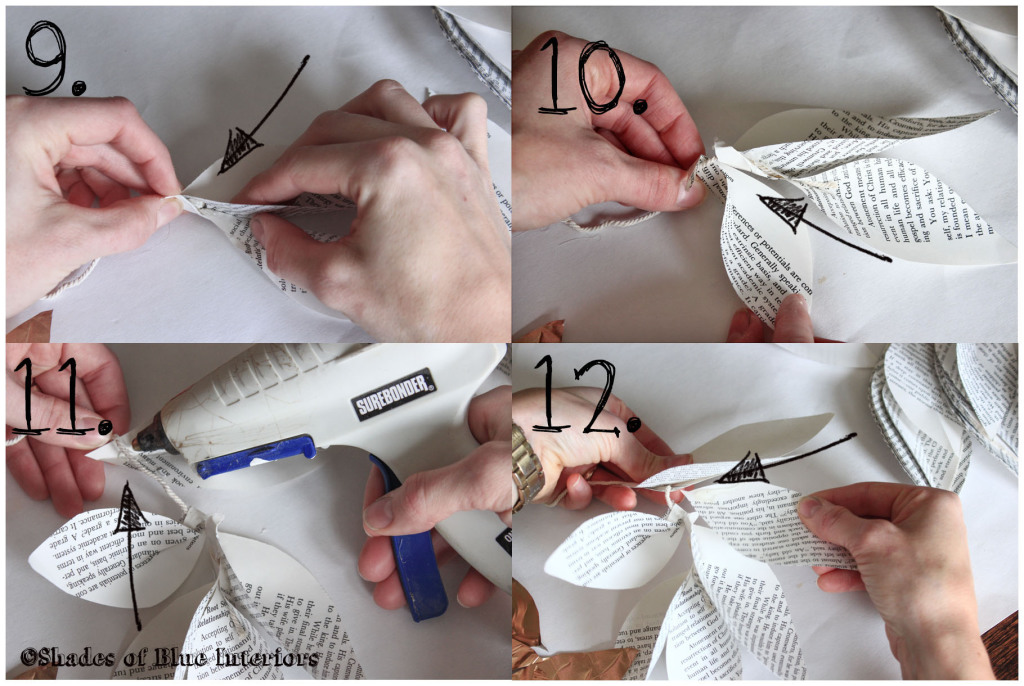
9. Dab a bit of glue on that fold, and pinch closed around the string.
10. Add another leaf on the opposite side, wrapping it around the string in the same way you did with the second leaf, glue and pinch closed.
11. Add another larger leaf on the opposite side, a little further up, but this time, don’t wrap it around. Just glue the string on top of one end.
12. Here is where you will start to add leaves where they look good. Don’t worry about every leaf wrapping around or even touching the string. Put them in a place where it looks good, and then look to see where you can add a dab of glue to attach it.
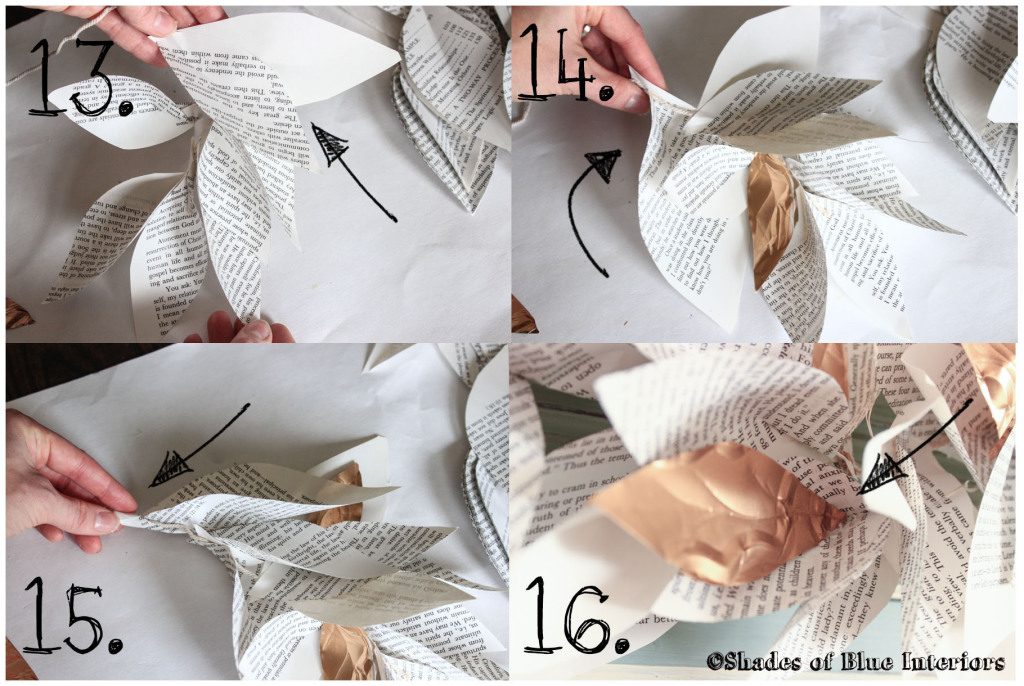
13. Glue some leaves on top, at angles, of other leaves glued to the string, going in a downward direction, so as to hide where the leaves attach to the string.
14. Start adding the largest leaves, attaching in the same way you attached the first leaf.
You want all the leaves to be mostly draping downward, but going in all different directions. Notice, the gold leaf I added. I just put it where I thought it would look good, and glued its end onto another leaf, close to the base that attaches to the string.
15. Keep wrapping some leaves around the string, and glueing others to each other, until you get a layered look.
The idea here is to not worry about “durability”. Just put it where it looks good, and glue it in place. Not every piece needs to be securely attached to the string. It is JUST paper, and since it isn’t heavy, it will stay in place. This is where it goes faster, as you just start playing around with what looks good and putting a dab of glue where needed to get it to drape the way you want.
16. Glue the ’embossed’ leaves to the paper leaves, either under layers of a couple, so you don’t see where it attaches, or in a glued crease of a leaf.
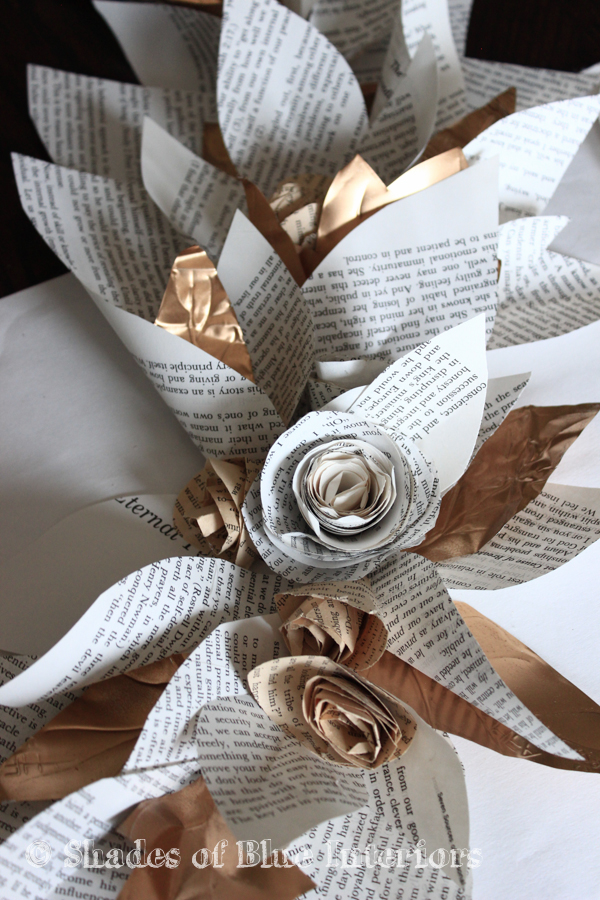
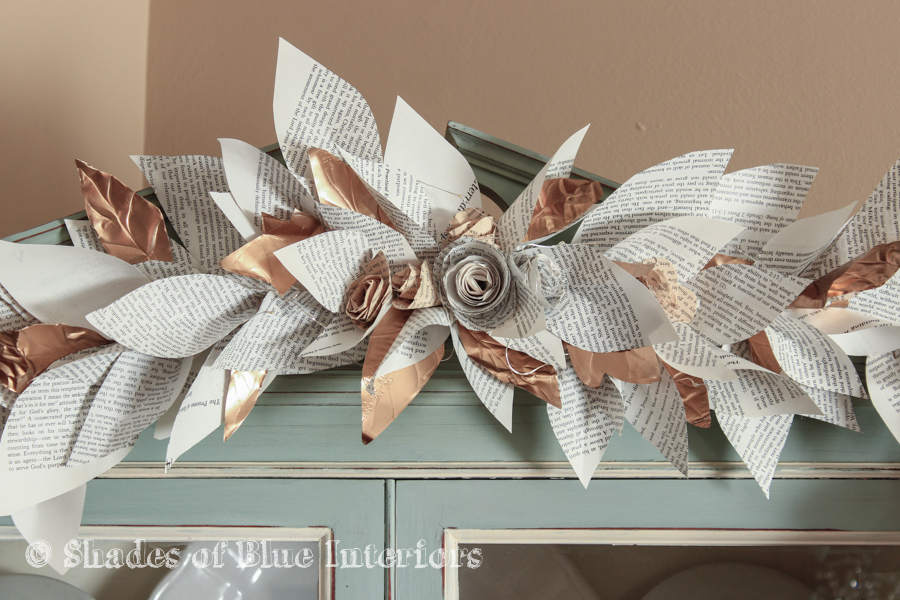
Keep going for about 3 feet, then start arranging the leaves going the other direction. This will give you some open spaces where you can see where the leaves attach to the string. To remedy this, I glued down a few paper rosettes made from the same book pages and from some antique book pages (to vary colors).
Continue for another 3 feet, after you have the center piece with rosettes, so you have at least 6 feet of garland.
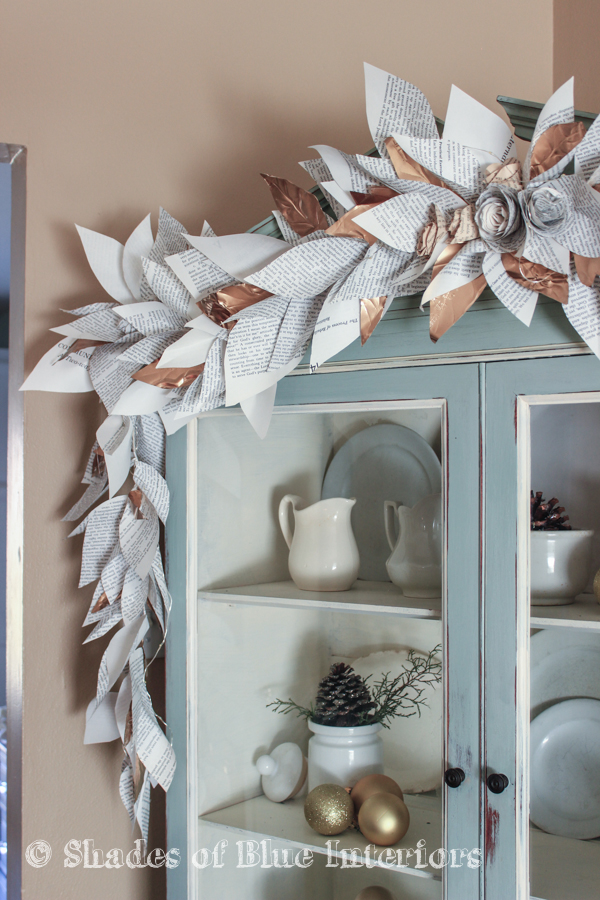
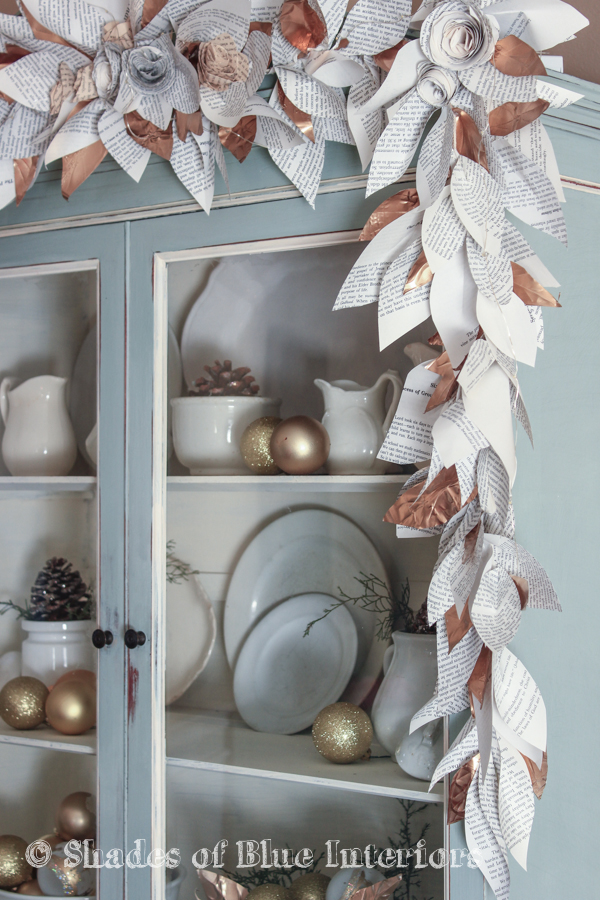
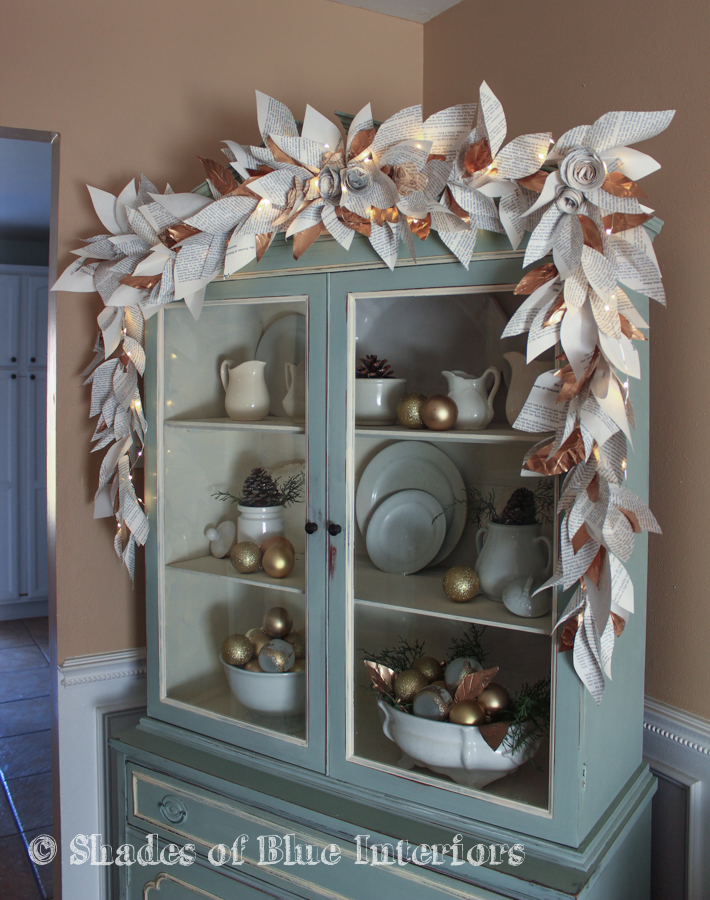
I chose to hang this along my china cabinet, (tapping a couple nails into the edges to hold the garland), but it would look lovely over a window-sill or door frame, draped over a dresser, as a table centerpiece, wrapped around the Christmas tree… the possibilities are many!
I decided to make it a little more Christmas-y and I added some rice lights (small wire LED lights):
I realized after I finished that my gold spray paint looks a little more copper, but it is lovely all the same!
I didn’t take a pic with the lights off, but I think it is even more beautiful at night, with the lights reflecting off of the foil, and glowing behind the paper!
This whole project took me about 2-3 hours, which I did sitting at my table, chatting with my mom in the evening (she was visiting last week). It was an easy brain-less project… meaning once I got into a rhythm, I didn’t have to think about what I was doing. I could just crease and pinch and glue and fold and wrap and glue and…. you get the idea!
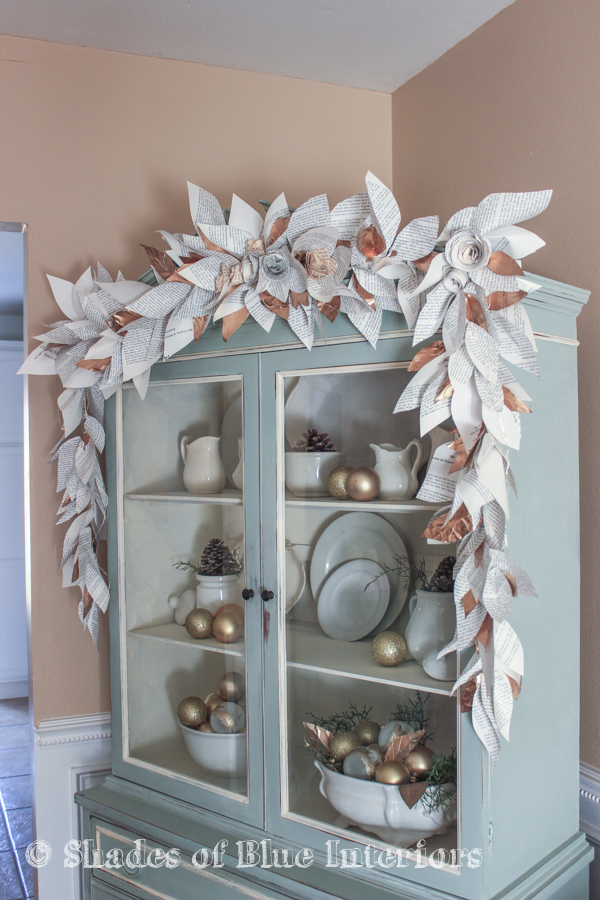
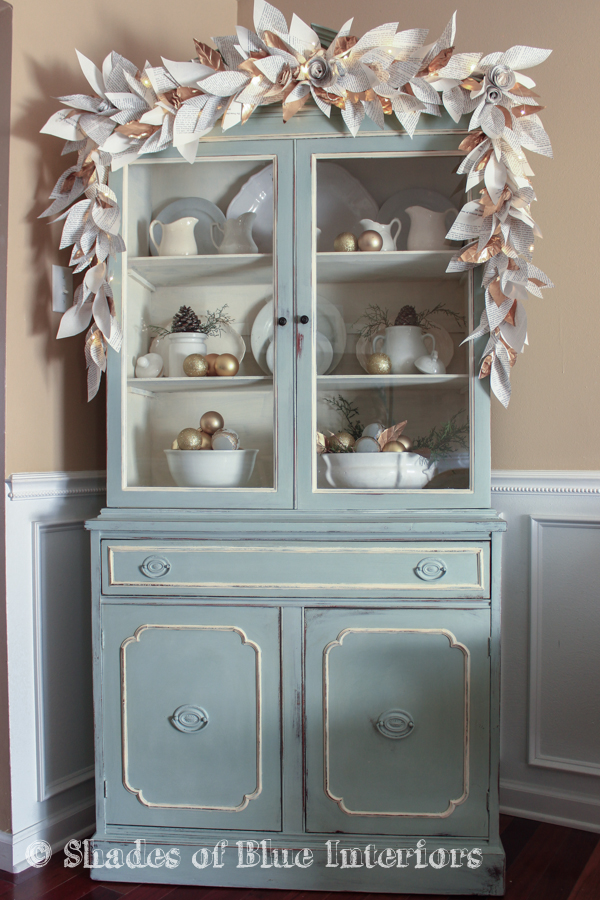
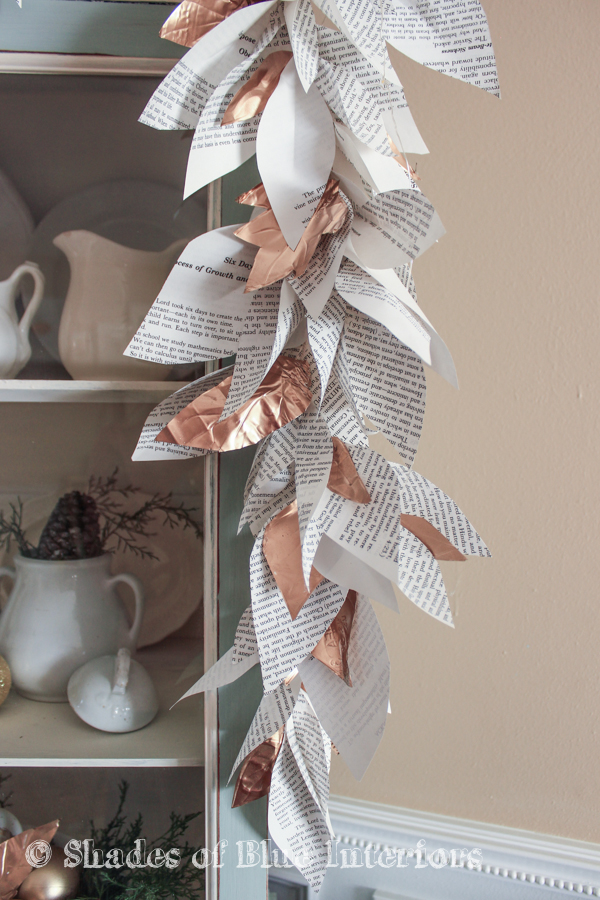
It looks sooooo good…The Nester and I make cute babies…;)
If Book paper is not available, what paper do you recommend and how much is needed.