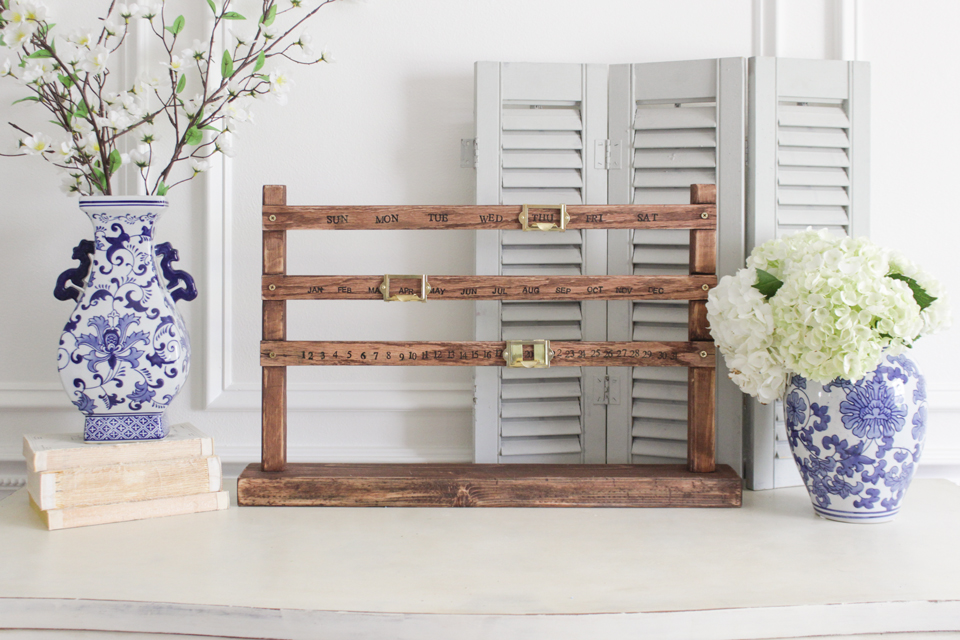
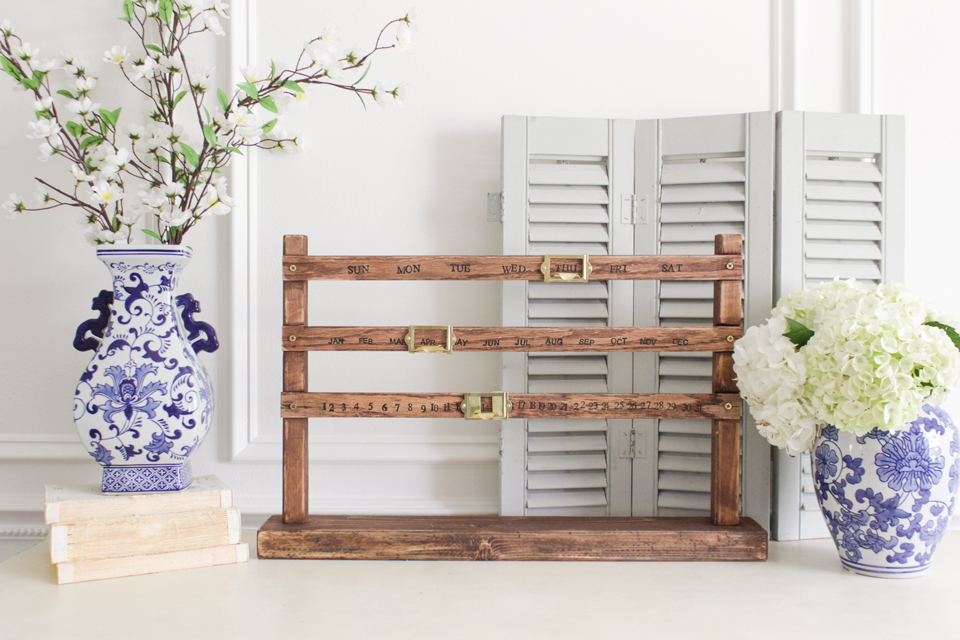
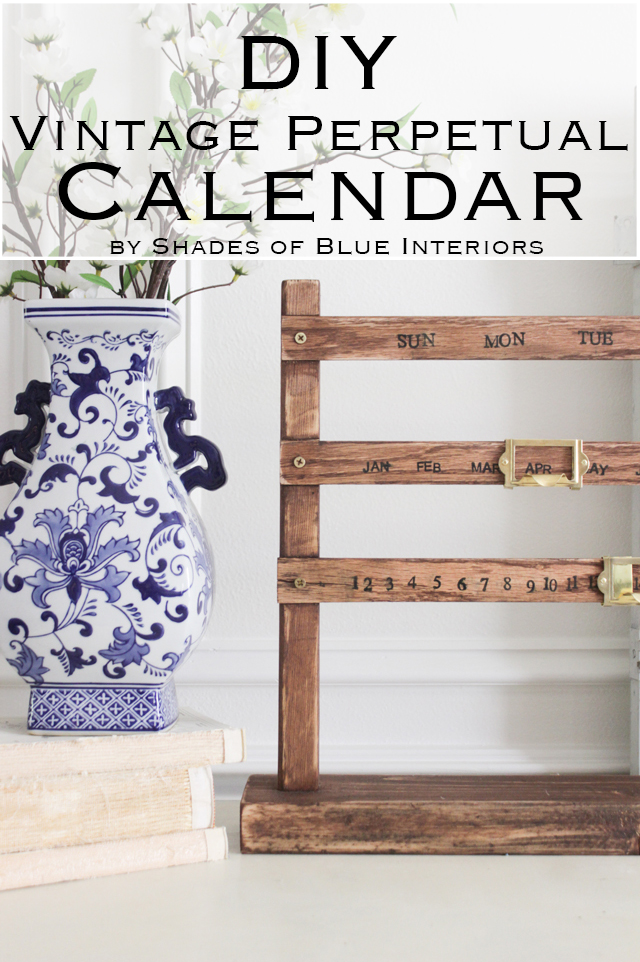
Today I’m sharing a small build/craft I came up with after seeing something I’ve been wanting online for awhile: a vintage perpetual calendar! I’m probably most proud of the fact I was able to create the sliding bracket in a very inexpensive and functional way– it was the part I was wracking my brain for several days trying to figure out! This project/craft was for eHow and the link is at the bottom of this post.
Here are the supplies you need:
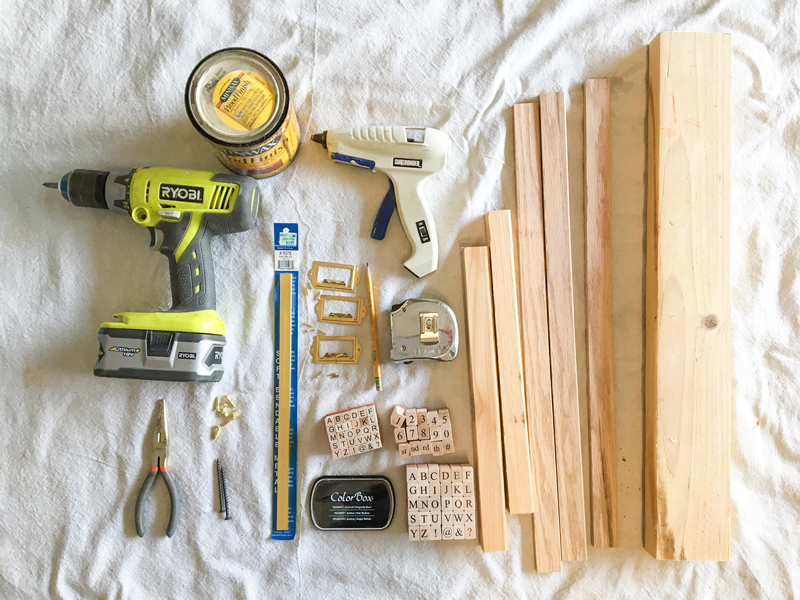
I couldn’t include this in the eHow tutorial, but I wanted to let you know I found the brass card label holders at Rockler for $1.99 and the bendable brass metal strips that I used to make the sliding brackets at Hobby Lobby in the hobby model car/train aisle for less than $5. Since I used mostly scrap wood (except for the oak window stop trim that was the rails), this project cost me a total of $20. The stamps I found at the dollar store, but you can get them at most craft stores with a coupon.
I mean, this one is pretty legit compared to the expensive ones I’ve seen online ($50-75).

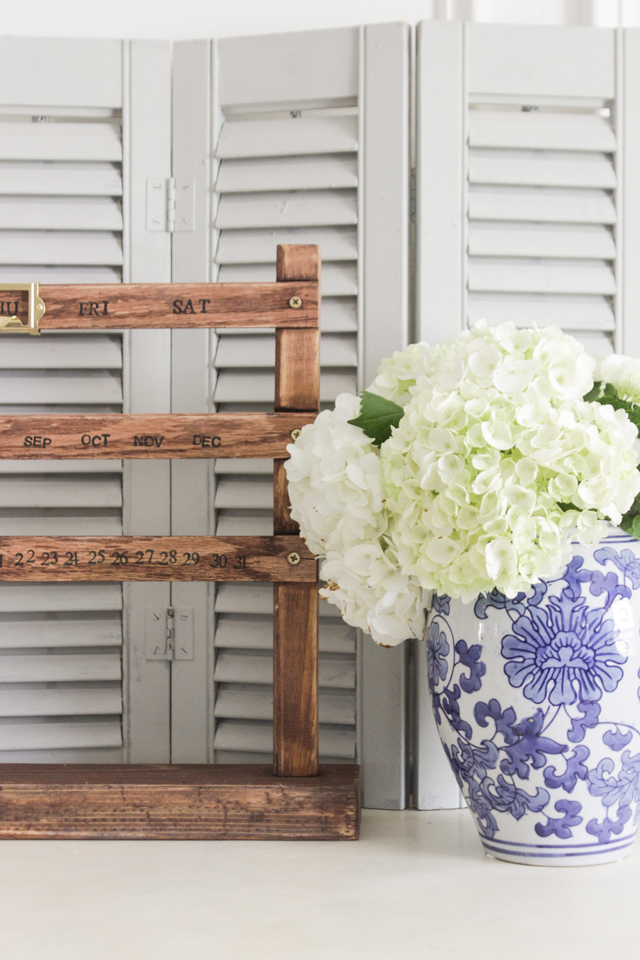
I think the best part about this calendar (besides the fact that you can use it year after year), are the customization options! You could go with a weathered gray finish, a white washed finish, or a black finish and white ink, or whatever your imagination can come up with!
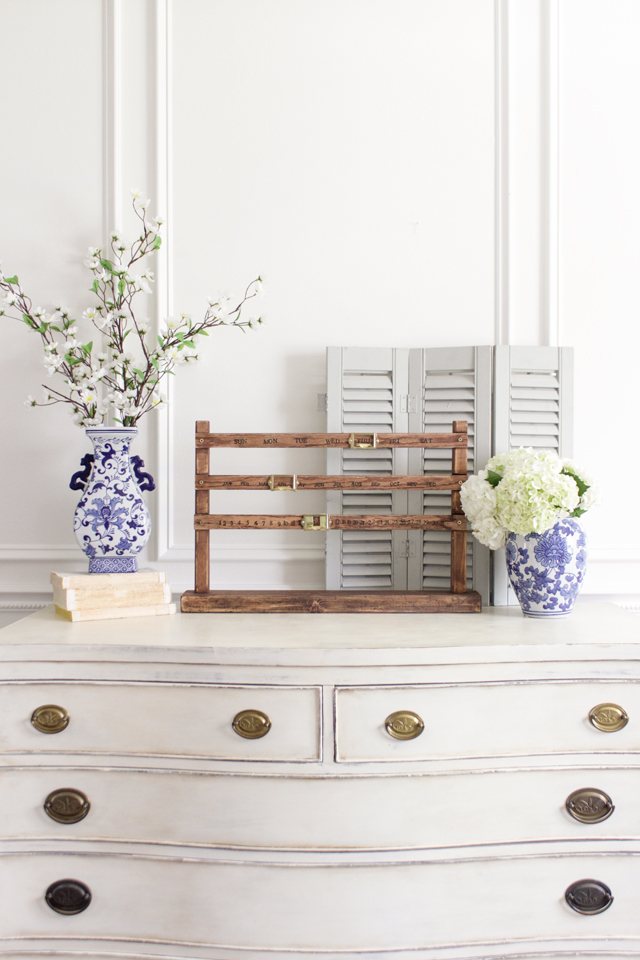
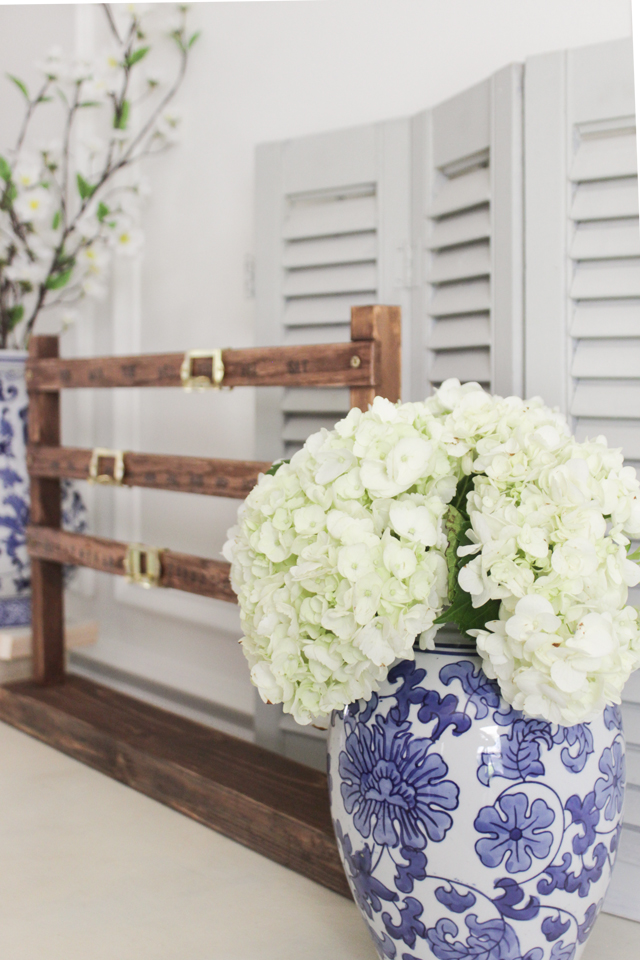
I love the look of hydrangeas in a blue and white chinoiserie vase– so elegant!
To see the full tutorial on eHow, go HERE.
Hello dear! I found you on Instagram. I loved this idea! It’s beautiful!
I will try to make one too!
Your blog is wonderful!
Kisses, Inês
What are the height ,lengths, and widths of all the pieces of wood
That info is in the tutorial on eHow’s website which is linked in my post.