I’ve been so busy working on a lot of half-finished or mostly finished projects the past couple weeks, but thankfully this past weekend I was able to complete one of them! I was invited by Annie to participate in this fun Easter craft blog hop and so today I’m sharing with you my crafty creation: an Easter Wreath!
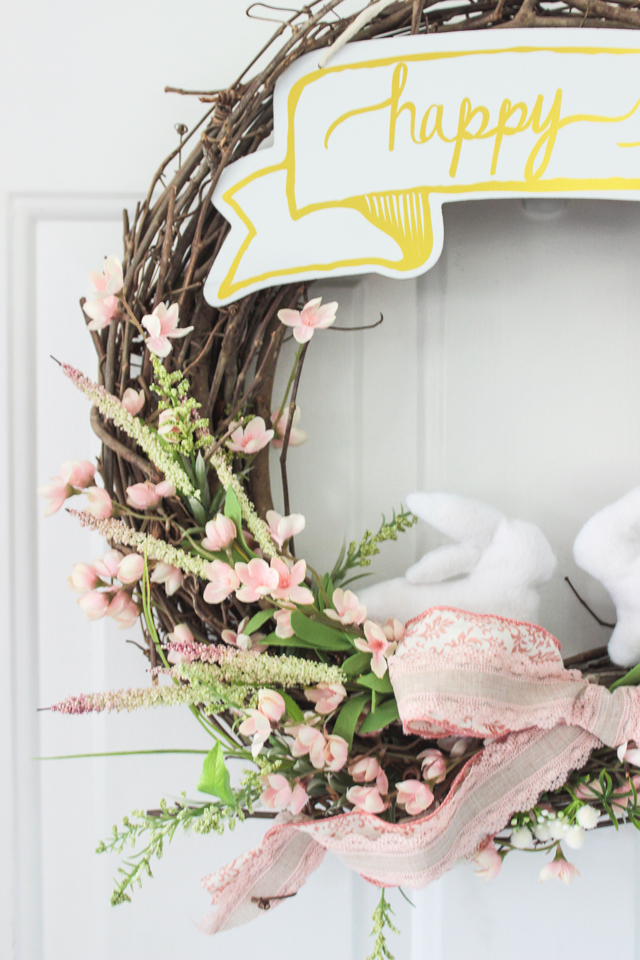
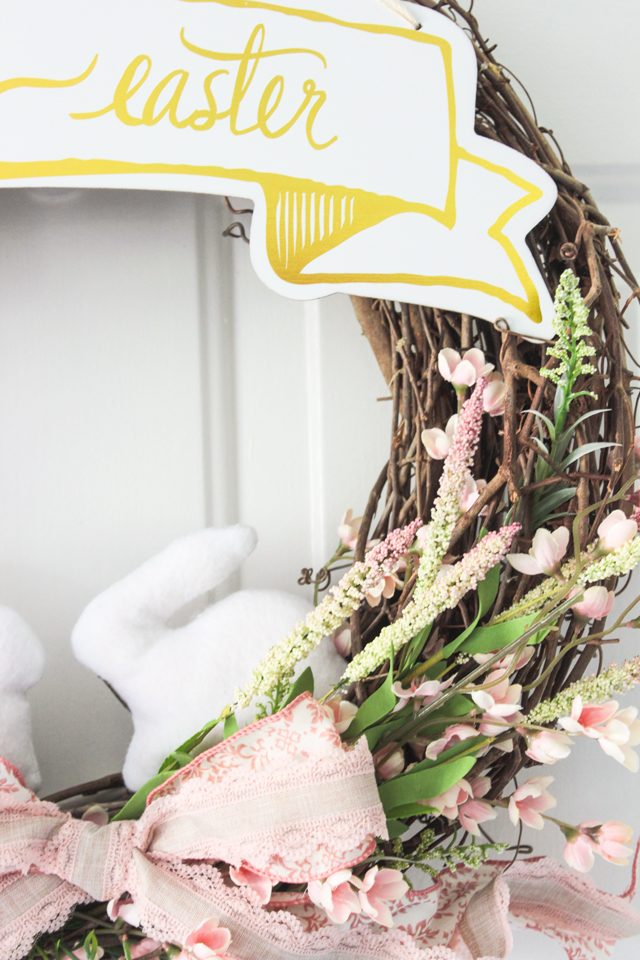
This wreath utilized mostly materials I had on-hand. I reused the grapevine wreath, faux flowers and greenery I had from past decor, sewed up some cute little bunnies from felt, and then just added a pretty bow and a little Easter sign from Target.
I don’t often decorate for specific holidays (besides Christmas) but I’m not sure why. My kid’s love having something to remind them of an upcoming holiday, and I’ll admit… I like it too!

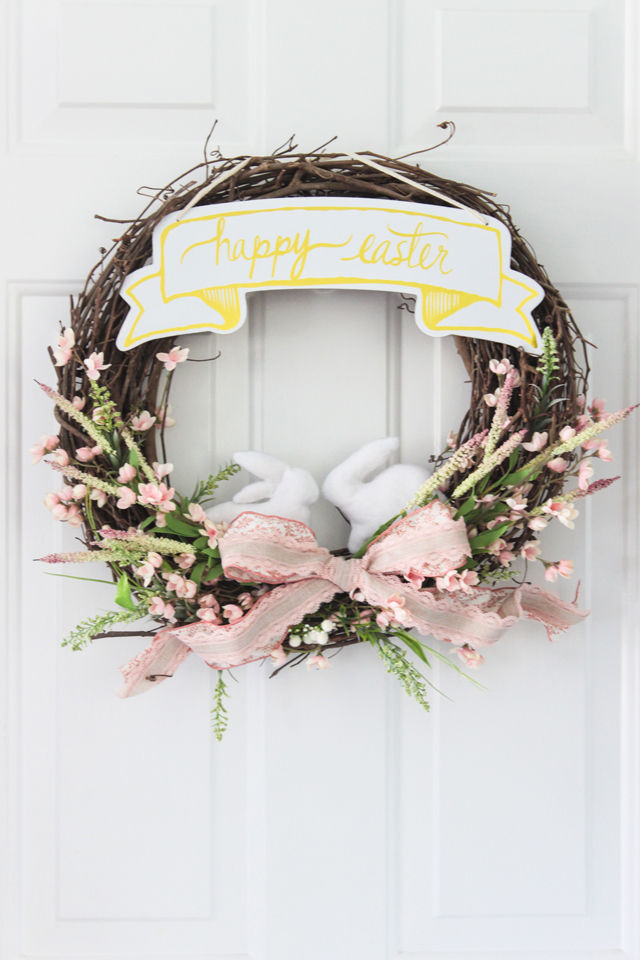
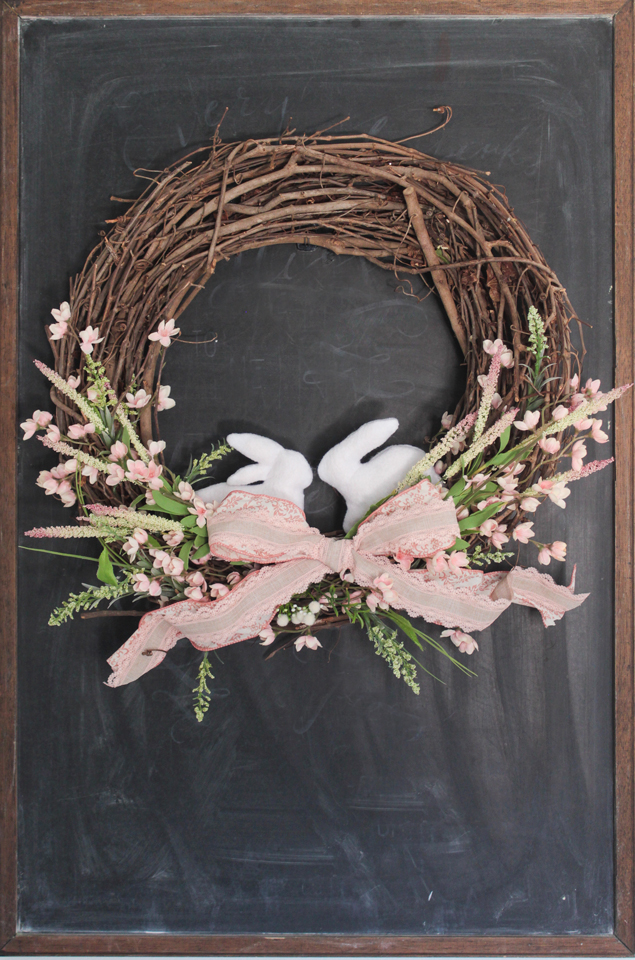
I hung it on our door to the garage but noticed those cute bunnies weren’t as noticeable, so….
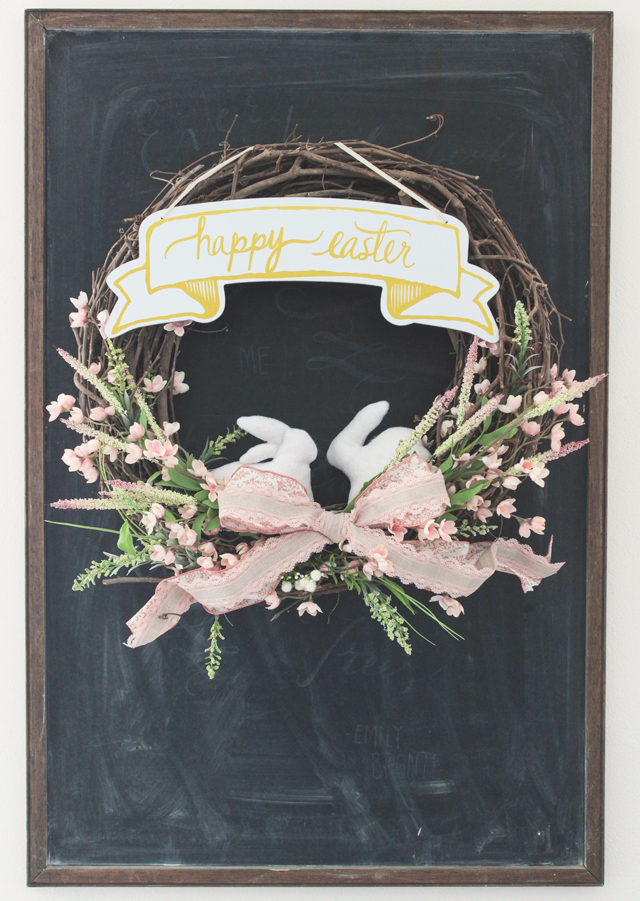
I tried it out on a chalkboard I have hanging on the adjacent wall and loved how it looked against the dark backdrop as well! This is great if you don’t want to hang it on a door– this framed chalkboard can be moved to the top of a console or piano or mantel… it makes the wreath so much more versatile (with the help of a command hook).
Ready to learn how easy it was to make? Here are the instructions.
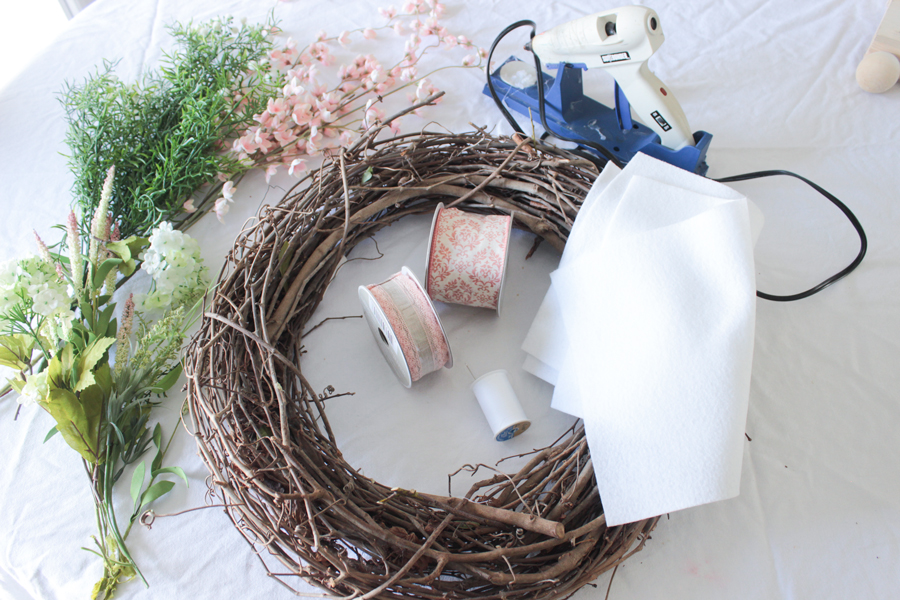
Here are the supplies you need:
1 large grapevine wreath
2-3 stems of faux pink cherry blossoms (or something similar)
2-3 stems of small white/pink faux speedwell
2-3 small stems mixed greenery
1 roll 2 1/2″ wide wire ribbon (pink damask found at Michael’s)
1 roll 1 1/2″ wide ribbon (pink lace and burlap found at Michael’s)
Floral wire (12″ long piece)
Hot glue and hot glue gun
2- 8 1/2″ x 11″ of white felt
White thread and needle
Batting or stuffing
Bunny outline pattern
Step 1- Arrange Faux Flowers
Start with the pink blossoms, and clip off smaller stems from the larger stems. Arrange them along either side of the grapevine wreath, on one half, tucking the base of the small stems in between the grapevines. Use hot glue to secure in place if necessary. Add in the faux speedwell on either side, angling out. Lastly, fill any spaces with the mixed greenery until the bottom half of the wreath is somewhat full. The bottom middle part doesn’t need to be filled as much as it will be covered by the bow.
Step 2 – Make Bow
Layer the ribbons so that the thicker, patterned ribbon is on the bottom. Make a simple bow, but make sure the lacey edged ribbon is always facing up. Position the bow on the bottom of the wreath in the middle and secure it with the floral wire. Trim the ribbon tails so that there is about 12″ for each tail. You want to be able to create some bends/curves in the ribbon as it extends outward.


Step 3: Make Bunnies
Cut out the bunny patterns (just google bunny outline to find lots of options) and trace or draw on your own bunny outlines onto the white felt. Bunnies should be about 4 inches tall. Cut out around the pattern from both pieces of felt, leaving 1/4″ space around the entire outline. Sew the two pieces together along the inner outline until you get to the bottom of the bunny. Leave it open until the bunny is stuffed. Snip the edges of all the curved areas of the bunny outline, making sure not to snip past where the stitches are. Turn the felt inside out and use a pencil to assist you getting the ears all the way inside out. Add batting or stuffing and stitch the bottom closed.

Glue the bunnies in place tucked behind the ribbon, facing each other.

Step 4: Add Sign (optional)
Attach “Happy Easter” Sign (from Target) by gluing into place or securing ribbon onto grapevines by wrapping it around one of the stems. Hang and enjoy!
You can also leave it without a sign and it is just as cute and would probably last you all Spring!
Be sure to check out all these other cute Easter crafts by my friends below!

Kid’s Easter Table by Summer Adams
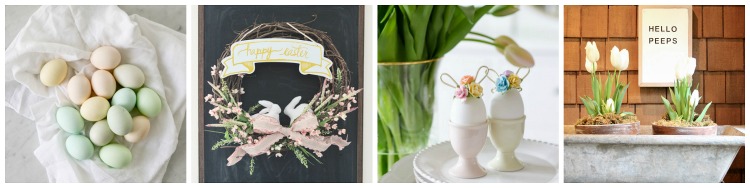
How To Dye Eggs With Food Coloring by TIDBITS | Easter Wreath by Shades of Blue Interiors | Easter Egg Decorating Idea – Mini Floral Bunny Ears by A Burst of Beautiful | DIY Easter Sign – Hello Peeps by My Sweet Savannah
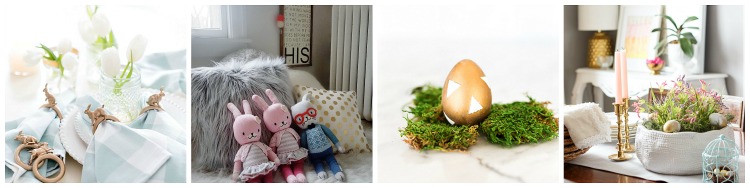
DIY Bunny Napkin Rings by Craftberry Bush | A Kindred Easter with Kindred Vintage & Co. | DIY Metallic Easter Eggs with Maison de Pax | Spring Garden DIY Easter Centerpiece by Elliven Studio
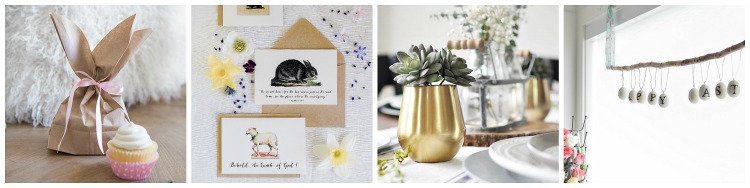
Bunny Ears Bags and Free Printable by Ella Claire | Free Printable Easter Cards by Boxwood Avenue | Simple Modern Easter Tablescape by Cherished Bliss | DIY Vintage ‘Happy Easter’ Eggs by So Much Better With Age
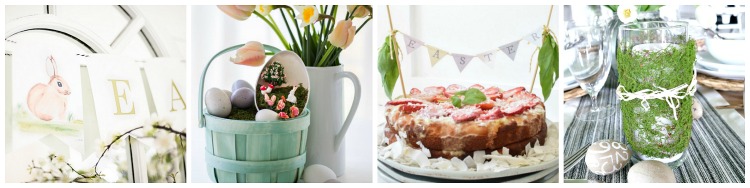
Printable Watercolor Easter Banner by Nina Hendrick Design Co. | DIY Bunny Garden Easter Basket by Zevy Joy | Easter Cake – Paleo Coconut Pineapple Cake with Topper by Nesting With Grace | Moss Wrapped Candle by Design, Dining and Diapers
Wow, what a difference the chalkboard makes. The wreath really pops against it. Cute stuff.
The wreat is adorable….so simple n sweet! Thanks for the instructions!!!
Love the wreath. Perfect Easter decor.
Love the wreath and the cute bunnies!
Happy Easter???
Rachel this wreath is so pretty and perfect for Easter/Spring! I love the details and how you put those sweet little bunnies together… I love watching your creativity whether it be crafting or building/staining furniture – you are so talented friend! Thanks for joining, xo!
The bunnies are the cutest, Rachel! I love this wreath with the ribbon and the perfect amount of flowers. Gorgeous.
Hugs, Jamie
Rachel, I love that! Totally doing this! Fun doing this with you! xoxoxo