A few months ago I came across some solid wood frames my mom had given me years ago for my artwork, and when I saw the largest one I knew I wanted to make a gold leaf framed chalkboard. I went to Hobby Lobby and bought this kit:
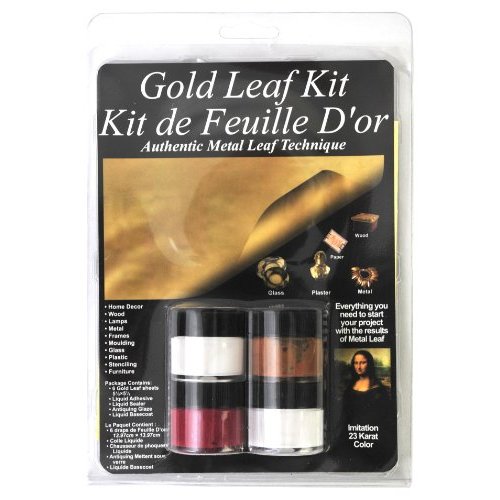
I would not recommend it and here is why. I did exactly as they said, and painted first the red color, then the adhesive (after the red dried of course), then after that dried the gold leaf. There wasn’t near enough gold leaves. I maybe covered 1/4 of my frame. So I went out and bought the same Mona Lisa brand, but just a packet of 25 gold leaves, and finished. Problem was, I’m not a pro at applying gold leaf and the leaves would break around the curves of the frame and the red would show through. I wished I had painted it gold underneath instead of red!
So I bought some liquid leaf paint to touch up the areas that were showing through red. I sealed it (there was barely enough) then bought some chalkboard spray paint and painted a piece of oak plywood that was cut to size. I needed 2-3 coats of the chalkboard paint and I was happy with the result. In this picture you can see how it turned out…

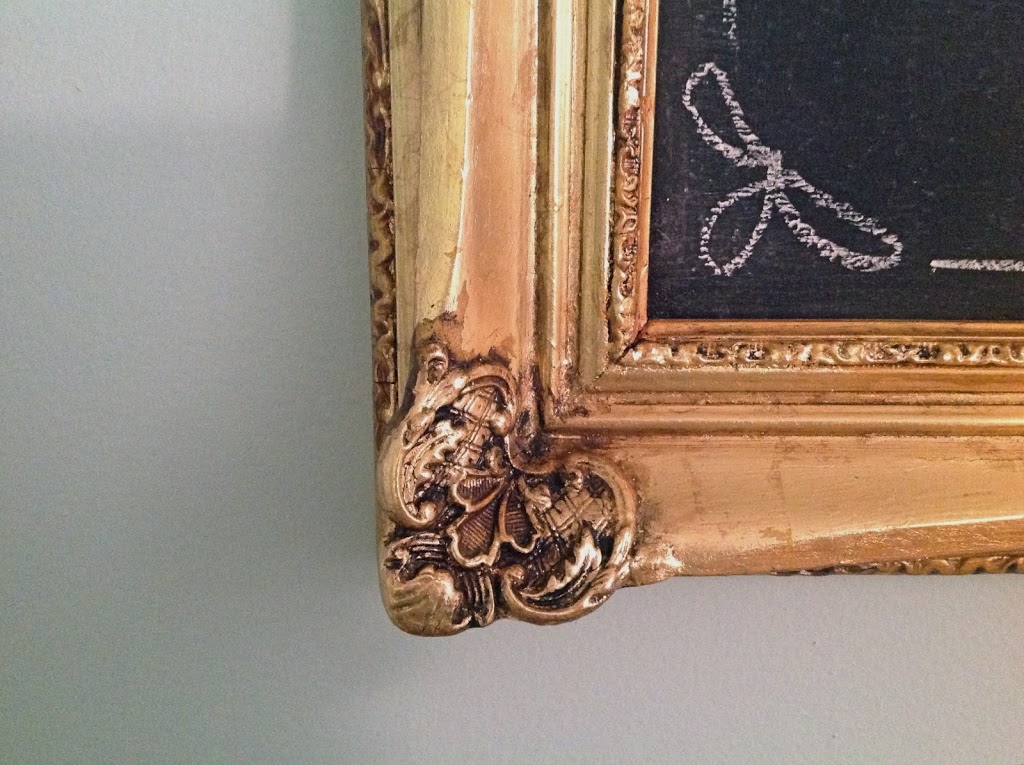
With my second go at it, I used an awesome frame I found at a thrift store. I was cheap because it had a few small pieces of plaster missing, had a couple cracks and it was painted horribly! Think beige with green stippling! Blegh! But the shape and details were awesome. This time I tried painting it with liquid leaf first. It looked great and I thought I might just short cut the whole gold leafing process and add some dark glaze in the details to add dimension. Problem was, when I hung it on the wall it didn’t look like a gold leaf frame. The way the light hit it made the gold look dull, not shiny and it just looked like I painted it gold. So I went back to Hobby Lobby and bought some adhesive and sealer and then since I already had about 15 sheets of gold leaf from before, I used them!

Here is half-way through the process and the light was shining right on the gold leaf so it’s kinda bright looking, but you can definitely see a difference.

Last step, was the dark glaze in all the little edges. And by dark glaze, I actually mean I used a mixture of brown and black craft paint, thinned down with water and I applied it with a stiff brush in all the little cracks and crevices, then quickly wiped it away with a paper towel, so it was only left in the relief areas.
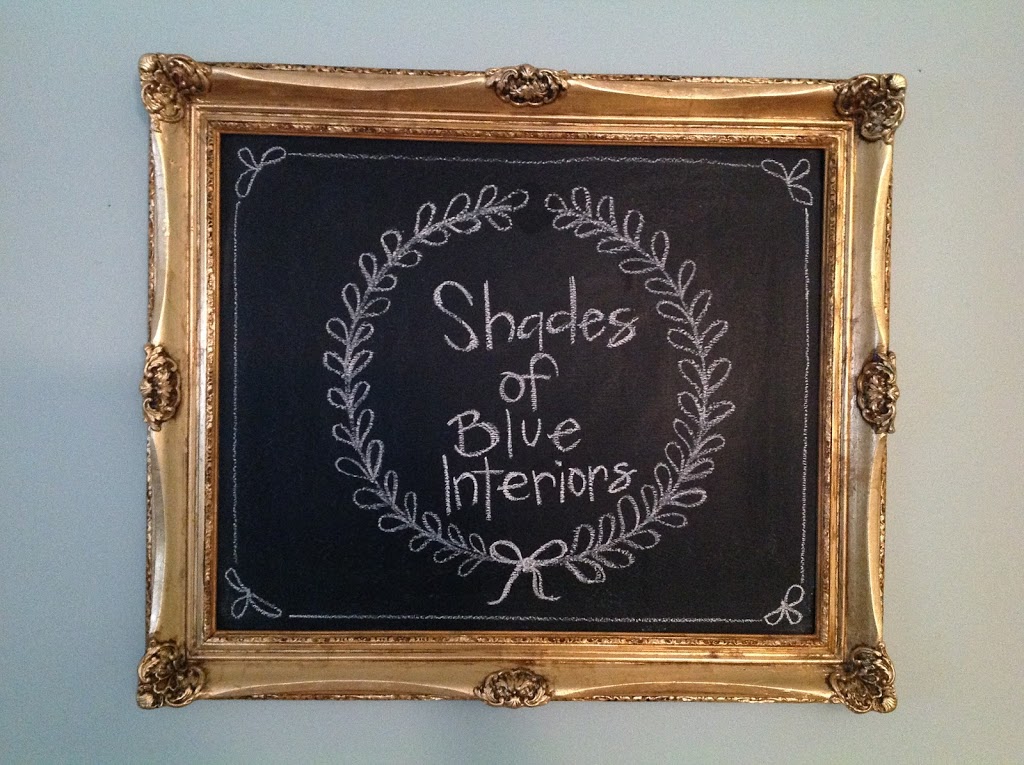
I LOVE how it turned out. I used a can of chalkboard paint on the plywood this time instead of spray paint and I was happier with it. It was easier to do more layers and the end result was a little smoother with less texture from the wood showing through. My favorite part about this is how authentic it looks!
p.s. the instructions say to use a brush or soft cloth to rub in the gold leaf to the surface you are applying it to. I use a cloth a little but I mostly used my finger to rub it in and was really happy with how easy it was!
They both turned out wonderfully! The gold against the black is gorgeous. Thanks for sharing your trials and tribulations.