Ok, sooooo I know a majority of you probably read that title and were like, ‘A dresser-what?”
I’ll explain to you in this post, How to Make a Scalloped Cut-Out on a Dresser Apron.
😉
 Thank goodness for pictures right?
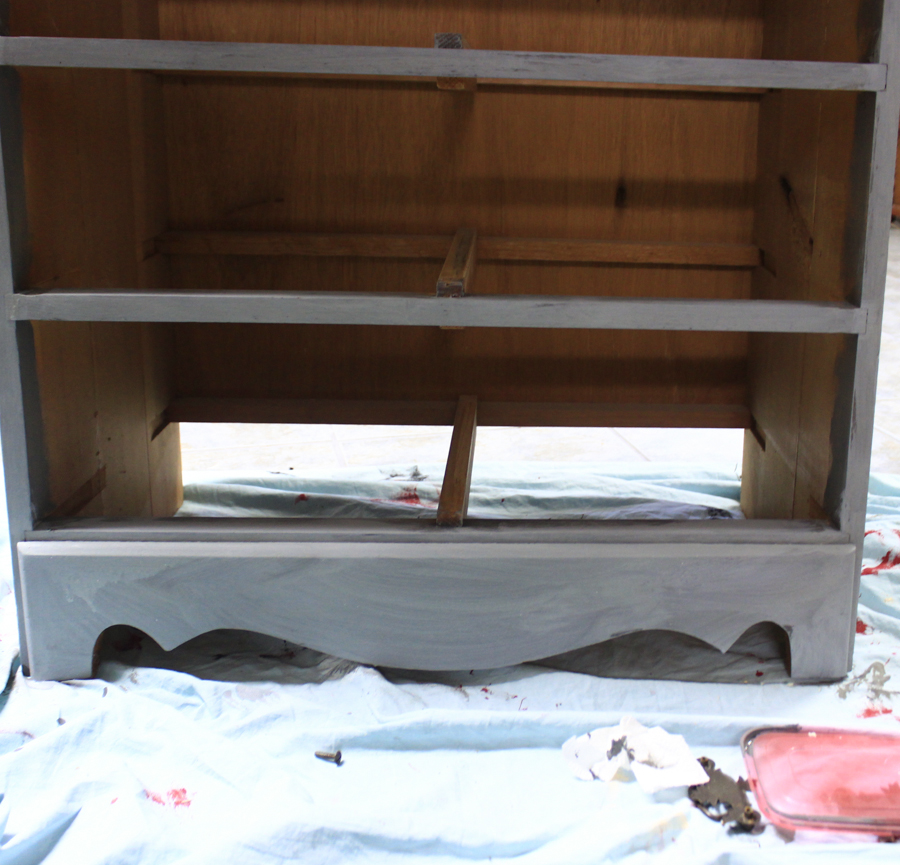
So, I mentioned in my post last week when I revealed these beauties, that I found these both at a thrift store, a week apart. They were similar in size and were both pretty boxy, but one had a scalloped apron and the other didn’t. To make them “match” a little better, I decided to make the boring apron, scalloped to match!

What a difference it makes, no?

It’s pretty simple actually. Here is what you do.

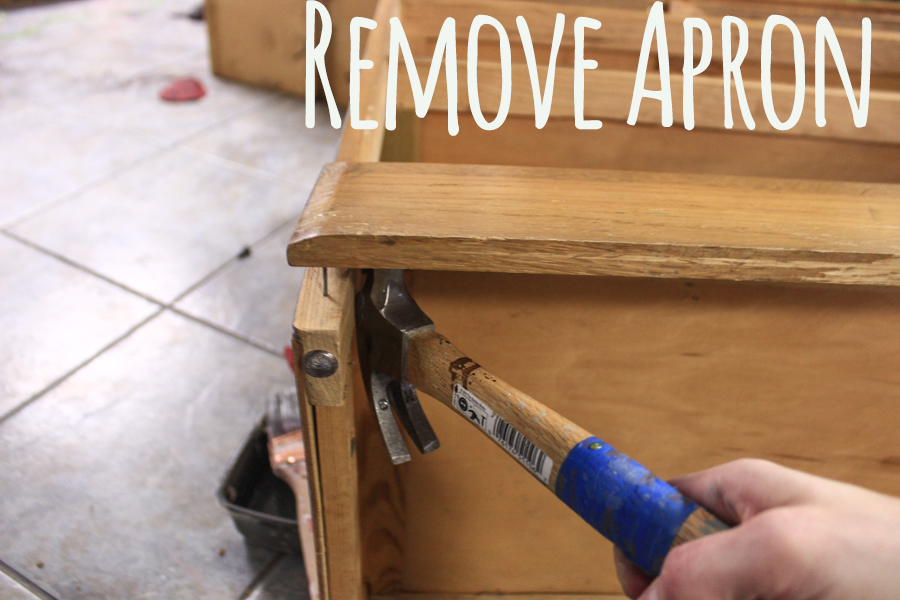
I’m gonna break it down for you a bit… most aprons are removable if you are careful. A lot of nailed and glued, but I’ve seen some that are screwed (which are even easier to remove). When removing the apron with a hammer, be gentle and work slowly. You don’t want to loosen the joints on the entire dresser by getting carried away.
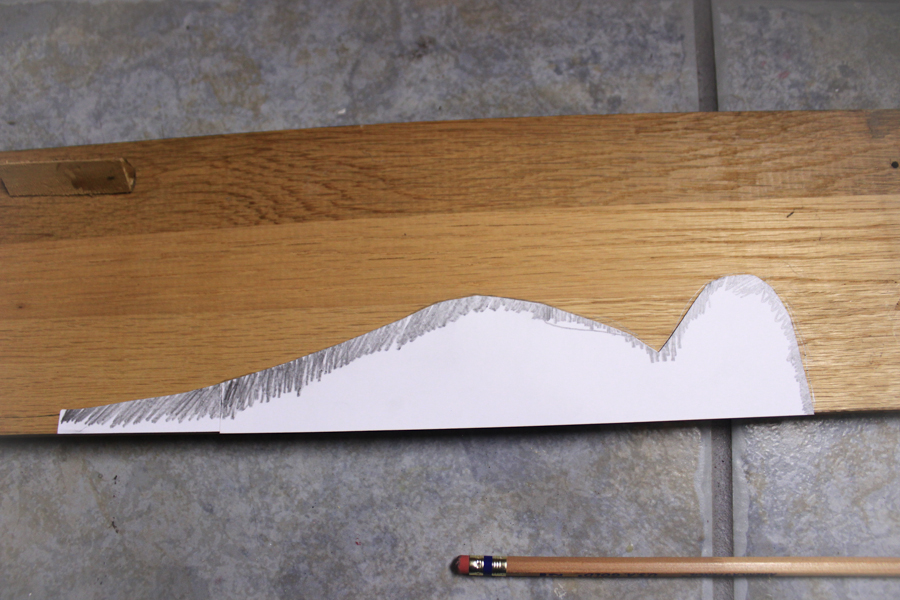
K, now examine the apron you want to copy cat. You will need a long sheet of paper to draw the template.
To make things easier on yourself, just trace half of it. They are the same on both sides! Just draw half. Trust me.
![]()
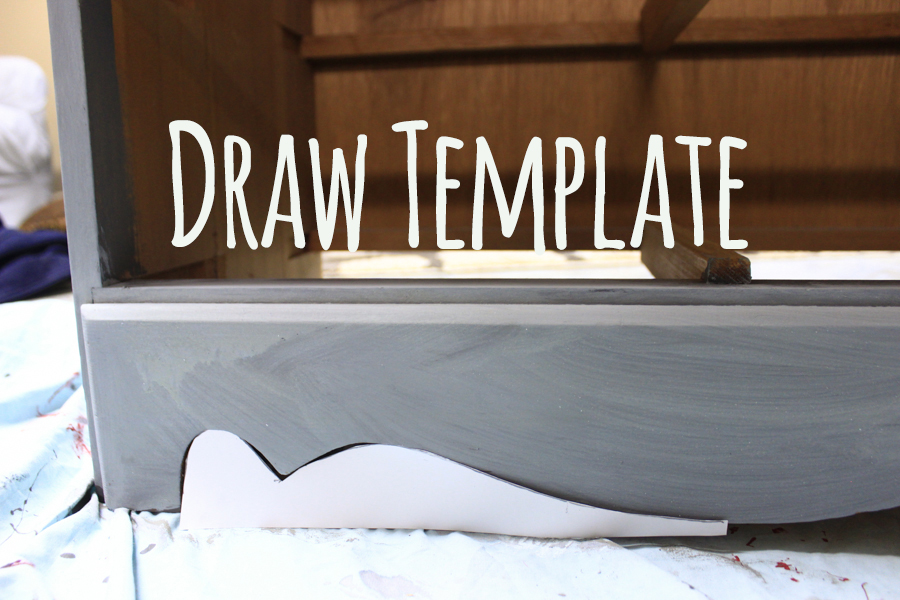
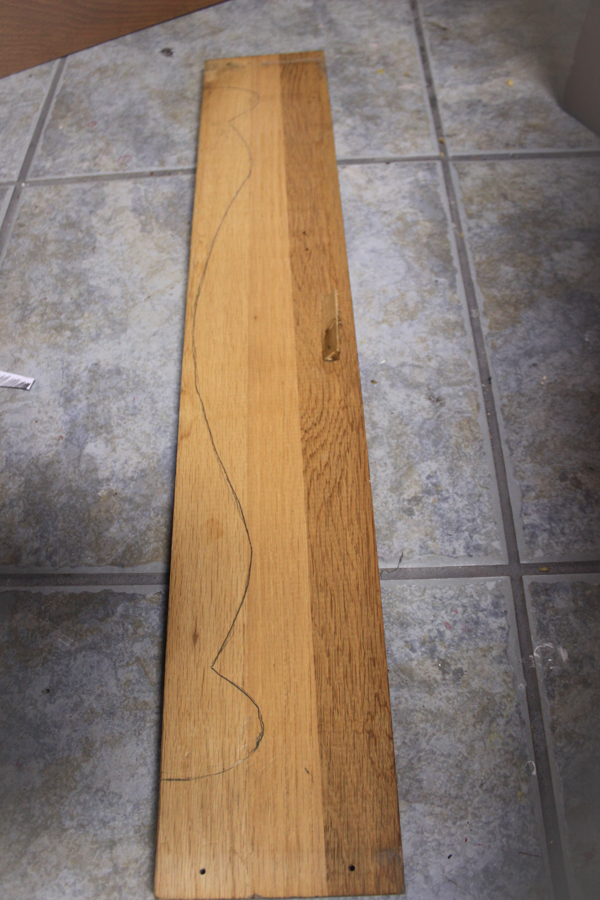
Now, trace that template on one side of the apron you are going to re-create. This dresser apron was a few inches longer than the original, so I just added like half an inch to either end, and a bit in the middle (between where the two halves meet). The main point is to get the design the same.
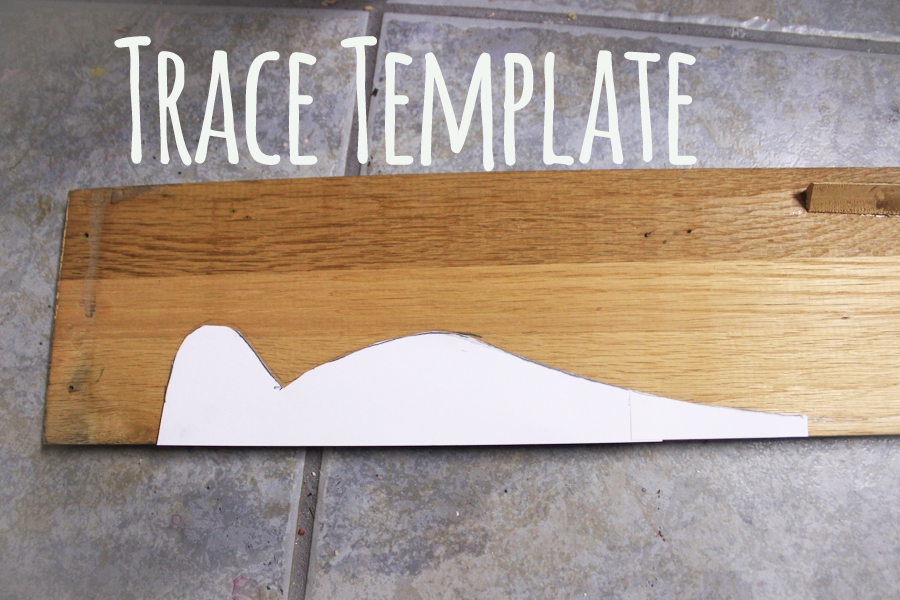
Just flip over the template and do it on the other side (that’s what she said).
Pretty dang good, eh?
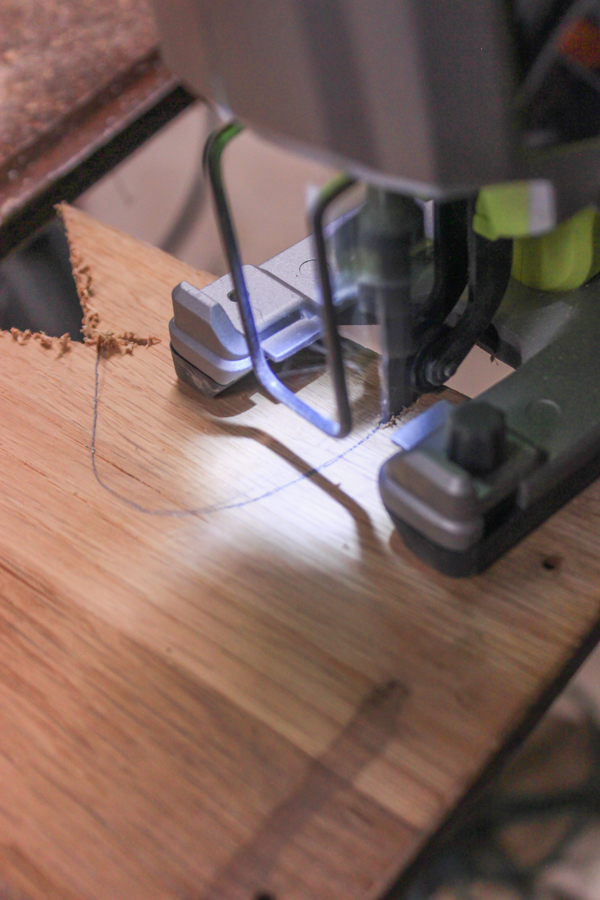
Now is when it gets fun. Whip out your handy dandy jig saw. I am using my Ryobi Jig Saw I got from the contest I won last year. It works beautifully. And it has a variable speed, so it makes cutting through different types of wood easier. Are you sensing the theme here? I’m all about easy. So I clamped the apron to my table and started in the middle, cutting out.
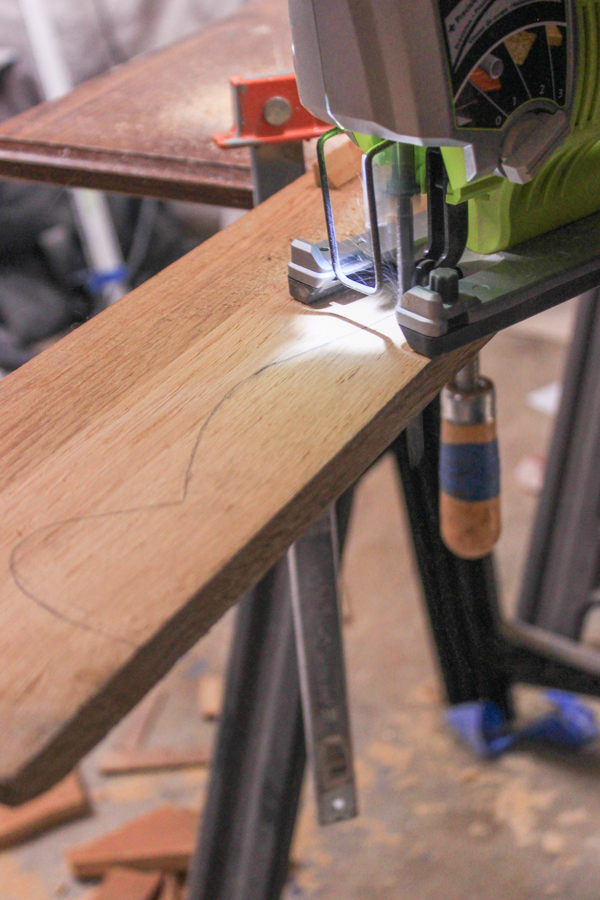
When you get to a very curvy part, especially with a harder wood, like oak, you wanna cut from both sides and meet in the middle so the blade doesn’t seize up while trying to turn a sharp curve. Once one side is done, turn it around and clamp the cut side, then get to cutting the other side!
Once your apron is all cut, sand the edges smooth, reattach it to the dresser-front using wood glue and some nails (wood filler if needed), and paint as usual.
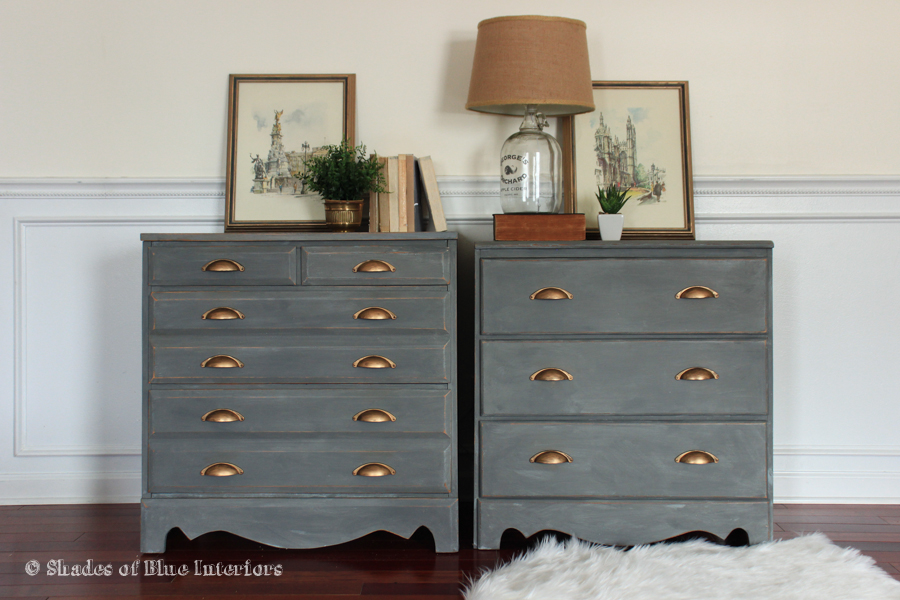
Now, even though they aren’t identical, they look great together!
So smart! That one little change totally updated the whole piece. I mean, the new paint and brass hardware don’t hurt either, though…