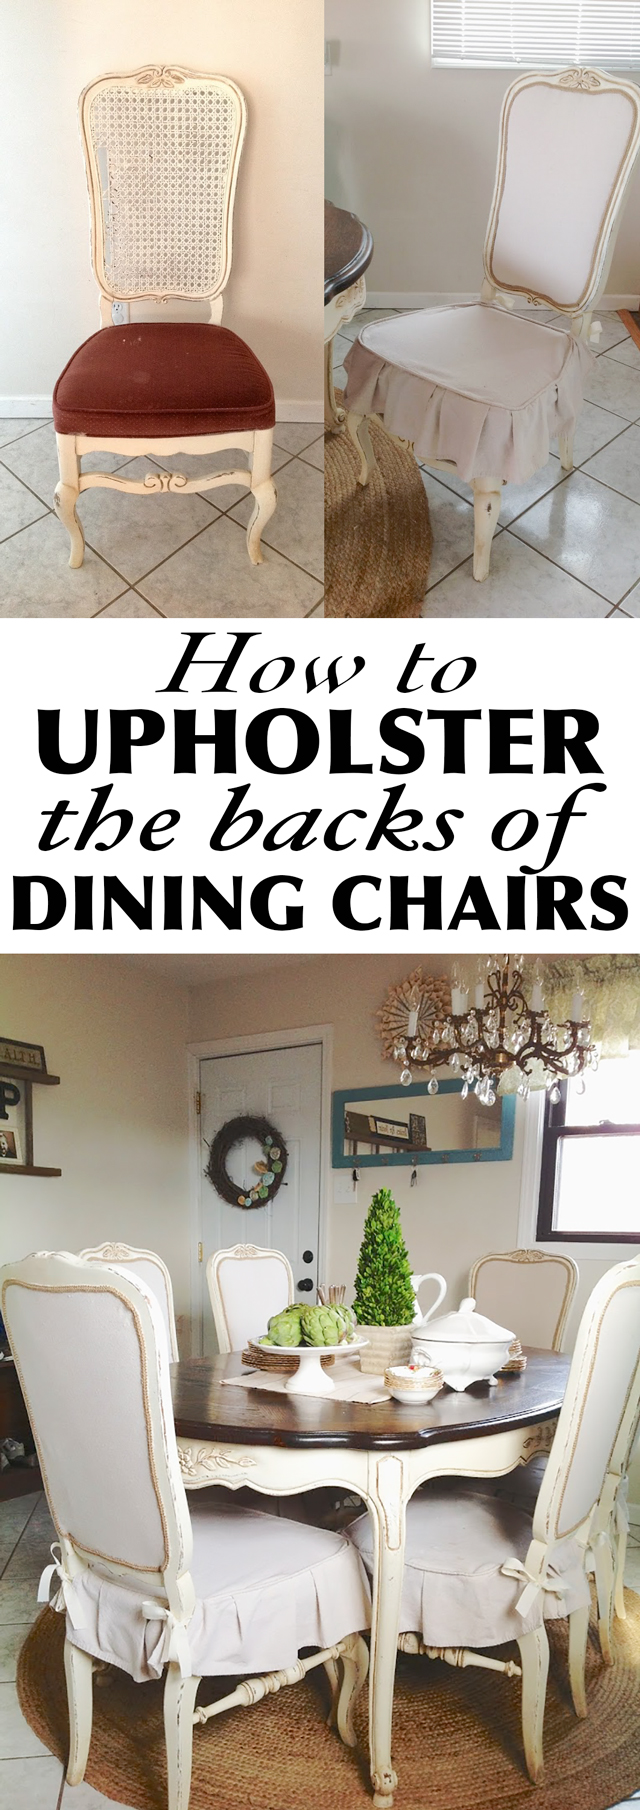
I recently upholstered the backs of 6 of my dining chairs. The cane was busted on about 3 of them, and re-caning was out the question. The cost and time involved would be more than I wanted to do. So, I used drop cloth fabric (same as I used on the slip covers, and some braided gimp trim in an accent color for trim!
It isn’t hard, but it IS a bit time consuming. Especially since I didn’t have an electric stapler with compressor!
Here are the supplies you need:
Drop cloth fabric (I used 9′ x 6′ and it was more than enough for all 6 chairs)
Staple gun with staples
Poly-Fil Extra Loft Batting (1 package was almost enough for all 6 chairs)
Braided upholstery trim (for fronts and backs, I used about 4 feet per chair)
Hot glue
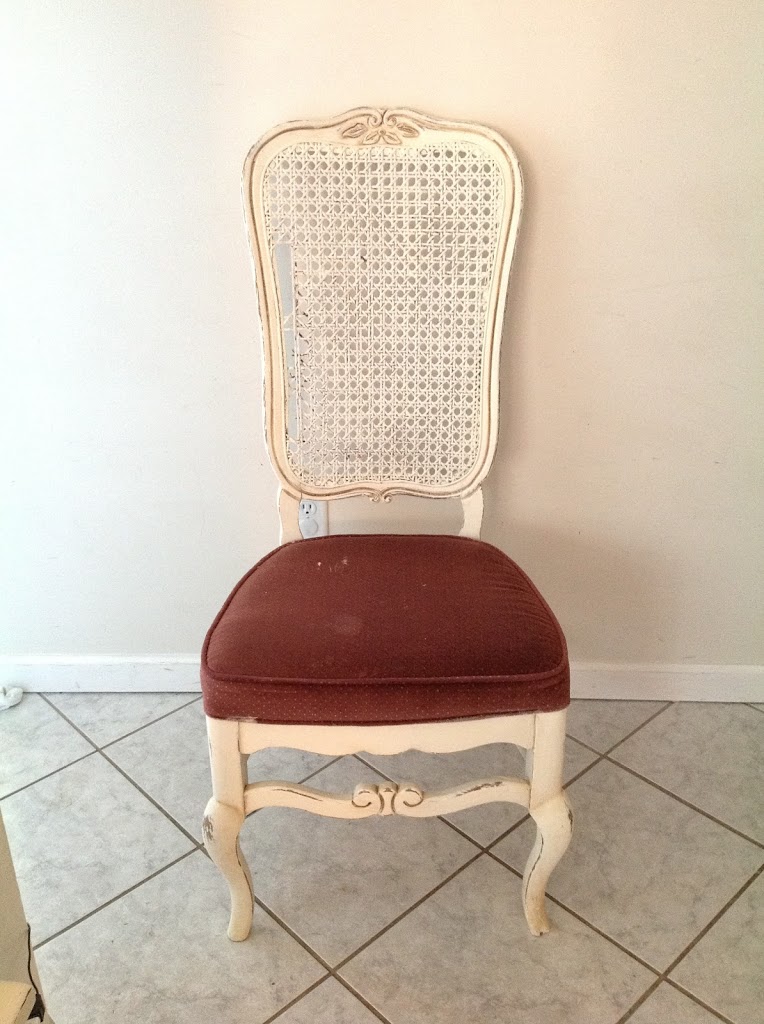
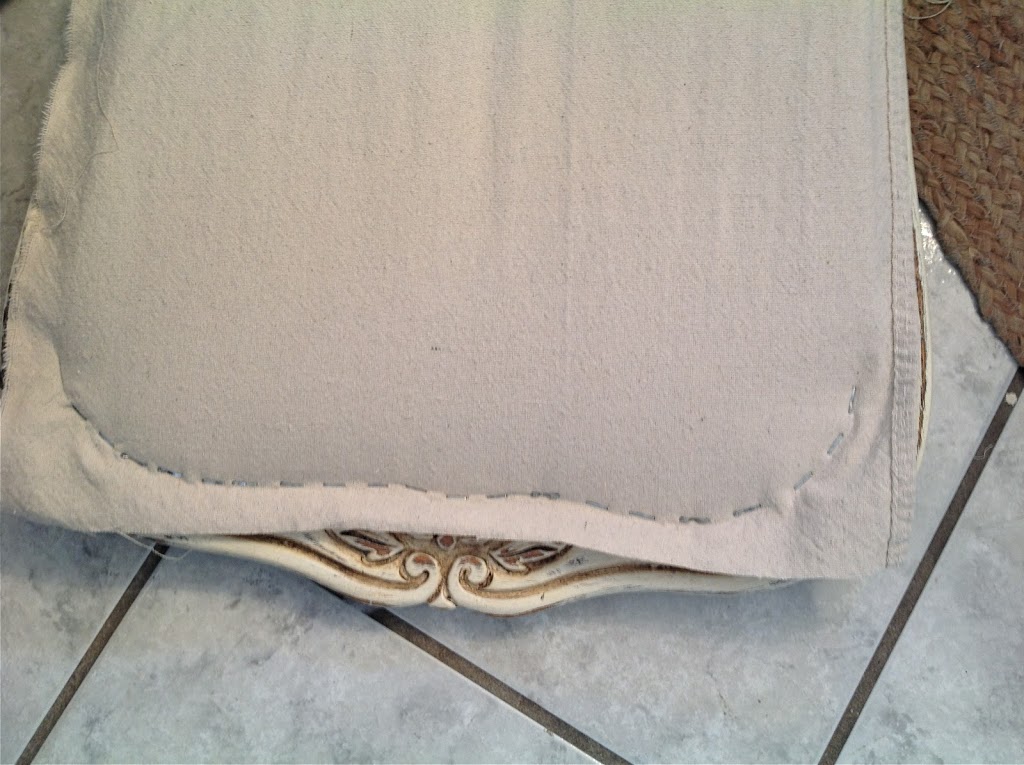
Ok, so this was one of the chairs with hole in the cane:
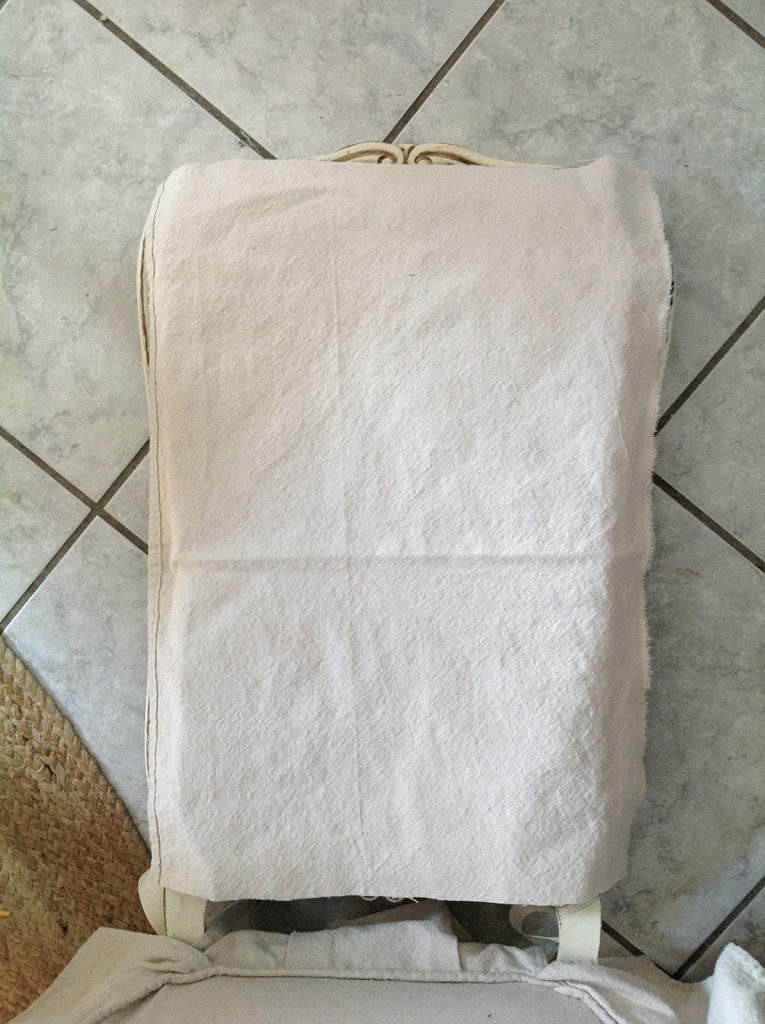
I laid it down on the floor, and cut out the shape of the cane. As you can see 1 layer wouldn’t be enough. I used 2 layers on both front and back.
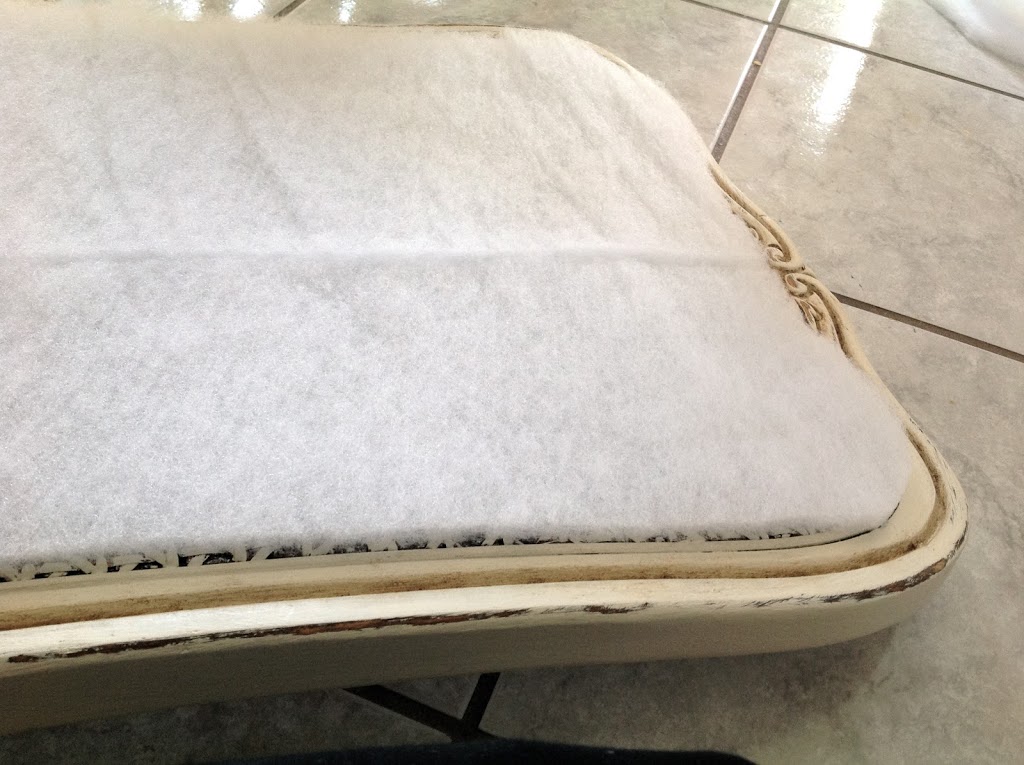
The reason I didn’t remove the cane is because I wanted that extra support. When you lay the batting in place, it shouldn’t go over the edge of the cane too much… a little is alright, but too much and it will create uneven bumps.
Lay the drop cloth down (I cut rectangles to the approximate shape of the chair back, then cut out 12 of them (2 for each chair).
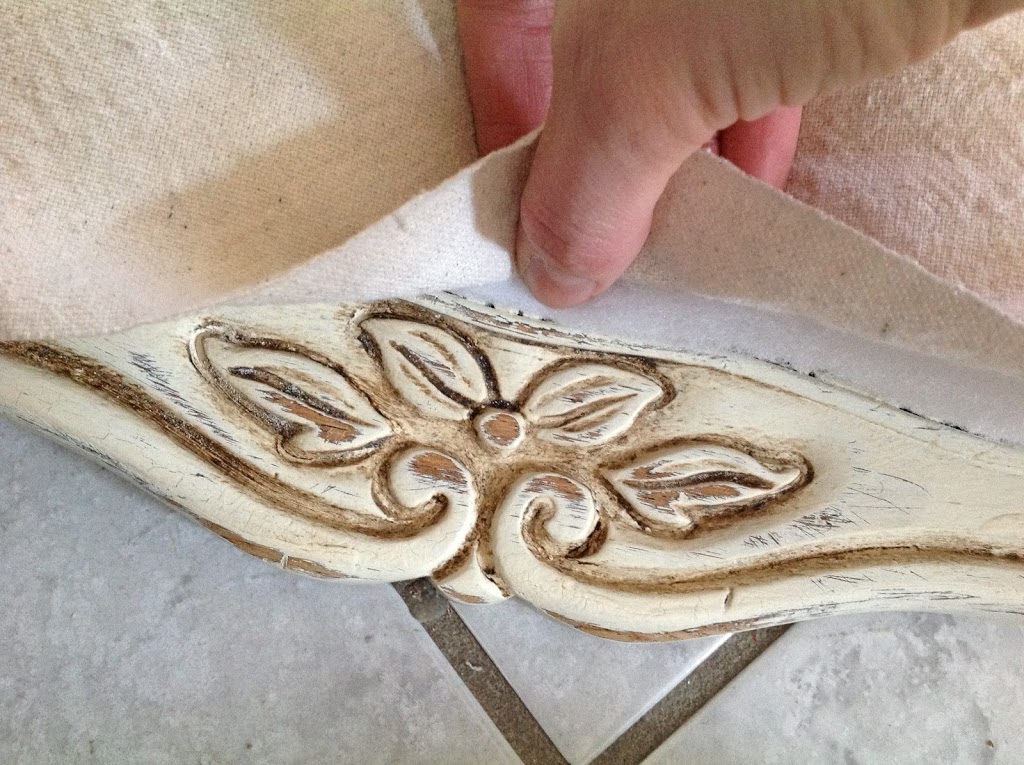
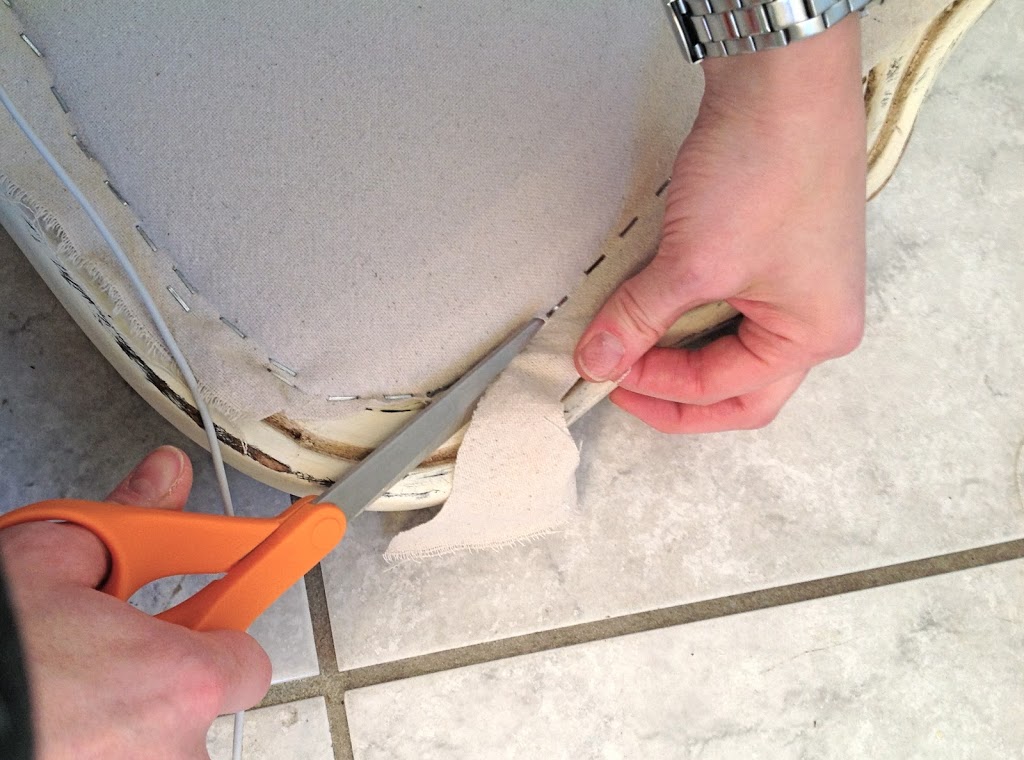
You will want to feel where the batting ends and the edge of the cane, so you know where to staple. Right where the tip of my thumb is, is where the staple will go.
Staple the top first.
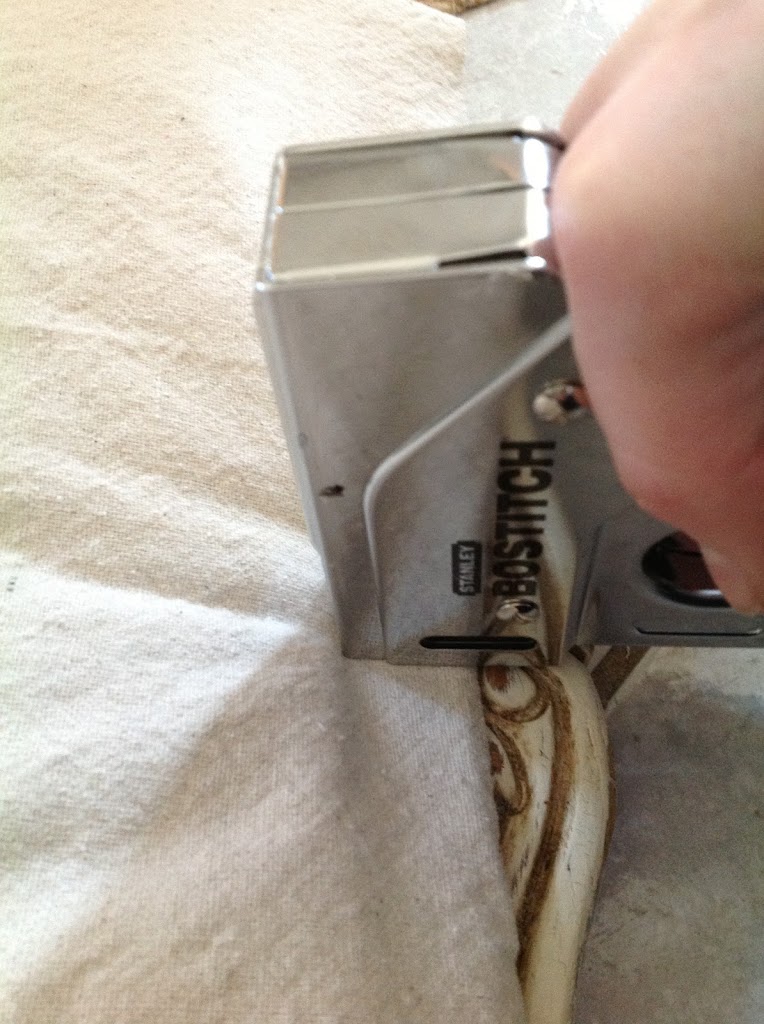
Pull taut and staple the bottom (I did 3 on top for starters, then 3 on bottom).
Then staple all along the top, being careful to keep it straight.
Do the same to the bottom, but make sure to pull the fabric taut with each staple you do.

Then do the sides, starting in the middle, making sure to pull taut all the while and keep it straight.

Once it is all stapled, trim off the excess, getting as close as possible to the staples. If you have any staples that didn’t go in ALL the way but still held the fabric in place, pound them down a little with a hammer to make it more secure.
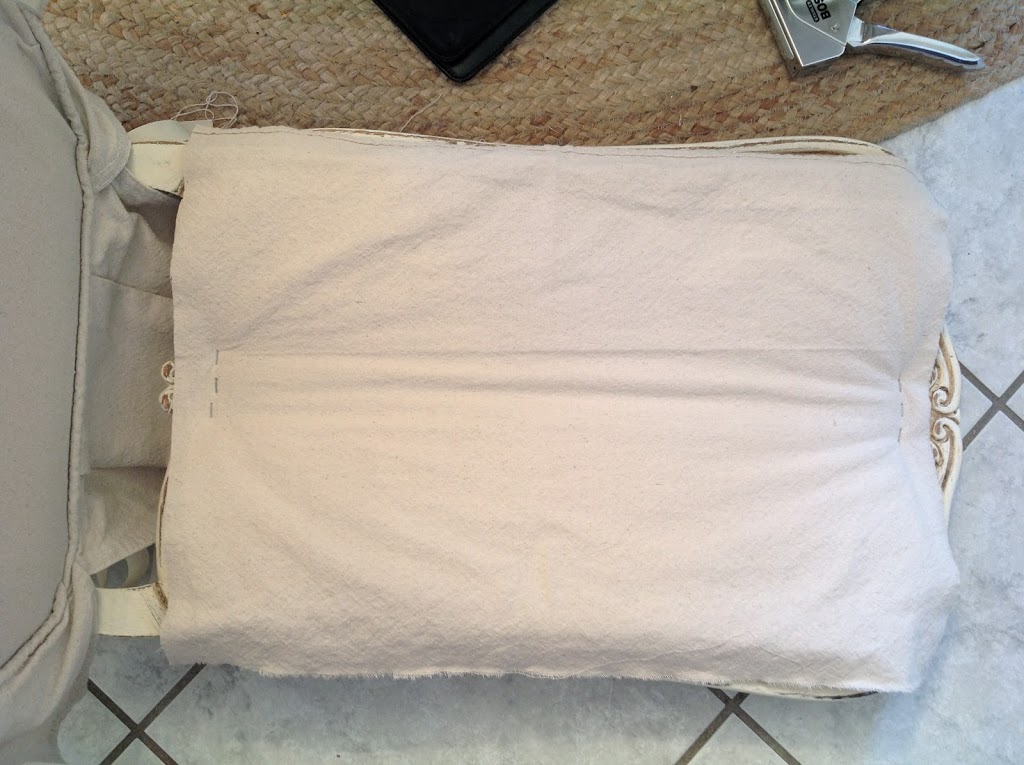
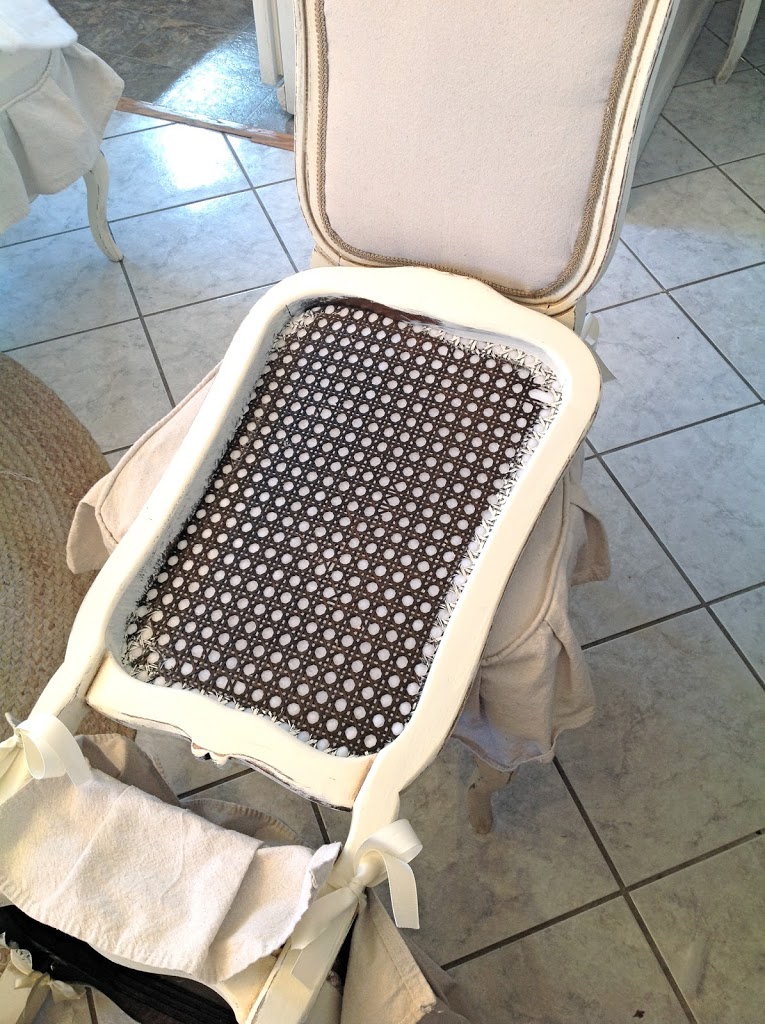
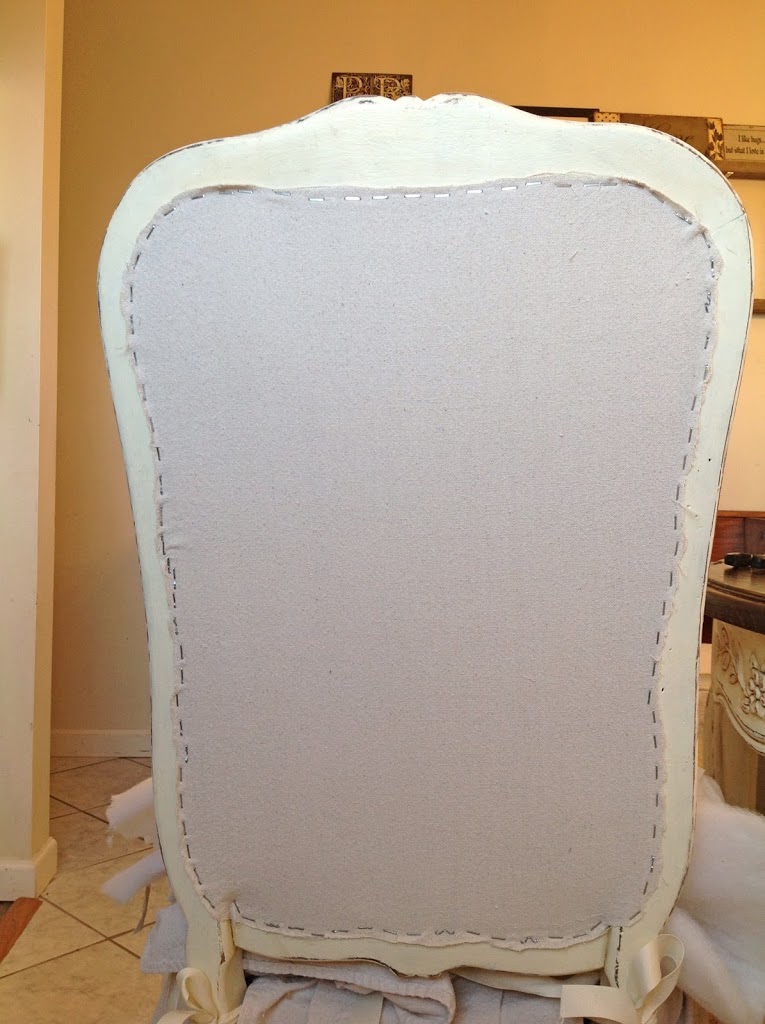
To do the back, I turned it over on top of the seat of one of the other chairs like this:
Put in your layers of batting (I didn’t care too much if they were EXACT size, since I had more space to tuck it into).
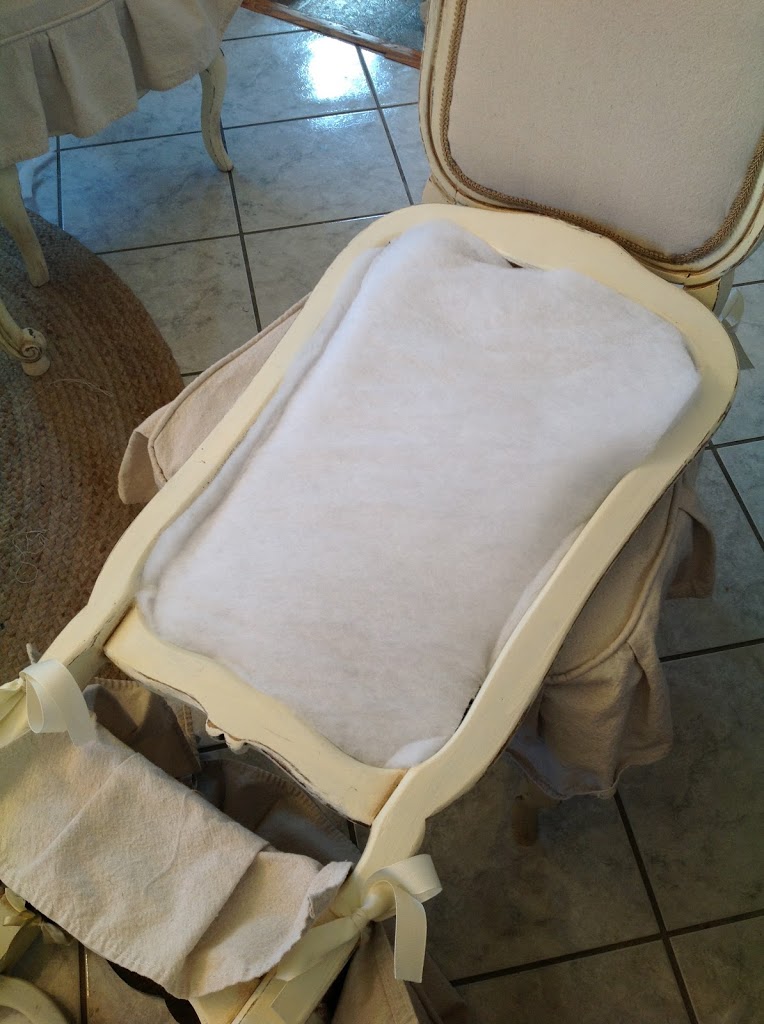
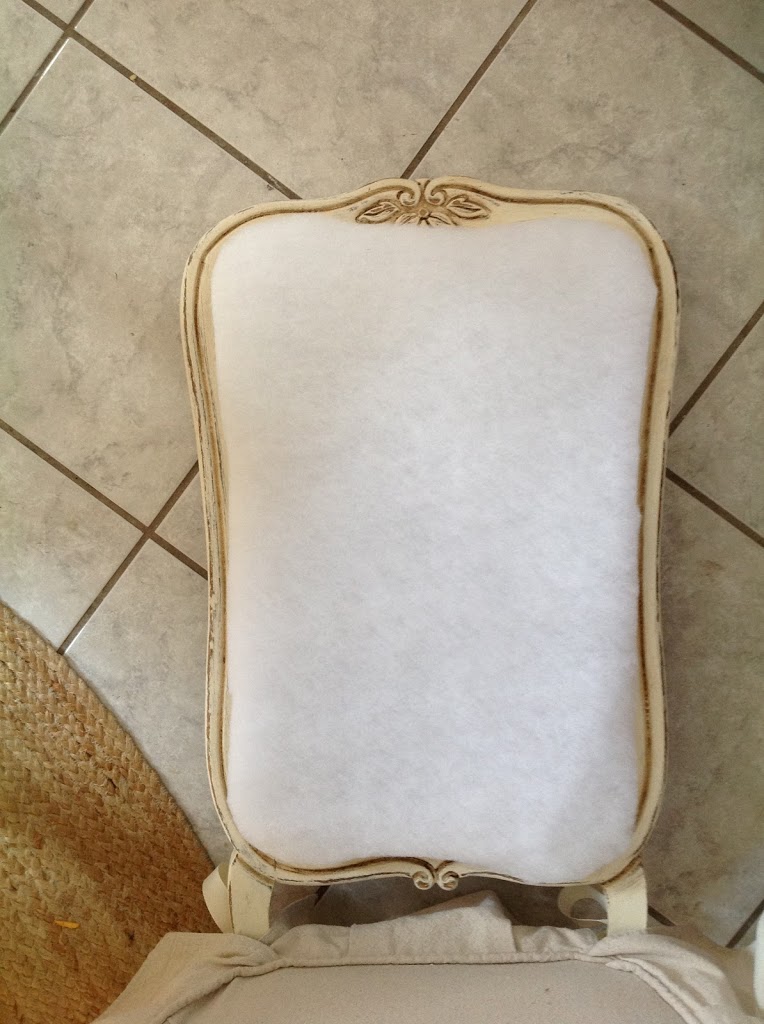
Staple down, just like you did the front, and trim! It should look like this (more or less)!
I didn’t take pictures of the hot gluing of the trim because it wasn’t anything complicated. I just started on a bottom corner and worked my way around in 3-4 inch sections (so the glue didn’t dry before I pressed the trim in place). I glued right on top of the staples, but tried my best to keep it straight, even if the staple line wasn’t perfectly straight.
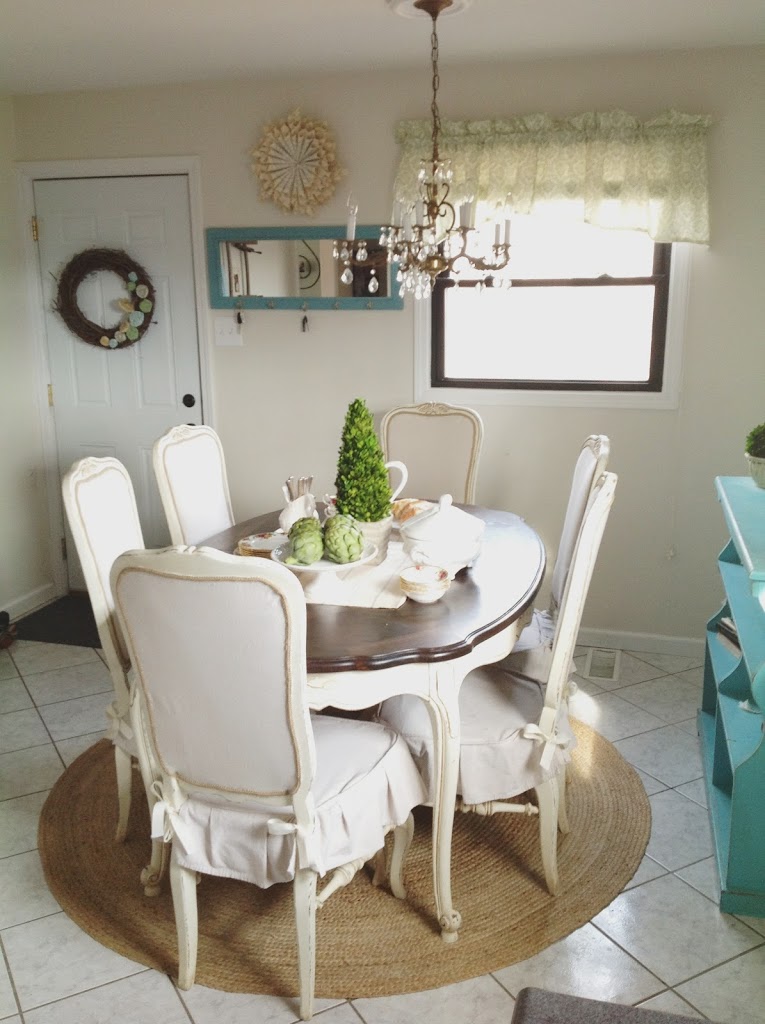
Finished result!

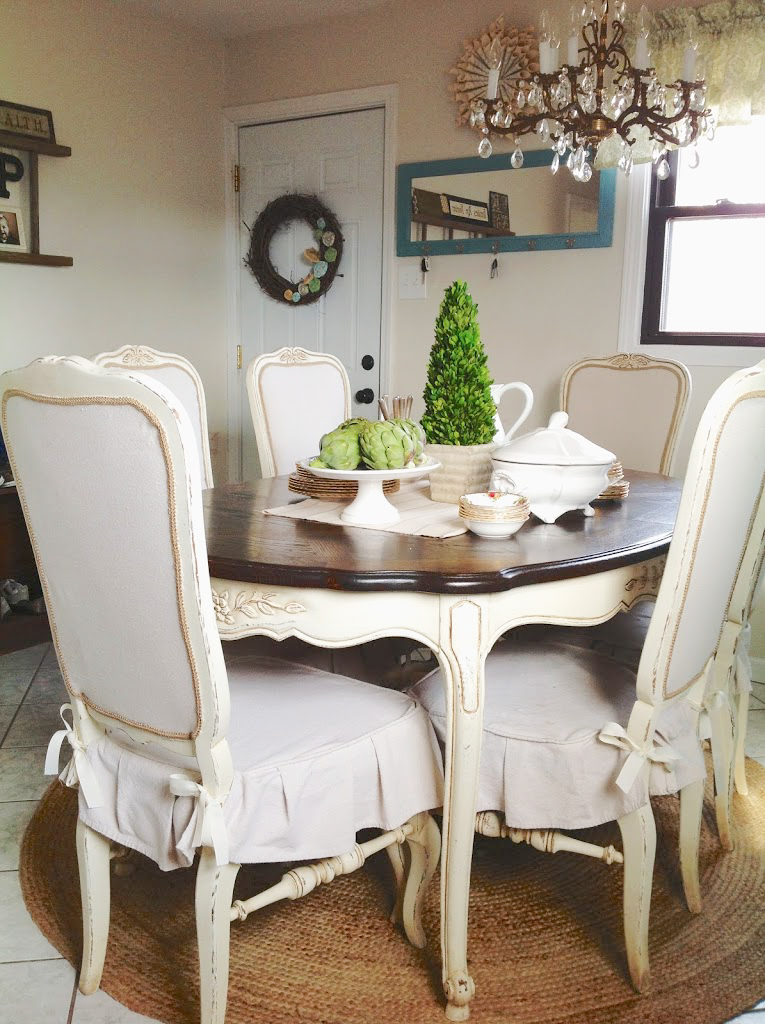
See the full dining set reveal here.
Thanks for the tips! My sewing chair has sat partly upholstered for over a year. Here’s hoping I finally finish it!
Jessi
Great tutorial! And, the chairs turned out fabulous 🙂
Great job and great tutorial! They turned out great!
Looks great. Thanks for the tutorial.
What a great fix! They turned out great.
Thanks for the great tutorial! I’ve passed up chairs for that very reason. Now I will know how to repair them! Yours turned out beautifully.
So much for this great tutorial, I know it will come in hand soon! – Susan
Your chairs turned out lovely. Thanks for the tutorial.
Have a wonderful Day,
Suzanne
Just was this on MMS…nice work and thx for the tutorial.
Great job! They look so frenchy chic. I am going to have to keep an eye out for some chairs so I can try this out. You made it look so easy.
Love this dining room redo….great job. Stopping on over from the link up to check ya out! Cmon over and visit awhile! 🙂
Kelly at @copperroofinteriors.blogspot.com
Thank you for the awesome tutorial. The chairs look great! I have enjoyed visiting your blog (found you at Funky Junk) and look forward to coming back often for more inspiration. Blessings, Patti@OldThingsNew
This is such a great tutorial. Would love you to share it at Silver Pennies Sunday – http://www.findingsilverpennies.com/2013/02/silver-pennies-sundays-link-party_24.html
Thanks for sharing these! I love them! x
Wow! You did a great job! I’m your newest follower 😉
Jamie http://www.somuchbetterwithage.com
Great job! LOVE your blog! I’m your newest follower.
Oh my goodness this is FABULOUS! I’ve been wanting to get rid of my cane back but may just recover the backs as well and keep them. Great job!
I followed this blog post meticulously in order to finish a table given to our family by a friend. I am so please with how it turned out. I did blog about it, although I am not a DIY blogger… I made sure to send people your way for actual instructions. I’d love for you to come see it!!!
https://pastorswifeslife.wordpress.com/2016/07/05/have-i-told-you-about-my-table/
Your chairs had such great character, mine are a tad more plain. But for $77 I have a gorgeous new dining set!!! Thanks for your post!!!
How would you do the seat of the chairs
How do you do the seats
Hi, I can’t believe you just used drop cloth for the new fabric ! The chairs look awesome.
Joan
I love this! Going to update my ugly chairs! Did you staple the fabric and batting into the cane or wood? If you stapled into the cane, did the staples go all the way through to the other side?
Thank you!