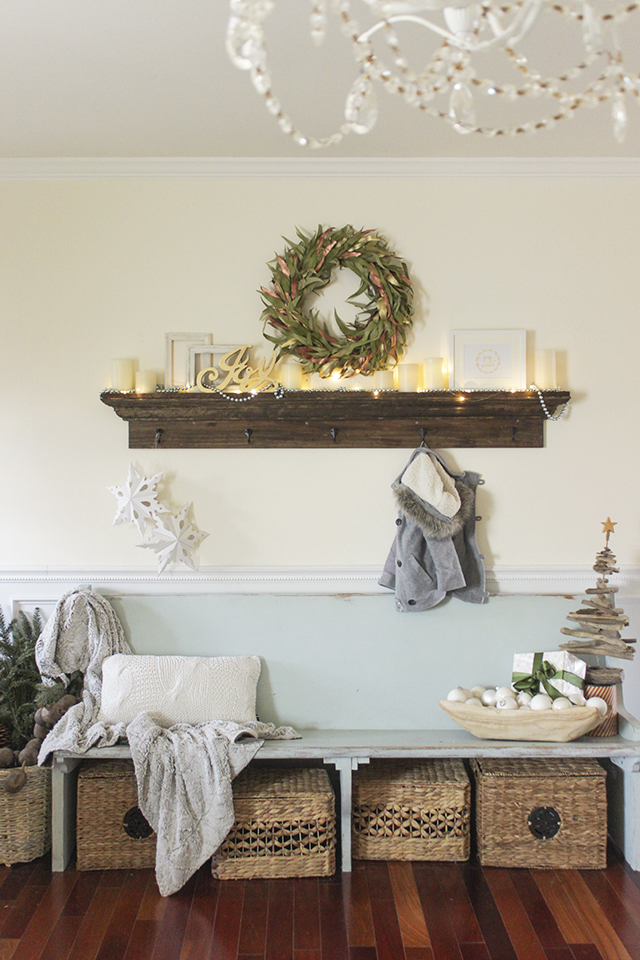
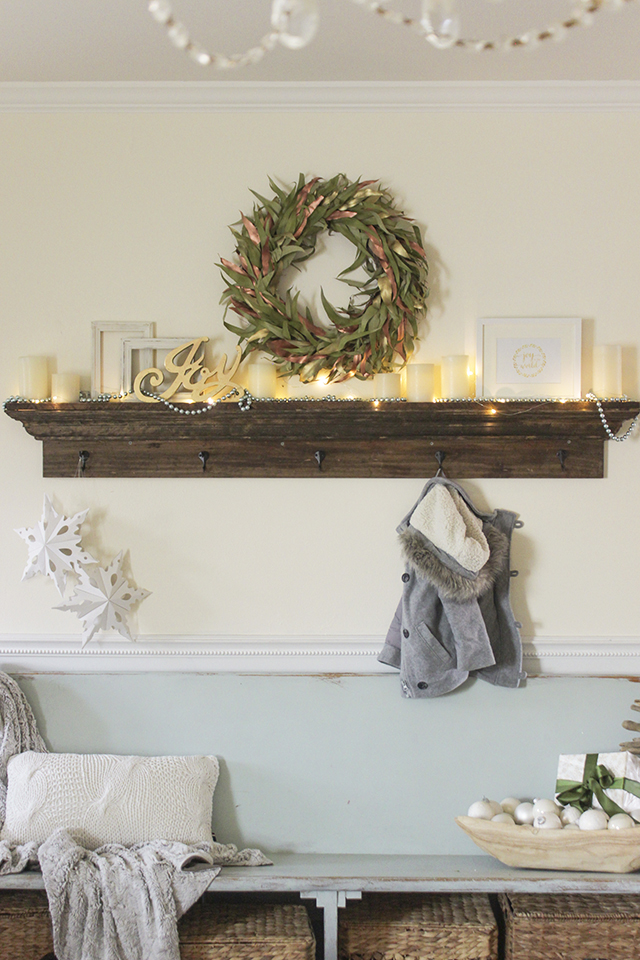
My entry shelf that also serves as a coat rack has become one of my favorite places to decorate, because it has become my pseudo- mantel. Since we don’t have a fireplace, I like to decorate the shelf like I would if I did have a fireplace with a mantel. I built this shelf last year to put above our church pew bench, and I have had many requests for a tutorial since. Well, I kept putting it off until recently when Jen Woodhouse invited me to participate in Deck the Halls – DIY Style, and I thought this would be the perfect afternoon project if you want to add a quick “mantel” shelf to hang stockings tomorrow night! 😉

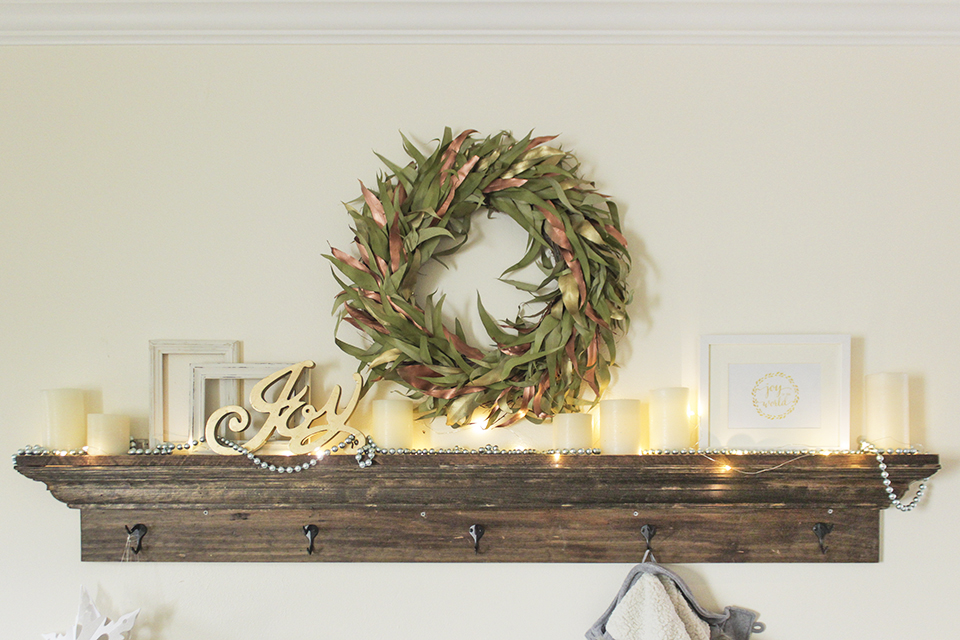
As you may remember, I shared this entry shelf a few weeks ago during my Christmas Home Tour…
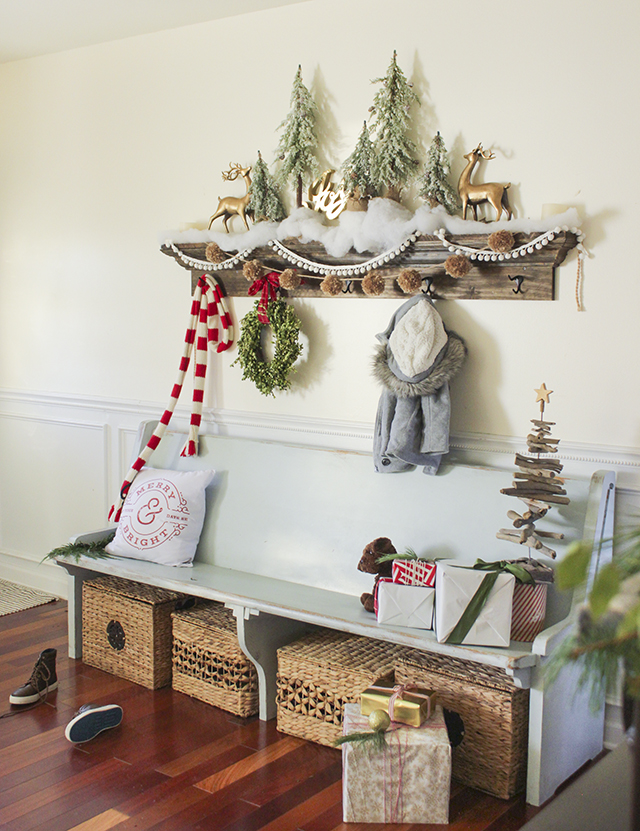
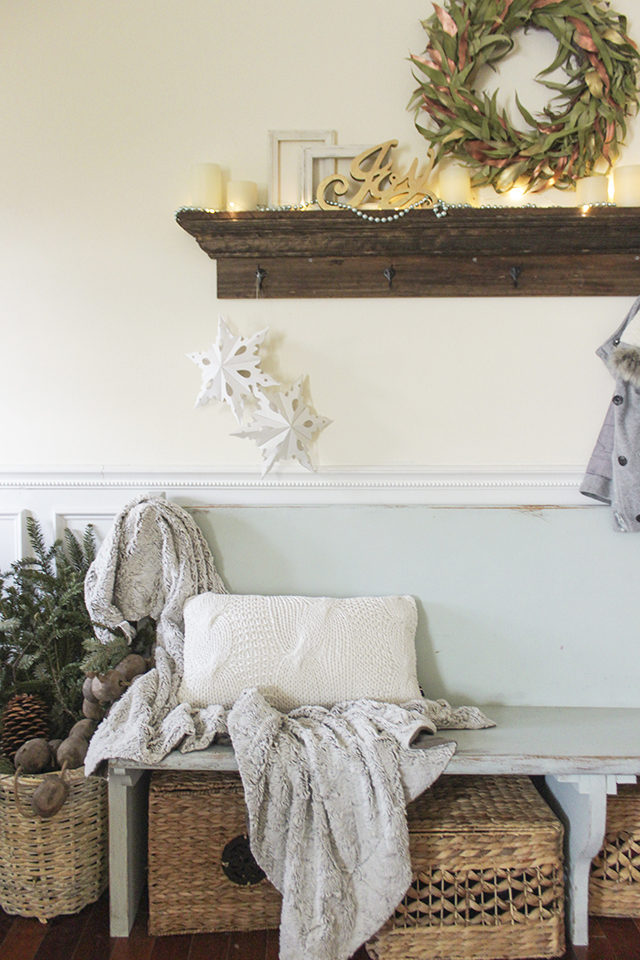
It was adorable, bright and cheery, and I loved it. However, I’m already starting to think about how I’m going to be decluttering and simplifying things after Christmas, and I wanted to create a new, simpler vignette that will easily transition into the new year…

How to Build an Entry Mantel Shelf
Shopping List for This Project:
1- 1×8 @ 60″ long
1- 1×4 @ 65.5″ inches long
1- 4.5″ poplar crown molding @ 8′ long (this particular molding I used was found at Lowe’s)
5 – 2″ drywall screws
4 – 3″ drywall screws
1″ long nails, 18 gauge
5 coat hooks
Stain or paint of choice
Tools You Will Need:
Miter saw
Cordless drill
Electric nail gun
3/8″ drill bit
Measuring tape
Eye protection
Hearing protection
Wood glue
Wood filler
Stud finder
For a more detailed description on how to position, cut and install crown molding, check out my DIY Crown Molding Tutorial HERE.
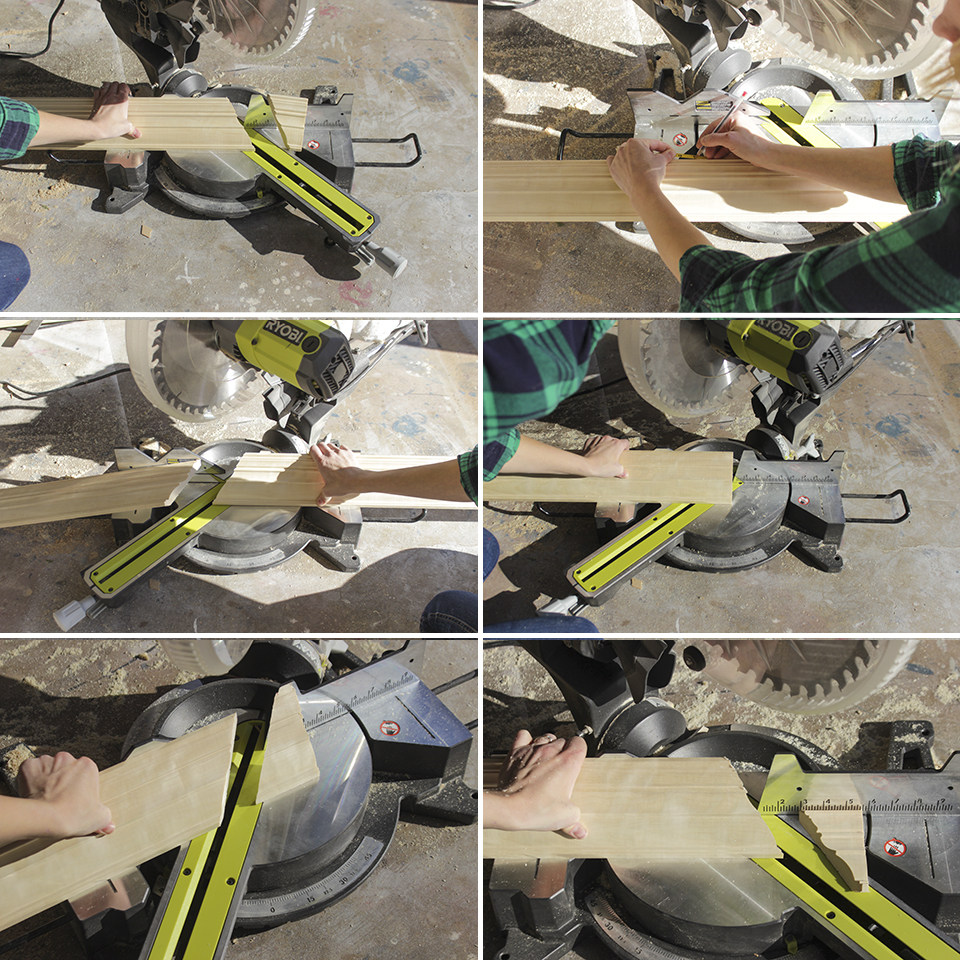
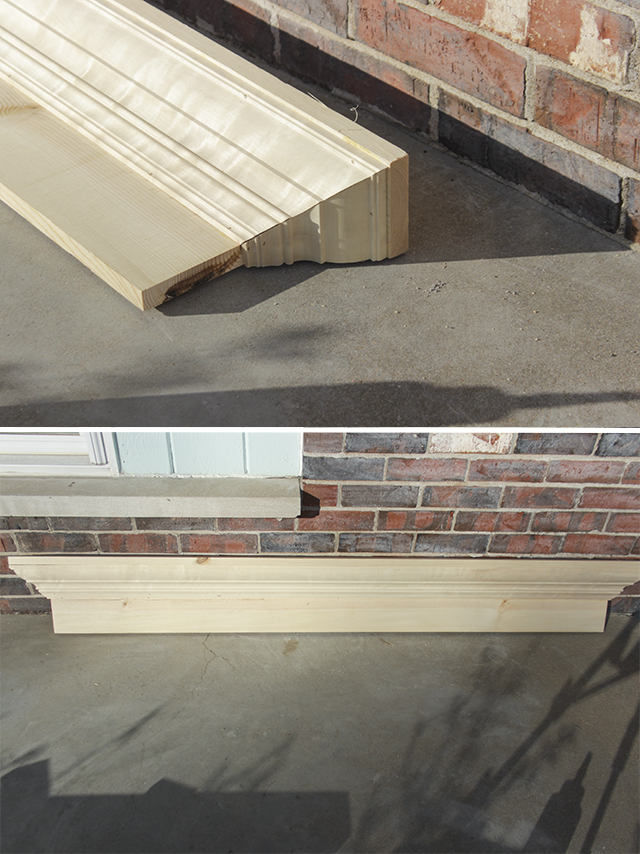
Step 1: Cut Crown Molding
Position crown molding upside down against miter saw fence and move the blade 45 degree to the right. Cut the right side of the 8′ molding piece, so that you are holding the molding from the left of the saw blade. From the base of the crown molding (that is facing up), measure 60 inches and mark it. Then move the saw 45 degree to the left and cut the molding where you made the mark. Make sure you always measure from the base because this is what will sit flush against the 1×8 board, so they have to be the exact same length. Both sides of the crown molding that was just cut should be angled inward toward each other.
Move the saw back to 0 degrees and make a quick straight cut. From that edge, measure 3/4″ along the base (which is facing up) and mark it. Then move the saw back to 45 degrees to the left and holding the wood on the left of the blade, cut so the right side of the blade cuts exactly next to the mark you made. This little piece will go along the side of the shelf toward the wall. Make another straight cut at 0 degrees. Measure 3/4″ along the base, then move the blade back to 45 degrees to the right, and cut along the marked lined.
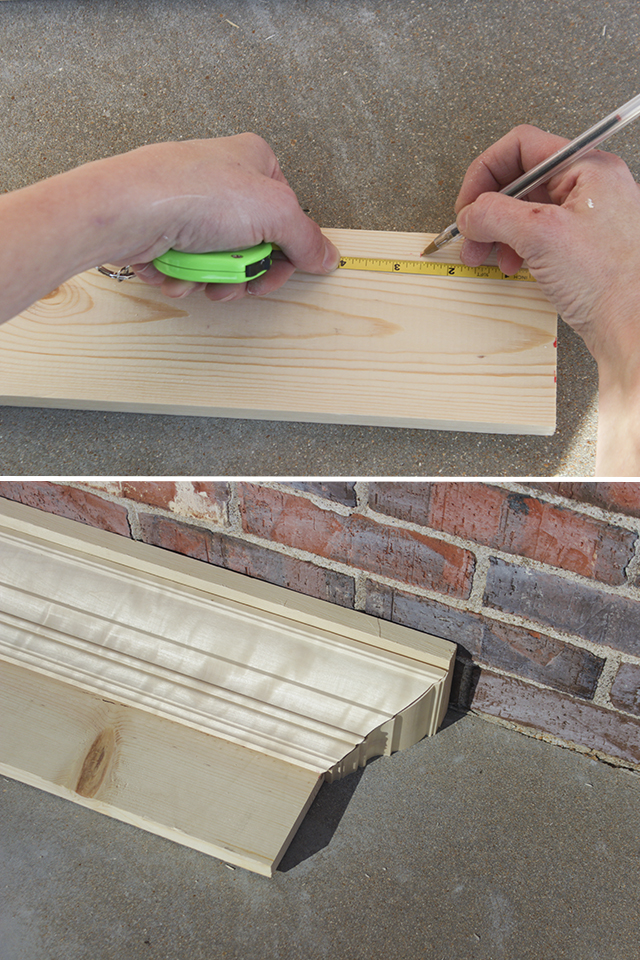
Step 2: Dry Fit Crown Molding and Mark Boards
When the crown molding is positioned so the base is flush against the 1×8 board, it will hit the 1×4 board (that is along the top of the 1×8) with about 2.75 inch overhang on either side. Mark this point on either end of the 1×4 board.
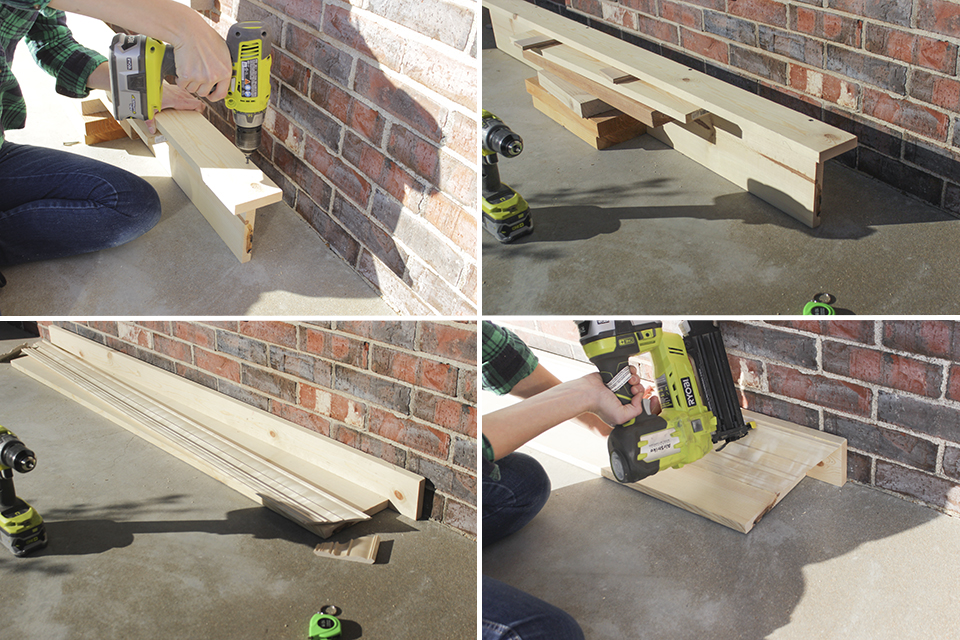
Step 3: Build Shelf
Pile up a support with scrap wood (or anything really) that is the same height as the 1×8. Place the 1×4 on top of this scrap pile, with the 1×8 flush underneath it. Make sure the 1×4 is lined up with the 1×8 at the marks that you made in step 2. Pre drill 5 evenly spaced holes from the back edge of the 1×4 into the top of the 1×8. I drilled about 1/4 inch from the edge. Use 5 of the dry wall screws to attach the 1×4 to the top of the 1×8. Position the long piece of crown molding right under the shelf that was just attached and apply a bead of wood glue on the back edges that will sit flush against the shelf, then nail it into place using 1″ nails. Nail both the bottom and the top of the molding all along the entire distance (every foot or so). Position the small side pieces and nail them into place as well.
 Step 4: Apply finish and Hang on Wall
Using wood filler, fill nail holes. Sand splinters, edges, and wood filler patches until smooth. Stain or paint the shelf with finish of your choice.
When attaching the shelf to the wall, use a stud finder to find the studs on the wall and make corresponding marks on the shelf as close to either end and the middle as possible. Pre-drill the holes and attach the shelf using the 3″ screws into the wall. Once the mantel / shelf is attached to the wall, measure 5 evenly spaced locations for the coat hooks (about 4 inches from both ends, and every 12 inches between), mark, and attach them with the screws provided with the hooks.
I would definitely recommend this as a great beginner project and the result is something more custom and sturdy than most anything you can buy at the store (and a heck of a lot cheaper!).

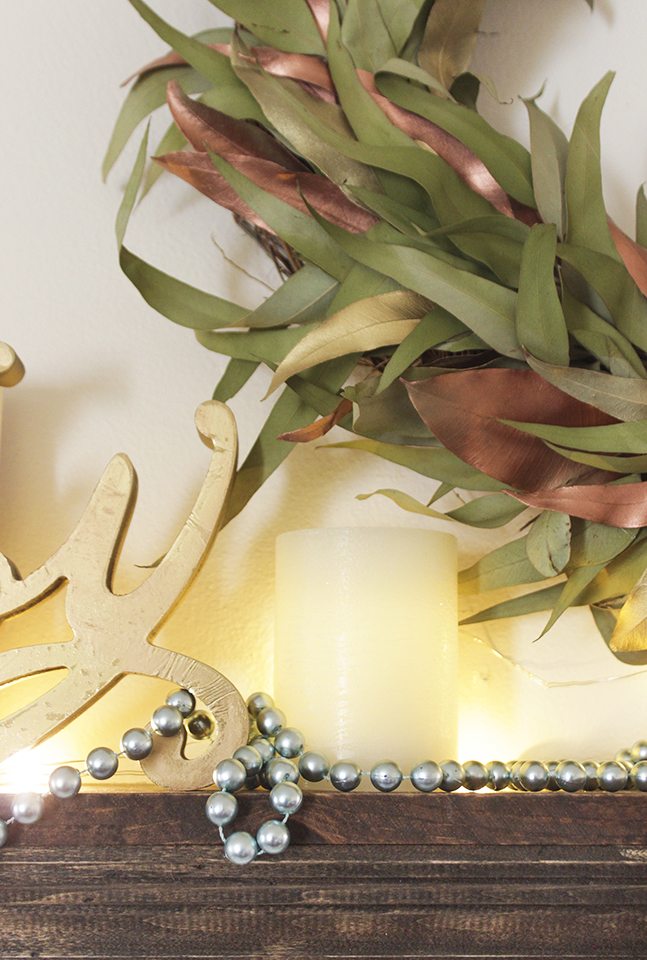
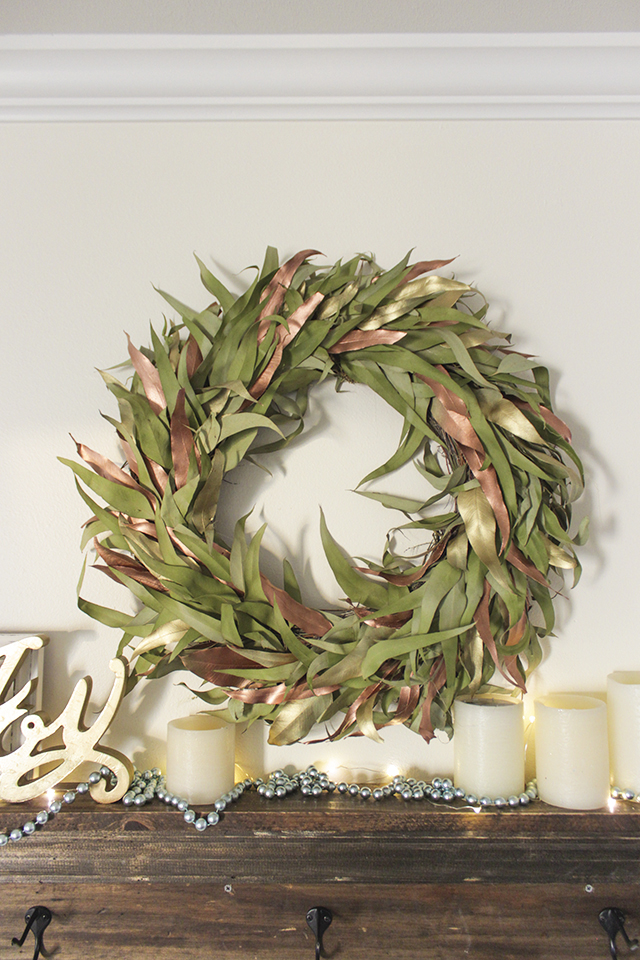
I found this metallic and dried eucalyptus leaf wreath at HomeGoods and just removed the bow for a less obvious holiday wreath… one that can be used pretty much any time of the year. Then I just layered some frames and candles for a tone-on-tone look that makes you notice textures more than a competition of color with the wreath.
I hope you enjoyed this tutorial and let me know if you build one!
I also hope you spend the next several days enjoying your loved ones and having a lovely holiday break.
Merry Christmas!
xo, Rachel
Be SURE and check out the already amazing projects that have been shared as part of the #DeckTheHallsDIY this month and come back tomorrow to see the incredible, Ana White’s project!
12/1 – Just A Girl and Her Blog
12/2 – Addicted 2 DIY
12/3 — The House of Wood
12/4 – Sawdust 2 Stitches
12/7 – The Ugly Duckling House
12/8 – Sawdust and Embryos
12/9 –Pretty Handy Girl
12/10 – Not Just a Housewife
12/11 – Place Of My Taste
12/14 – Bower Power Blog
12/15 – That’s My Letter
12/16 –The Kim Six Fix
12/17 – Her Toolbelt
12/18 – My Love 2 Create
12/21 – Craftberry Bush
12/22 – The DIY Village
12/23 – Shades Of Blue Interiors
12/24 – Ana White
This is just lovely. What a clever idea!
You are a pro! I love the simpler look at the wreath. The church pew is perfect too. I’m guessing you painted it? Those are getting really hard to find around here!
What color did you paint the church pew? I have one I would love to make a similar color!
Sure! It is a 50/50 mix of Annie Sloan Chalk Paint Duck Egg and Pure White.
What stain and finish did you use for the coat rack? Looks really good! I’m needing something just like this
I just used dark walnut and no topcoat!
Thank you!
Love this mantel! Do you have a video on how to make the mantel in additional to the directions above? Thanks much!
I don’t, I’m sorry.
Working on building this piece. First let me say it is absolutely beautiful. However the instructions are extremely confusing.. pictures along with every step is a must. The pictures are a jumbled up mess I can’t decipher which picture is for which step. Also the steps are jumbled together and should be seperated into more steps. A video and/or a more concise step by step would be great. Thanks!
Can you say approximately how much this would cost. I know lumber varies in price by type and the local.
This mantel is beautiful.
what size is the church pew?
6′ long
I love your coat rack! I made one out of vintage moulding earlier this summer, however, it’s been sitting here waiting for hooks because I can’t find anything simple like what you used. Do you recall where you bought yours? Thanks so much!
Lowes or Home Depot… I don’t recall which one.
Hi! I love this shelf over the pew, it’s beautiful!
How high do you recommend hanging the shelf above the church pew?