Back in March, I bought a pair of French Bergere chairs that had ugly blue silk fabric, that was ripping in several places. I knew I could make them beautiful again, but I didn’t know it would take me months to finally get around to it! I had an Etsy client request a custom finish for one of them that I finished back in June, but the second one I finished days before VMD.
Here was the before:
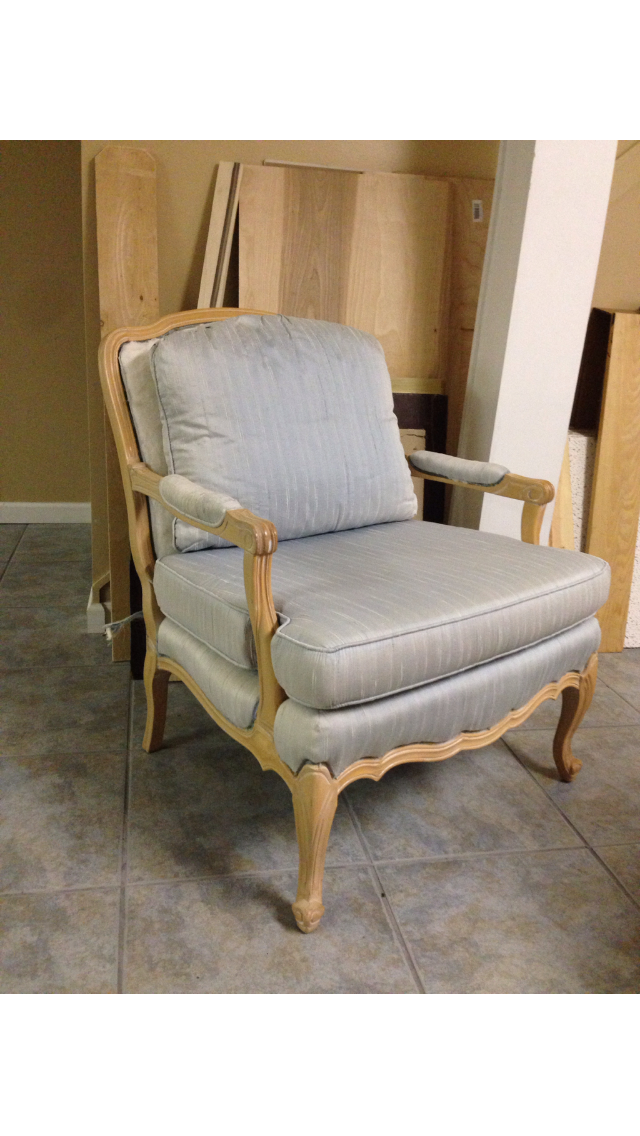 I knew I wanted to give it a Restoration Hardware look and give the frame a weathered gray finish. I was hoping to find a charcoal linen fabric, but after realizing that I would have to special order the color I wanted, I went with plan B… a natural-colored, upholstery-weight linen.
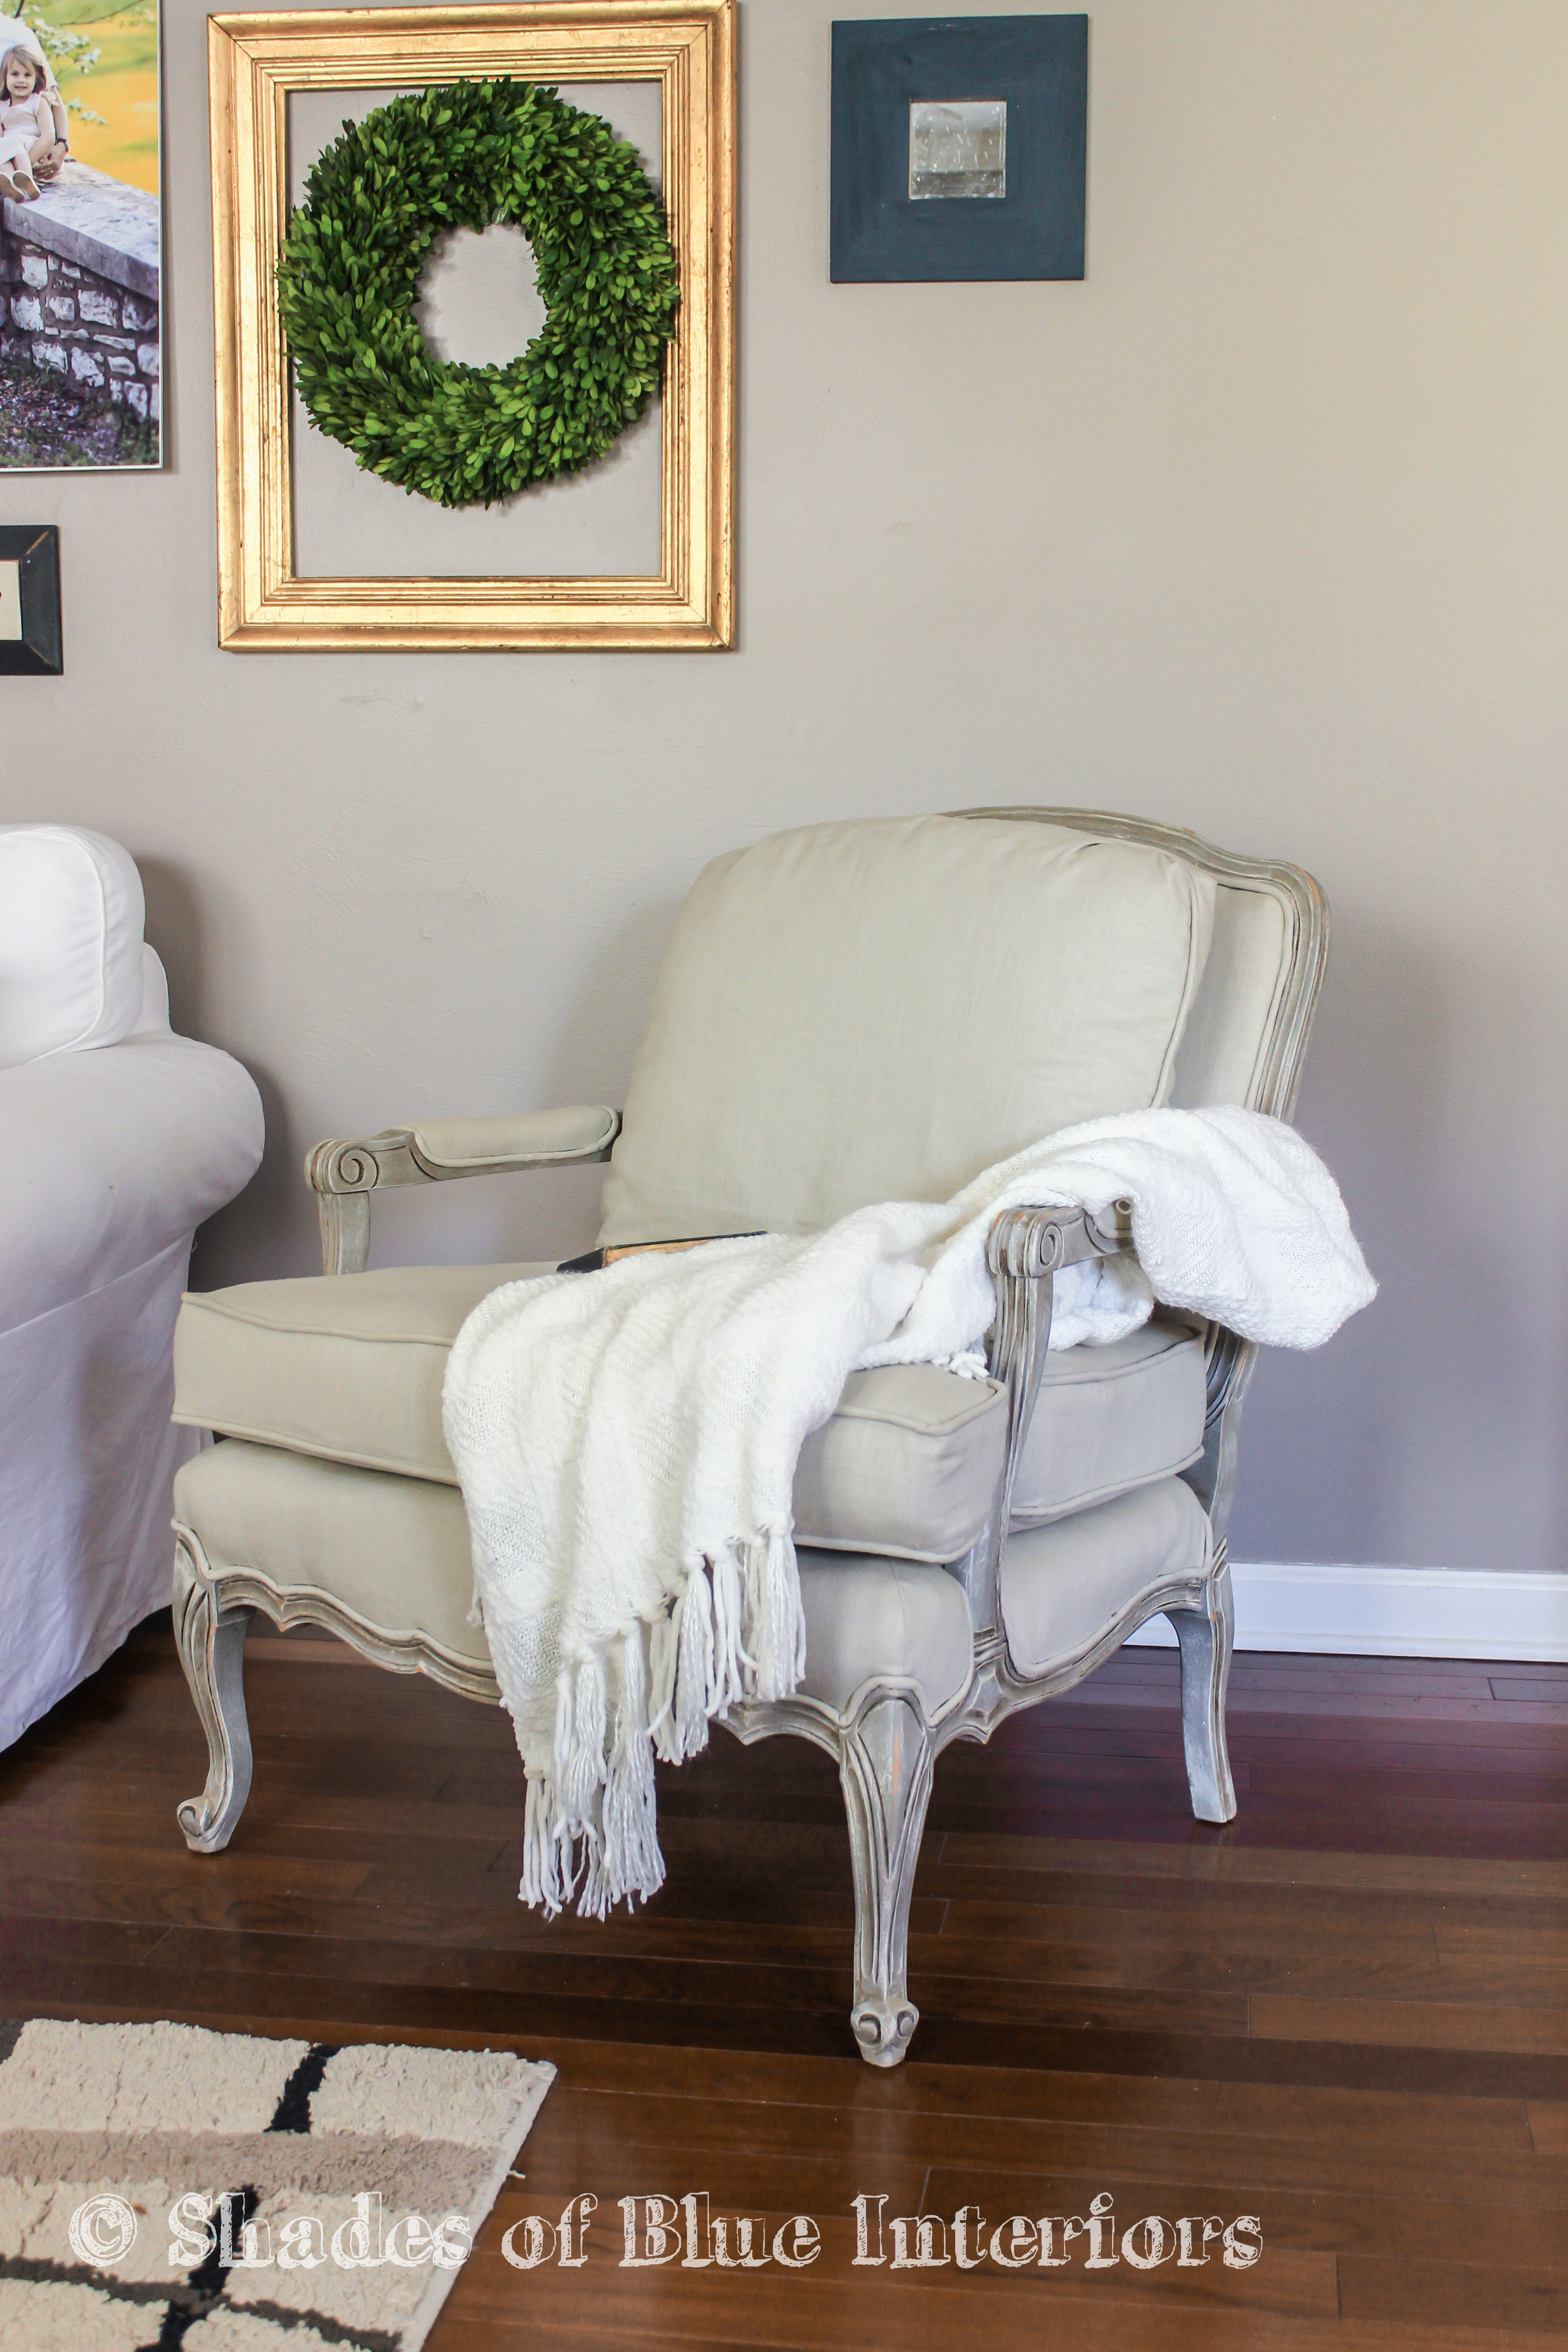
Here is the after:
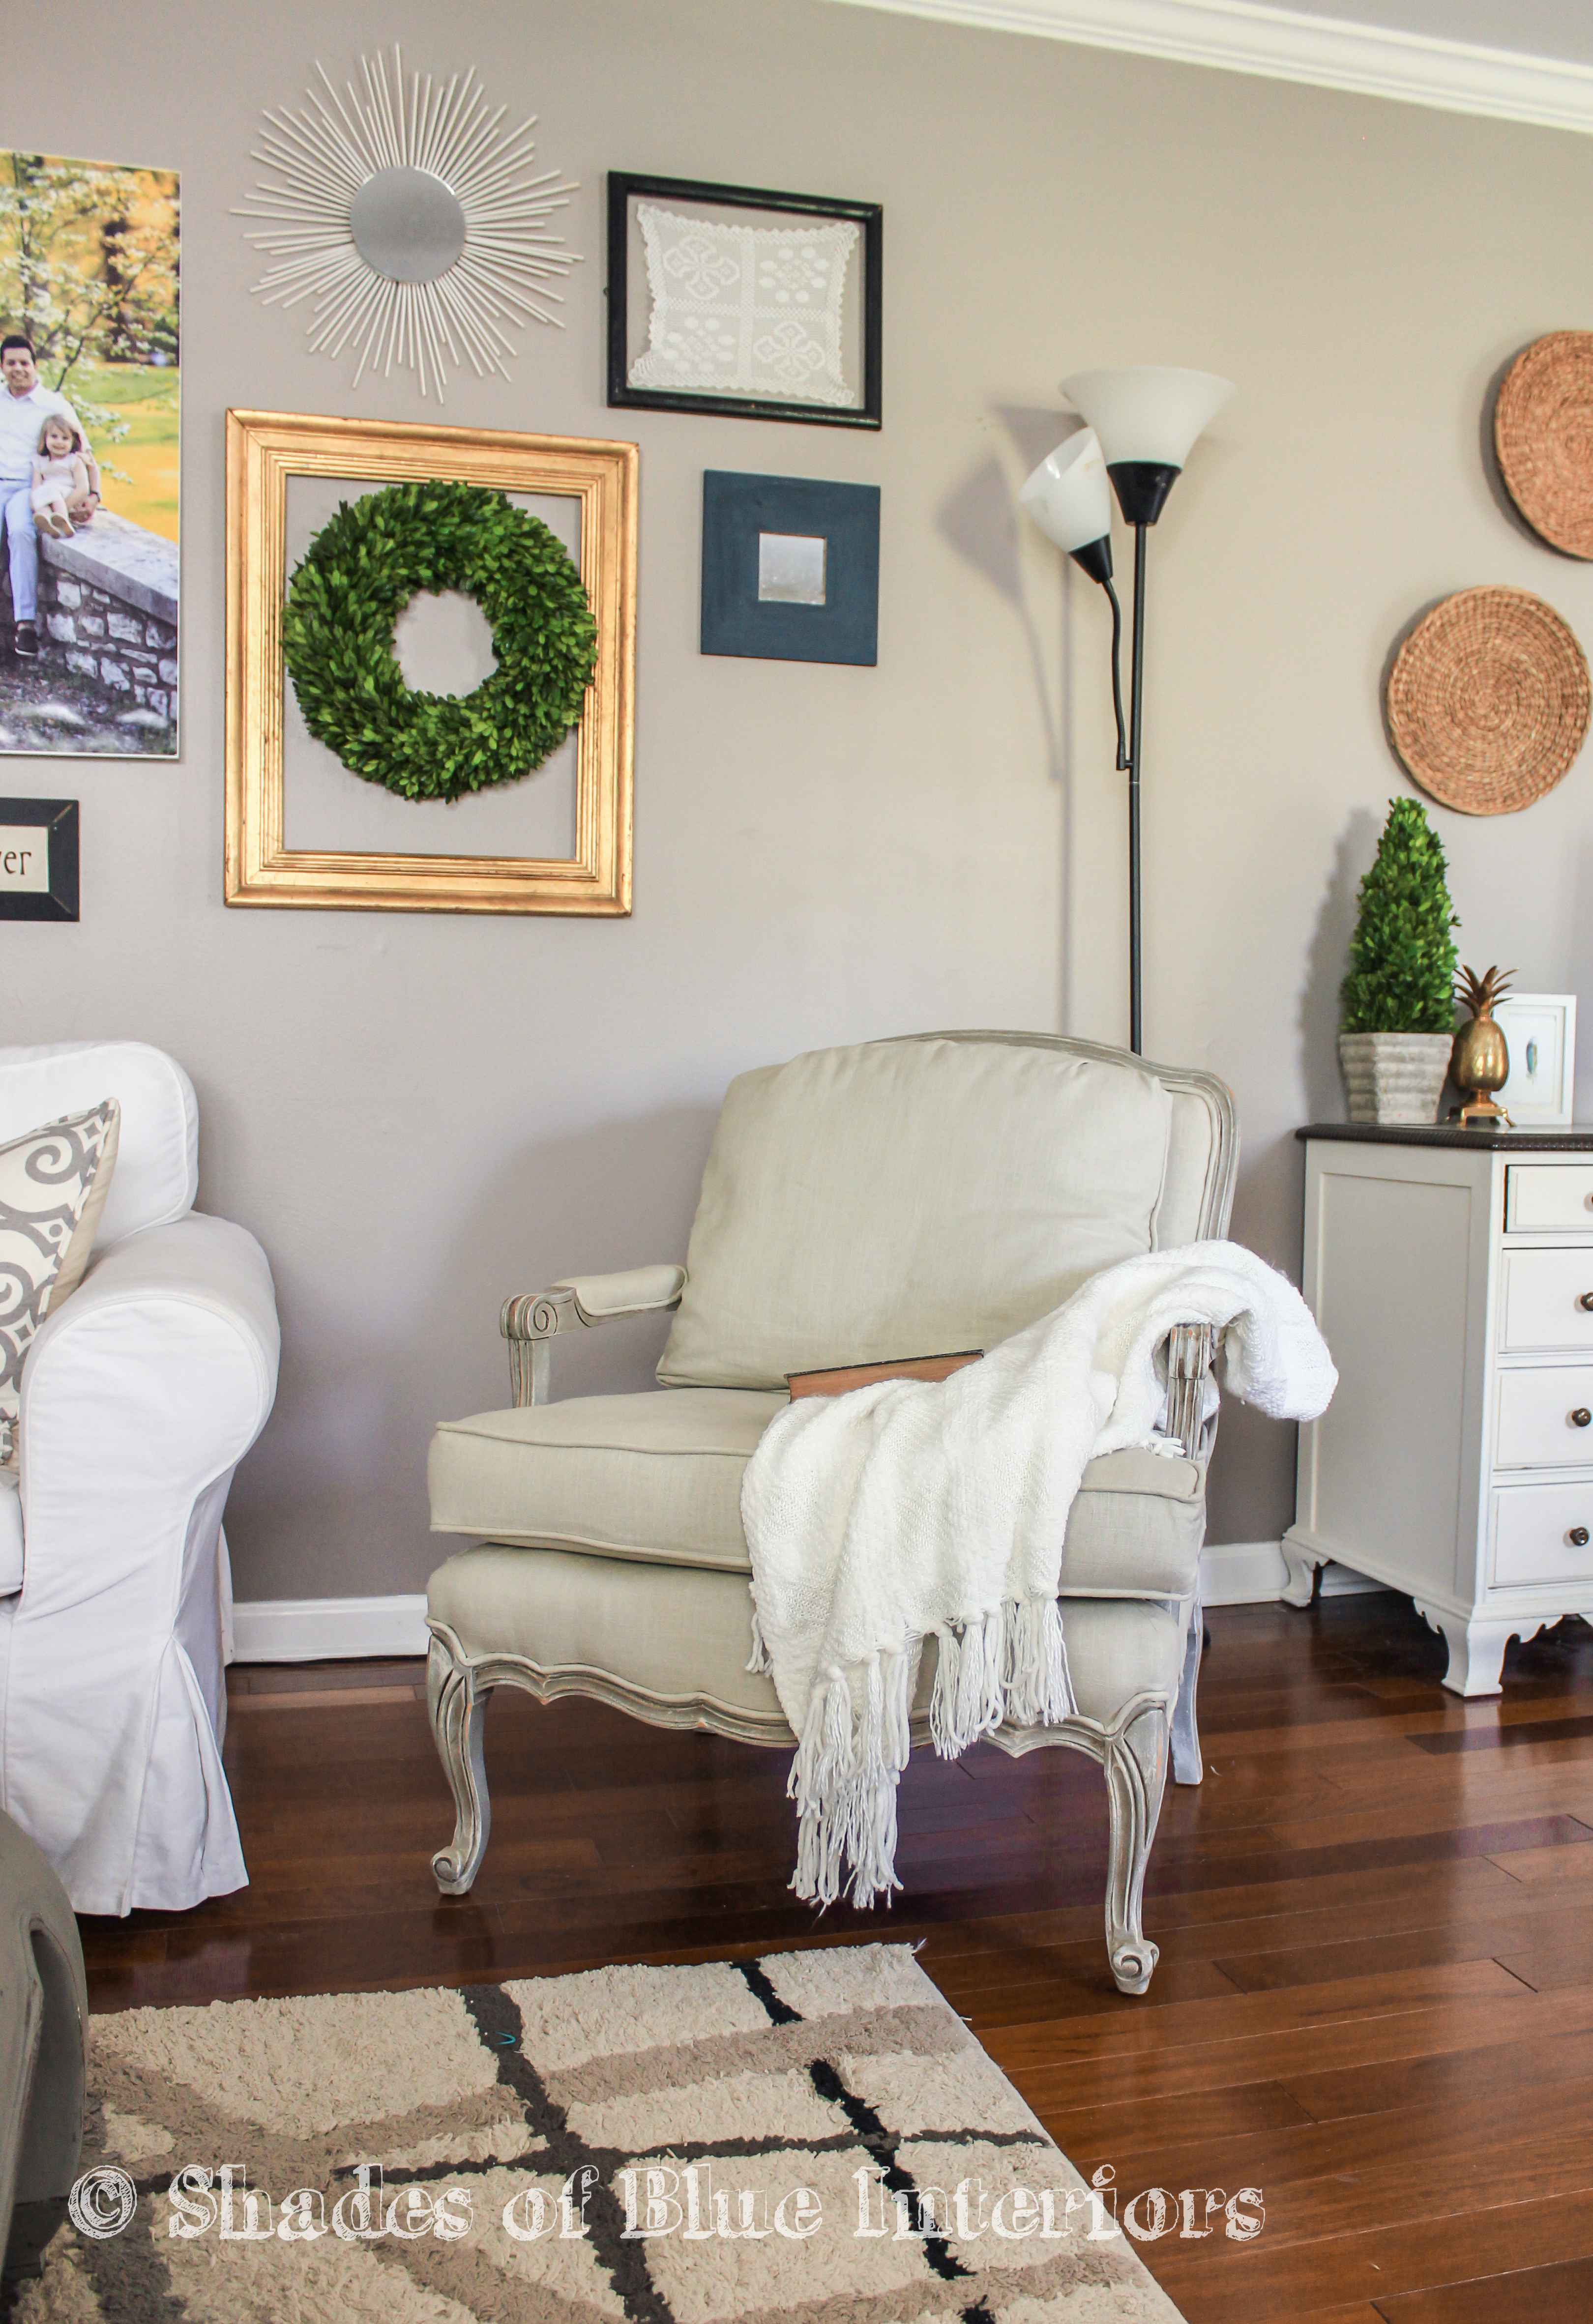
This fabric was so easy to work with (upholstery-weight linen), and despite it not being exactly “cheap” I got it with a discount coupon at Joann, making it around $12 a yard. I used a total of 4.5 yards for 1 chair. That included all the piping/cording sewed on the bias.
Here is my confession… I asked my seamstress friend to sew the separate cushions. It wasn’t that I couldn’t, but it would have taken me a lot longer, and she finished both the seat cushion with a zipper and separate back cushion in a couple hours. I DID sew the seat base though. It was hard because it was 4 separate linen pieces sewed to a muslin square, perfectly fitted to the seat base.
Despite the original fabric being hideous, the cushions were in pristine condition, which made this chair so comfortable! I wish this chair could have stayed in my living room, but it sold on the first day of VMD.
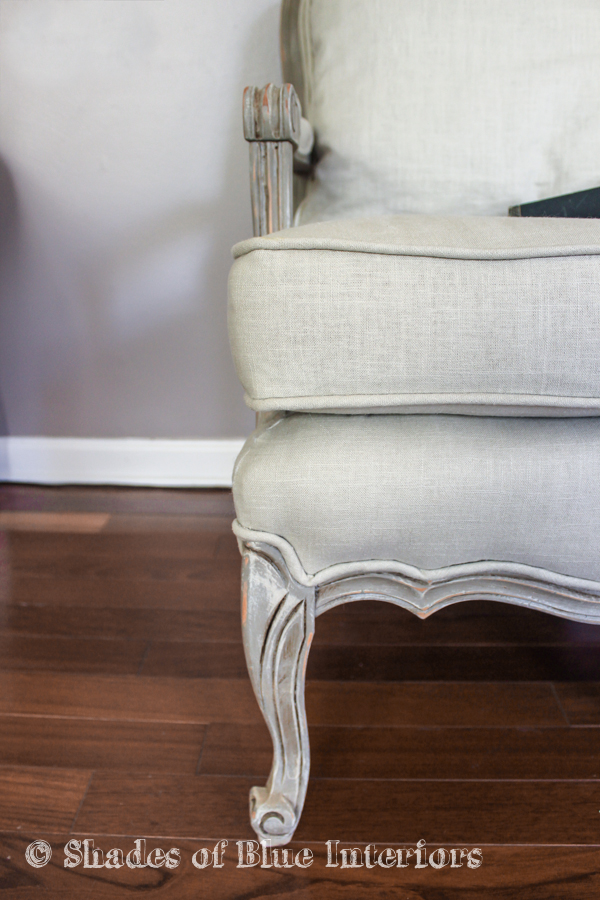
I don’t know why, but I really think the curves on this chair are so sexy! haha… it sounds ridiculous but I love this angle! Are you curious about how I achieved this RH finish?
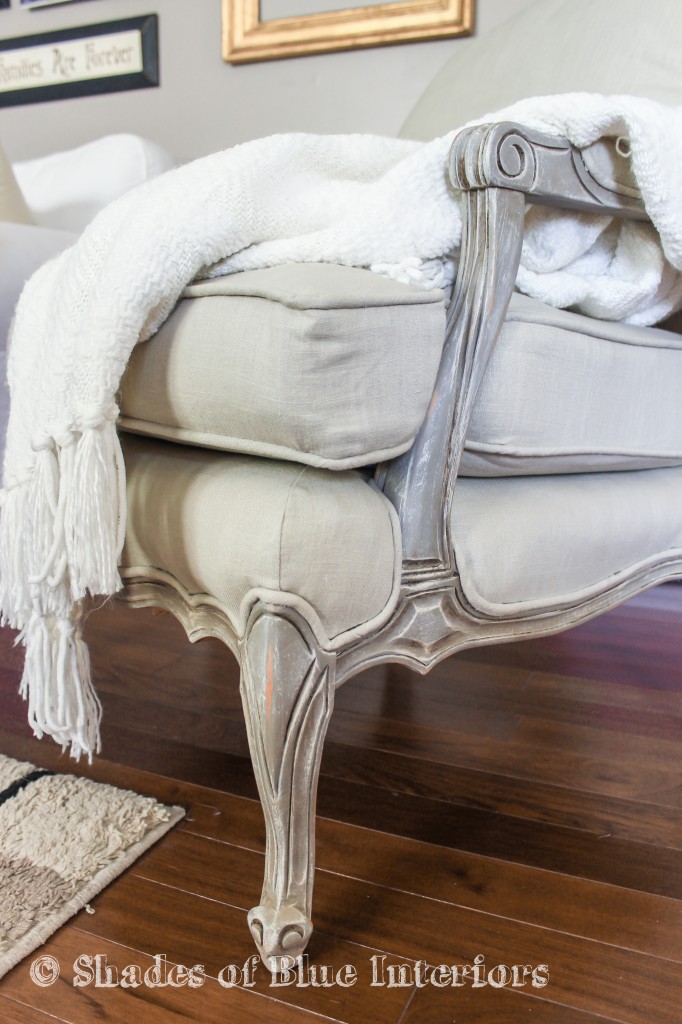
It was surprisingly easy to achieve in 4 steps!
First:
I painted the entire chair with 2 coats of Annie Sloan Chalk Paint in French Linen.
Second:
I dry brushed everywhere with Old White.
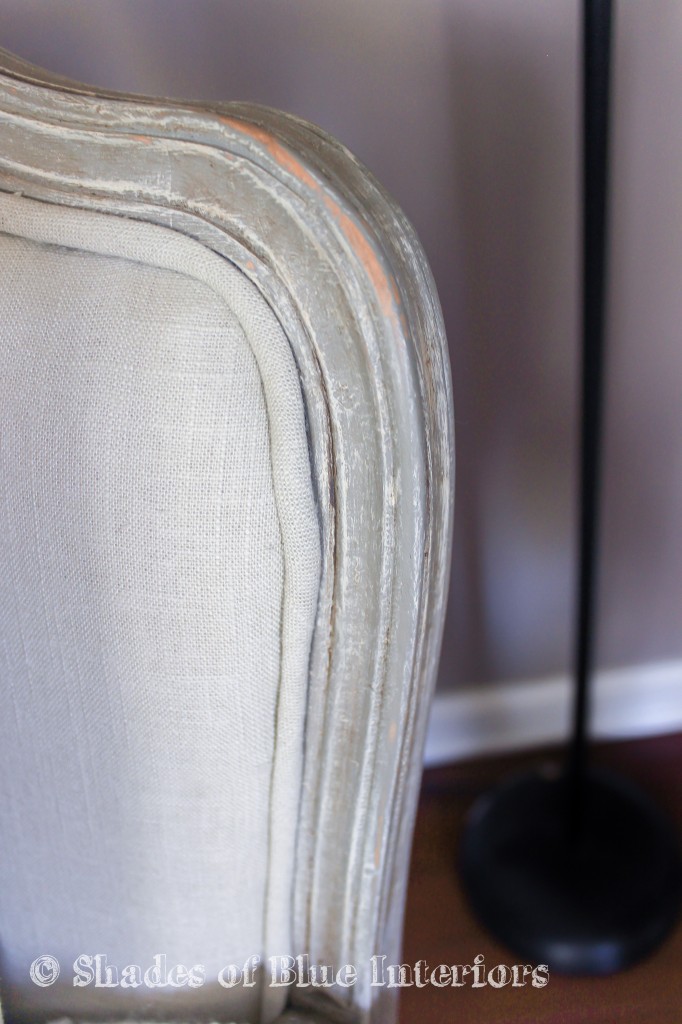
Third:
I lightly distressed using 120 grit sandpaper, making sure to not sand everywhere (otherwise it would remove all the dry brushing) and mostly focus on the areas that would see the most natural wear.
Fourth:
I used both clear and dark wax to settle in all the grooves, making them really stand out.

Good, huh? Gosh I love this chair.
There she is again! I doubt I’ll jump at the chance to do another chair like her in the future (so.much.work.), but upholstery projects are kinda like childbirth… it’s pure hell during the process, lots of sweating, blood (I stapled my finger), and cursing is involved. But then, once it’s finished, it is so dang pretty that you slowly forget the pure awfulness of reupholstery. It takes time, for that selective amnesia to set in… 😉
Side by side, before after:


Ha! Your reference to upholstery being like childbirth is hilarious! I don’t have children, but the “selective amnesia” is completely true in my experience as well. Beautiful chair, I love the finish you have the frame!
LOVE! So sad you sold them! I want them for m y living room. So beautiful! x
Love it! Awesome job. Thanks for sharing!
Absolutely stunning! Visiting you from the “Inspire me please” weekend blog hop.
It’s beautiful! I love the paint finish and I think it highlights the design of the chair perfectly.
I will always regret not buying that chair at VMD!
So beautiful! I have a pair waiting to be done and have been putting it off because they are so much work. Yours is a stunner!
I’m waiting for the ‘selective amnesia’ to settle in before I tackle my second chair. It is so worth it in the end but the process is long and tedious.
it’s gorgeous! and YAY for your blog showing up in bloglovin!
That turned out jaw dropping gorgeous. You did an amazing makeover on this chair. I would have never known it was the same chair. No wonder it sold so fast.
I ordered a chair online and did not like the color of the wood when it arrived ,so I bought the chalk paint and wax and followed your instructions. It turned out beautiful! Thanks for sharing this!