It’s been a few years so I thought today I would re-publish an updated version of these No-Sew Curtains! This is the perfect solution when you find the perfect fabric but don’t have the patience to sit down and sew huge amounts of fabric on all the edges and hems and blah blah blah… OR maybe you don’t have a sewing machine! OR you have one but don’t know how to use it yet! This tutorial will show you how to get perfect, custom-fit curtains and it will only take you maybe an hour for 2 panels!
Supplies needed:
(Affiliate links used below)
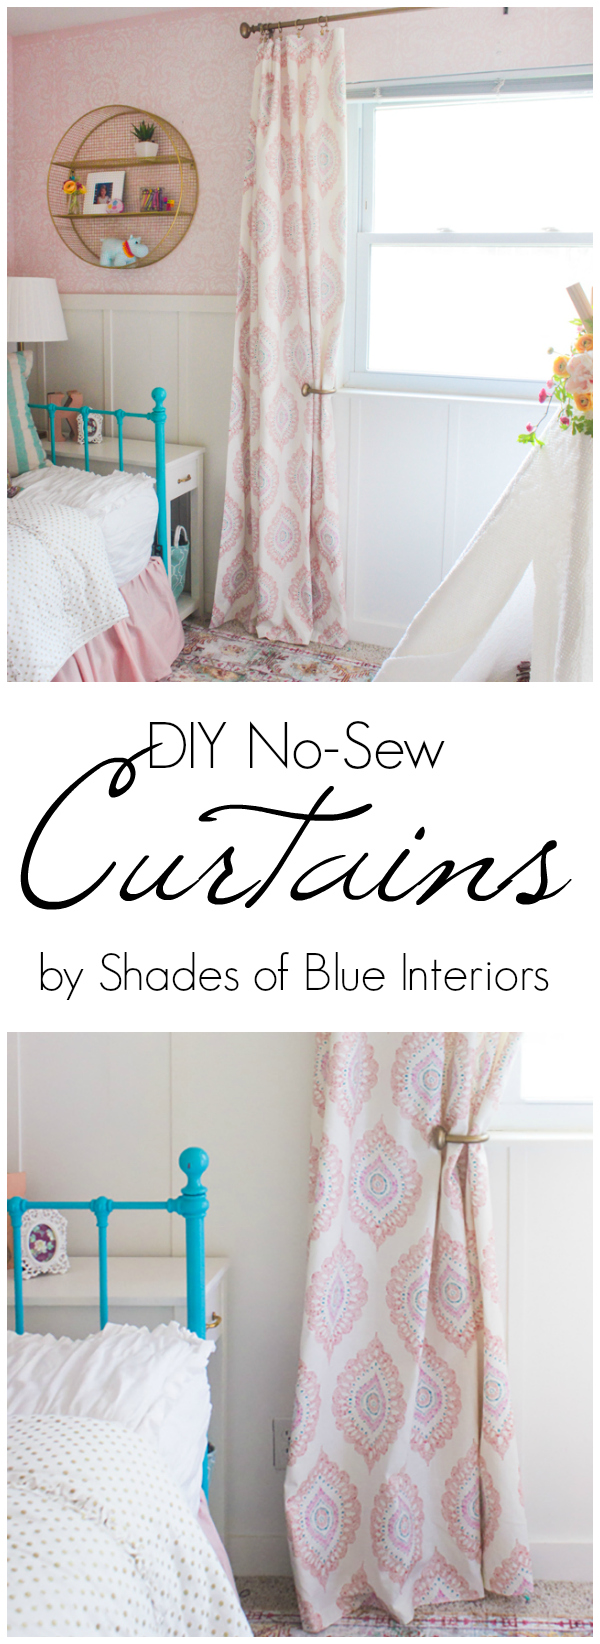
6 yards of home decor fabric for 2- 96″ panels that are 52″ wide (I used the Block Print Medallion, Sorbet fabric from Tonic Living)
14-20 Curtain rings with clips
OPTIONAL: 6 yards Drapery liner — this is good if you are using a light colored fabric and want a little more privacy
8-10 weights: which are medium-sized washers or pennies
(This is for the bottom of the panels, 2 washers per panel, to weigh down the fabric slightly, so it hangs nicely)
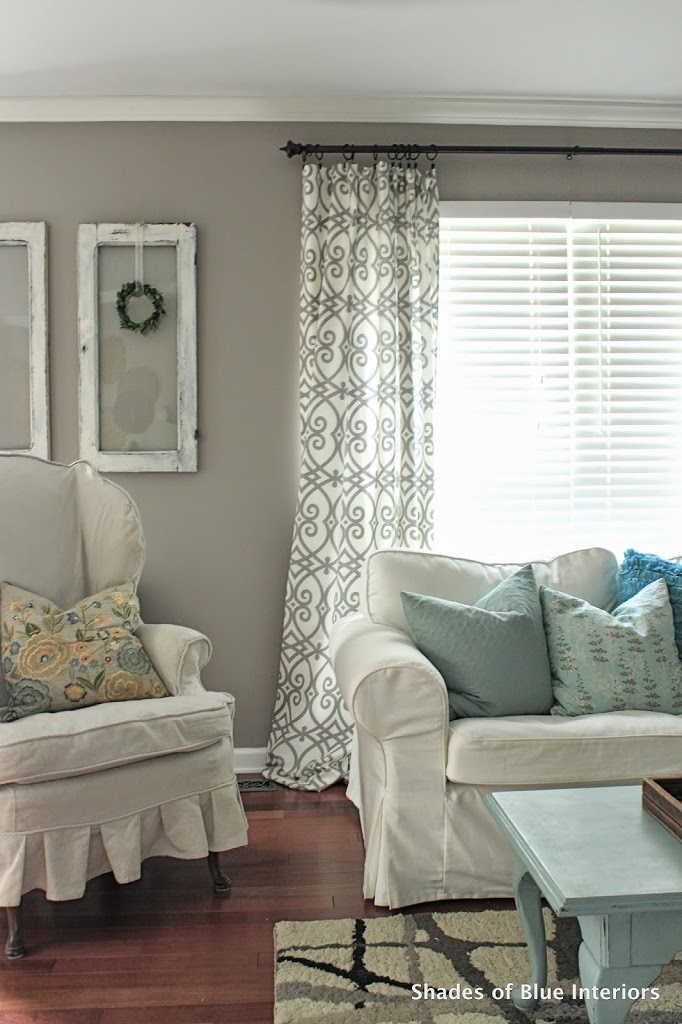
**In my older living room pictures, I used the Jaclyn Smith Gatework Rot in Dove Gray **
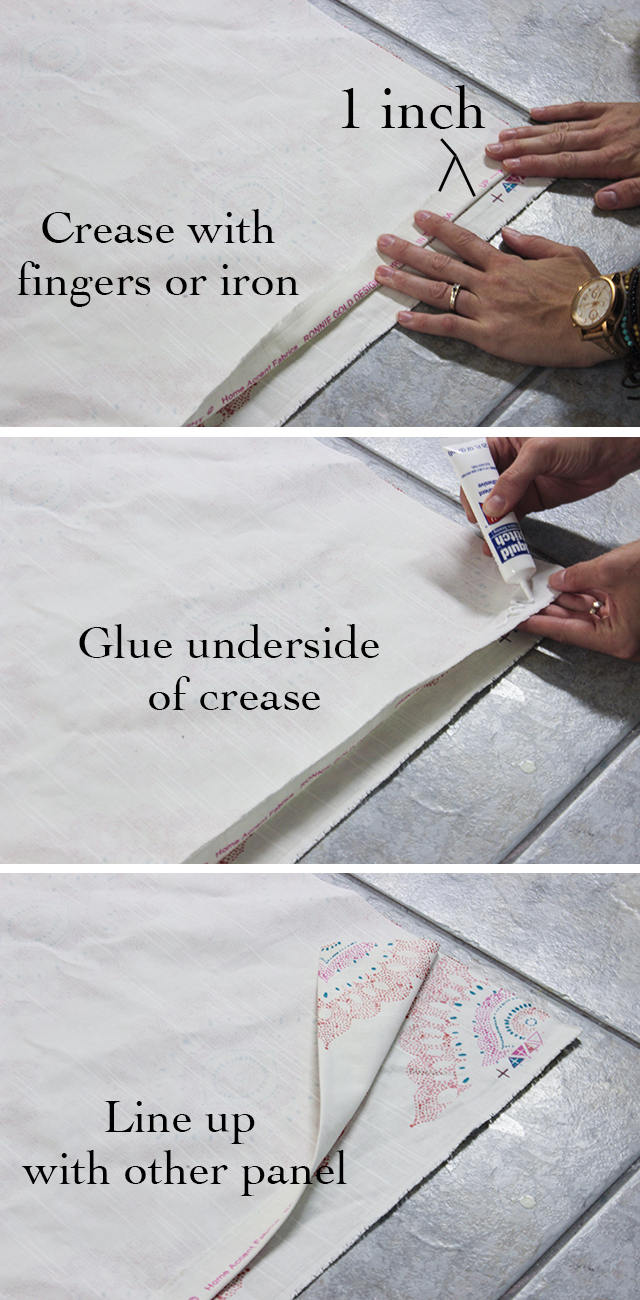
Step 1: Fold Edges & Glue
Place fabric on a flat surface (like the floor) with pattern side down. Using your fingers, fold in the fabric 1″, on both long sides of the cut 54″ wide panels. Most home decor fabric will crease when you press and apply pressure. If you want, you can use an iron to get an extra hard edge crease. If using a liner, place the liner on top of the fabric and cut it to fit between both folded creases (so the curtain fabric folds on top). Glue down the edges of the liner. Once both sides of the curtain fabric are creased, run the fabric glue all along the inside of the 1″ folded-over-edge, and press firmly closed. Repeat with other panel and make sure to line them both up so you confirm they are both the same size as you are folding over the edges.
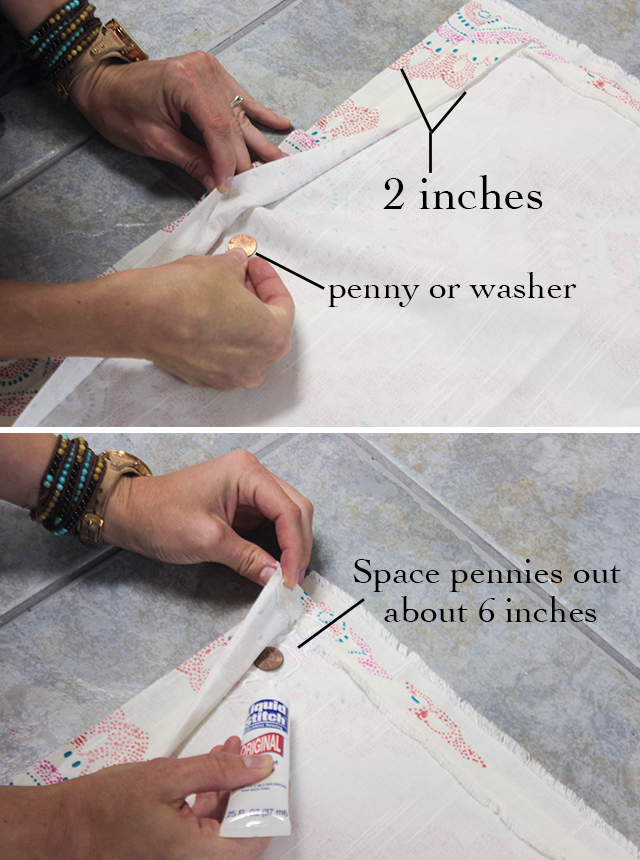
Step 2: Fold Bottom Hem & Attach Weights
Fold bottom about 2″ up (make sure the pattern is straight and matches all the way across, just in case it wasn’t cut straight) and crease just like you did in step 1. About every 6 inches, place a penny or washer in the inside of the 2″ folded hem. Glue all along the inside of the 2″ hem, especially around the coins and press firmly closed, running your fingers along that creased edge.
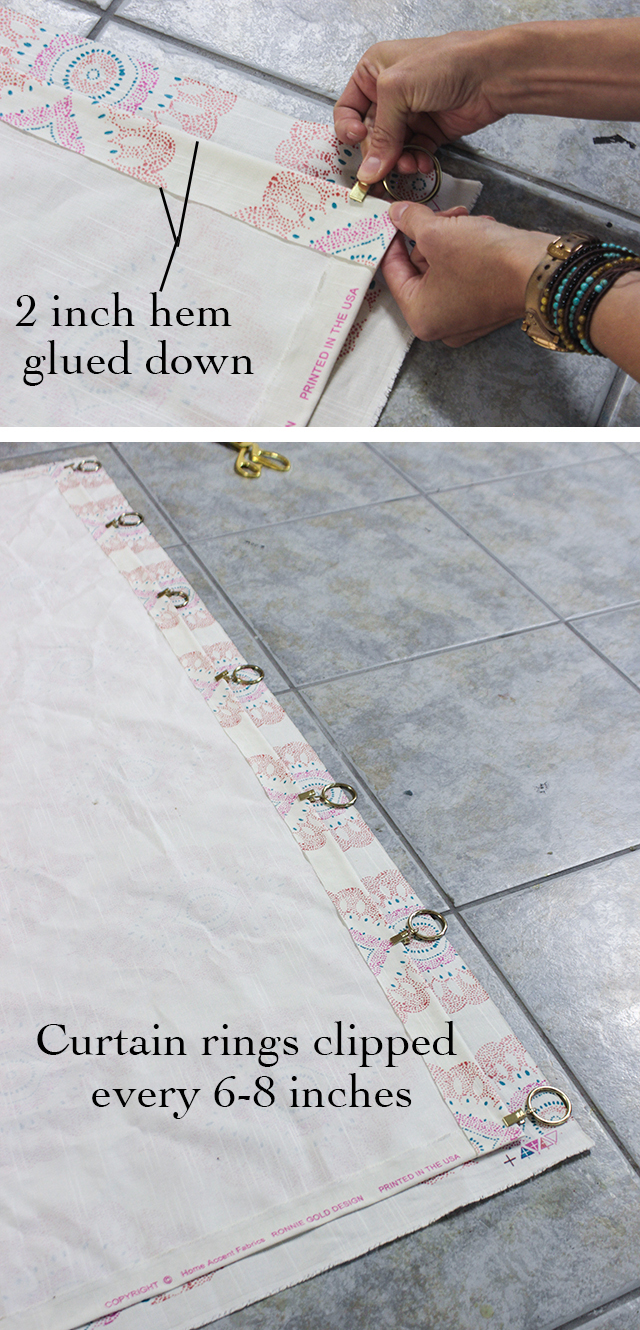
Step 3: Fold Top Hem & Attach Rings
Fold over the top of the panel about 2″, just as you did the bottom, making sure the pattern is creased in the same place all the way across. Glue all along the inside of the fold and press firmly with your hands. Attach the clip rings first on either edge of the panel, then space them out evenly, every 6-8 inches.
That is IT! Can you believe how simple it is? And the fabric glue is washable once completely dry.
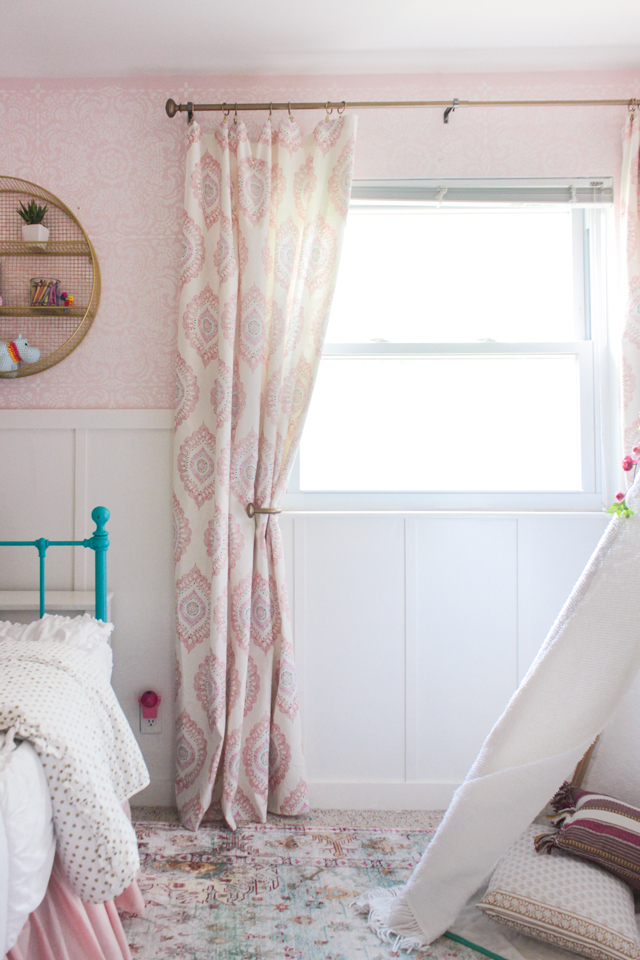

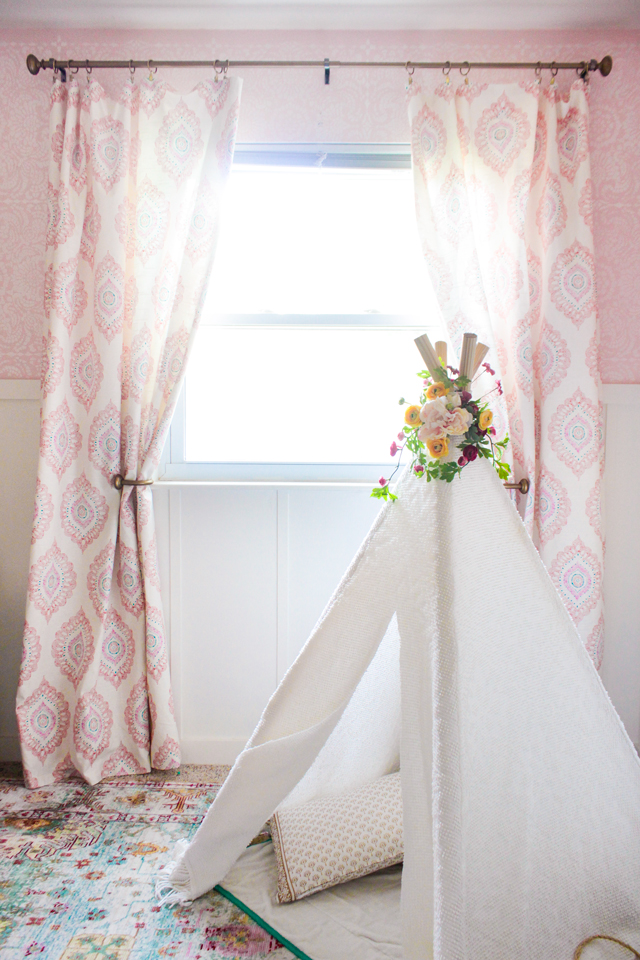
When measuring your curtain panels, make sure you run the full height of the wall, so that you can hang them close to the ceiling and the touch the ground. It even is pretty to have them pooling on the floor a bit, but you don’t want them suspended in mid-air.
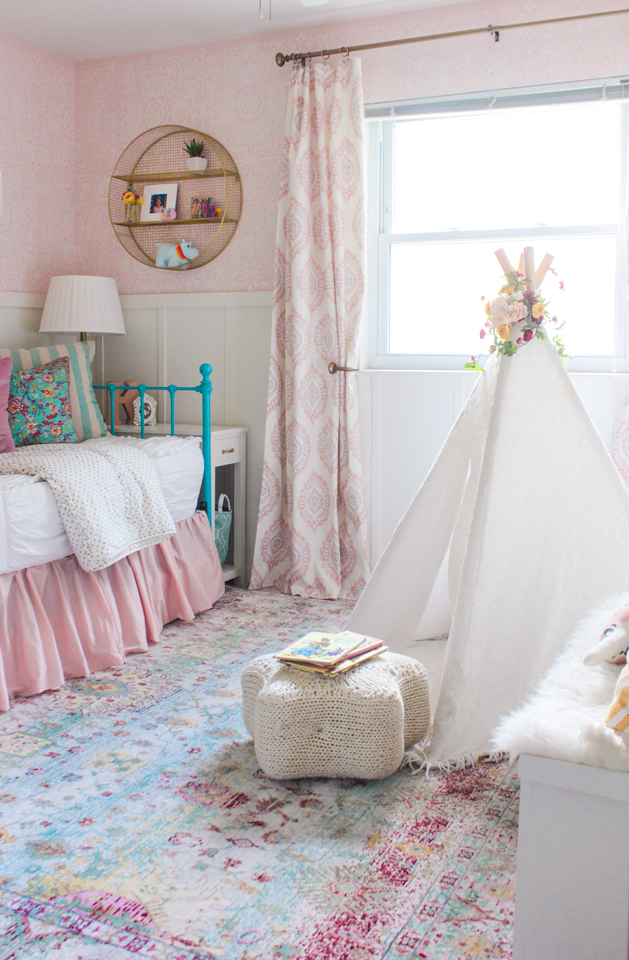
To see more of this cute girl’s room, go HERE.
Pin this for later!
I love this simple way to make a custom look! And it doesn’t cost a fortune so you don’t feel bad swapping them out in 12 months!!! Glad to hear you are headed to Haven….me too! First timer…so nervous!! Maybe we’ll bump into each other!!
Beautiful!! Do you remember the pattern name from Joanns? I love these. Just moved into a new home and have no curtains in the entire house!! Looks easy and reasonable in price.
Thanks so much!!
Love everything what is the color of your wall thank you
I want to know the colour of the wall too! Love it!
I’d also like to know the color on the wall?
I absolutely love the idea! Could you tell me your wall colour in your living room?
It was Valspar Redstone Dakota Sandstone in these pics!
Oh I see you posted the name. Thanks!
The curtains you show being made don’t look the same as the one hanging.
Thanks for the no-sew curtain instructions.
You always make it simple and easy to follow your instructions on
all your projects.
Where did you get your tan and white living room curtains?