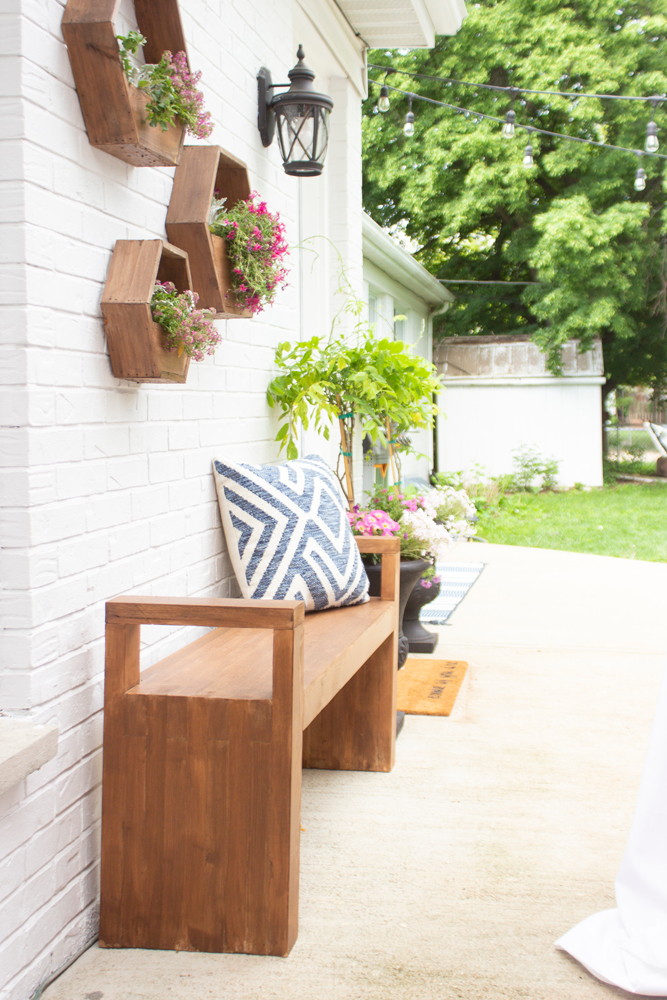
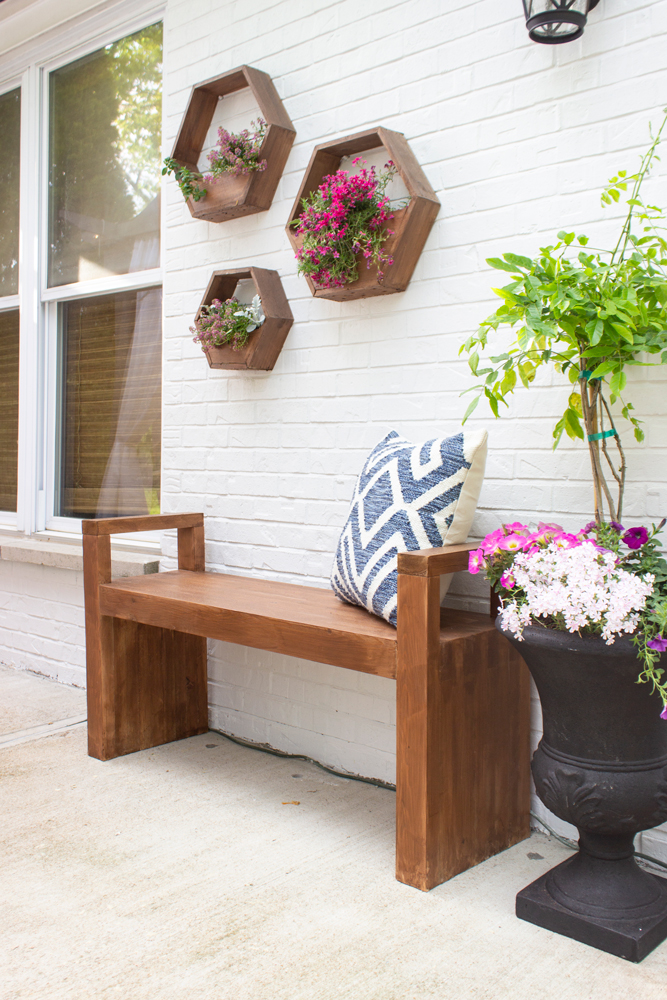
Today I’m sharing how I made a simple modern outdoor bench from cedar 2x4s and exactly zero screws or nails. I was able to put it together in a day and really only had to wait for it to dry overnight before doing finishing touches and calling it done. You will love how easy this DIY is to make and what a beautiful addition it can be to your outdoor space!
I’m also participating in a blog hop with my friend Shauna from Satori Design for Living— this is the final week in her series and I was excited to be able to join this talented group of bloggers. Be sure to click around and check out how they have been updating their outdoor spaces the past few weeks!

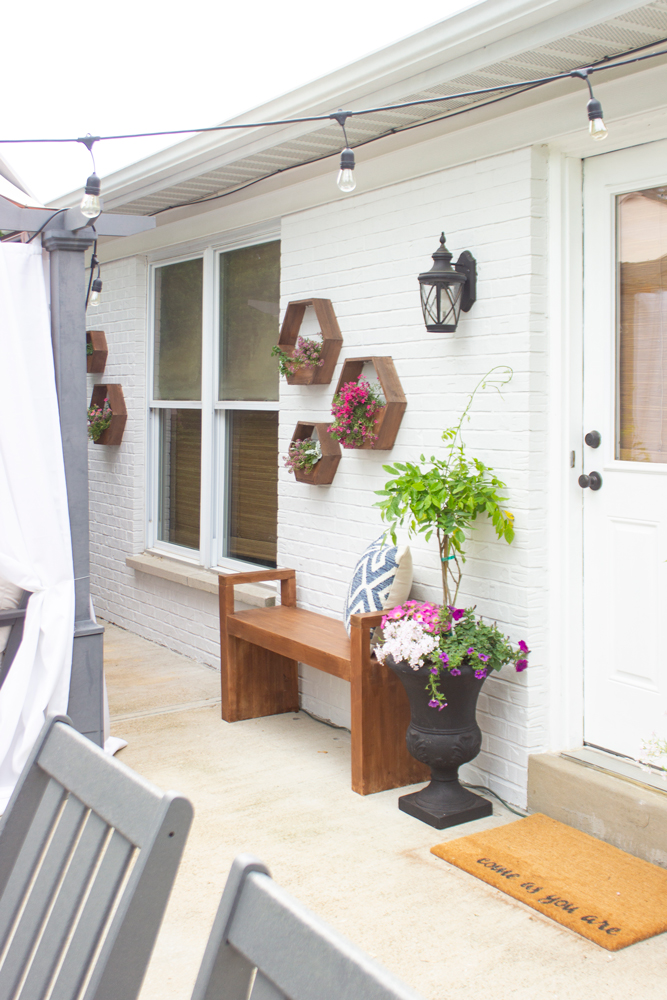
Yesterday I revealed out newly made-over back patio and one of the elements I shared briefly was this bench!
This bench is very similar to one made by Amy from DIY Candy, and I basically followed her tutorial except my dimensions are different and I added arms.
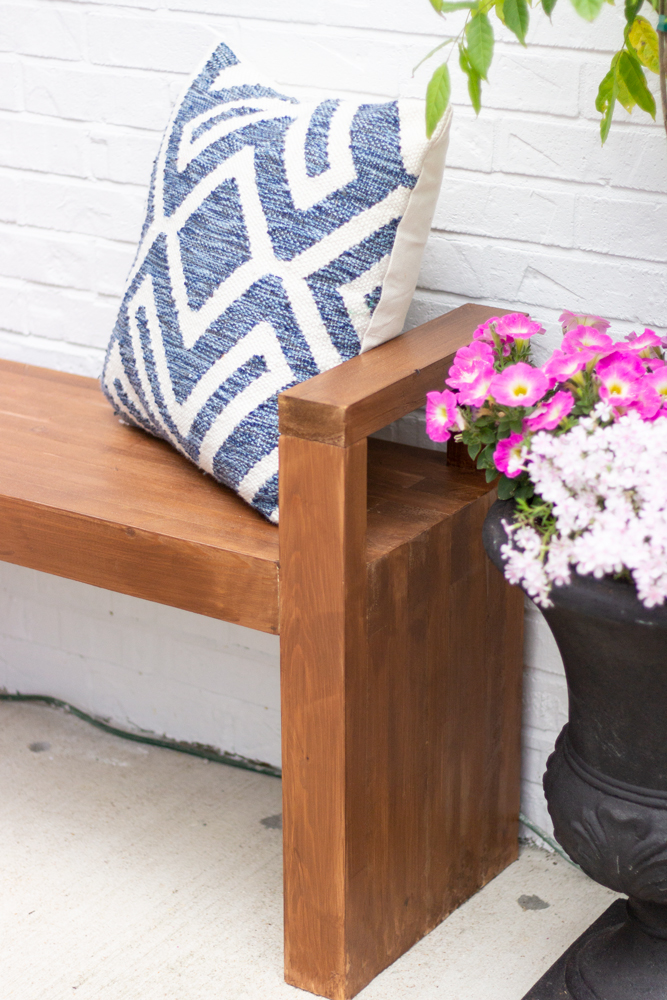
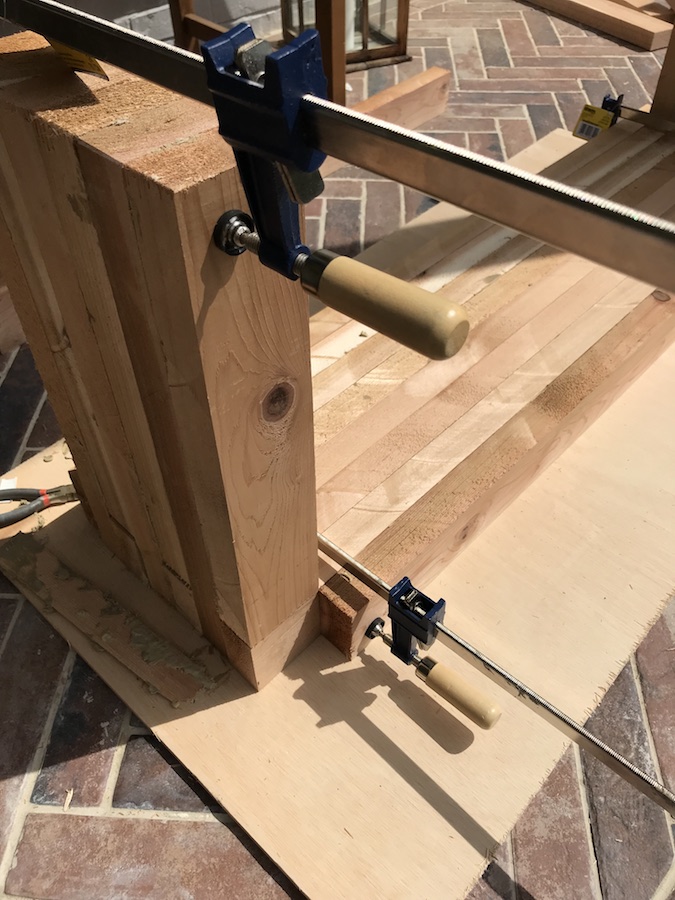
It basically is using the box joint method and if you use lots of clamps and good outdoor glue (Titebond III) then zero screws are nails are needed. I might add some eventually to the tops of the arms just for extra durability, but I was really pleased with how seamless it came out.

Bench Dimensions: 13.5″ deep x 18″ seat height or 24″ arm height x 45″ long
Shopping List:
7- 2×4 cedar boards @ 10′
Titebond III waterproof wood glue
Wood filler
80 grit sandpaper for belt sander
120 & 220 grit sandpaper for cat sander
Behr Waterproofing Stain & Sealer in Chocolate
Tools Needed:
Table saw
Circular saw (or miter saw)
Belt sander
Corner cat sander
6 clamps (fairly long ones and smaller ones)
Cut List:
Cut 1/4″ off of both the thinner (rounded) edges on all 2x4s, so they have a sharp square edge. This will make the width 3″ instead of the nominal width of 3.5″ on a standard 2×4. The thickness will still be 1.5″.
5 @ 39″
4 @ 45″
6 @ 18″
8 @ 15″
4 @ 22.5″
2 @ 13.5″
For the tutorial, it’s the same exact process as DIY Candy, so I’ll direct you to her tutorial. The only difference is the end pieces– you can’t attach the 2- 22.5″ tall cedar boards to each end until you have everything completely dry and flip it over. Then you can attach them, clamp, let dry, then attach the top of the arms.
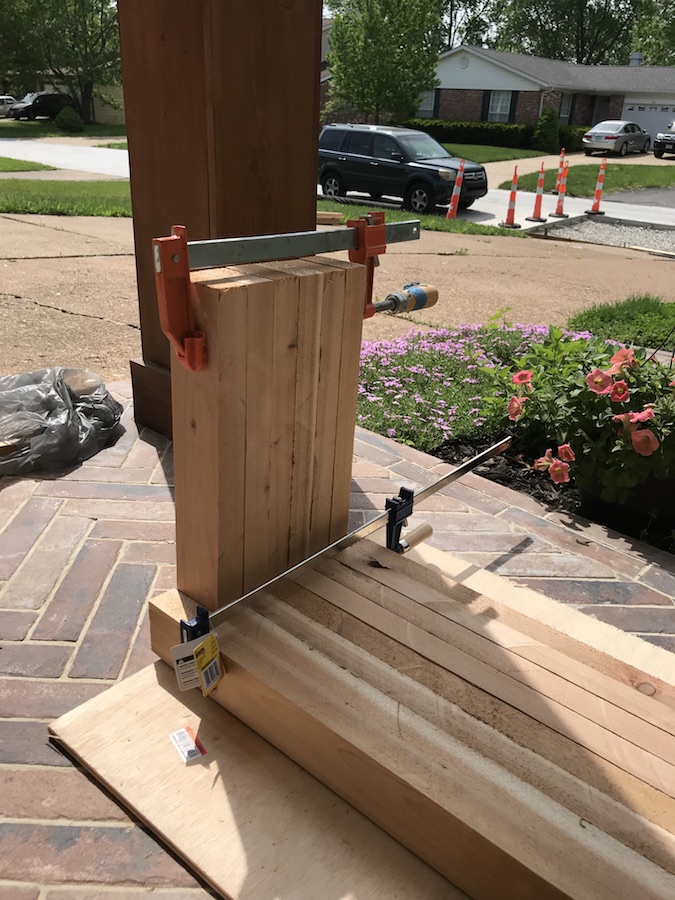
Below pic is just before I was ready to attach the tallest 22.5″ tall boards to each corner– I was still waiting for this to dry before I flipped it over.
I also ended up using wood filler because I had a few small gaps and I wanted everything more seamless. I definitely used the belt sander to even out the boards and then finished it off with my corner cat sander. After 2 coats of the waterproof sealer, it was done!
It is a very heavy bench, so wherever you put it, plan on not moving it very much!
I hope you enjoyed this simple outdoor project! I’m hopeful you all are inspired to perhaps make one this coming weekend to boost curb appeal or add some style to your patio or porch!
For all sources of the items in this post, check out my patio reveal post HERE for the extensive list!
Be sure to check out these beautiful outdoor projects below!
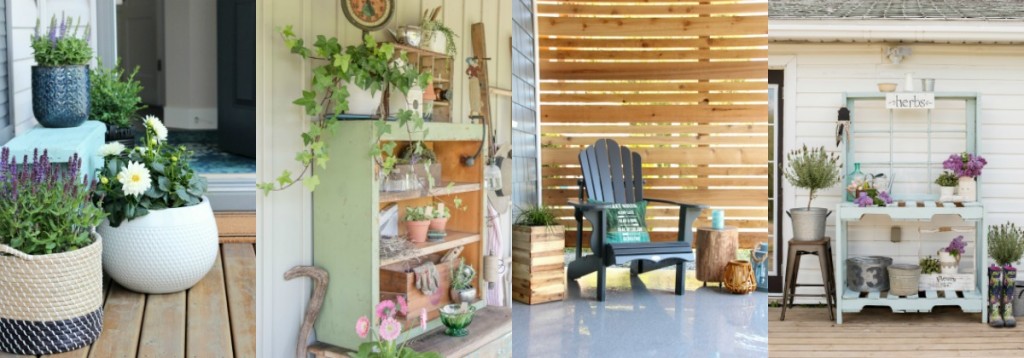
Satori Design for Living | Vinyet Etc. | The Happy Housie | The DIY Mommy
PMQ for Two | Clean and Scentsible | Finding Silver Pennies | Casa Watkins Living | So Much Better with Age
Zevy Joy | Shades of Blue Interiors | Amber Tysl | Craftberry Bush | A Pretty Life
Wow! This is incredible, Rachel! You’ve done an amazing job. Can’t believe all the work you’ve done. It looks so beautiful on your patio!
Hugs, Jamie
oh man, this DIY is exactly what I need in my life! Love the design of the bench.
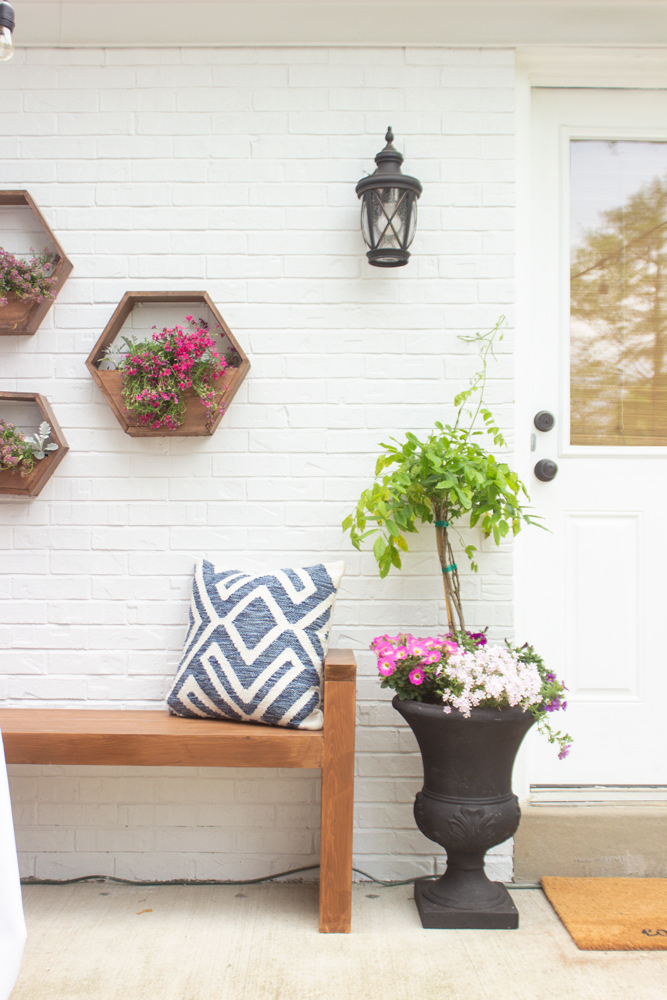
That looks like a solidly built bench! The modern vibe definitely suits your patio and I’m loving those hanging planters so much. So glad you could join in on the last week of the OE 🙂
Wow that is beautiful! It’s amazing that it didn’t require any nails!!
OMG, I love, love, and so in love with this project. You did a outstanding job with this project. I would love to be able to make a bench looking this fab.
Oooooh, love this bench. It’s so cool. In fact, just took the tour of your new back patio and it all looks so amazing. I know you and the family will definitely enjoy time out there this summer.
It looks fabulous, Rachel! I love the modern simplicity of it – thanks for the DIY! Pinned for later:)
I LOVE that bench!!! We have so much cedar here from our damaged fences – I think I need to build this, thanks for sharing! xo
That bench is simply wonderful! So chic and modern!! Great DIY idea!