The weather has been lovely this week and I’ve had a major itch to start planting. I couldn’t put it off any longer and I knew if I didn’t get at it this week, then I wouldn’t have time again until June. Vintage Market Days of Northwest Arkansas is coming up in less than 4 weeks and I still need to buy several more pieces and get them ready for the show. So next week I will be in crunch mode again! 😐
So, remember how a few weeks ago, I talked about my plans for the outside of our home?
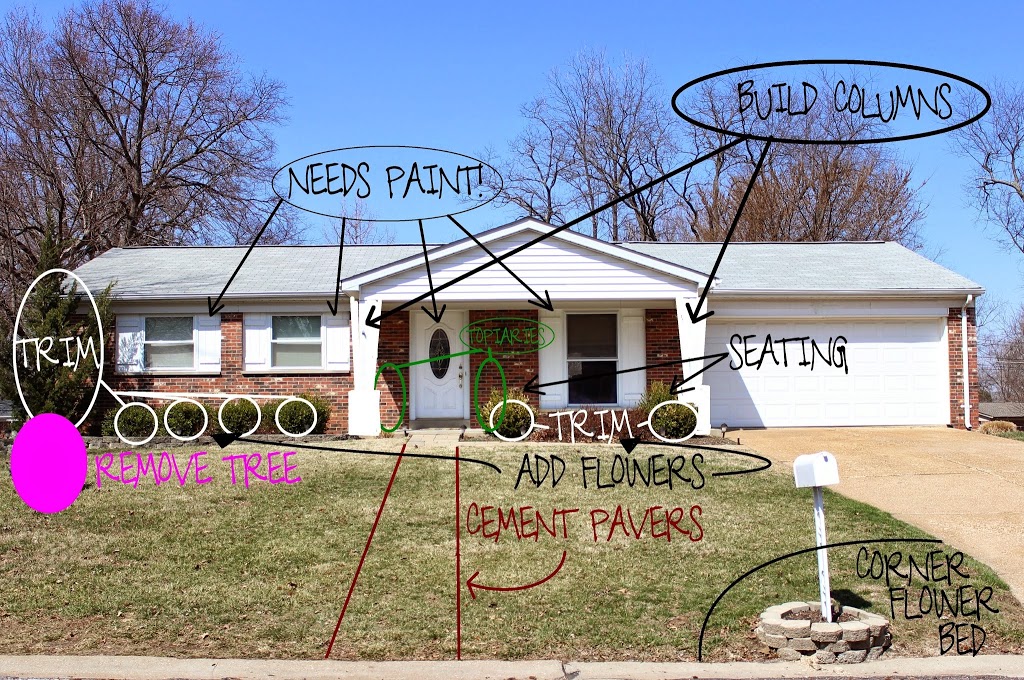
Well, I thought I’d share with you some of the progress I’ve made!
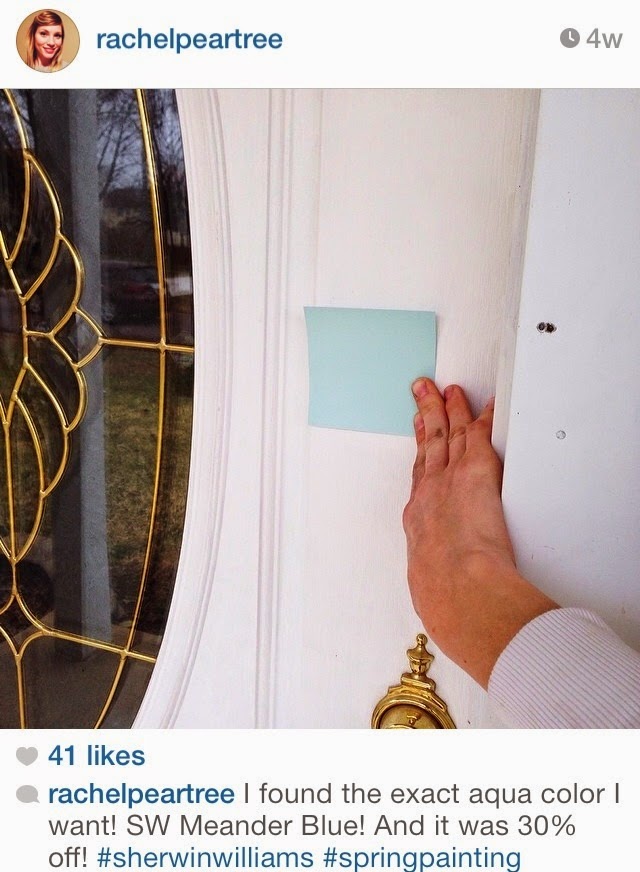
Shortly after my grand plans were made, I went into Sherwin Williams and found the exact color of paint I wanted to match this inspiration from Better Homes & Gardens:

I wasn’t sure when I would have time to paint the door, but since the paint was on sale, I went ahead and bought some! Then I shared my excitement on Instagram…
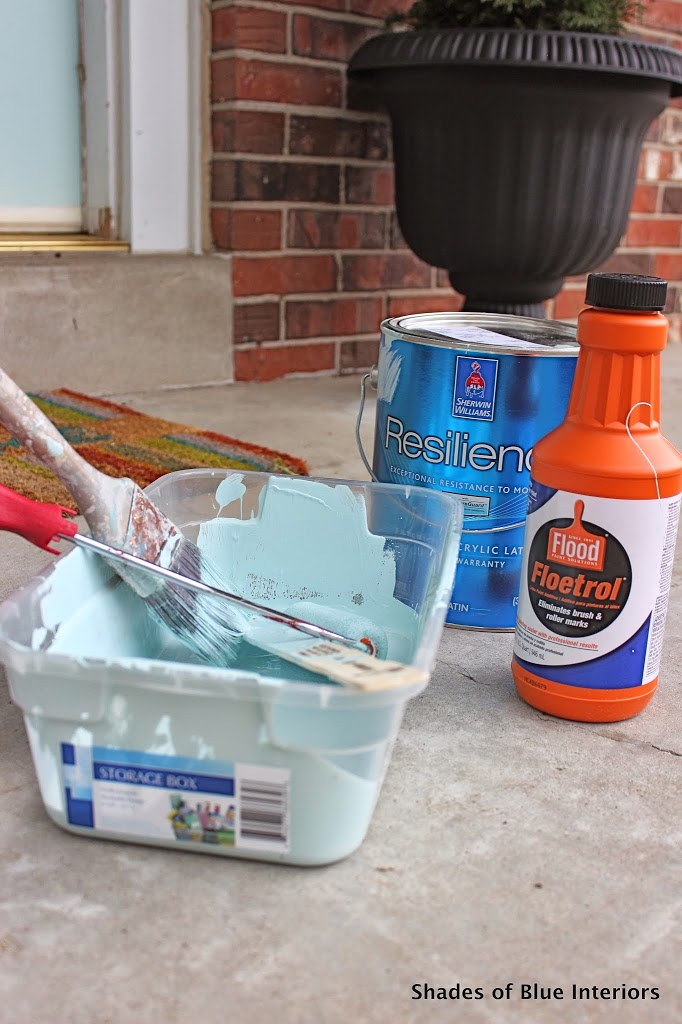
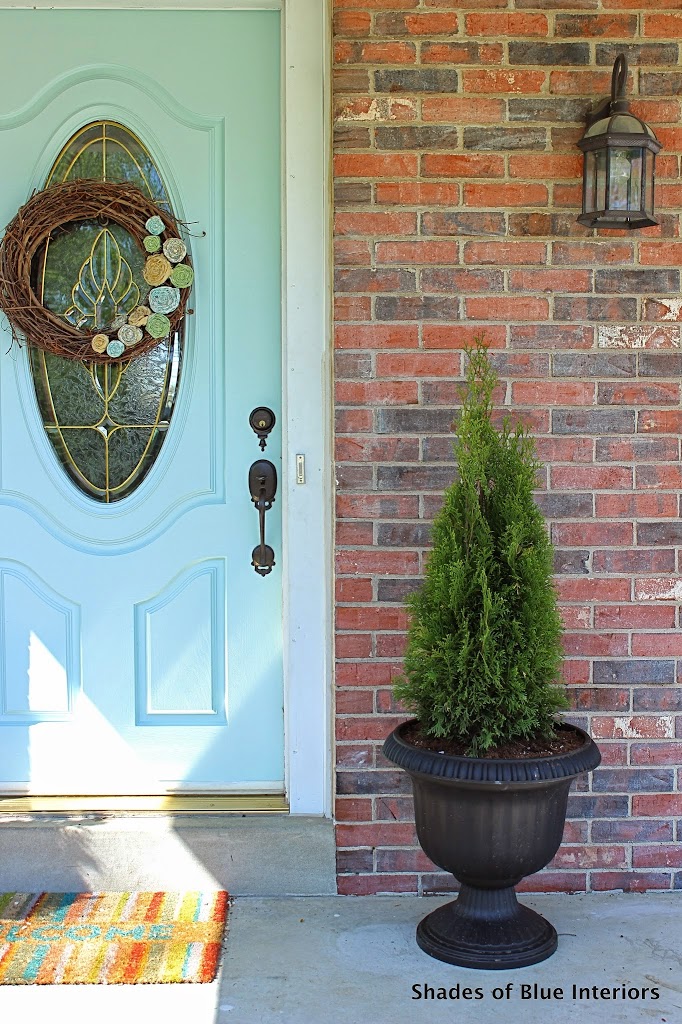
I have this major problem, when I am busy and stressed with all the things I have to do, I get distracted and decide to take on a new project, neglecting all else, further compiling my stress load! Pretty sure that is the definition of insanity. Anyhow, I chose to paint my front door and front shutters the week of Vintage Market Days a few weeks ago! I did 2 coats and left the 3rd coat for this past week.
I added Floetrol to the paint, since I didn’t want any brushstrokes showing on the front door. Brush strokes are less noticeable when lighter colors are used, so I maybe didn’t NEED it, but it looks so good and more professional. I will say with Floetrol, I absolutely needed the 3rd coat in order to arrive at the right color depth.
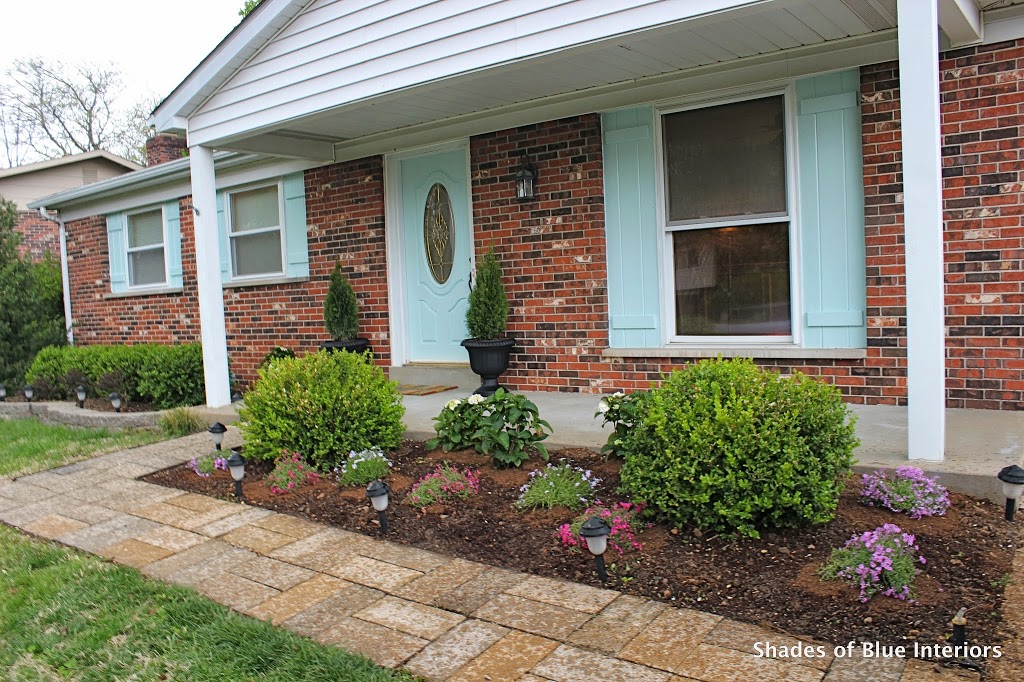
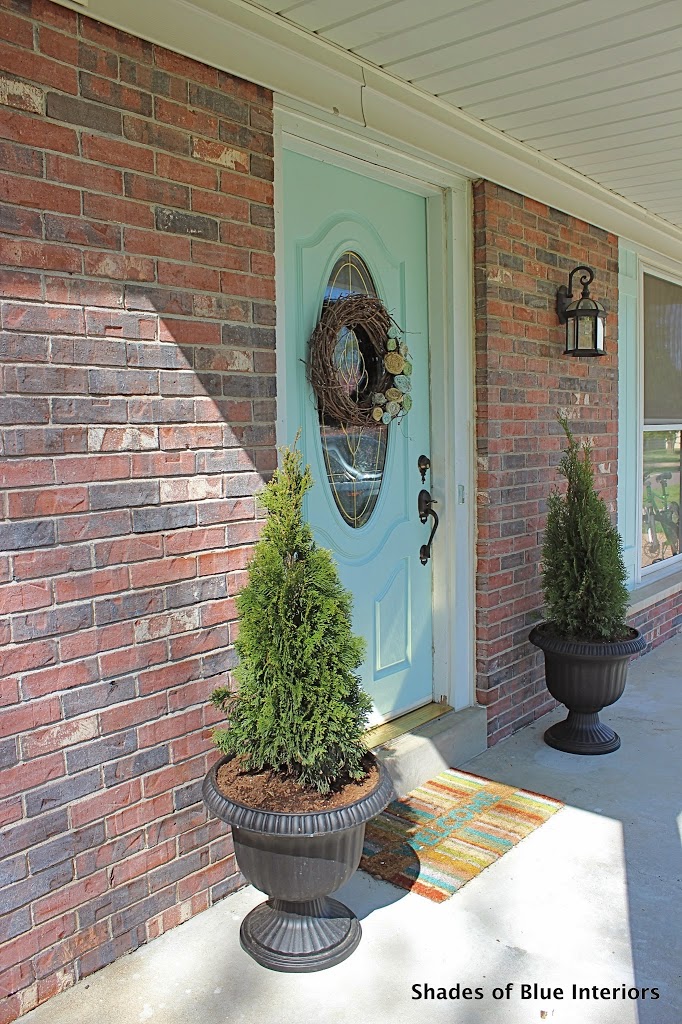
I also found a couple of plastic urns that look a lot like more expensive ones that Lowe’s had for $72 a pair, only they are not. They were a little less than $12 a piece. That topiary was only $16, so for topiaries on both sides of my door I spent less than $60!

I ripped out the Japanese Barberry, which is the plant from the DEVIL! So many thorns in my finger and feet. So. many. And very deep roots! I how I hate them so…
Anyhow, they are long gone and I replaced them with some Hydrangeas…

And creeping phlox all along the front. I hope the phlox eventually cover all visible soil in that front bed. That is my dream.

I also trimmed up all the boxwood in the front. They were growing very thick, so I thinned them out and reduced their size. I personally don’t like the boxy shape that some people like to give them, so I trimmed them to have a rounded, more natural shape.
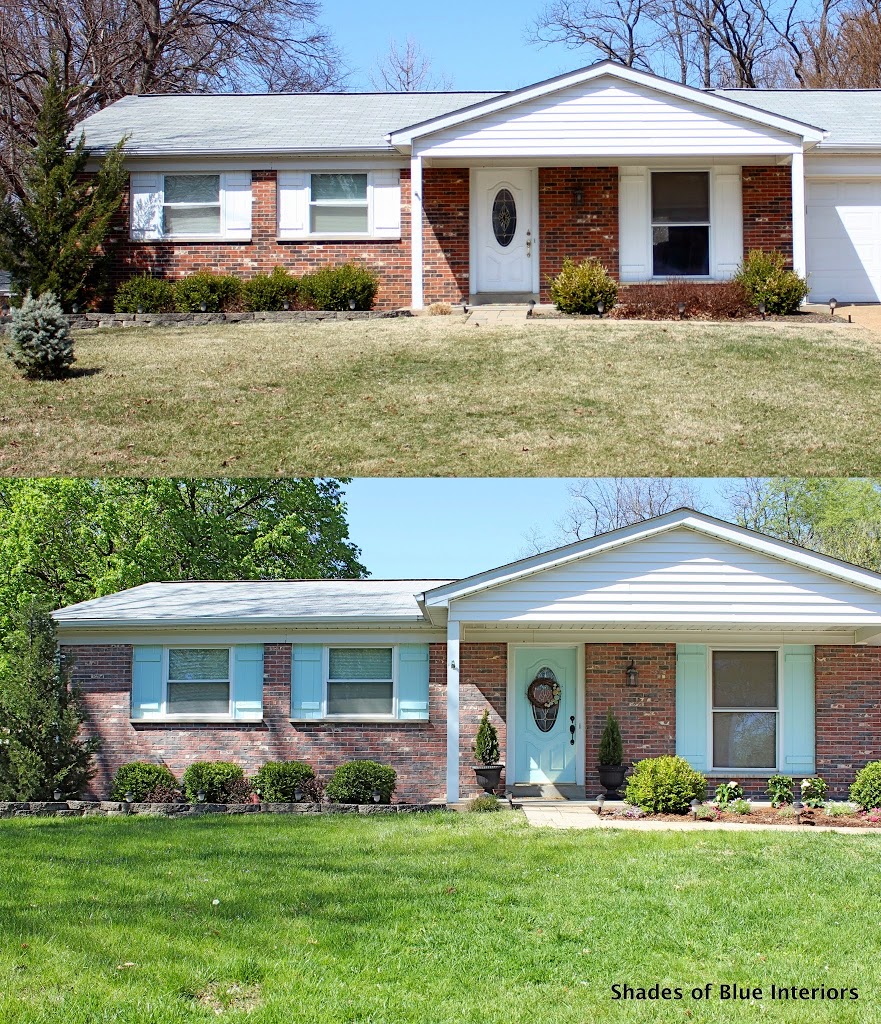
As I was editing these pictures yesterday afternoon, ready to post them, I was realizing how much I didn’t like the red and black bricks. It’s not like I don’t like the look of bricks, but I really didn’t like how dark they were.
So I decided to white-wash them with Chalk Paint.
I love it now. It has a softer, more weathered look now.


I also just removed that little blue spruce today! The improvements are slowly coming along, but more will have to wait until after VMD of NWA. For now, I’m just enjoying driving up to see the pretty shade of aqua contrasted with the white and faded brick!
What do you think so far?
I like it! Looks so much softer and more up to date. Great vision you had and came out great!
Pamela
Ohio
It’s charming and perfect!
Awesome curb appeal with minimal investment! I never would have thought to white wash brick with chalk paint.
It looks so great! Love all the touches you’ve added and your plants. LOVE hydrangea!
This looks amazing and is giving me so much inspiration for our ranch style house exterior. May I ask…what was your technique for white washing??
What formula did you use for the chalk paint, white wash on the brick? I have the same before brick and don’t like it, but I could live with the softened look.
How awesome! Light and fresh.