I’m not sure how people even have the patience to paint the Union Jack design in any other way than with an art projector! My mom gave me the EZ Tracer a few years back and when I did my first few Union Jack dressers, I used it. It was fairly easy, except I had to eyeball things a lot and go back to fix some mistakes now and again. Then when I realized I wanted to do 3 in the same weekend, I knew I needed a nicer projector. I went to Hobby Lobby, used a 40% off coupon and got the Tracer for around $50.
Here is what they boxes look like side by side. The tracer is definitely larger and the capabilities are greater as well.

With the Union Jack flag printed out, this is what the EZ Tracer’s projection looks like (room must be completely dark, so doing this at night is suggested).
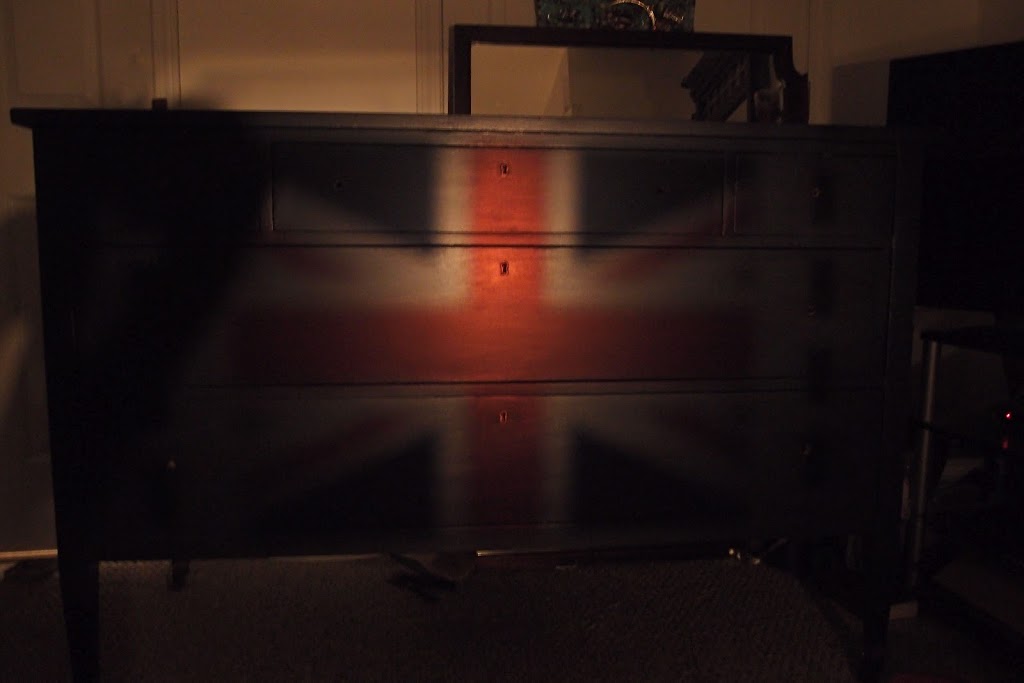
As you can see, the view-finder is too small to cover the entire flag size, so you have to sketch out with chalk the starts of all the lines, then use a straight edge (I used tape) to extend the lines out to the edges of the dresser. This take a little while.
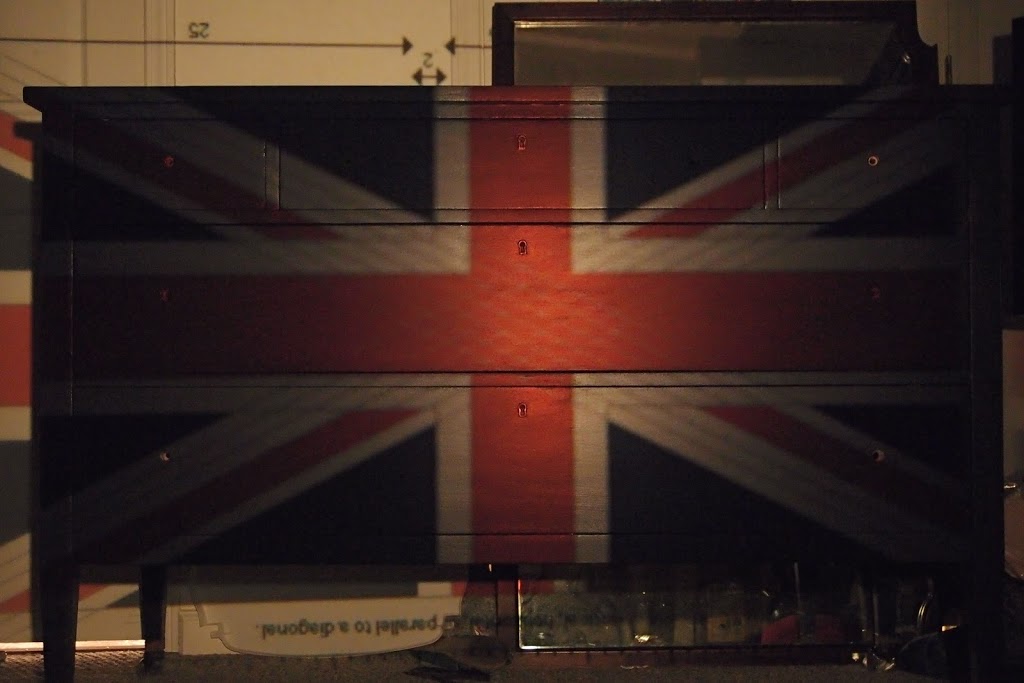
Now, here is the same flag projected on to the same dresser using the Tracer. You can adjust clarity with, and the view-finder is large enough to cover almost the entire flag-picture.
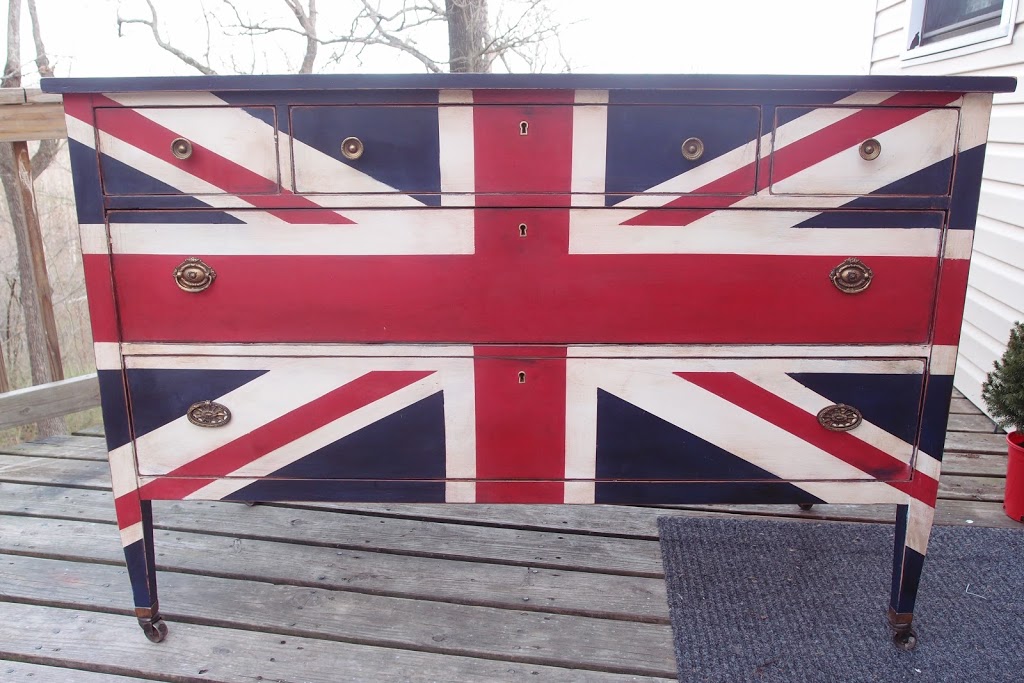
This one was a custom request that I recently finished, much the same as the others I’ve done, but it was larger, and the hardware was a little different.
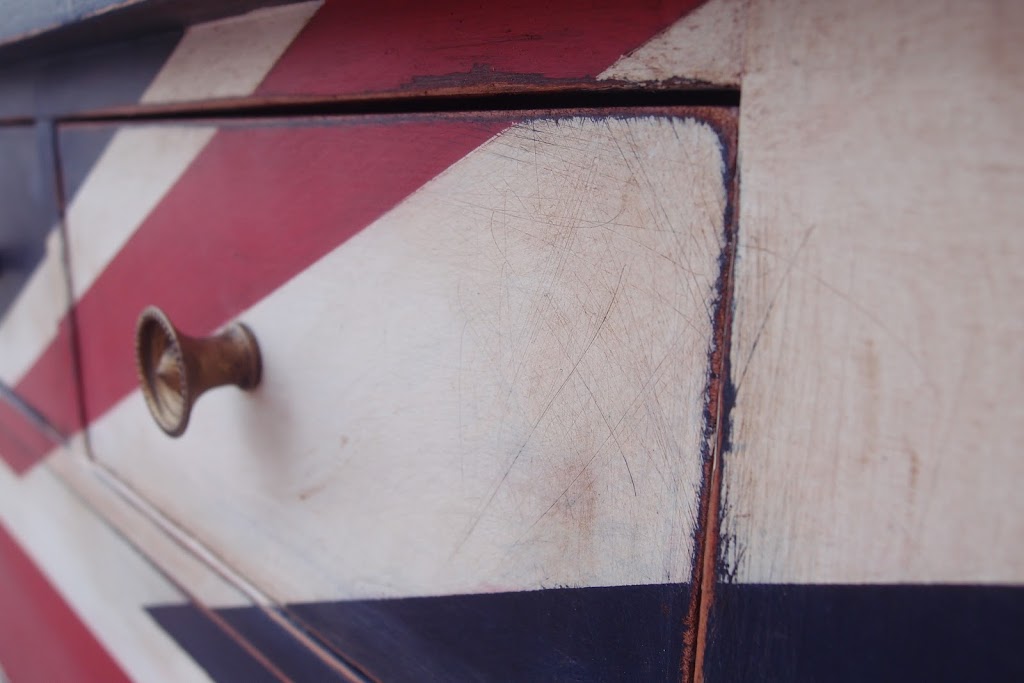
Due to the popularity of this particular color combination, I will be doing this one several more times. Please let me know if you have any other questions, and I will do my best to answer them!
Great tips. I’ve never used a projector. My union flag projects have been with tape, but I like this idea. Thank you for sharing it. x
This comment has been removed by a blog administrator.