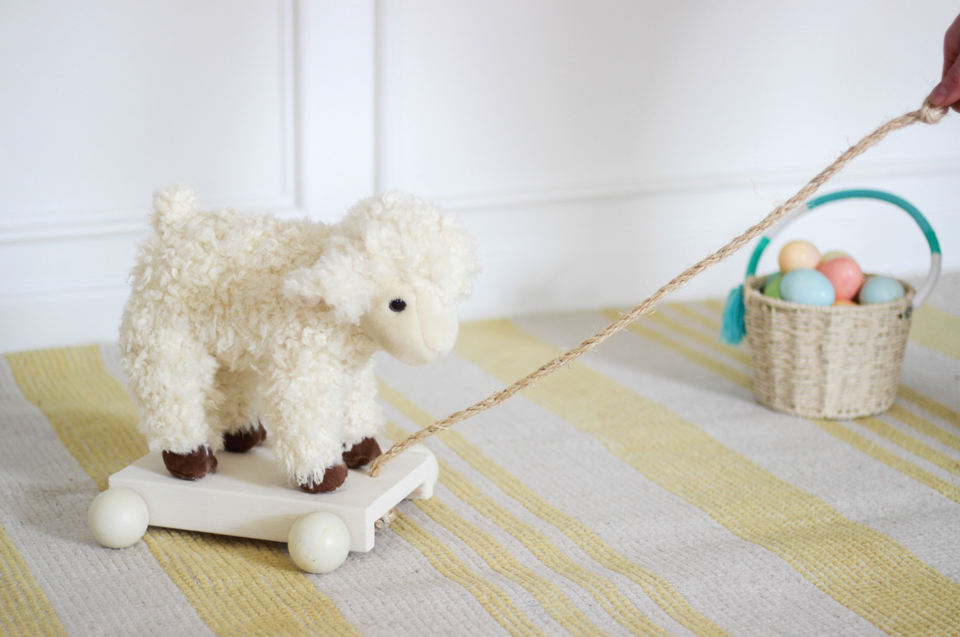
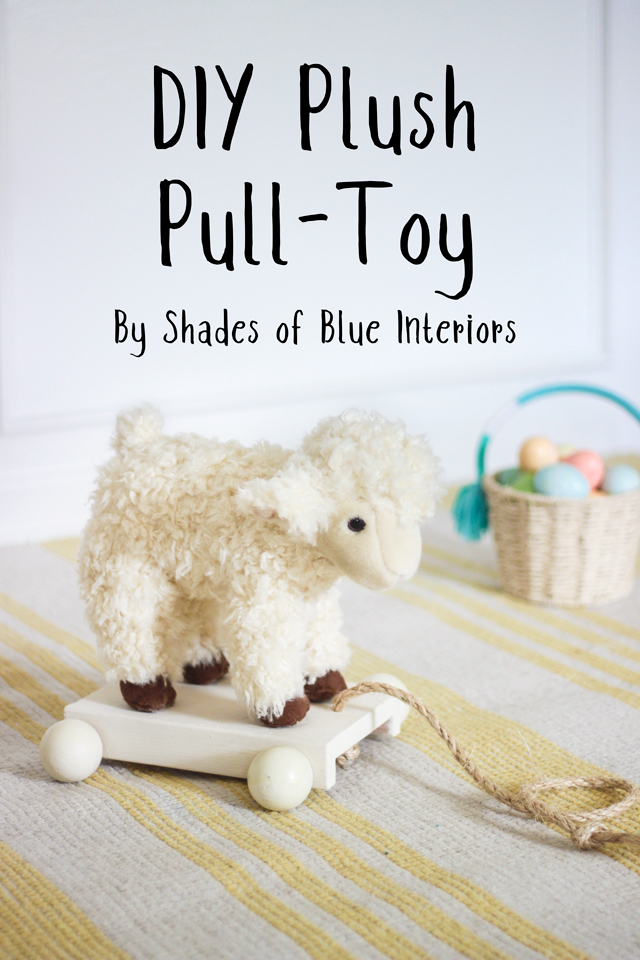
Last weekend when I was making the Easter wreath that I shared earlier this week, I came up with another craft idea for Easter and I want to share it with you today! Meet this adorable little DIY plush pull-toy!
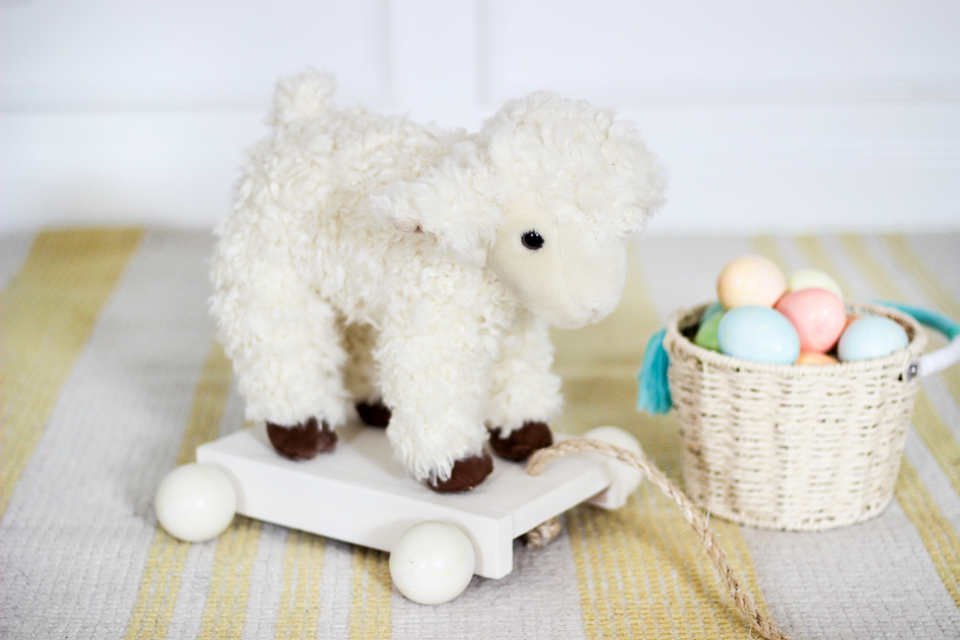
Wouldn’t it be so cute as an Easter gift?
What you Need:
2- 1×2 (actual 3/4″ x 1 1/2″) @ 9″ long (sides)
Cordless drill with both 1/4″ & 3/8″ drill bits
Measuring tape
1- 3/4″ thick board @ 5″ x 9″ (base)
Wood glue
8- 1 1/4″ nails (18 gauge if using a electric brad nailer)
Hammer (or electric brad nailer if you have one)
2- 1/4″ dowels @ 8″ (axles)
4- 2″ wood doll heads or 2″ wood wheels
4- 1/4″ dowels @ 5″ (leg supports)
1/2″ thick rope or cord @ 30″ long
Wood filler
White paint
Plush animal that can stand, 8-9″ tall at shoulder and 11-12″ long from front to back (I found mine at Toys R Us)
Step 1: Drill Holes in Sides
Measure 1″ from either end on the 1x2s, and about 1/4″ up from one long side and drill a 3/8″ hole on both ends. Stack this 1×2 with the holes in it, directly on top of the other 1×2. This top 1×2 will act as a hole template for the 1×2 on the bottom, so you will have a perfect match-up of hole positions on both sides. Hold them firmly together, place the drill bit into the pre-drilled holes on the top piece, and drill holes into the bottom piece. Make sure to work on top of some scrap wood.
Step 2: Attach Sides
Place wood glue on the long sides of the base. Position the 1×2 sides onto the long sides of of the base so that the pre-drilled holes are uncovered by the base and will allow the wooden dowels to pass through underneath the base. Secure these pieces in place with 4- 1 1/4″ nails on both side pieces and a hammer or if you have it, an electric brad nailer and the same size nails.

Step 3: Attach Wheels
Using 1/4″ drill bit, drill larger holes into the holes at the base of the doll heads. If you have 2″ wheels already, skip that part. Put a bit of wood glue in the hole of the wood doll head or wheel, and push the end of one of the 8″- 1/4″ dowels. Push the dowel in firmly until it is very secure. Place the other end of the dowel through the hole in the side piece, run the dowel under the base and through the hole on the other side. Attach the remaining doll head securely to the other end of the dowel. Repeat this for the other end with the remaining two doll heads or wheels.

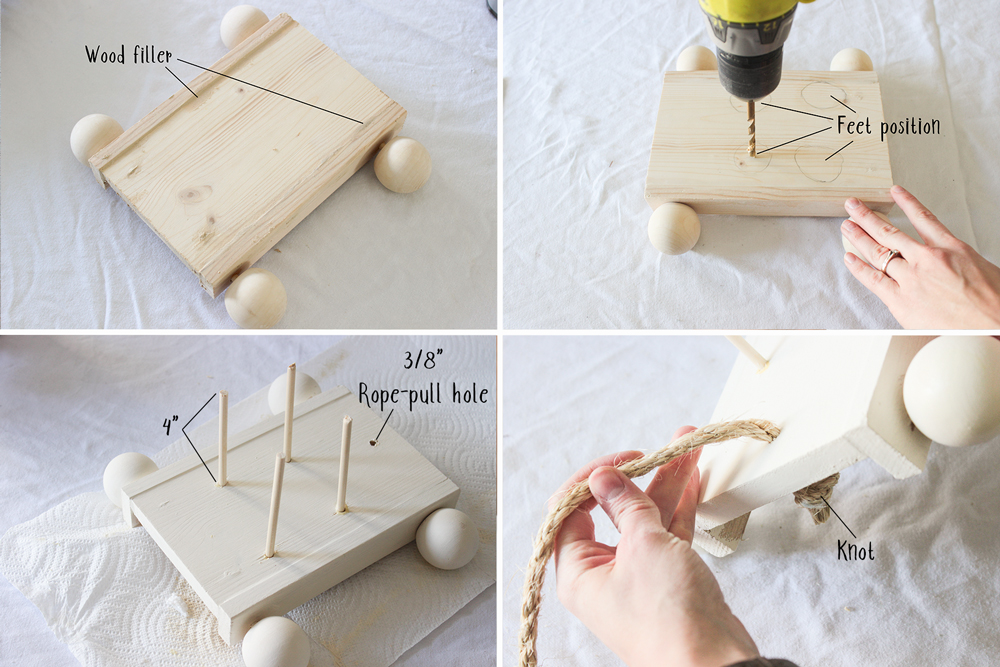
Step 4: Attach Feet Supports
Fill seams and holes or cracks with wood filler. Mark where the feet placement will be of the plush toy and drill a 1/4″ hole in the center of each foot position, all the way through the base. Drill another hole at the center of one end of the base for the rope-pull. Place wood glue in each of the 4 feet position holes and secure the dowels into place so that the dowels go all the way through the base and 4″ is sticking up. Place the rope through the rope-pull hole and tie a knot on the underside of the base.
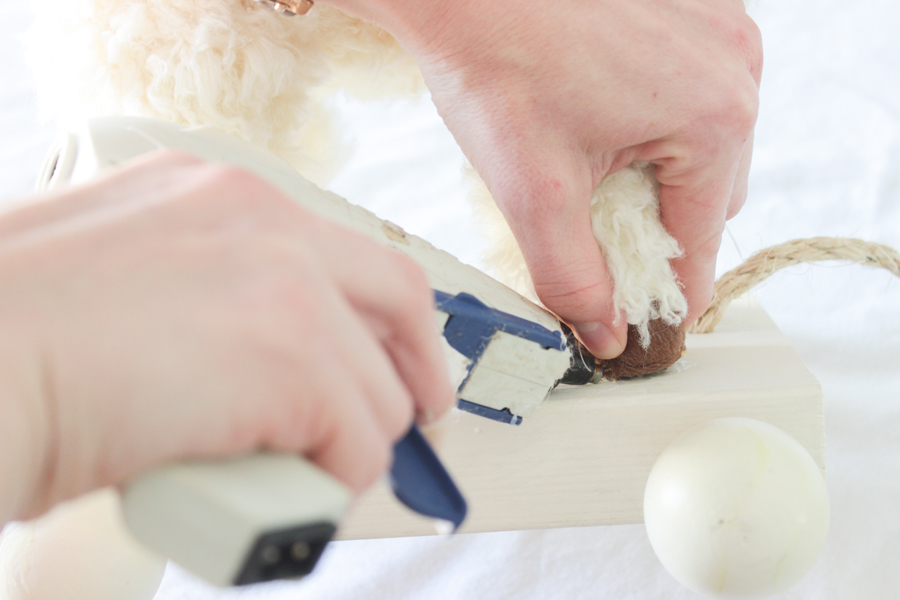
Step 5: Attach Plush Toy
Snip small holes using scissors in the center of each of the base of the feet of the plush toy. Push each leg into each of the dowels and secure into place using hot glue.
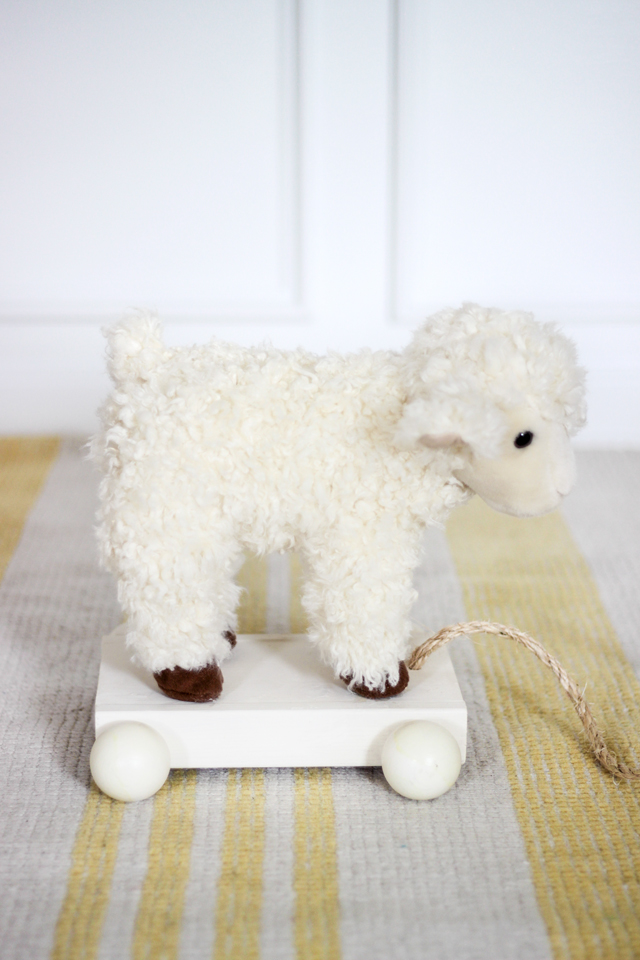
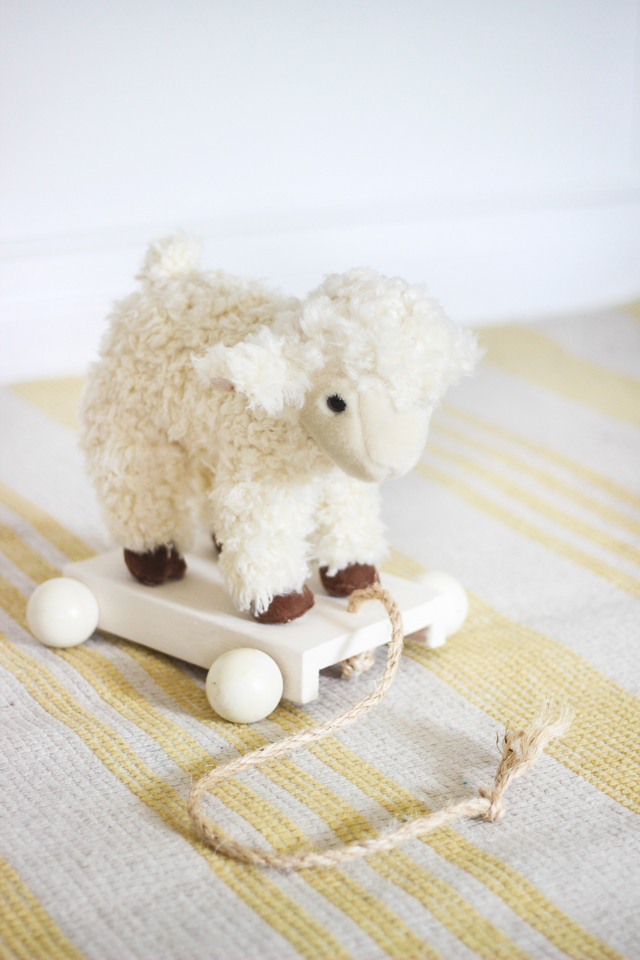
That’s it! Super easy and you have an adorable toy that any small child would love.
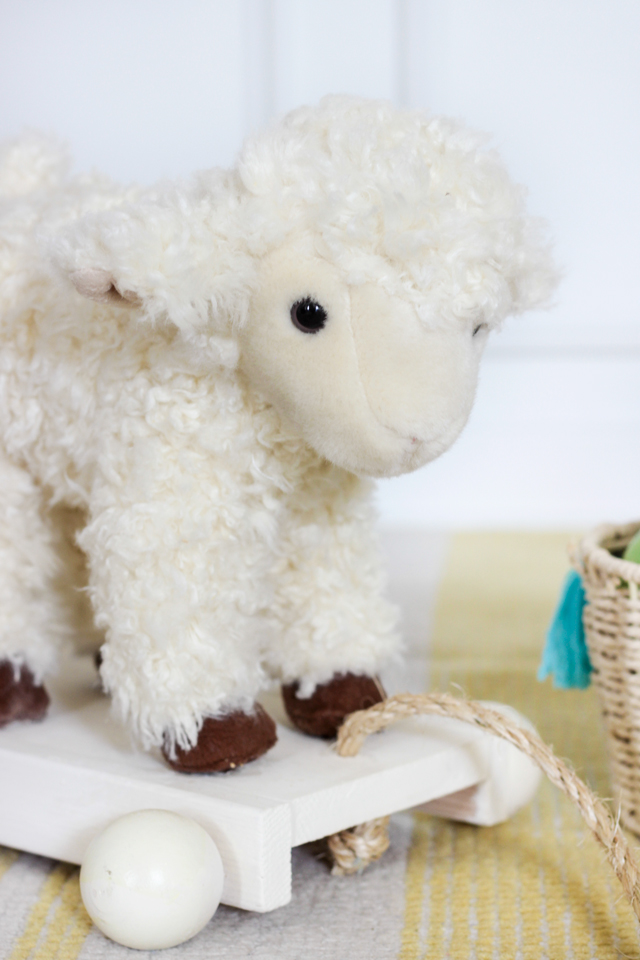
I came up with the idea of making this little plush pull-toy as an Easter gift, this would be an adorable gift for a baby shower, birthday, or even Christmas!
Hi Rachel,
What a great idea, so cute! Some lil one is gonna love it.
Blessings, Nellie
This is just adorable.