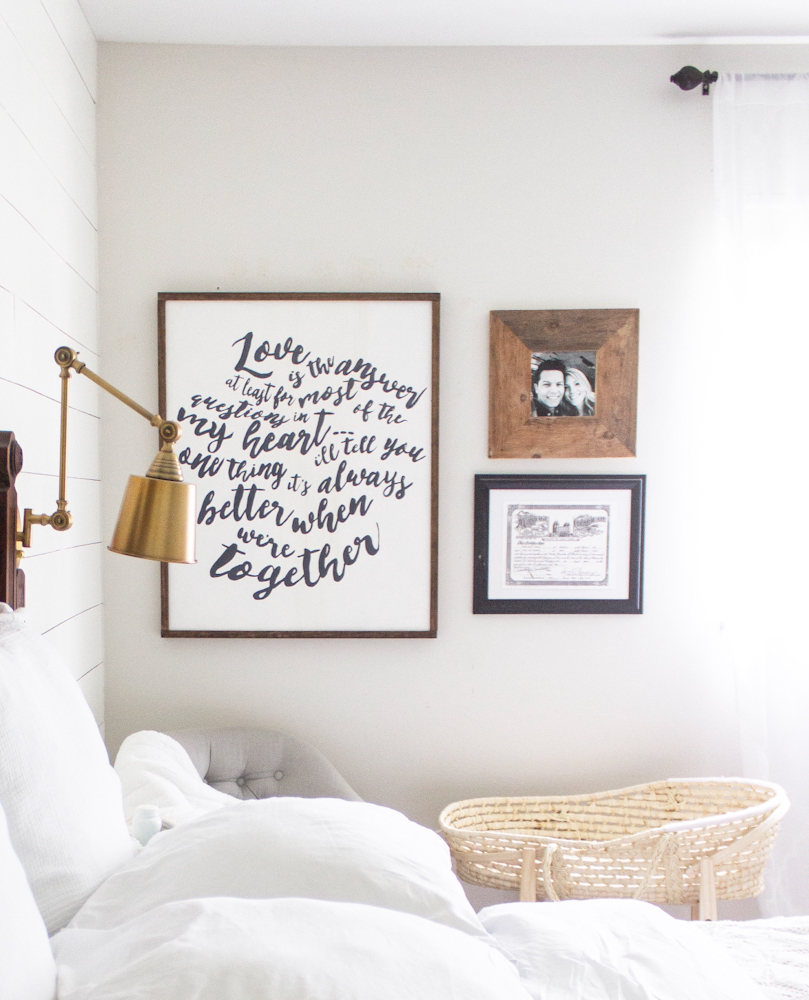
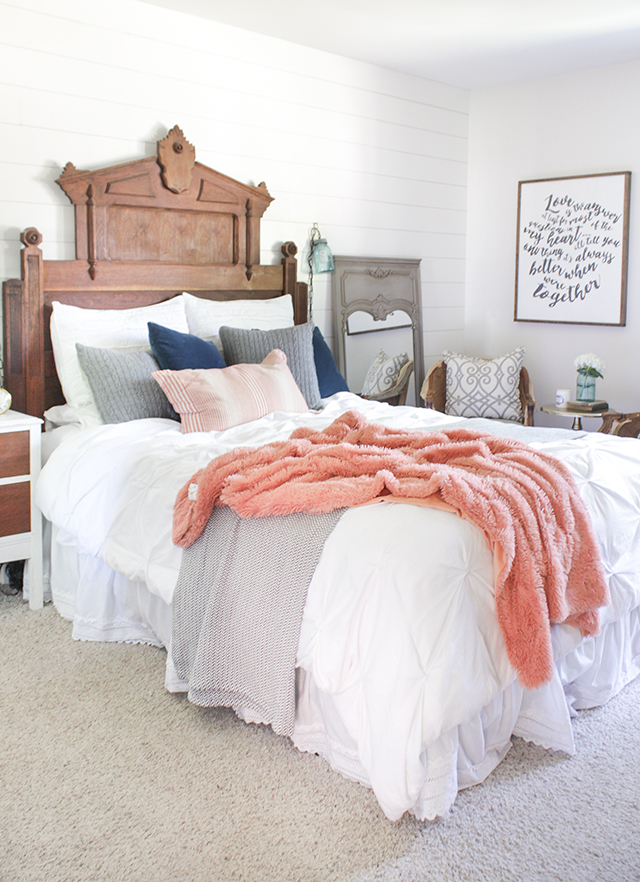
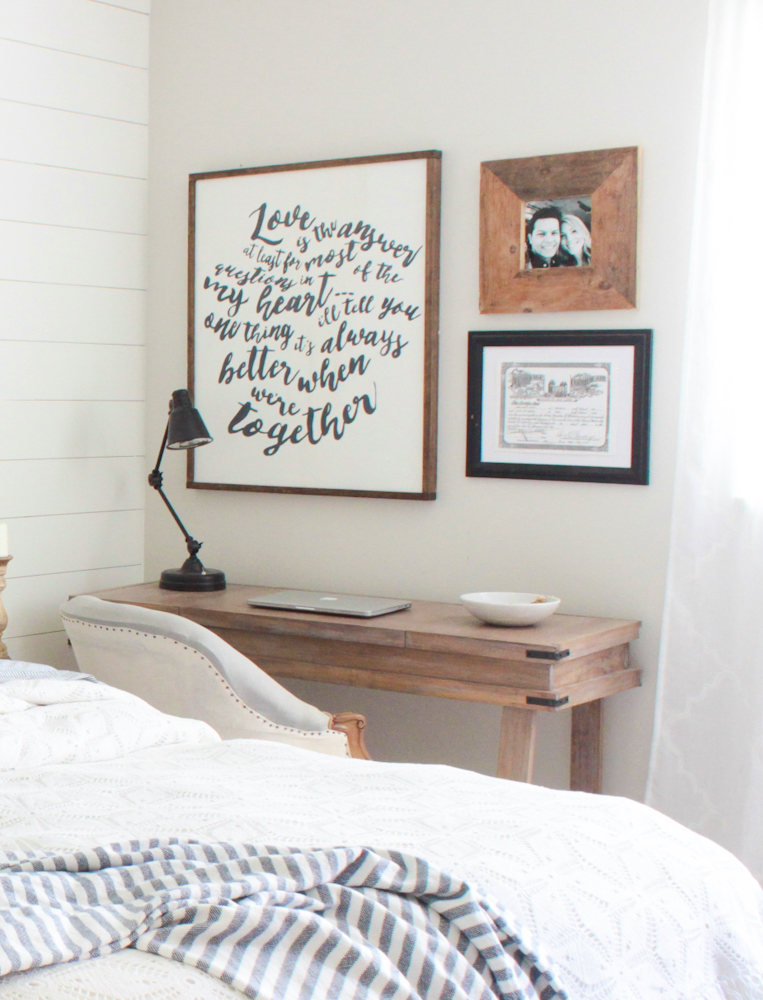
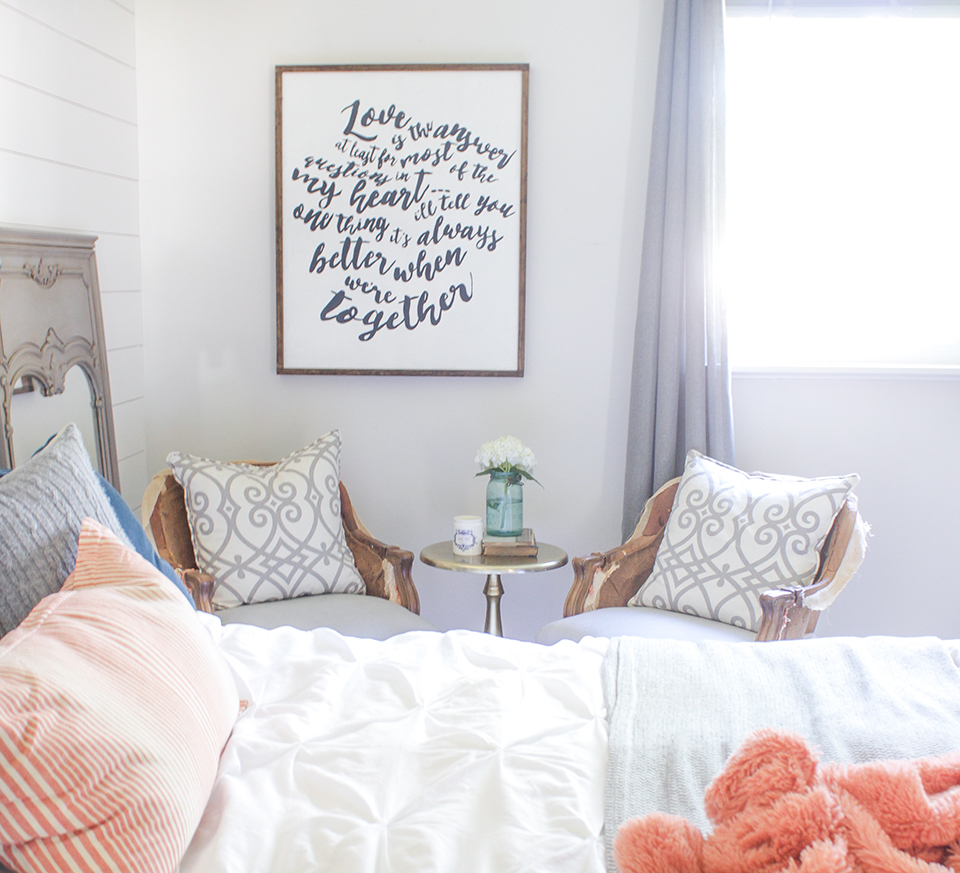
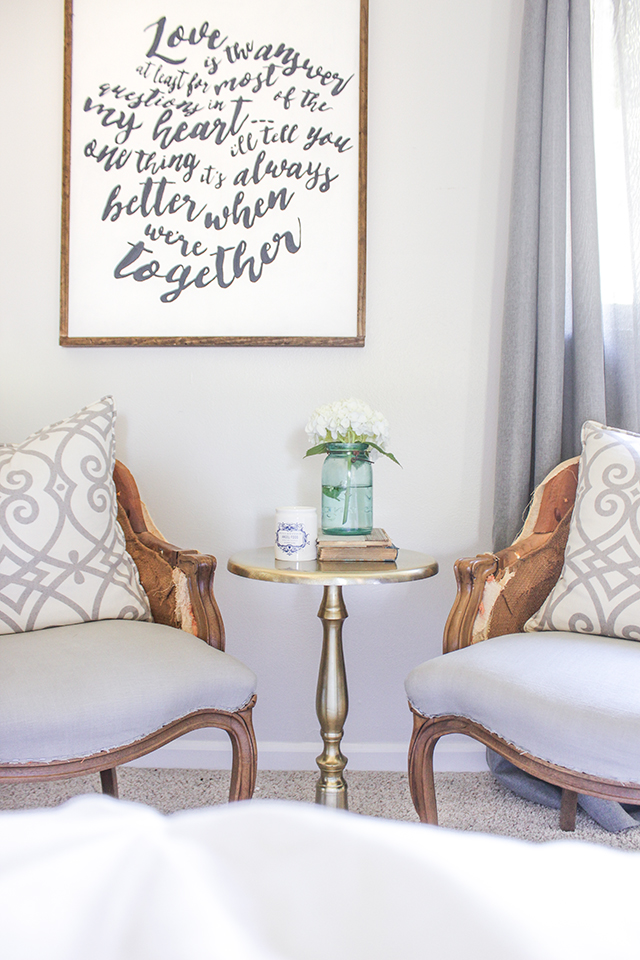
YOUR WISH IS MY COMMAND! 😉 A couple weeks ago I shared some new word art I created for my master bedroom, and I was unsure whether it would be worth it to share a tutorial on how I did it because it was so simple. Well, I got a lot of feedback requesting the tutorial, so today is the day!
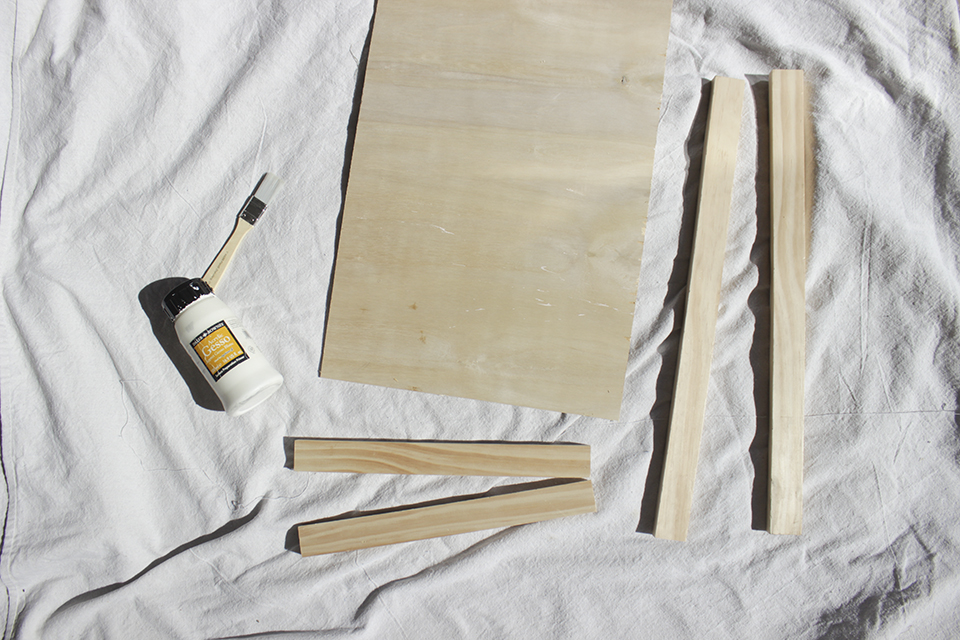
Supplies You Will Need for a 33″ x 27″ wood-framed word art (same size as in my master):
2- 1×2 @ 27″ (OR for a custom size, the total length of the short side)
2- 1×2 @ 31 1/2″ (OR for a custom size, the total length of the long side minus 1 1/2″)
1- 1/4″ plywood @ 32″ x 26″ (OR for a custom size, short length minus 1″ x long length minus 1″)
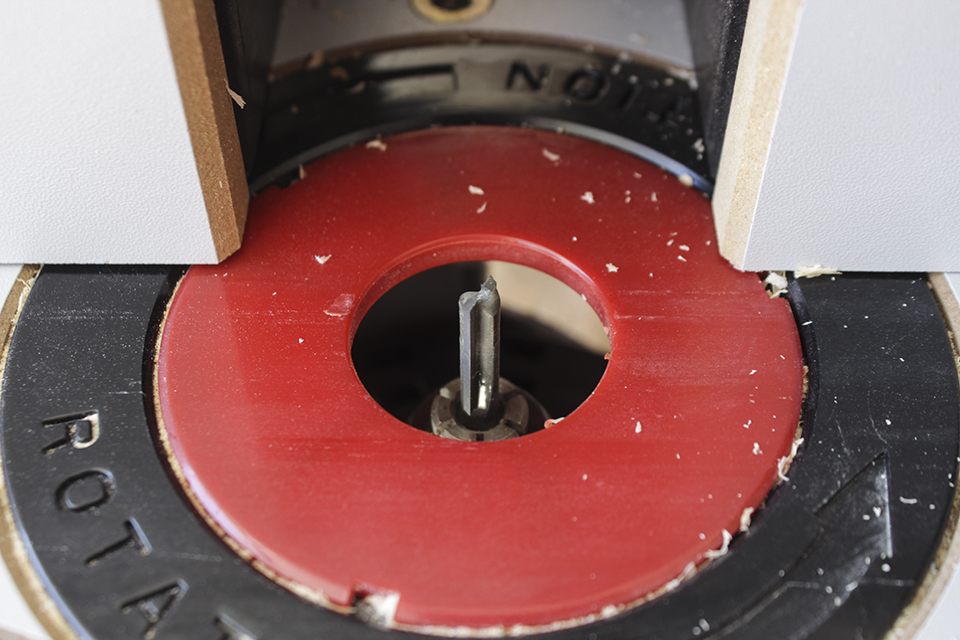
Router mounted under router table (positioned at 1/4″ height)
1/4″ Straight router bit
1 1/4″ nails (18 gauge if using a nail gun)
Brad Nailer
White matte paint (I used acrylic gesso)
1 1/2″ flat paintbrush
Fine round-tip fine paintbrush (I used a medium fine for the thicker parts and a very fine for the thinner parts– similar how I painted the fabric in THIS tutorial)
Gray paint (any kind… I used craft paint)
Dark walnut oil-based stain
Tracer projector
Word art printed out (for the word art I used, scroll down to the bottom)
(For this picture tutorial, the wood pieces are smaller than what I used on my bedroom art)
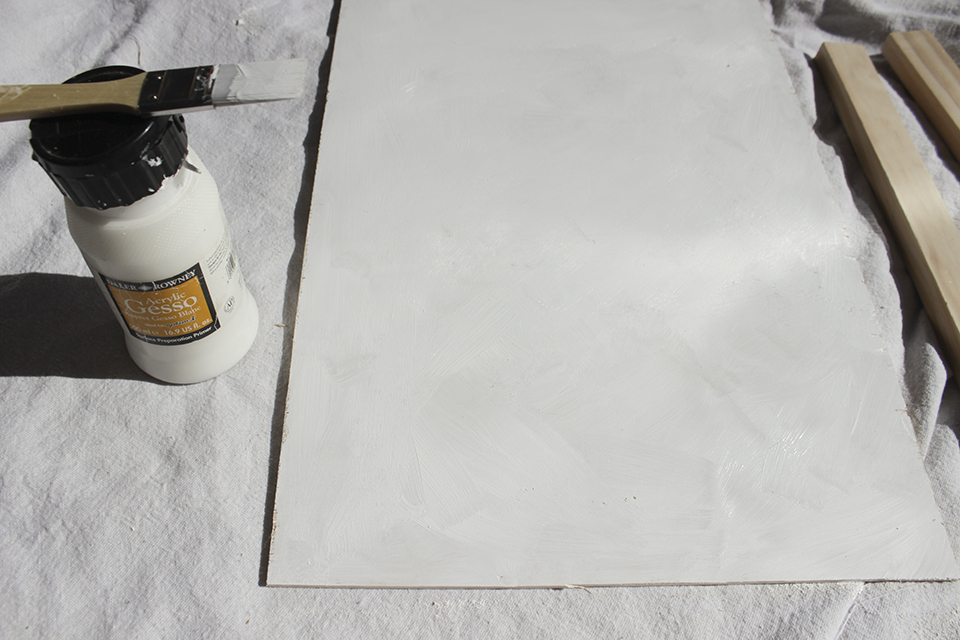
Step 1: Paint
Paint plywood with 2 coats of white paint. Pictured below is after 1 coat. Gesso covers pretty well and has some nice texture strokes.
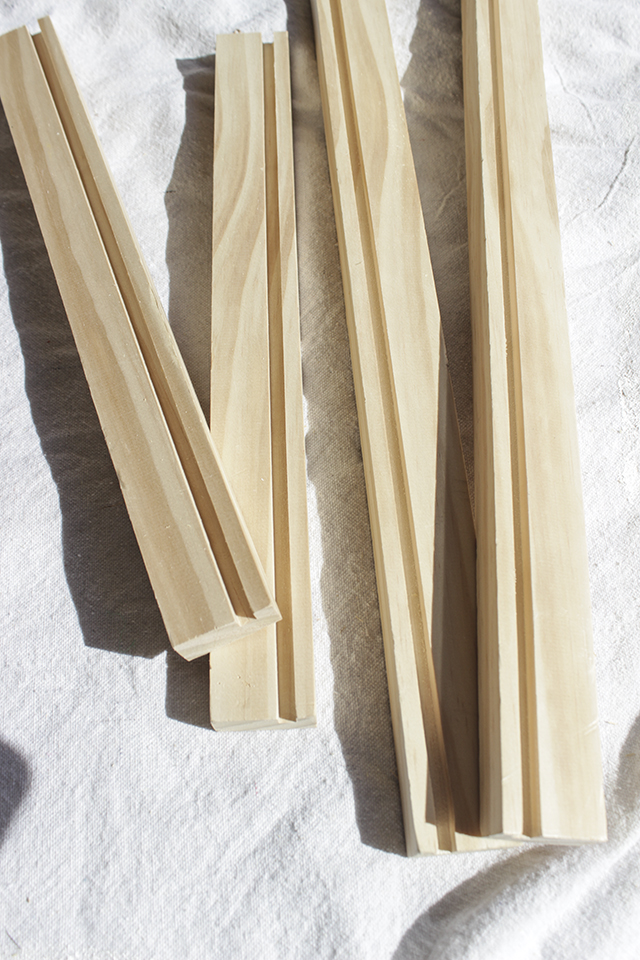
Step 2: Route Boards
Using the 1/4″ straight router bit, make sure it is positioned 1/4″ up from the table, and the guide is positioned 3/8″ back from router bit edge.
Run each board through the router, slowly, with the widest side facing down.
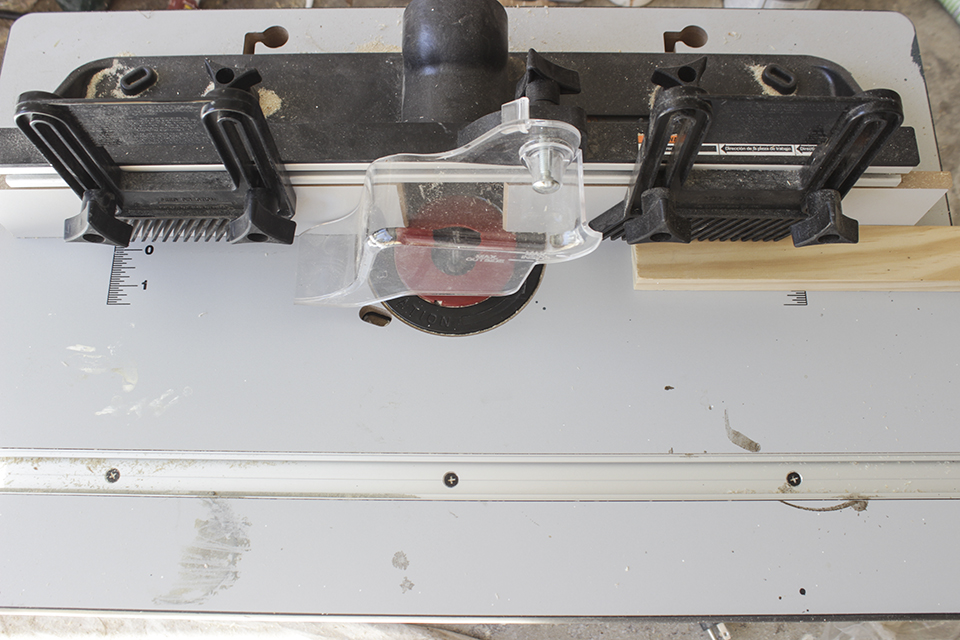
If the initial run through leaves some sawdust “hairy-ness” and uneven cuts on the inside, run it through again, going slowly, to smooth out cut.
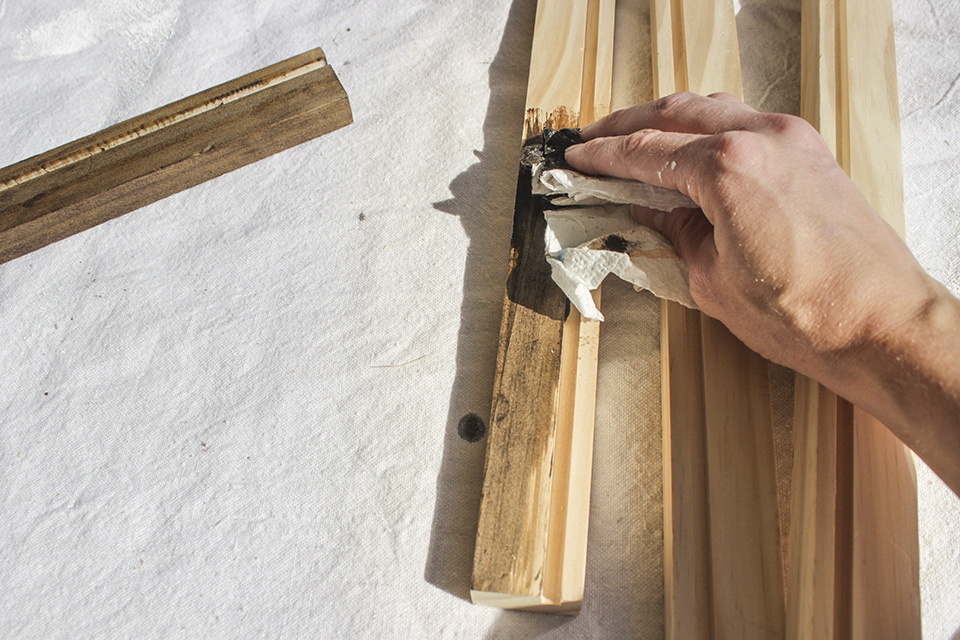
Step 4: Stain
Using dark walnut oil-based stain, stain ALL SIDES of each board. No need to put a top-coat on, but make sure the boards are completely dry before moving on to next step.
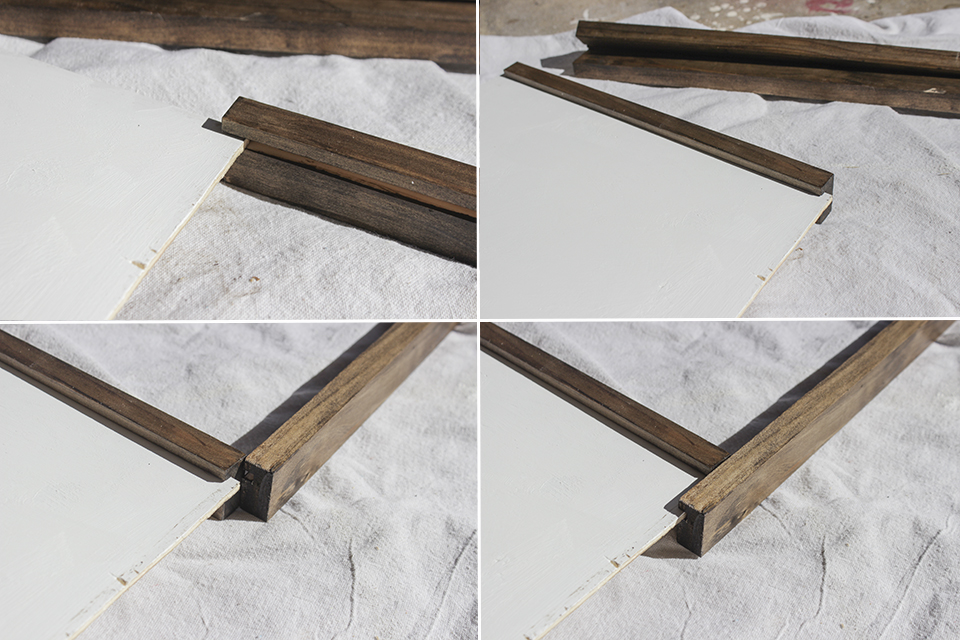
Step 5: Slide Boards Onto Plywood
Slide long boards onto the long sides of the plywood, leaving 1/4″ hang-over on each side. Then slide the short boards onto the short sides of the plywood, so that each corner matches up square.
Step 6: Nail Corners Together
Using an electric brad nailer (if you have one) or a nail gun and 1 1/4″ nails, nail each end of the short board 3 times into the end of long board.
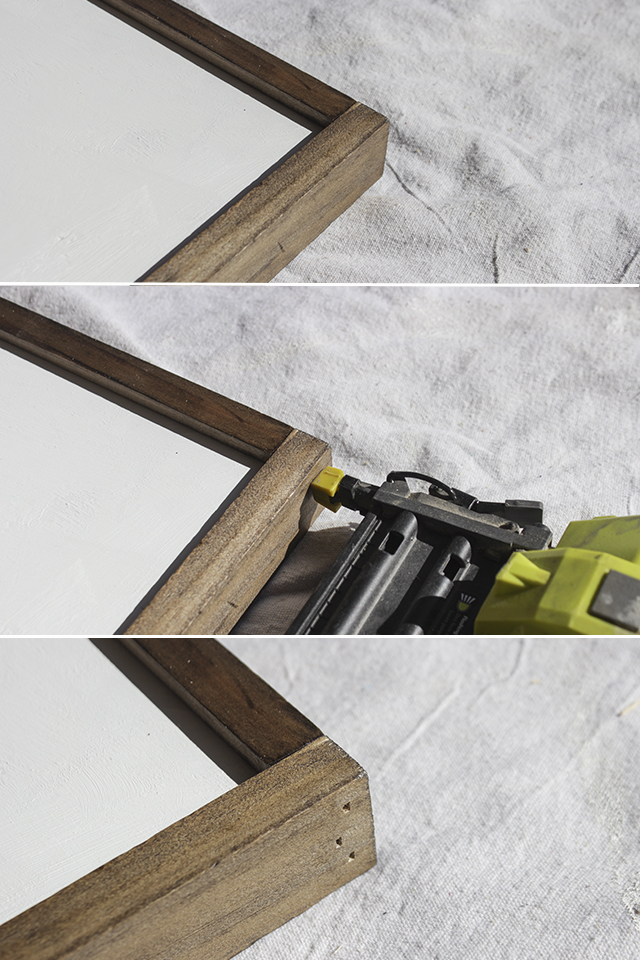
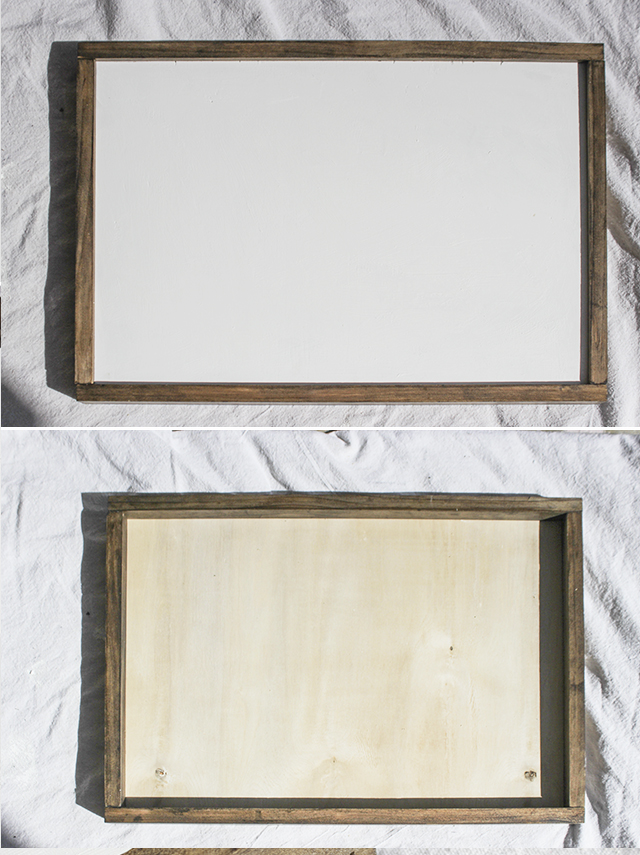
Once all 4 corners are nailed, it should look like this (front and back)
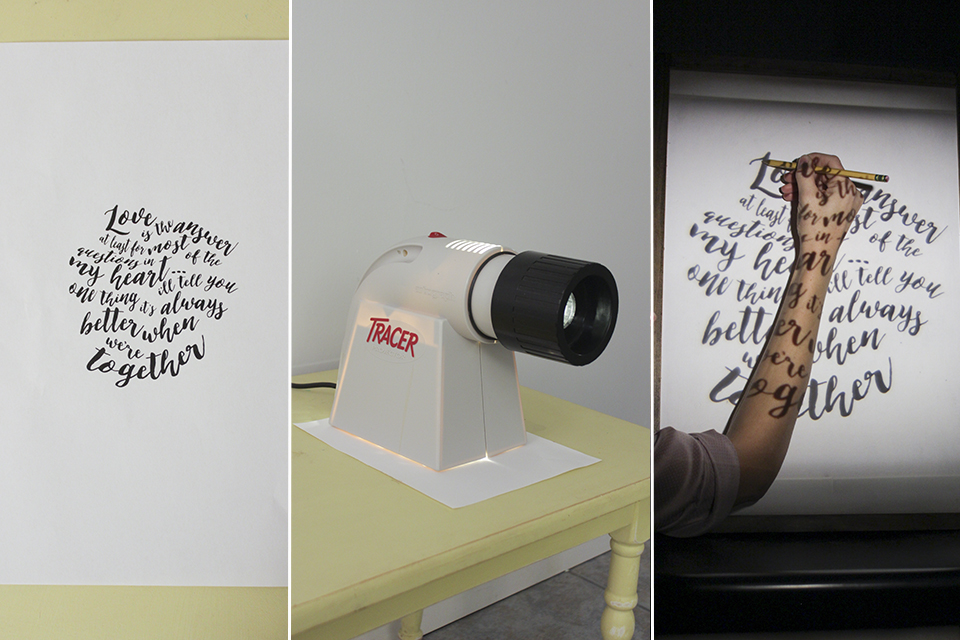
Step 7: Trace Quote
Print desired quote, adjusting size to a 4″ width (same width as tracer projector window at the bottom). In a dark room (or you can wait until night), place quote underneath tracer projector on a flat, even surface. Position wood-framed blank ‘canvas’ on a chair or something that will give the height needed to get the words the right size on the painted plywood, and will also support the backside. Use a pencil and trace around the perimeter of the letters (or just on top in the case that some letters are smaller and lines are thick enough to trace around them). Go slow on this part, because if you move the board while you are tracing, it can get tricky to get it lined up again.
Step 8: Paint Over Traced Letters
Using the round-tipped fine paint brush(es), paint over the traced letters using gray paint. Work slowly and carefully, using thicker round-tip for the thick parts of the letters and the thinner round-tip for the thinner parts of the letters.
Because of the 1″ lip all along the backside, you can just put a nail in the wall and hang it, without needing any picture hanger wires.
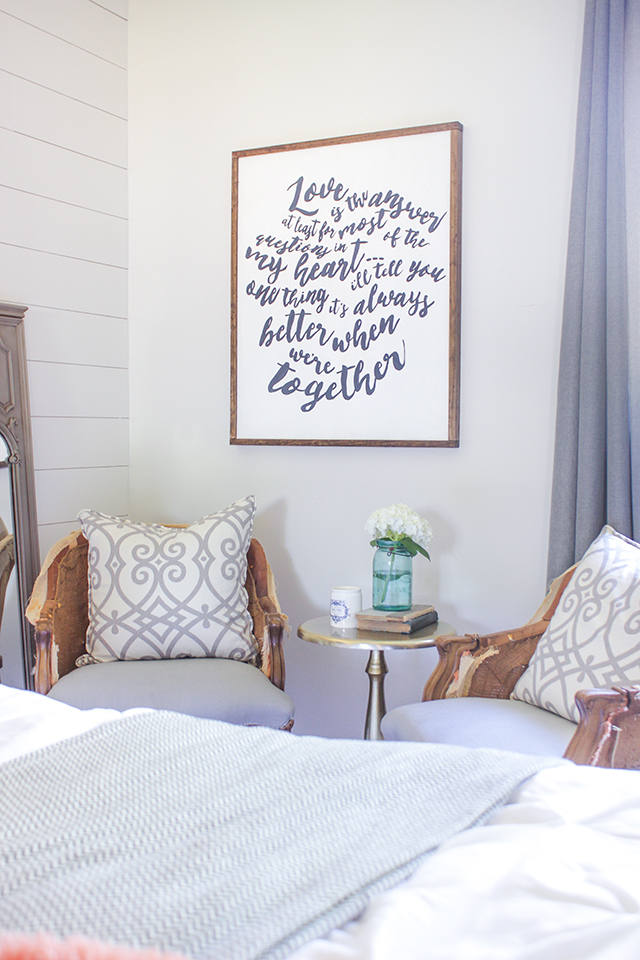
For the Free Hi-Res Downloadable Printable (8.5″ x 11″ size) of this Jack Johnson lyric word art I created,

i love this! it’s so beautiful- you are amazing!!!
Thank you very much! What a fantastic tutorial! It’s perfect!
Great tutorial! Thank you for taking the time to share how you made it as well as sharing the printable quote to use to make our own. : )
Thank you so much! You just don’t know how excited I was to find this tutorial in my email=) I love this song and love what you did with it! Thanks again for sharing and listening to all of us that fell in love with your creation!
Wonderful tutortorial…can’t wait to follow you awesome girl!
Rach! What is this router table you used? Can you send me the info on it? Also, what would your recommendation be on a good table saw? We don’t have a very big garage and would like to still park our cars in it, so I dont know if a fold down or portable table saw is the best option? I only have a circular saw right now, and would like to get another saw to do small projects around the house. Would you recommend a table saw or miter saw? Wondering which type of saw would be the best to get next! Thanks for all of your awesome tutorials – you’re an inspiration!!
Sorry I am replying to this so late! The router table is by Skil– it is fairly cheap and very easy to use pretty much any router with (I have a combo router so I can attach it to a table (fixed) and take it off to use as a plunge router. I actually don’t own a table saw, but I have been using my friend’s Ryobi one and I like it. It is very simple to use and inexpensive. I will say, hers is a few years old and the plastic guide sometimes gets caught when I’m sliding the wood through, so I have to wiggle it a little and it gets back on track. Not sure how that compares to other brands, but I don’t think it is a big deal. I only use her table saw when I have to rip a long board, which isn’t that often. Most of the time I use my compound sliding miter saw by Ryobi. I started out with the 10″ which is so so versatile and amazing really (especially the price– only $199). They just barely gave me the 12″ because I want to try my hand at building large tables next year and the 12″ handles huge boards better. But if I were to recommend one saw to you it would def be the 10″ compound sliding miter saw. I use it for everything. Thanks for your sweet words Britt, I so appreciate it!
Hi Rachel! What font did you use? Thanks!
Hi Teri! I don’t remember the name… But I did pay for it. If you google brush script fonts I’m sure you can find something cute.
Thank you for this tutorial. Time to go buy a router.
Help! I tried this tutorial, but I must be doing something wrong because you can see my router groove on the top and very top and the very bottom of my frame? I assume that is the ways yours is too?
Yup, mine is the same way!
Hi there! Have you ever found that the 1/4″ plywood ever bows a bit after painting? When I make large signs using this exact method I always feel like they aren’t totally square against the wall.
Using thicker plywood would be so heavy and more costly! I would love your thoughts! Thanks!’
Paint both sides of the plywood. The paint makes the wood wet causing the bow. If you paint both sides then the bow caused by the wet paint cancels out the other side.
What program or software did you use to create your text from the download?
Photoshop
Is there anything you can’t do?? As I’ve said before, sure wish you were my neighbor! Lol
I know this is an old post.. but thsnkhoi for sharing! What brand/type of router did you use?
It’s a standard ryobi router with router table.
How much did supplies cost?
I’m having one of those days where I can’t seem to comprehend anything. Did you route the white boards too or just the groove inside the stained 1x2s?
Just the stained 1x2s. You route them so the white 1/4″ plywood can slide into those routed grooves.
I have a question, what do you do about the end pieces of the corner Of the frame having a gap in them from the router? When I make my signs I have to fill in that space when I’m done with wood filler.
I am wondering the same!
Thanks, I have been looking a long time for a tutorial like this. I want to make one that is 26×38. Do you think I would be fine using 1/4″ plywood without it bowing?
Thanks for your help.