This post is sponsored by Kreg Tool.
Today I’m going to share with you free printable build plans for a simple farmhouse 2-drawer night stand. This is a pretty simple build and couple be completed in a couple of hours, provided you are better at installing drawer slides than me! 😉
Last week I was quite busy cleaning and decorating my house getting ready for a magazine editor coming to look at our home. After she left I made a quick assessment of some top priority projects I needed to finish before the magazine comes next month. One of those was installing bi-fold doors in our master bathroom to replace the sliding mirror ones that are currently there. I plan on giving them a craftsman style finish just like I did in my boys’ shared room but painting them white instead of gray. When I bought the closet doors I realized that the vintage night stand that was on that side of the bed, stuck out too far! Ugh! I love that night stand– it is simple but charming in its design and the two drawers are so handy! I have done videos on how to paint with chalk paint and how to wax, both using that vintage night stand. However… it would impede the door closet doors by about 3 inches so it needed to go.
Here is what the previous vintage night stand looks like:
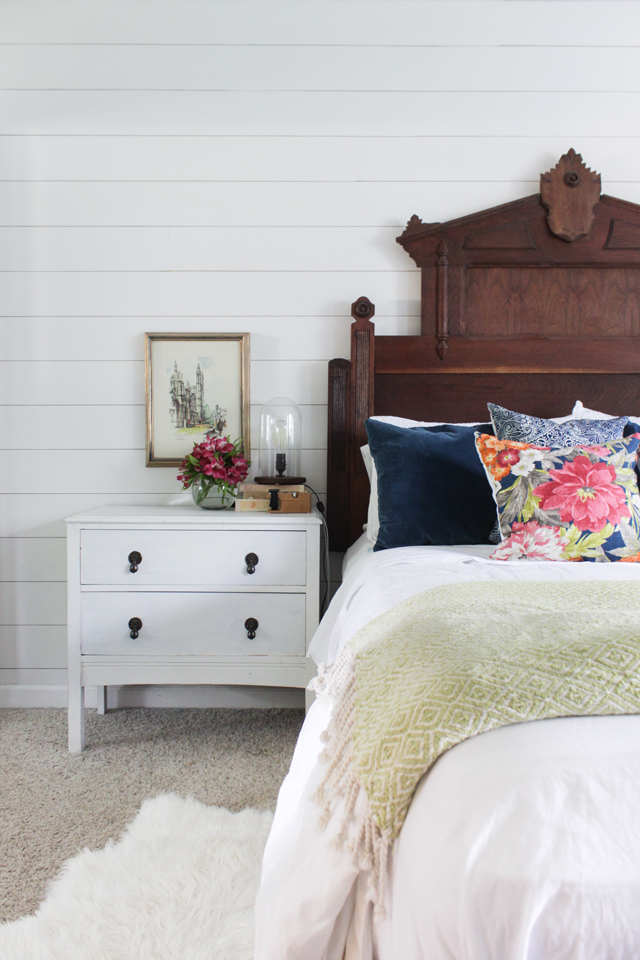
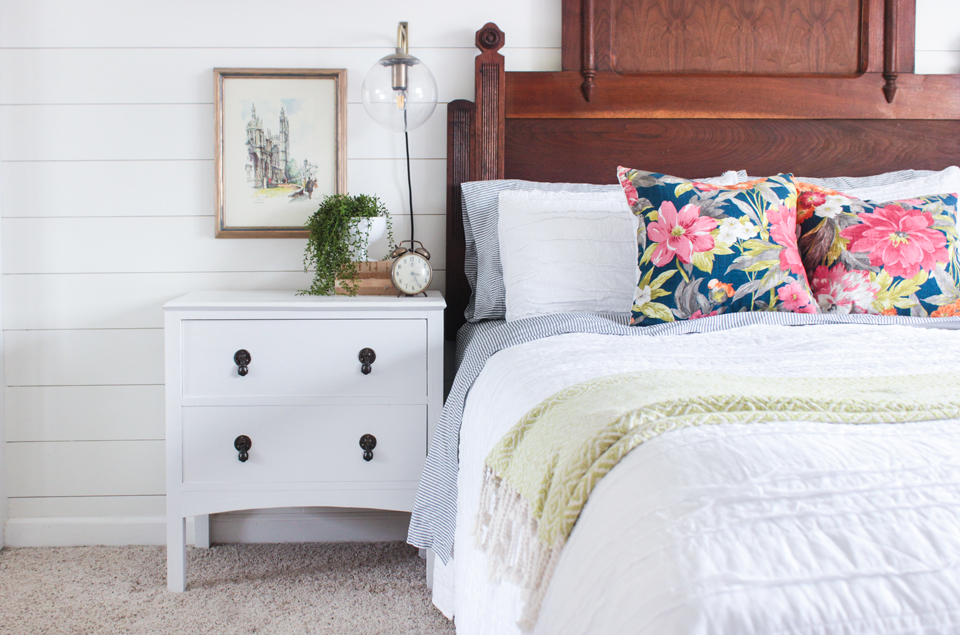
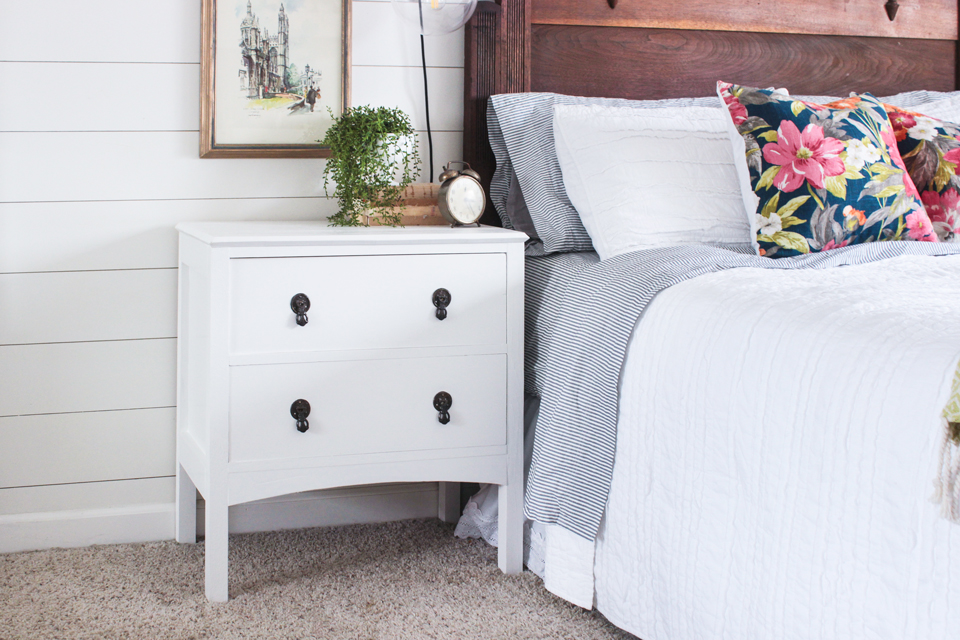
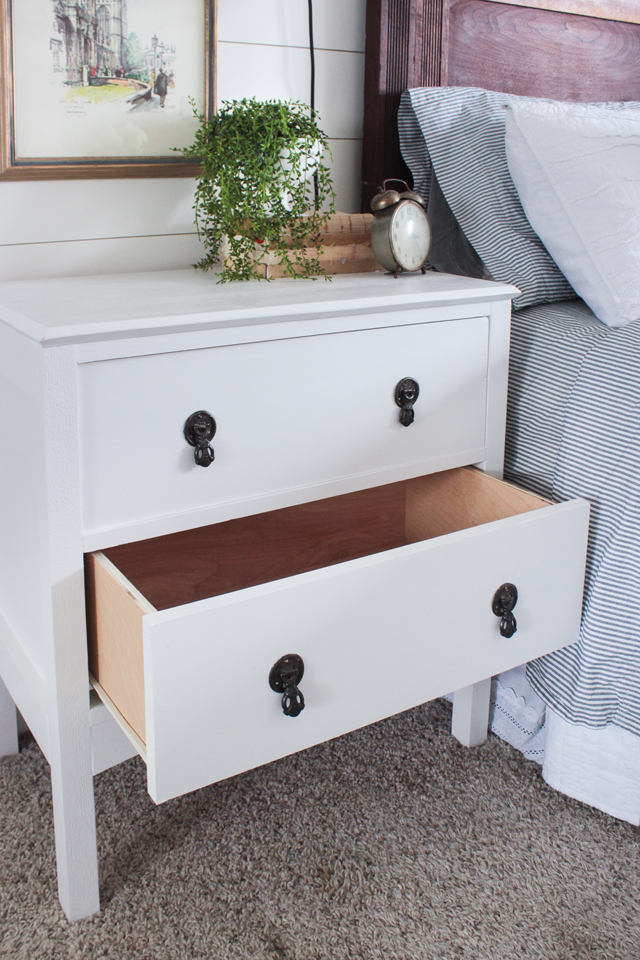
And here is the new one I made, just like it, but a tad shorter in length. 🙂
Dimensions: 27 3/4″ tall x 15″ deep x 26 1/2″ wide (top)

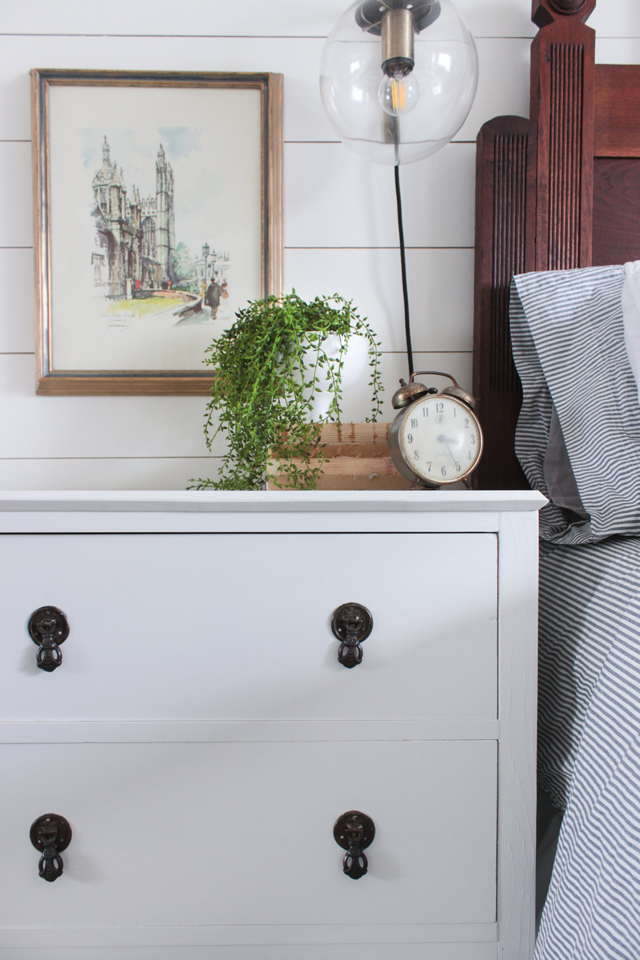
I removed the drawer pulls from the old night stand and put them on the new one, and it really is amazing what a set of vintage pulls can do for a piece of furniture!
The ONLY thing that was a complete pain in the butt for me was the drawer slides. I messed with them and messed with them for well over an hour until my friend Jen just reminded me that 1) cheaper drawer slides are harder (which I was using) and 2) it has to be perfectly square in order to have a perfect fit. Since my drawer face was such a tight fit and despite my best efforts on building it perfectly square, I ended up having to use a small shim on one side of a slide to get it all worked out. I would suggest learning from my mistakes and cutting your drawer faces a sliver more than I did so there is a tiny bit more of a gap all the way around and using the ball-bearing side mount drawer slides rather than the bottom mount drawer slides.
Either way, it’s working now and I’m happy!
I love how it still feels and looks vintage but it the right SIZE for our space now.

This looks great – just like the previous one! We’re in the process of building a vanity for our bathroom and my fiance was fiddling with the drawer slides for about three nights last week – you’re not alone in your struggles!
Best,
Kelly
This is a great piece and I would love to make one but am I missing the plans? Is there a link somewhere that I’m just not seeing?
Yes it’s in huge bold letters just below the last picture
You are so talented!! Thank you for taking the trouble to make plans for us, too.? Love your work! You definitely belong in a magazine.
What kind of wood are you using for these? Pine for everything or a variety?
Yes! And birch plywood for the parts that require plywood!
This is a beautiful piece. I would like to build it but have a question about the slides. You suggested using side mount drawer slides. While researching how to install them I learned that you have to have a 1/2″ space on each side of drawer to mount the slides. According to the measurements in the plans there is a 1″ gap on each side of the drawer. So how are side mounted slides to be used if the gap is to big?
I think you didn’t read the plans right. There is only 1/2″ gap on either side.
Thank you Rachel, for your reply. So I should have no problem using the side mount slides? I love your piece and am looking forward to building one. I’m new to woodworking and am enjoying learning!
This is beautiful! Can you tell us an approximate cost for 1 night table?
This is absolutely beautiful! I would also love to know the approximate cost for one night stand. Thank you!
Probably about $50?
It’s $45 in plywood alone. Plus drawer slides, hardware, and all the rest of the lumber. More like $100-$125 each nightstand
Beautiflu but where are the plans located? I keep searching but cannot find them.