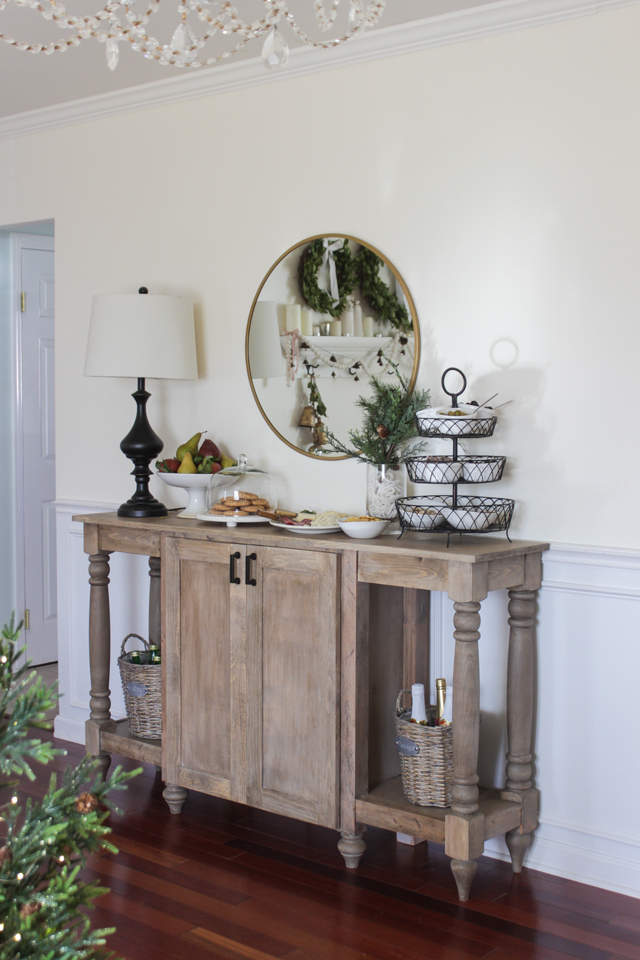
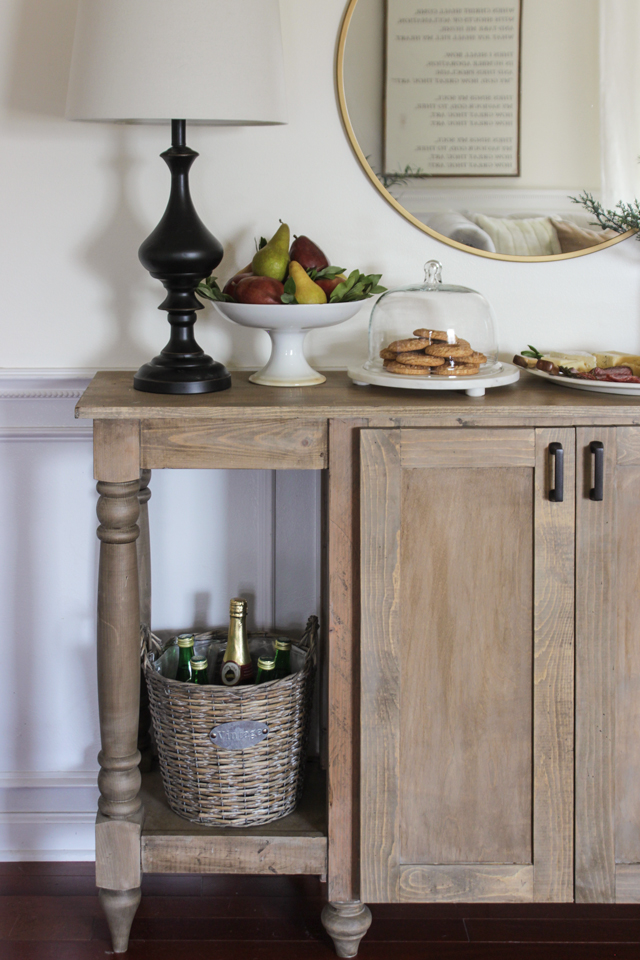
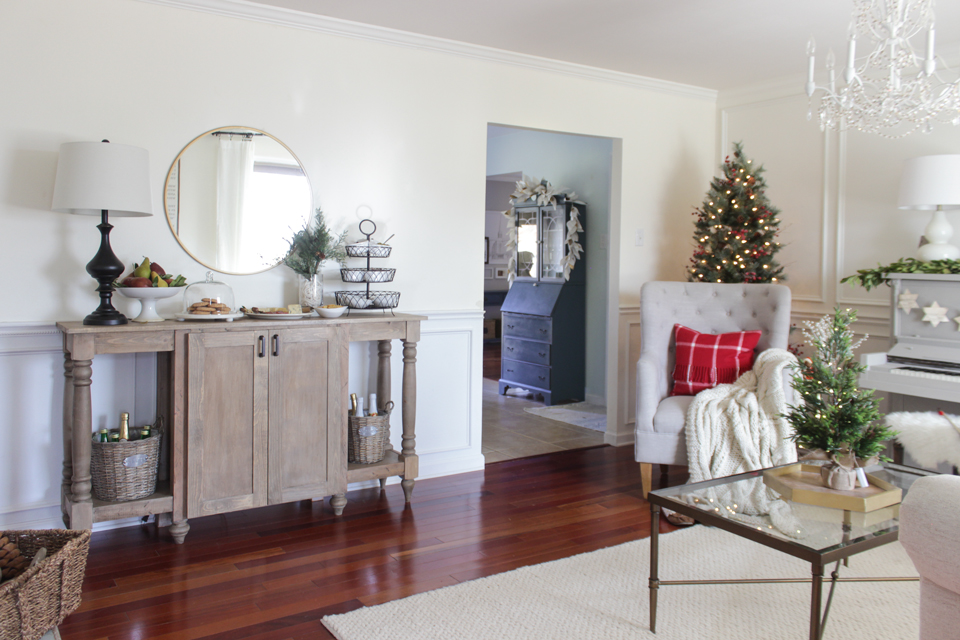
I haven’t been this excited about a build in awhile. I actually dreamt up this design one night a couple months ago, then I woke up and sketched it out on paper. It was exactly what I needed for this wall in my front room. It had to be long, narrow, have storage, and have enough class and character to fit it with the other furniture in the room. It couldn’t be too rustic or too farmhouse because my front room is a little more formal than the rest of my house. Knowing I would need custom custom turned legs made, I sent a picture of my sketch over to my friends at Osborne Wood and asked if they could help me out. Well, not surprisingly they came through!! I told them the general shape, the height and width measurements, and within a couple days they had sent me design proofs and exactly what I wanted was made and sent out in the mail. If you are interested in just these legs, they added them to their website this week and named it, Cottage Island Leg.
I also used their English Country Road Bun Feet for under the cabinet portion.
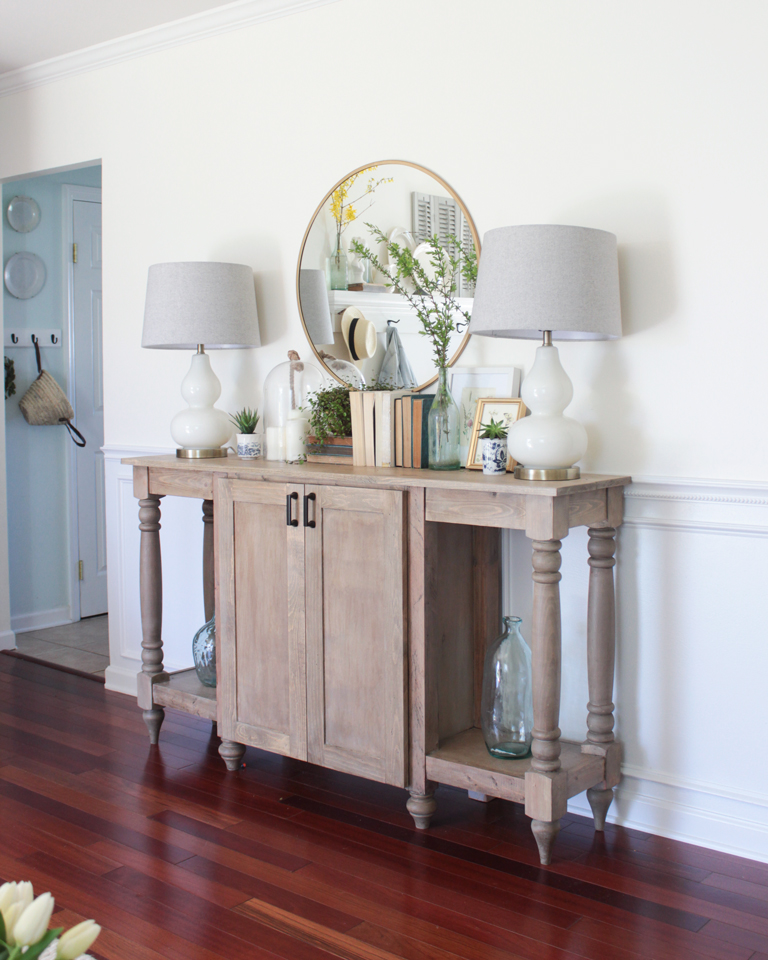
UPDATE! Here is what it looks like decorated for spring!
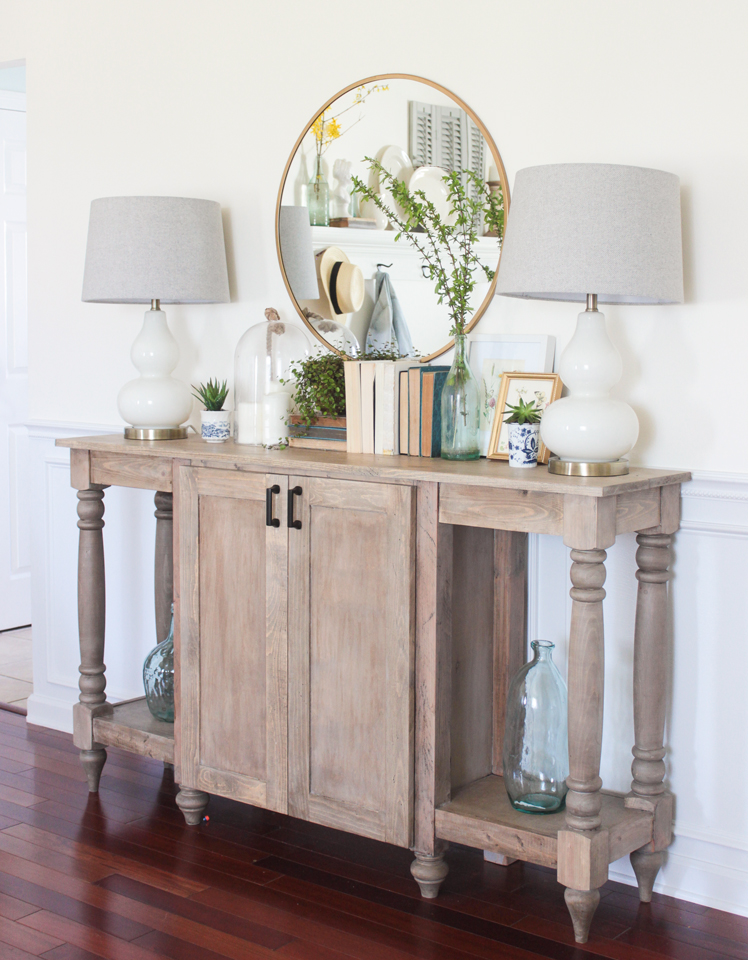
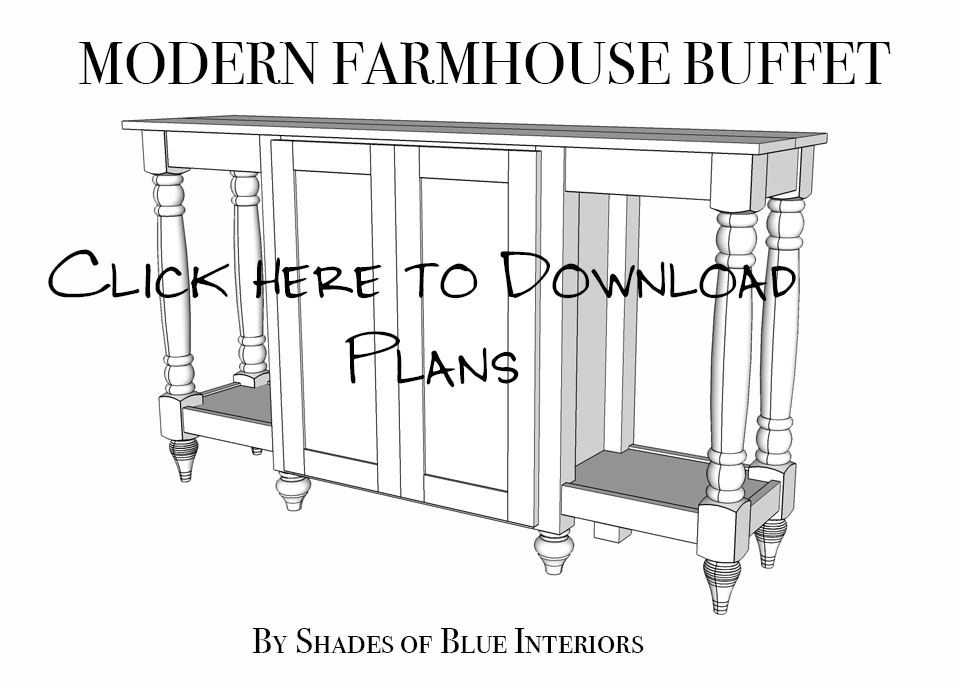
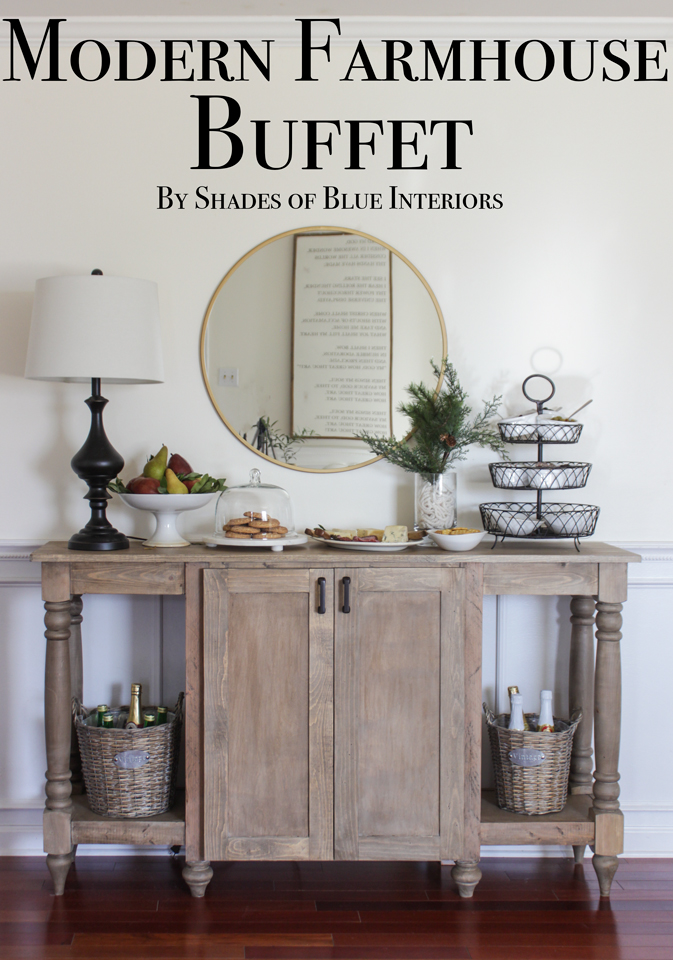
It looks me several hours, but I created build plans so you can build one too if you want! Dimensions are: 36 1/4″ tall, 63″ long, 15 1/2″ deep.
I absolutely adore how it looks and I have never seen anything like it, with the same size, for sale online. I’ve looked.
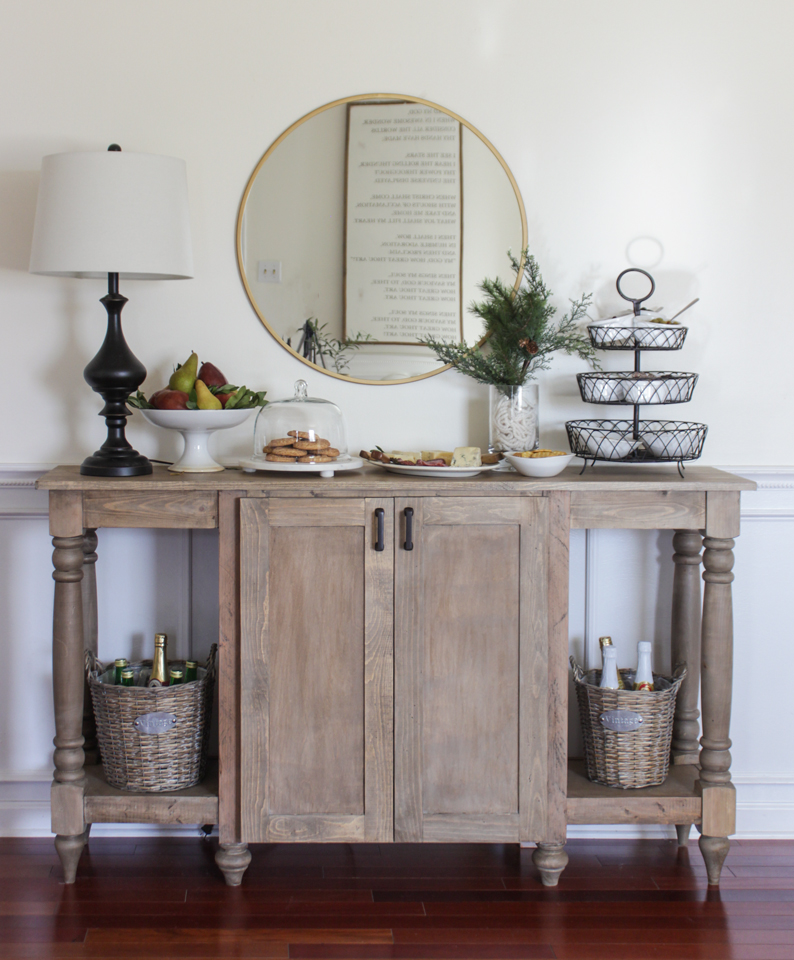
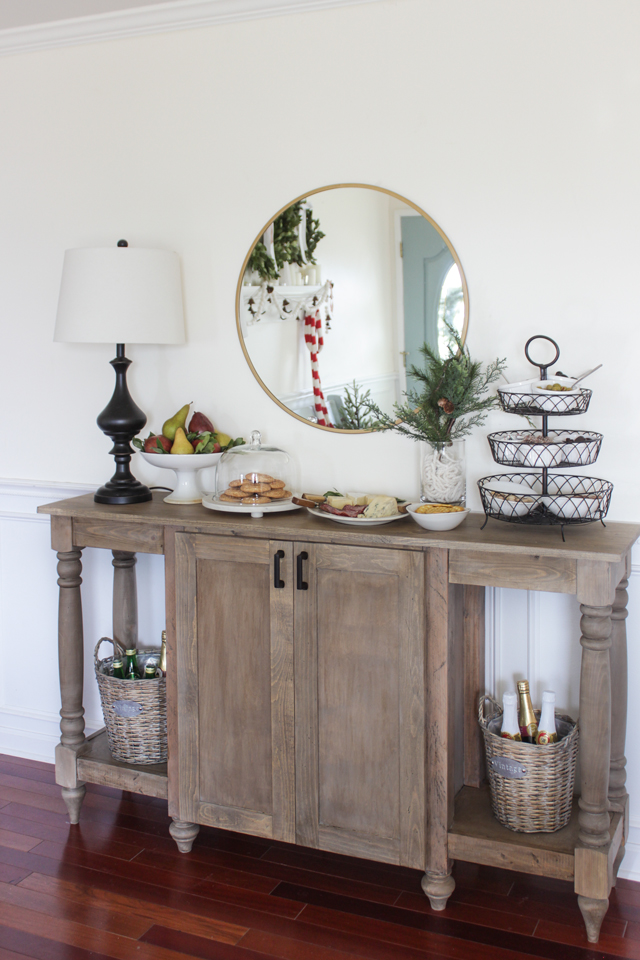
My original plan was to just put 1 shelf inside, but after I finished I figured, why not? Two shelves are so much more handy to hold plates, platters, glasses, etc. Plus if I need to, I can always remove one. Those doors are my pride and joy because they are the first time I used a full overlay concealed hinge with a soft close. They cost a little more, but I was eager to use my new Kreg Concealed Hinge Jig.
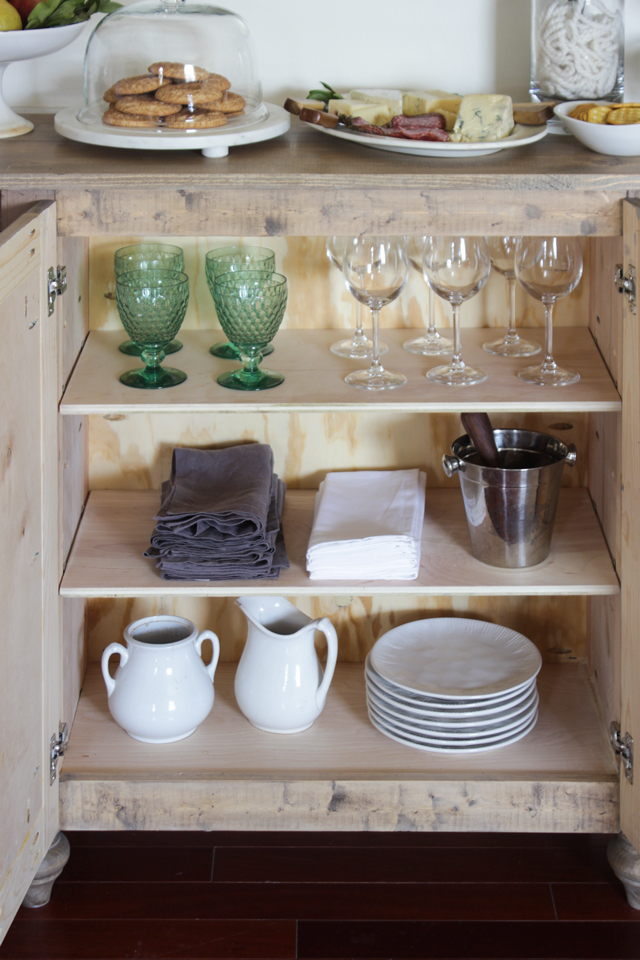
I have never been able to install a hinge so quickly and so easily and have it look so good. I had always struggled with exact spacing and position so it would look perfect when the doors shut. But not anymore.
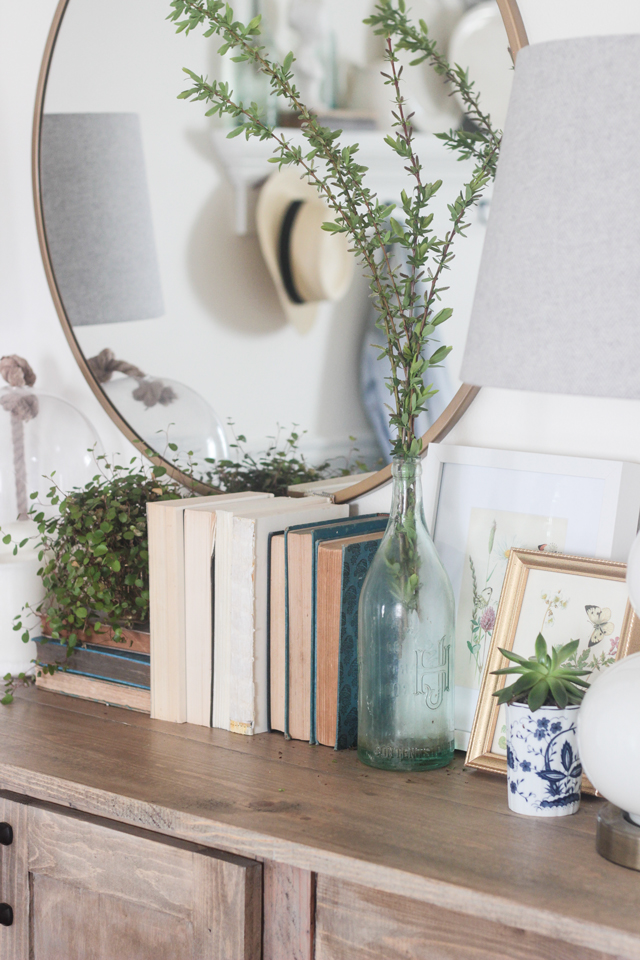
The finish is also something I’m mildly obsessed with. It is the same as the herringbone coffee table top that I did a couple months ago. In case you don’t remember, I wiped the whole thing with Verathane’s Sunbleached, removed excess, then rubbed in Annie Sloan Dark Wax.
I’m completely smitten. 🙂
If you liked this farmhouse buffet, make sure you pin it!
It’s beautiful, Rachel!! Really a great build. Isn’t it awesome when ideas just come to you in a dream like that?
Gorgeous, what type of wood did you use?
Just pine.
I love it! You inspire me to try building my kitchen island.
Beautiful !! After we move, I plan on learning woodworking – thanks so much for sharing, not only the plan, but tools you used to build. I am anxious to get started.
That is absolutely beautiful! Love the legs and the finish is gorgeous!
P.s. I found the wood rocking horse today at TJ Maxx. Thank you so much Rachel for letting me know where you found yours! My hunt is finally over ?
You did a beautiful job!
The color, the size, the style….all perfect.
Rachel! It’s so beautiful! And yes, the color of the stain + dark wax is delightful! I love the look. And I am seriously considering it after my husband recovers from my most recent builds! Do you have a suggestion for ripping the 4×4’s? I don’t have a table saw in my Bronx apartment (haha). Does The Home Depot rip boards upon request that you are aware of? Or do I need to find a near-by lumber yard or shop for something like that?
Did I mention your work is gorgeous?!?
I really think you should find a local lumber shop. Home Depot won’t rip them down like that. Thanks Breanne!
Probably a dumb question, but On the 3×3 dimensions-are they ripped to 3″x3″ or 2 1/2″ x 2 1/2″? I’m assuming 3″ since the legs are 3″ but I just wanted to double check since the 4×4 isn’t really 4″
Wow, Rachel! I always knew you were talented but you’ve really wowed me with this project! It’s just gorgeous. I’m saving the plans for when we move (hopefully) next year! Love this.
WOW! I’ve never seen such thorough build plans!!! They seem so easy to follow that I feel like I could actually build one! Thanks for posting…I’m SUPER impressed!!! (( :
What an inspiring and well-thought-out project. And I had no idea that Osbourne would fabricate custom designs. I’ll file that away for future reference. Thank you for posting your detailed build plans, too. In the face of such a good and helpful post, I hesitate to even mention this, but I thought as a person who is in the business of communicating, it might be something you would find interesting and would like to know. The expression as correctly used is “pride and joy”, not “proud of joy”. I don’t usually correct people who haven’t asked for editing advice, and I actually think I’m being rude to do it, but you seem like a person who values precision. If this isn’t a welcome piece of information to you, please forgive me, and know that it was not offered in a spirit of pettiness.
Oh my goodness hahahaha Jenny!! THANK YOU!! It was typo bc I wrote it late at night after I spent way too many hours writing those build plans. You are exactly right that I would want to know and fix it. Made the change and I thank you for catching it! I normally proofread but sometimes I slip– don’t ever hesitate to tell me if you catch future or past post errors! I appreciate it!
This is so beautiful- and I love the finish!! I’ll definitely be filing it away for inspiration.
Thank you so much for the plan. I just finished the build and I am about to stain. Your plans and step by step approach are amazing!!
Hi!
What kind of stain is this? Thank you
It’s in my post above.
This is the most beautiful stain and buffet! I wish I knew a local builder to make me one just like it!! Curious to know how this stain would work for a table? Is there a way to make the stain last for high traffic furniture for a matching table? I was told by someone who paints furniture that using wax finish won’t last.
Great plans! I just finished my build (using your plans) and everything turned out great. Now, I just need to paint/stain it.
Did your doors fit properly?
Odd question because the doors are full overlay… but yes, as you can see from the pic, they fit properly!
I can’t wait to make this! Did you wait for the sunbleached to dry before going in with the wax?
I’m in the middle of this build and see that the center-divider panels are 8 1/2 inches, but the side aprons are only 7 1/2 inches. Is that correct? The side aprons aren’t also 8 1/2 inches? I’m confused. Can you help?!
I have the same problem.
IMHO: The 8 1/2 panels make the doors too wide for the opening. Must be a mistake on the plans.
They are full overlay doors, so they don’t need to fit on the inside of the opening. Not a mistake.
I downloaded the plans for the “Modern Country Buffet” and I am in the process of building the buffet. I have a question on the doors. The opening on the buffet is 26″ wide I cut the doors as the plans state. Side rails are 3″ and the center panel is 8 1/2″ so one door is 3″ + 3″ + 8 1/2″ = 14 1/2″ the total width for 2 doors is 14 1/2″ X 2 = 29″. The opening is 26″ the doors have a 1/2″ overlay times 2 = 1″ so 29″ – 1″ = 28″ so the doors are 2″ too wide.
Please let me know where my mistake is as my doors do net fit and now I have to build the doors again to, what I think is, the proper width. It appears to me the center panel should be 7 1/2″ not 8 1/2″.
Please Reply.
Love this buffet! I do have a question though. Do you have plans that have drawers instead of the doors?
No, I do not. The way the design is, you’d have to build out the interior side walls to be flush (they are inset), so that you could mount drawer slides on them.