Today I’m sharing the progress that was made on the 2 room makeovers for the family who recently adopted 3 siblings. I worked on this during the month of November and half-way through December.
To see both room design plans go to this post.
Before I share the final reveal, I thought it would be fun to look back at what I did each day, and how things moved along in the 6 weeks that it took to complete the rooms.
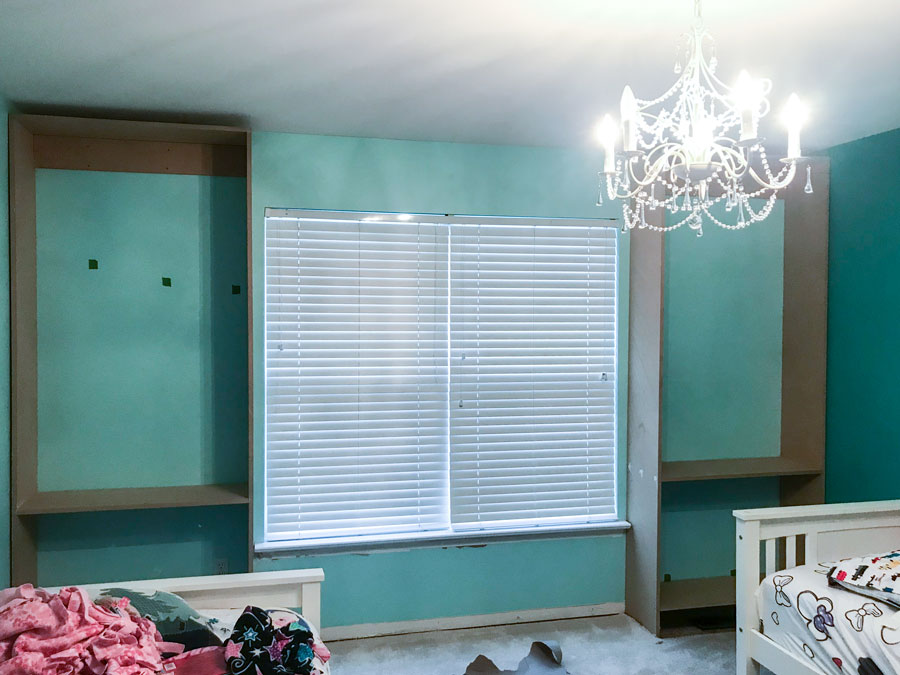
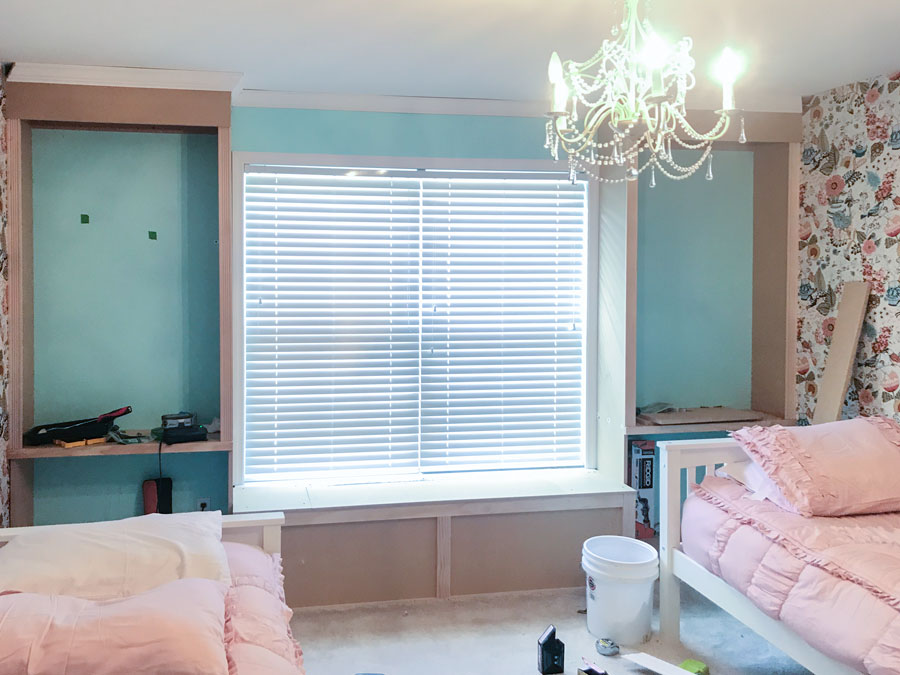
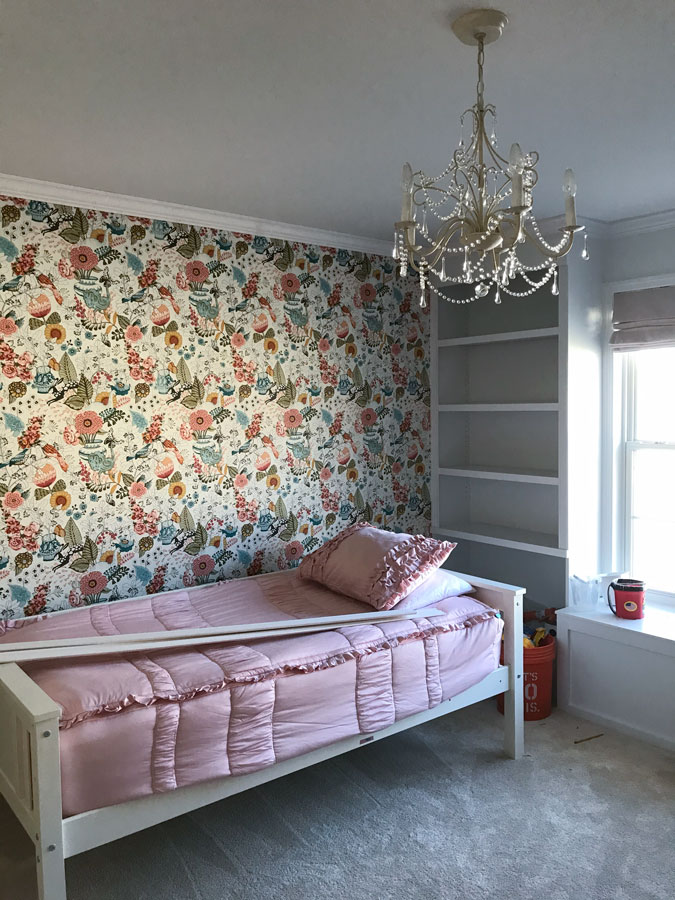
Day 1, November 9th: We (Bruno, myself, and a friend) installed the two frames for the bookcases (pictured above) in the girls’ room. I asked this same friend, Kim, who is also a woodworker, to build one, and I built the other at our homes, then we both brought them to install. They were made from MDF to save on cost, so we had to be careful when transporting.
Before attaching them to the studs in the wall, we cut out the carpet around the bookcases, and well as the baseboards. We also had to move an outlet about 12 inches, so it wouldn’t be obstructed.
The homeowner installed the ceiling fan in the boys’ room, amongst a flurry of Saturday activities with their children.
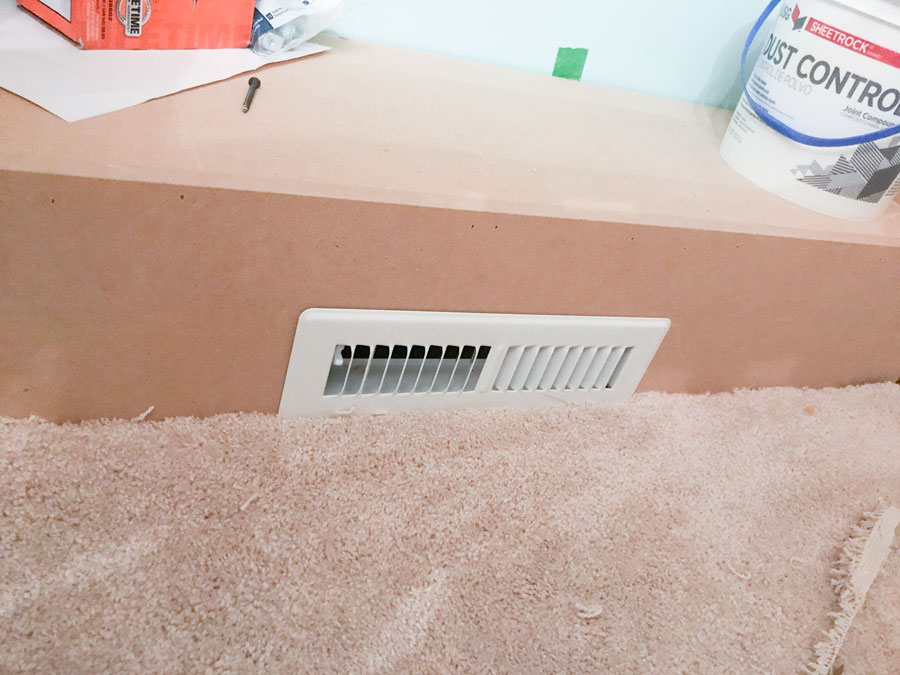
Day 2, Nov 11th: I patched the wall around the outlet, installed an elbow for the vent that was under one bookcase (pictured above), and attached the aprons to the top and bottom of the bookcases.

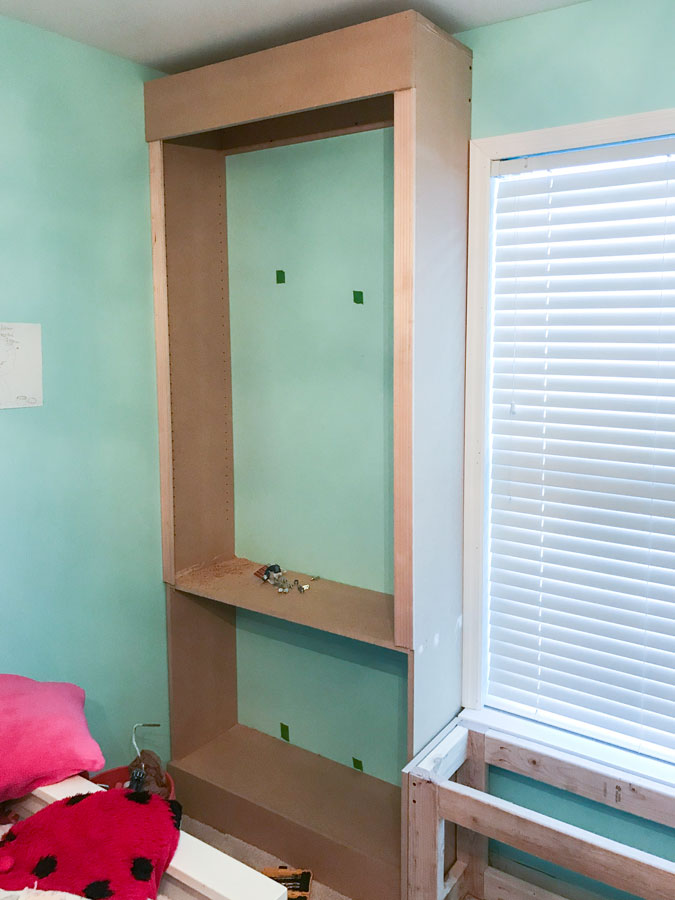
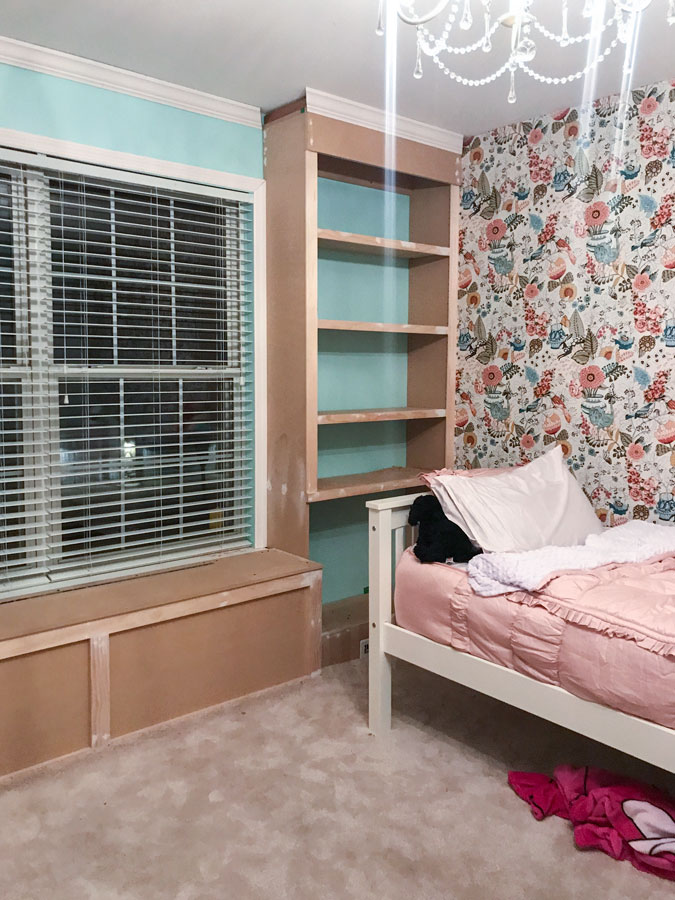
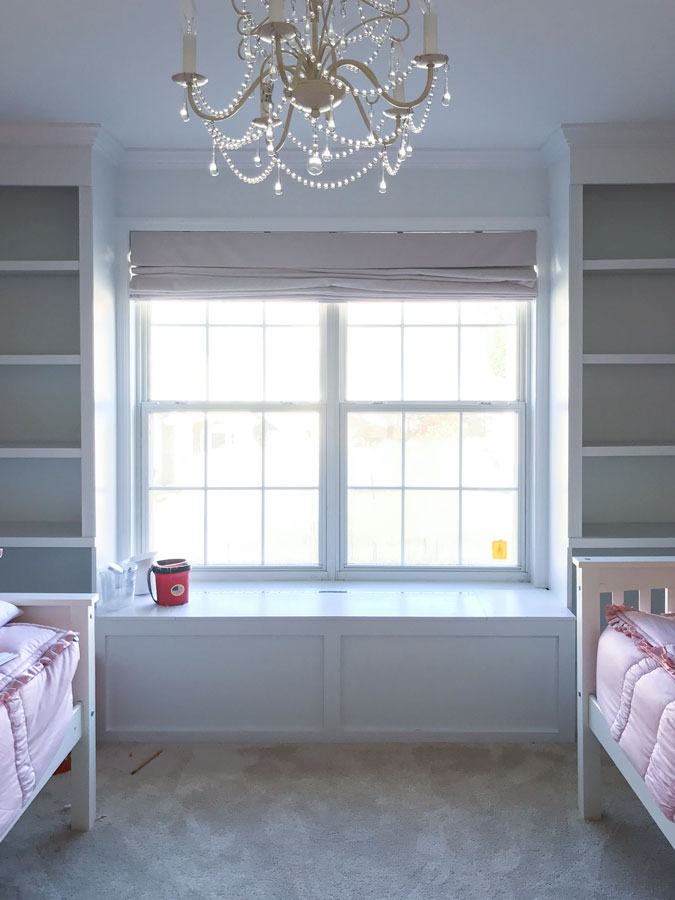
Day 3, November 12th: Kim built the 2×4 frame for the window seat, so I could just pick it up and come install it.I also installed trim around the windows, and trim down the sides of each bookcase (pictured below).
Keep in mind, I have a baby with me all these days so my progress is limited to 2-3 hours per day…. sometimes more if I had one of my kids helping me watch Nina.
Day 4, November 13th: While I don’t have a picture to document this day, I finished securing the window seat to the wall studs, installed all the MDF around the window seat and the top of the window seat.
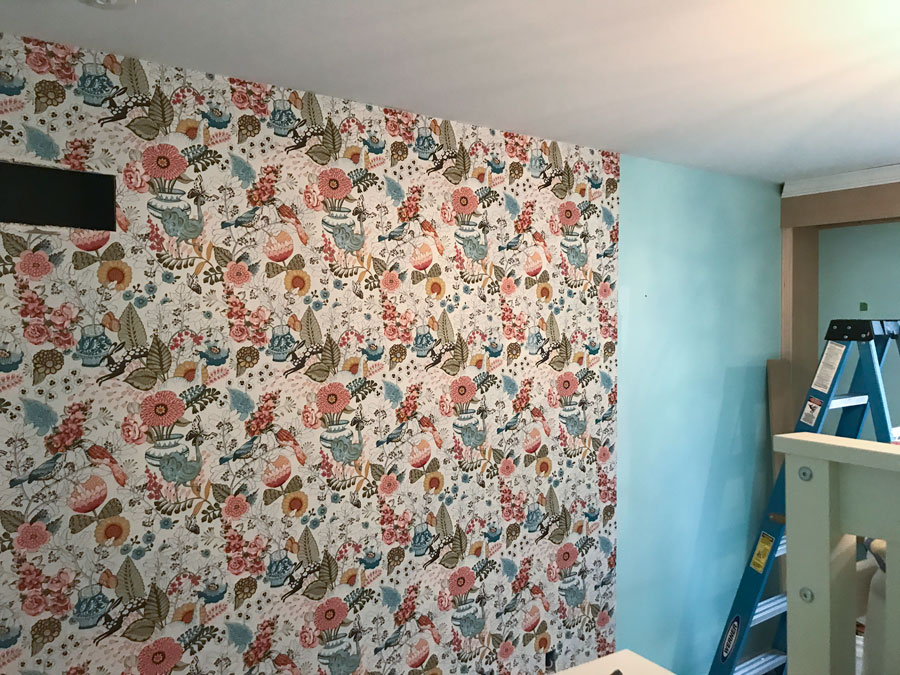
Day 5, November 14th: With a Kim’s help, we installed all the wallpaper in the girls’ room (pictured above).
Day 6, November 15th: Installed crown molding around bookcases and above window.
Day 7, November 16th: The homeowner painted boys’ room white, while I installed trim around window seat and finished putting a hinge on the seat (pictured above).
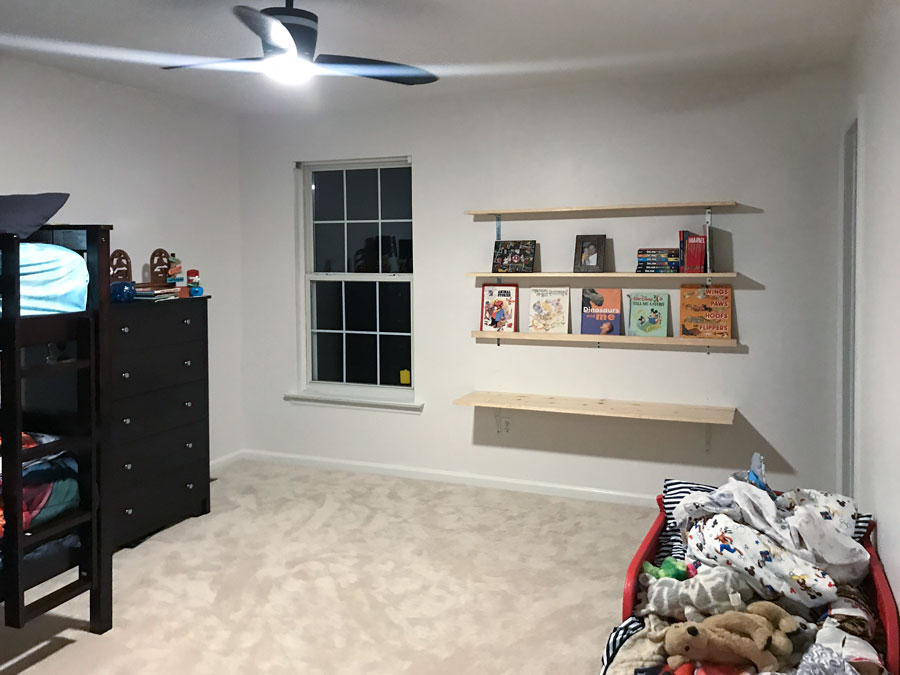
Day 8, November 18th: Filled holes with wood putty and started caulking (above). Also cut and installed the shelves and desk in the boys’ room.
Day 9, November 19th: Installed the wall mural with the help of the Sister Missionaries from our church. They also started assembling the dressers.
Day 10, November 21st: I went antique shopping to buy stuff for the boys’ shelves and the girls’ bookcase.
Day 11, November 22nd: The Sister Missionaries painted the wall in the girls’ room, while I worked on some trim pieces to finish off the bookcases.
Day 12, November 23rd: Bruno and I primed the bookcases and finished installing most of the crown molding in the room.
Day 13, November 26th: The homeowner assembled the new bed, while the Sister Missionaries and I painted the first coat of paint on the bookcases. Kim dropped off the unfinished trundle bed.
November 27th- December 3rd I took time off to spend it with my brother and his family who came in town to spend Thanksgiving with us.
Day 14, December 4th: I painted the crown molding, and installed the roman shade in the girls’ room.
Day 15, December 7th: Bruno and I painted the second coat on the bookcases and window seat, we stained the shelves in the boys room, and sprayed the brackets.
Day 16, December 10th: In the boys’ room we installed curtains, craft buckets by the desk, and finished painting the trundle bed.
Day 17, December 12th: I had to take apart one side of the trundle bed and cut the wood shorter so it could fit under the bunk bed properly. It was an easy enough fix (just a pain because I wanted to be done at that point), then I put it back together and touched up the areas that needed new paint. I also installed the hardware for the trundle bed.
Day 18, December 17th: Styling and photoshoot day!
See the teaser reveal HERE.
Leave a Reply