I decided to show a “play by play” if you will, of how to strip, repair, and reupholster a chair for the absolute beginner. For someone who maybe has some ugly chairs with good bones (wooden frame) but is a little intimidated to tackle it. I think this is doable for most anyone with some determination!
This first post will be simply on how to STRIP the upholstery, batting, hog hair (or what have you), and burlap so you are down to the bare springs.
SUPPLIES:
Needle-nose Pliers
Tack Puller
That is all.
And here is how the story begins:
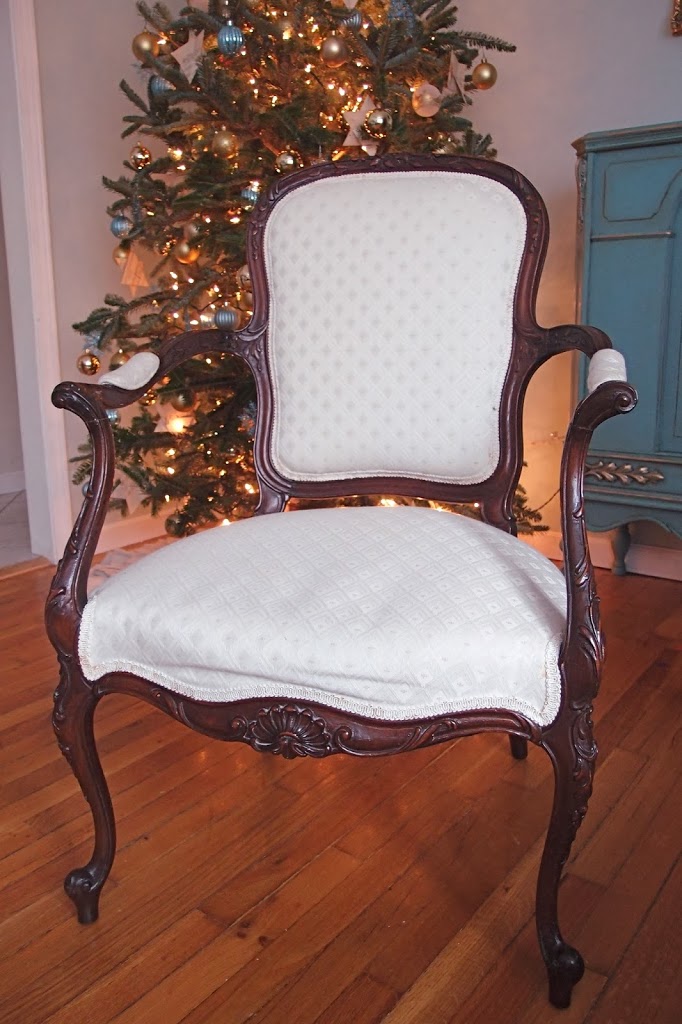
Once upon a time, I went to the thrift store hoping to get lucky– furniture-wise. I found 2 french-looking chairs, one was close a bit pricey, but in practically perfect condition, just ugly upholstery. I passed. The other was pretty good condition, but the springs were clearly out of whack. It was half the price of the other one! I scooped it up.
This sat in my living room for a few weeks because I was trying to decide how much I like the dark wood frame, or if I would paint it to bring out the details. I still haven’t decided, to be honest, but either way I would have to fix those pesky springs.
I’ve reupholstered several chairs, so I am not afraid of ripping things apart. Ye need not be afraid either! It can be rather therapeutic! And messy. It probably would have been a good idea to do this in the garage or basement. Oh wait, I don’t have either, so I guess living room will do! ha! (counting the days till we move!!)
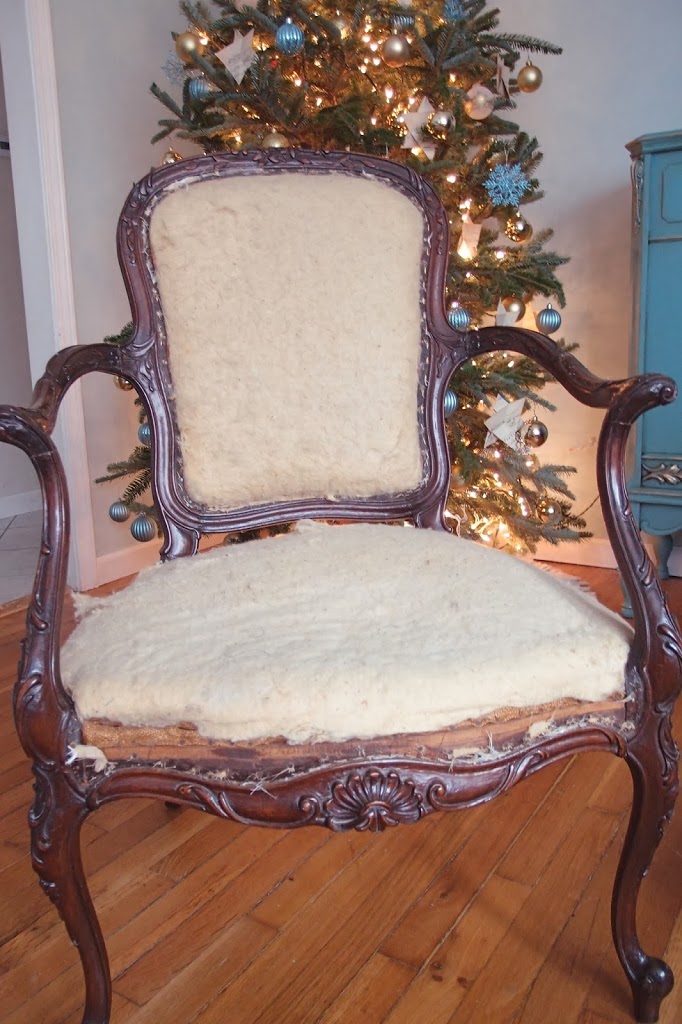
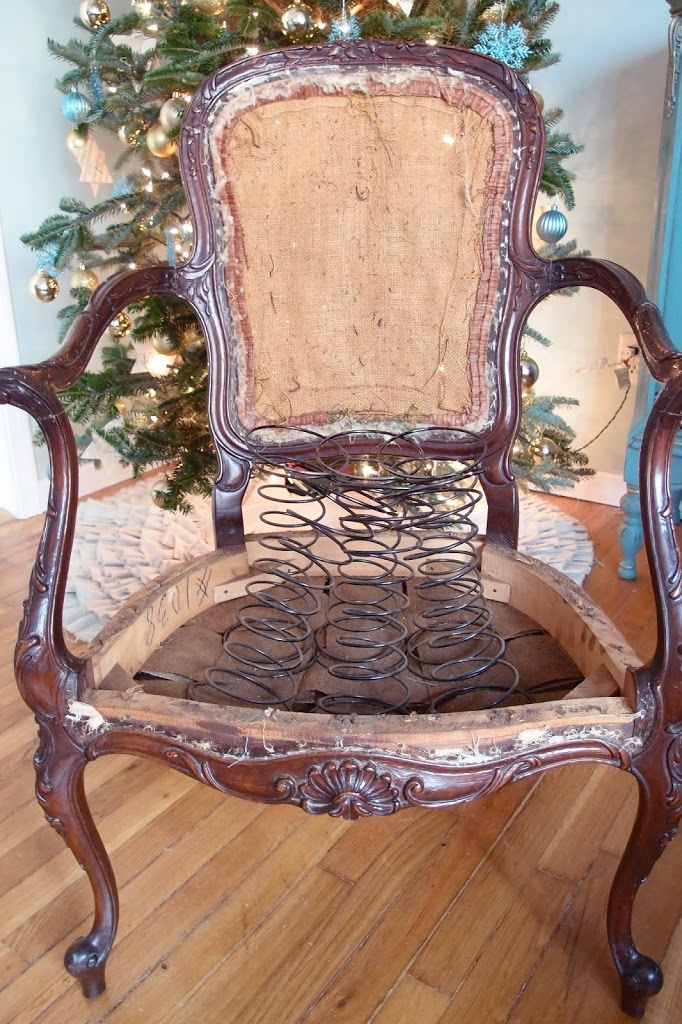
Here is the before:
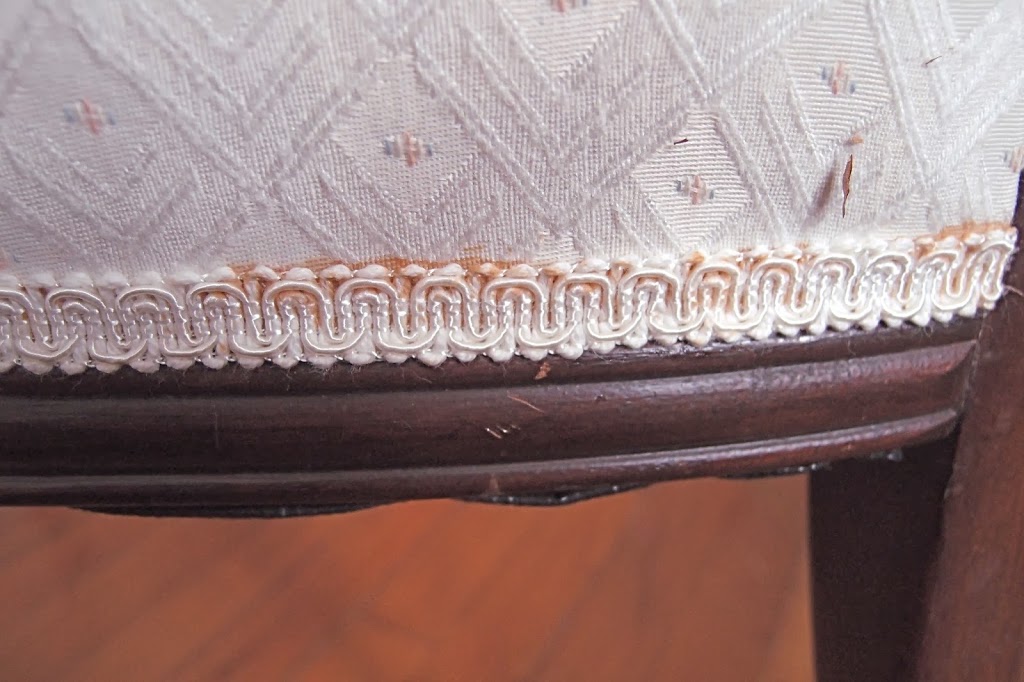
Bruno thought I might be able to salvage the fabric, but I didn’t for two very good reasons: 1) I didn’t like it; and 2) the glue along the gimp was yellowing making it hideous:
So I got to ripping it out. Er… not working so well.
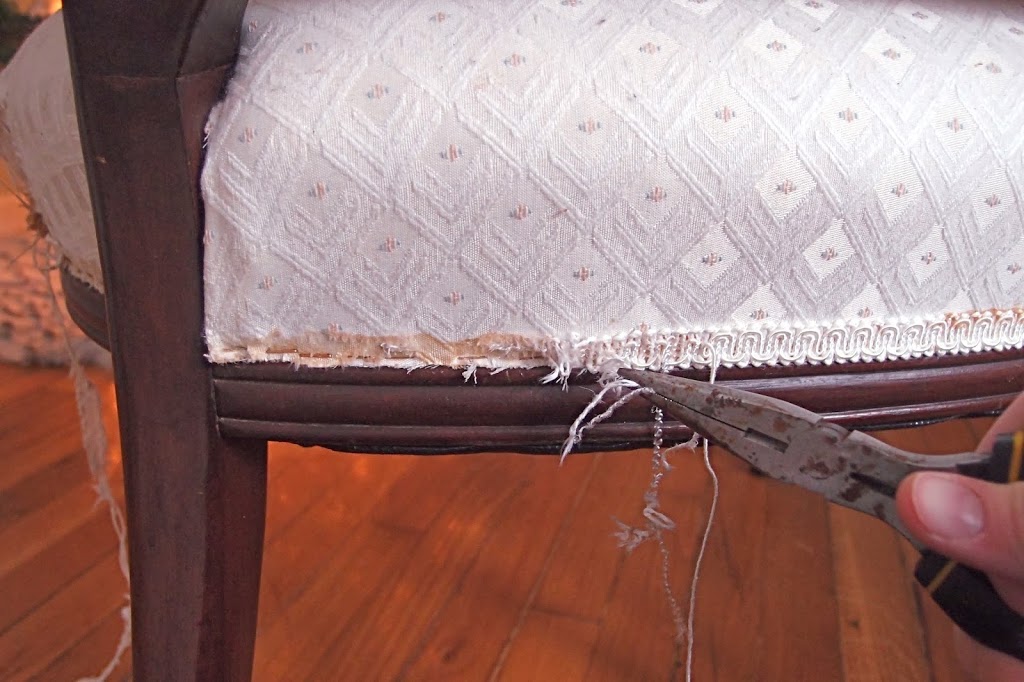
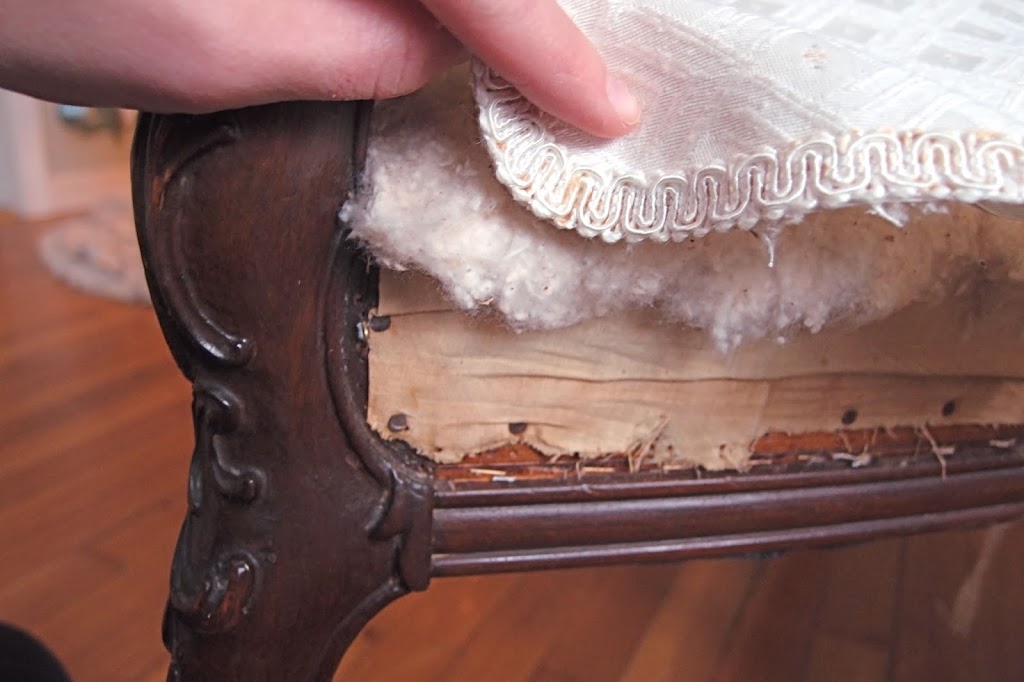
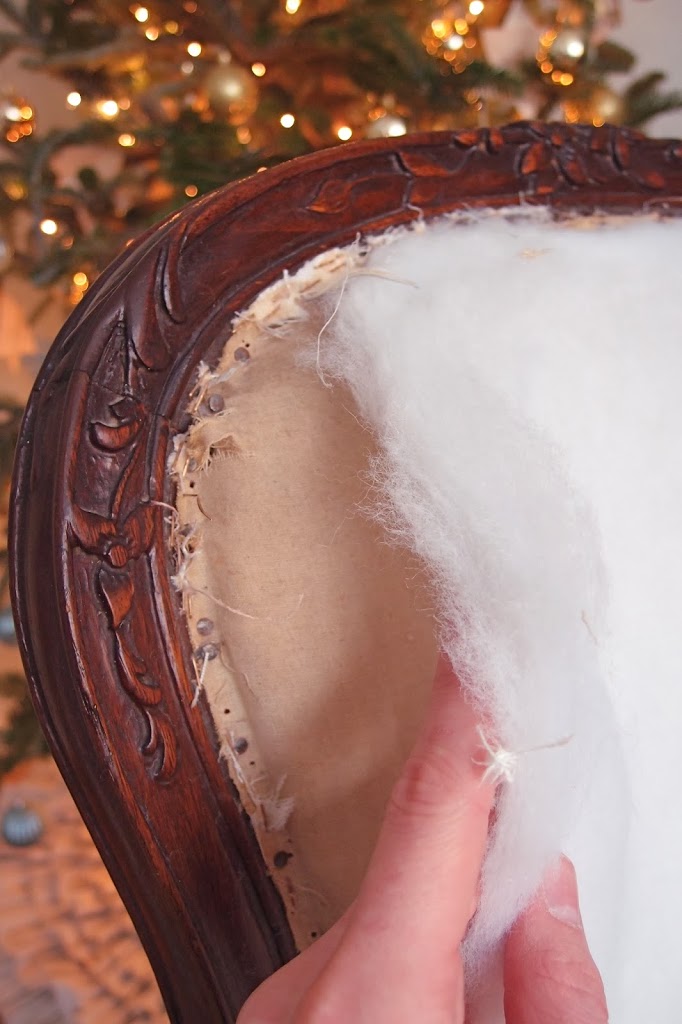
I nixed trying to take off the gimp first, and just pulled and tore at the fabric, and the gimp trim came with it! Here you can see a peak at the batting underneath and the original linen underneath that. Make sure to pull out the staples from the old fabric.
The arms weren’t too bad… some interesting velvet was exposed…
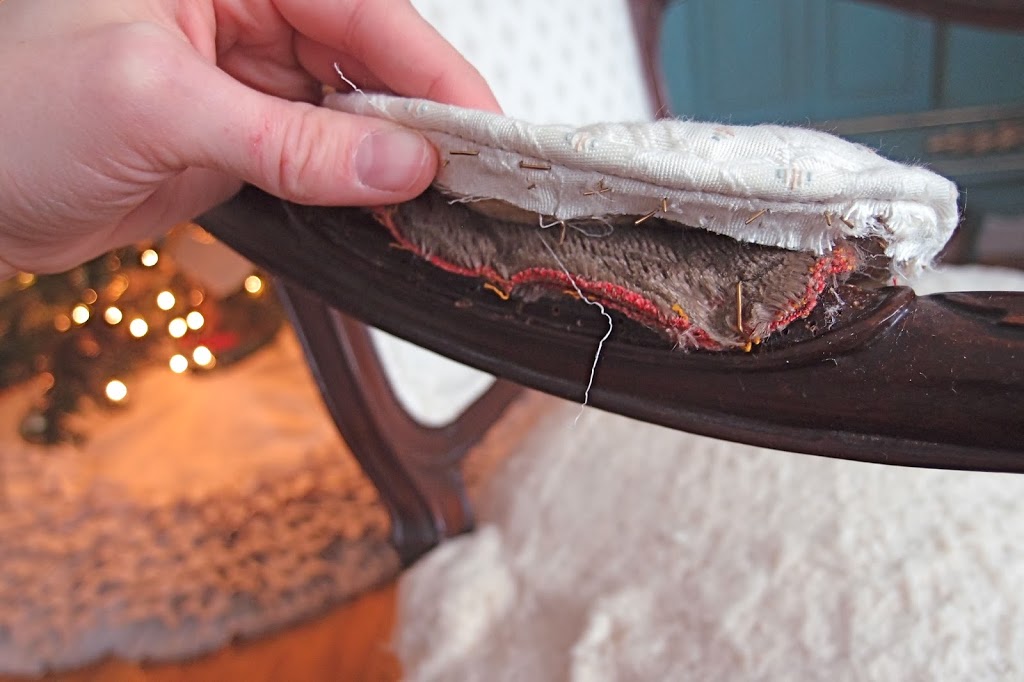
And I pulled the batting out of the little pocket in the arm upholstery…
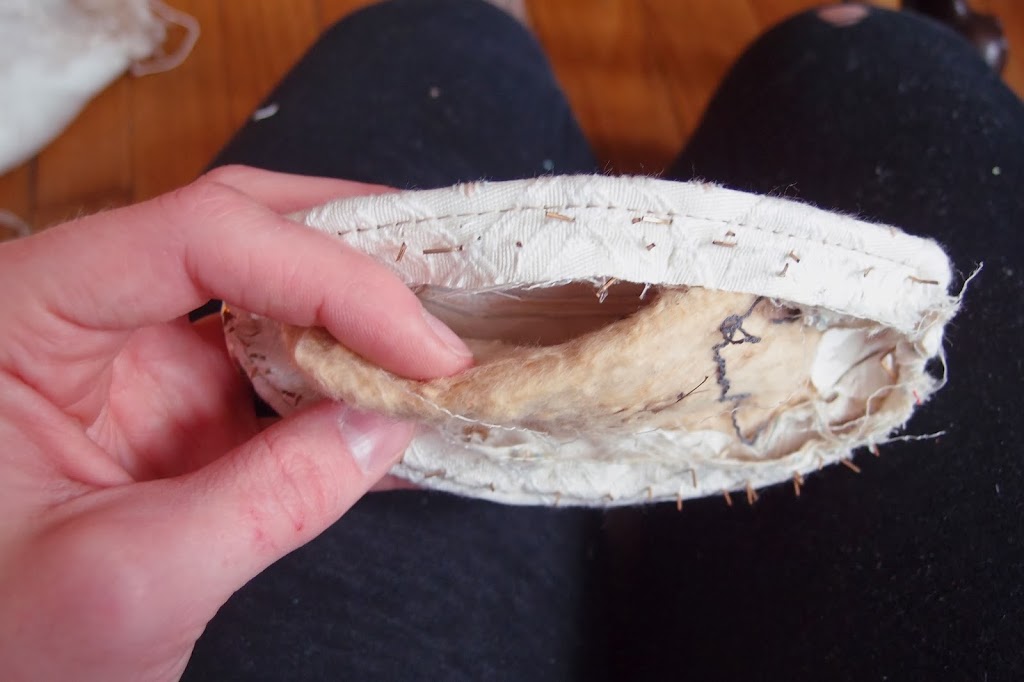
And starting peeling off layers of batting and SAVING for later!
DO NOT DISCARD PERFECTLY GOOD BATTING/FOAM/HOG HAIR/HORSE HAIR/CUSHION!
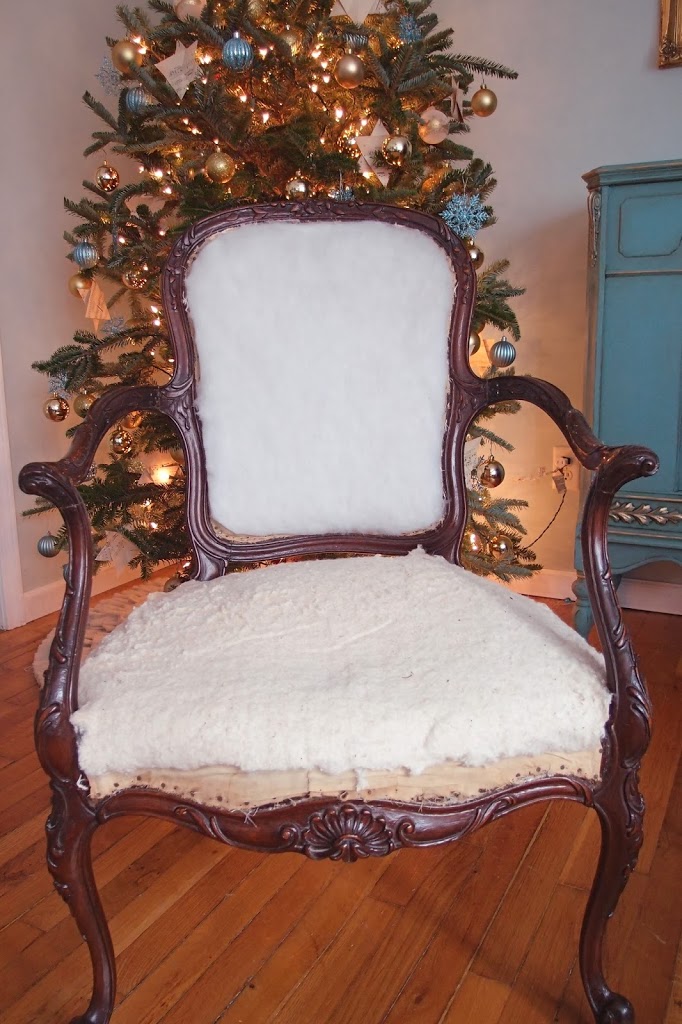
I could tell this had been reupholstered fairly recently because of the poly-fil batting used on the seat back.
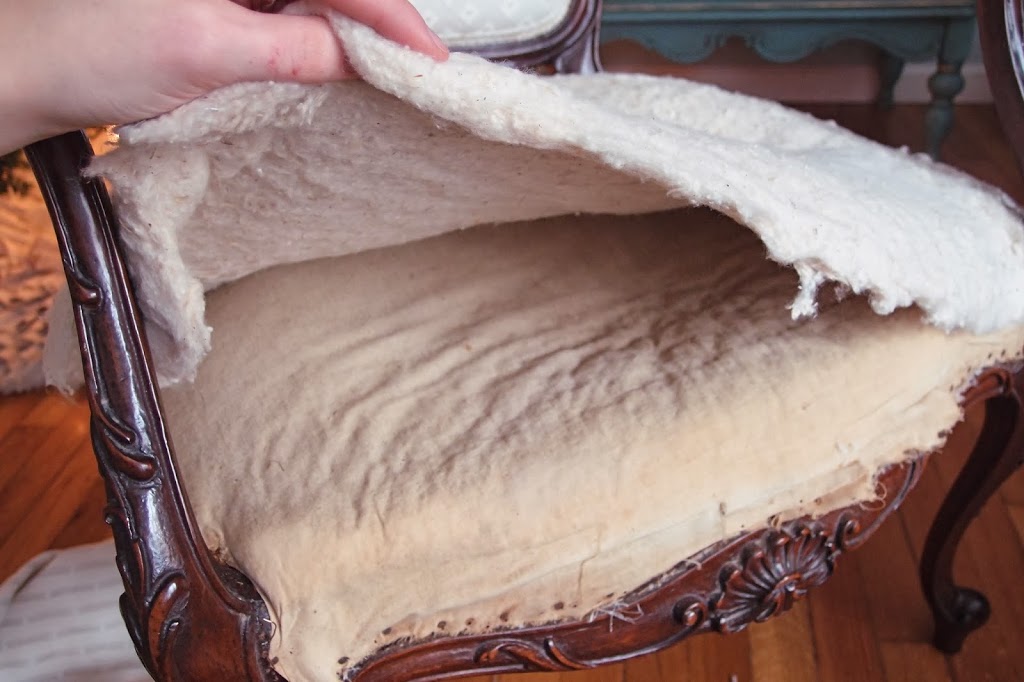
After all the linen was removed, I found MORE layers of batting! Surprise surprise!
Oh P.S. you will likely need that tack puller to remove the little tacks that held the linen in place. Or you can wait until the end to do that part!
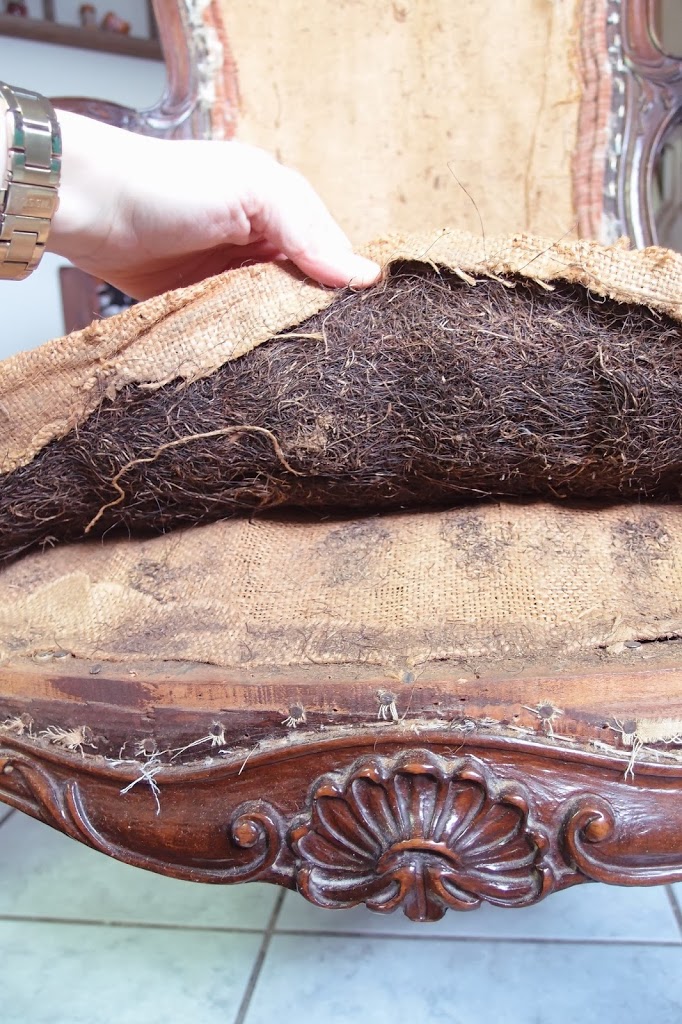
This stuff had hog hair/horse hair on the back and I did not and DO NOT recommend separating them. Remove in one piece and save for later.
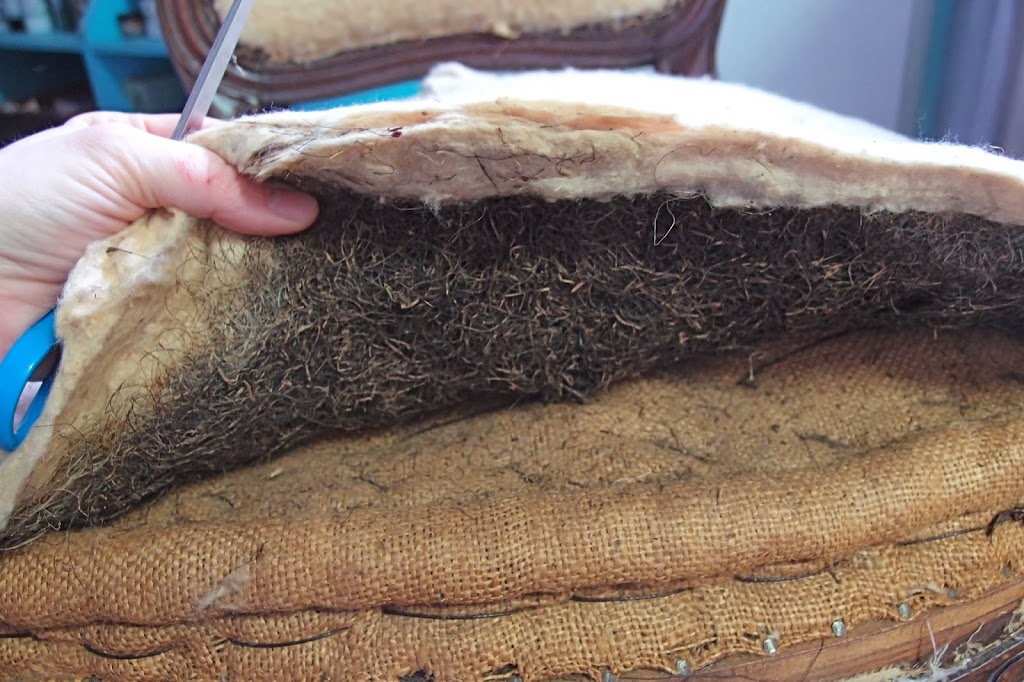
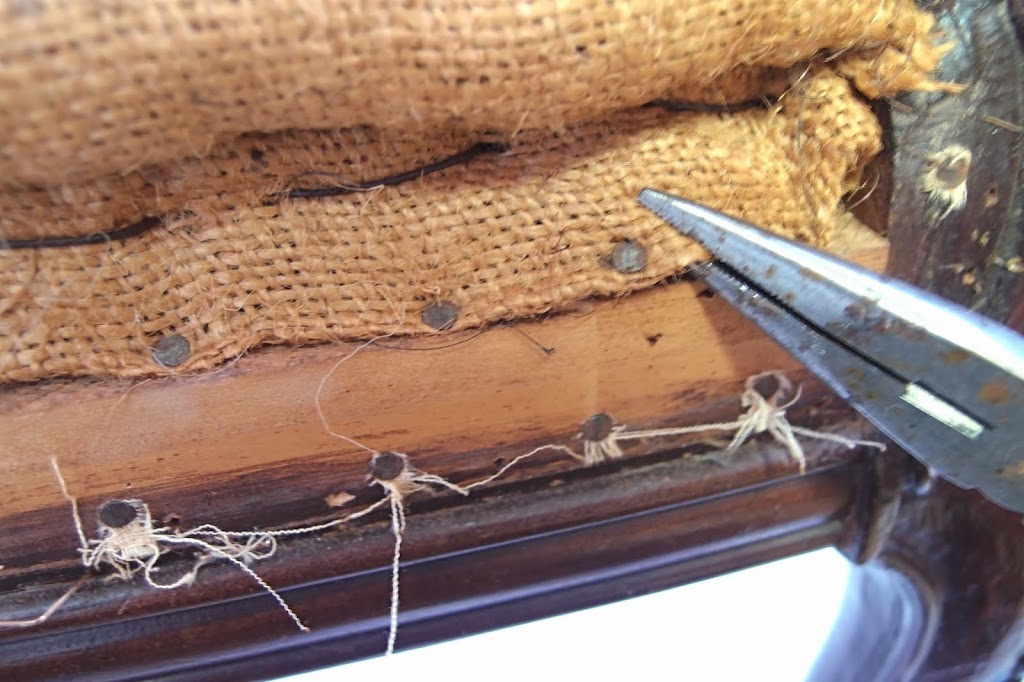
You will notice this portion is ‘tacked’ down with some thick thread in a few places. Just cut that loose.
Here is what was underneath that batting:
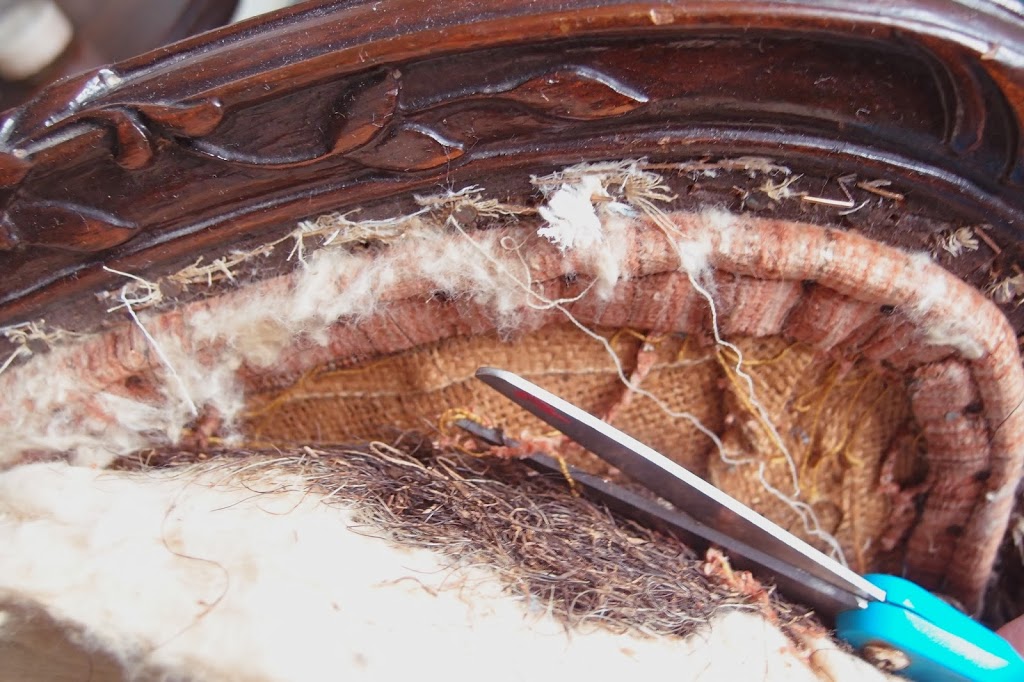
Can I just say, I don’t think this is normal? SO MANY LAYERS!! This one was tacked down with little tack nails. Easy peasy to remove, thankfully.

That piece also had more hog hair/horse hair underneath it. Again, don’t try to separate them.
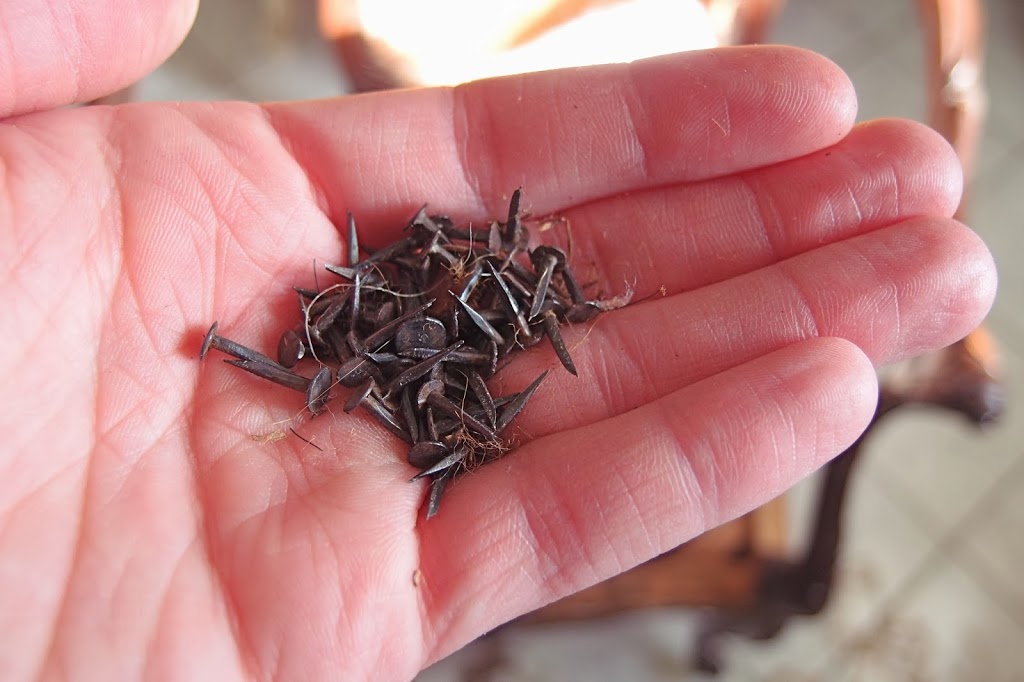
I even saved all the nails for possible reuse!
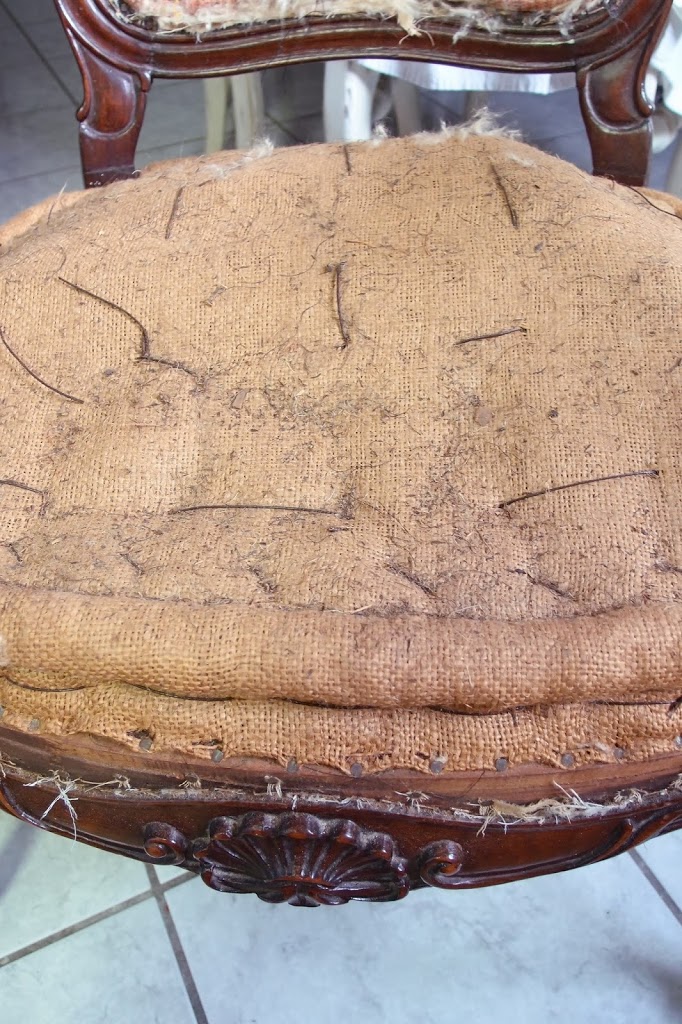
Last layer: nasty burlap (which I will have to replace).
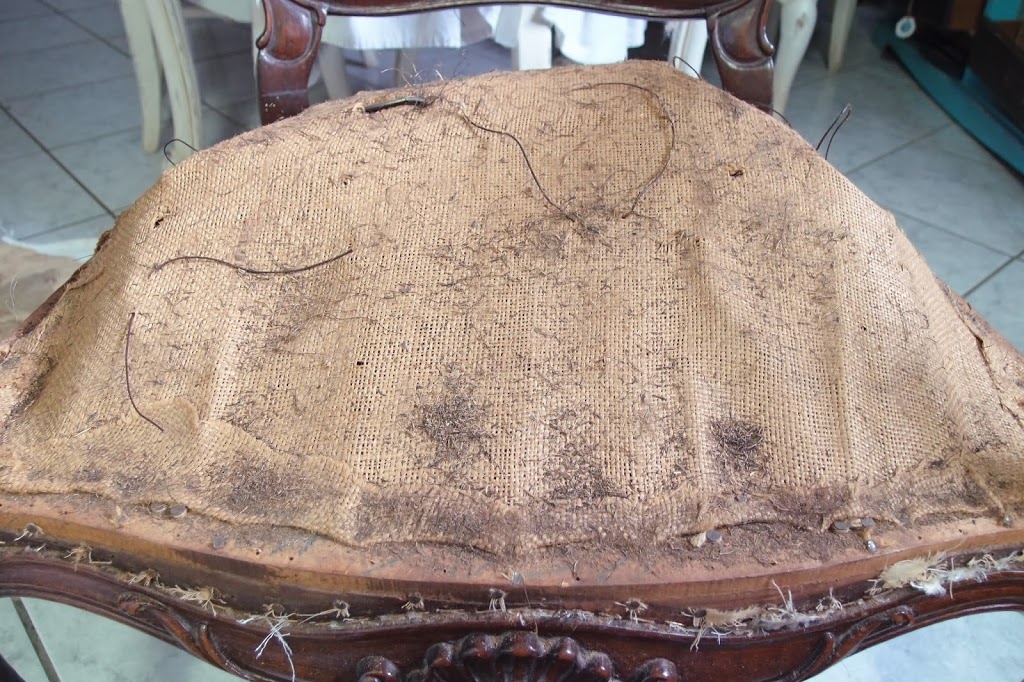
Now what was under that burlap:
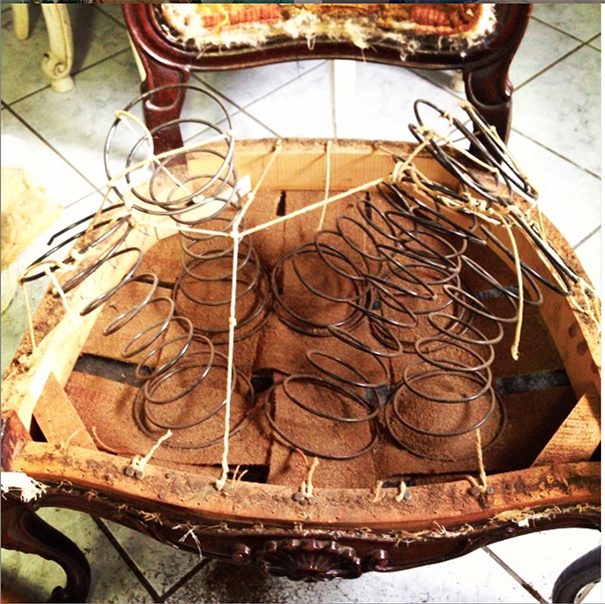
This isn’t typical, but these springs were only tied 4 ways, instead of 8!
And here she is! All naked! This is the point when you might get a little faint-hearted. Just remember! BABY STEPS! Only think about the next step in front of you!
Come back on Thursday for the next phase where I will show how I tied the springs down using the 8-way method, and putting all the layers back on!
Maybe by then I will have decided on painting the frame…
To see the next phase in the process, How to Tie Upholstery Springs, CLICK HERE.
Rachel, such a great post! Do you find these chairs quite often where you live? I’ve only found one once at a consignment shop which wasn’t super cheap. I’d love to find more to go in where our fireplace is 🙂 Def. pinning and sharing! x
Looking forward to the next phase. Thanks for sharing 🙂
Here at Leather Repairs we have experienced leather technicians who cover a wide range of leather repairs, from small repairs, full restoration and leather panel replacements.
Rachel,
I can never thank you enough for this tutorial! I have the exact same style chair and the upholstery tools and material and I’ve been too intimidated to actually start the project! Now, thanks to you. . . .I’m going to start tomorrow!!
Chair reprieving issue is common issue. This post describes how the respire the chair. This very useful post. Thank you for the post.
Thank you for great post! Going on to next one!
I have a Victorian chair I would love to upholster but was a little bit scared to try doing it by myself. T&anks for the post.
Why paint the frame ? Then it won’t be original just another painted chair