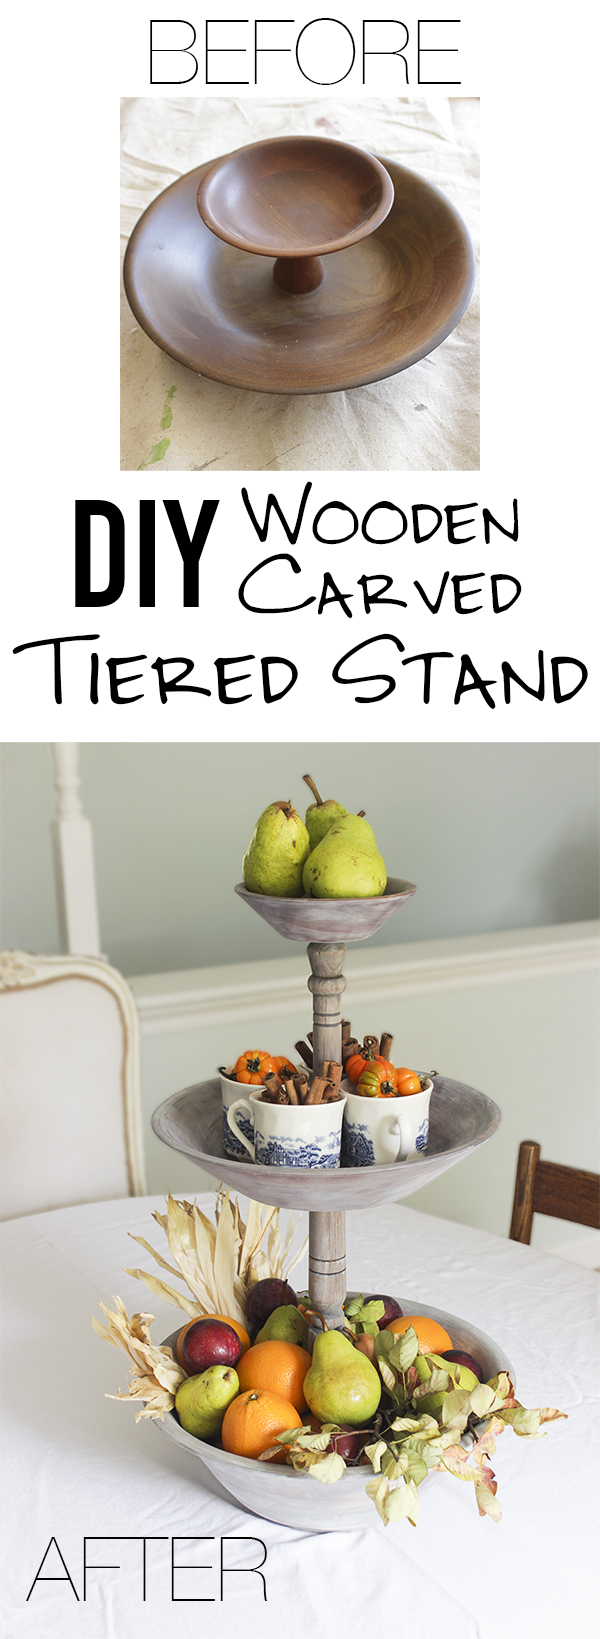
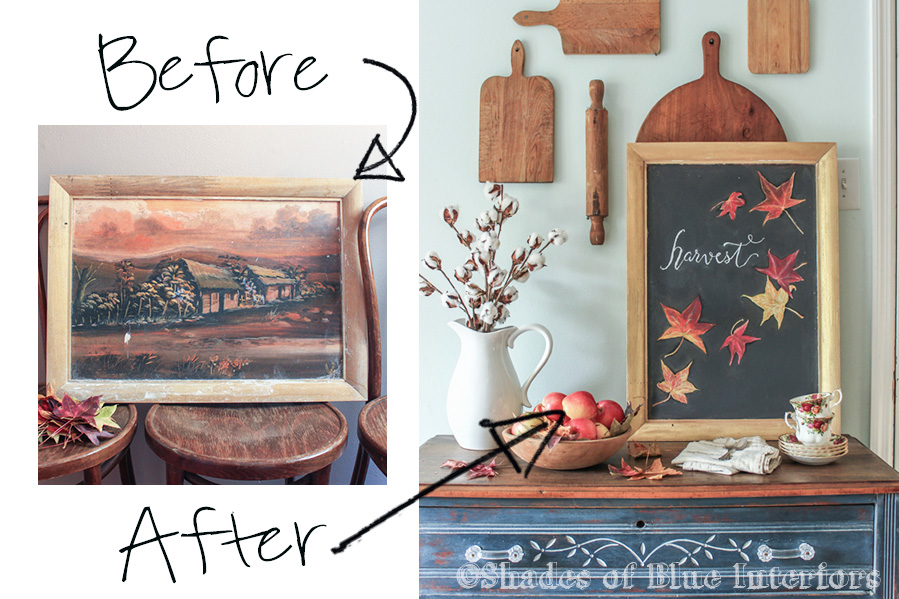
Are ya’ll ready to see one of my most favorite thrift store upcycles? Today I’m sharing my project as part of the #SwapItLikeItsHot blog hop put together by my awesome from Charlotte from Ciburbanity and I couldn’t be more pumped about it! If you are visiting from Something To Be Found, welcome! Katie sent me a box full of items that were deserving of a makeover. But one of them really caught my eye….
This wooden coin tray.
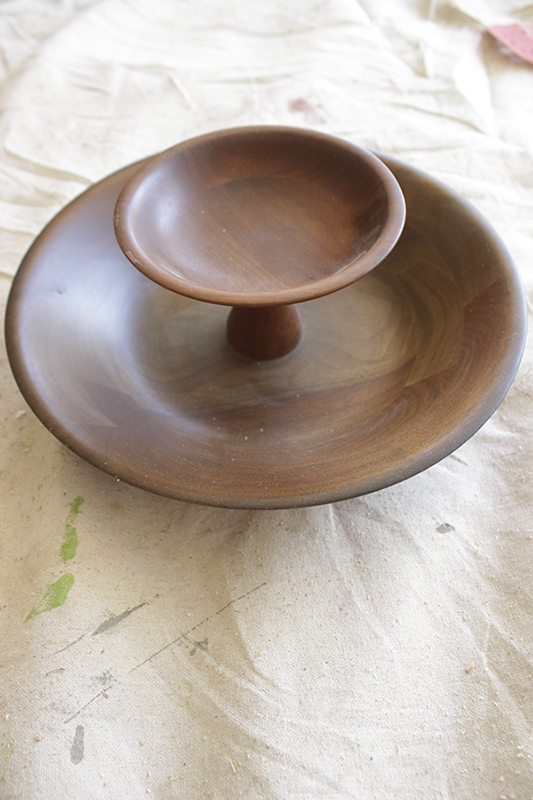
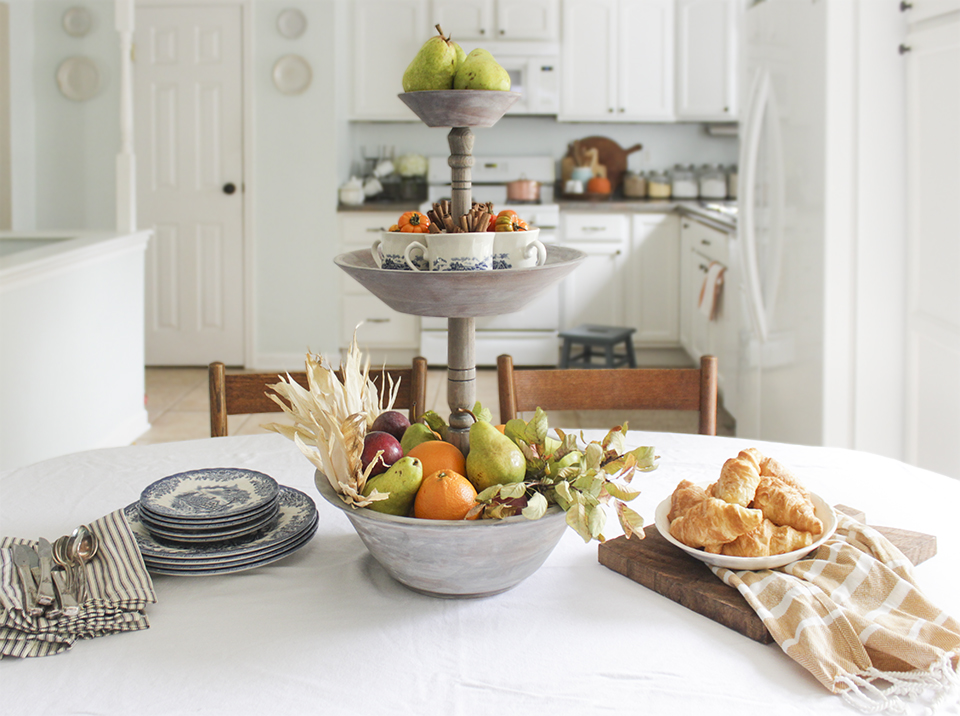
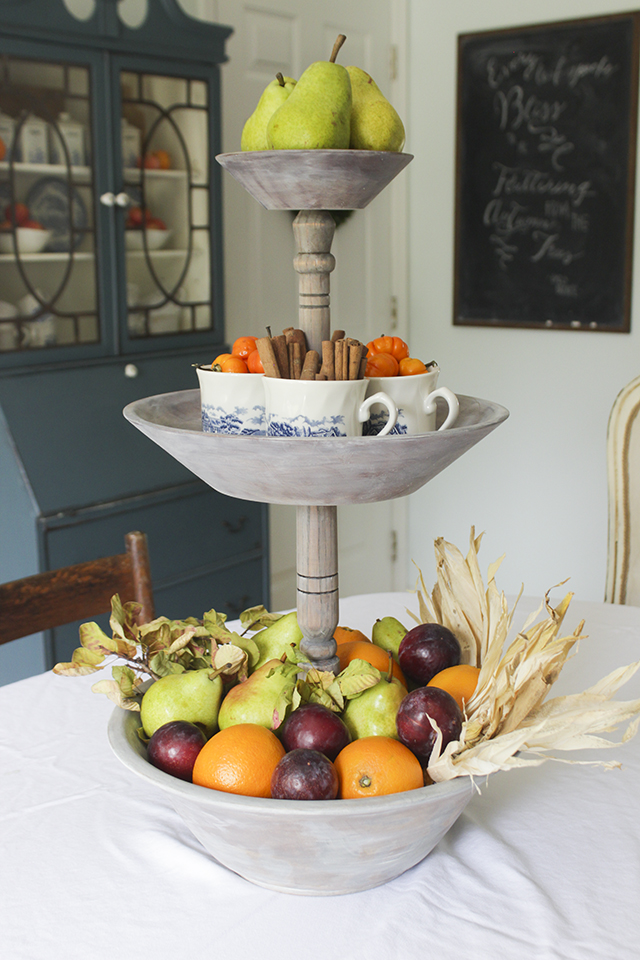
I’ve been eyeing those awesome carved wooden tiered stands from Pottery Barn and other sites for awhile, but gosh dang they can get spendy! When I realized I could take this coin tray apart, the wheels started turning. I grabbed a couple more items to make this transformation complete, but here is the end result:
And you would not believe how easy it was! Wanna see?
You will need:
Wooden coin tray
Wooden bowl larger than the bottom tray
Wooden turned table leg about 2′ long
2 hanger bolts,(1- 1/4 x 1 1/2″, and 1- 1/4x 2″)
Cordless drill
Circular saw
Wood glue
1/16″ drill bit
Step 1: Remove the screw holding the tray together.
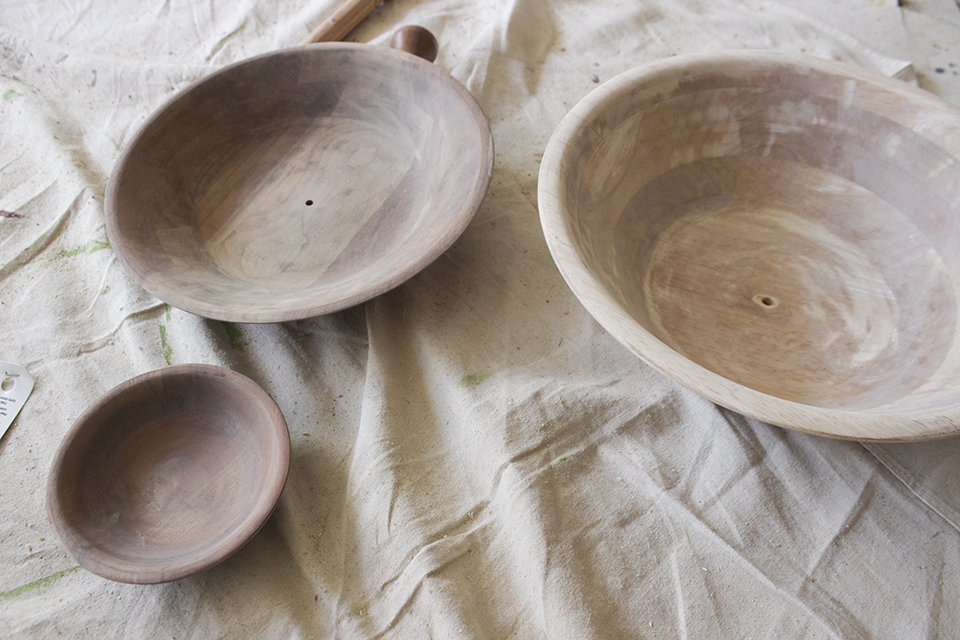
Step 2: Drill a 3/16″ hole in the center of the bottom of the wooden bowl.
Step 3: Cut the table leg into 2 shorter pieces and drill holes about 1 inch in, on either end.
Step 4: Screw in hanger bolts into either end of the pieces of the table leg.
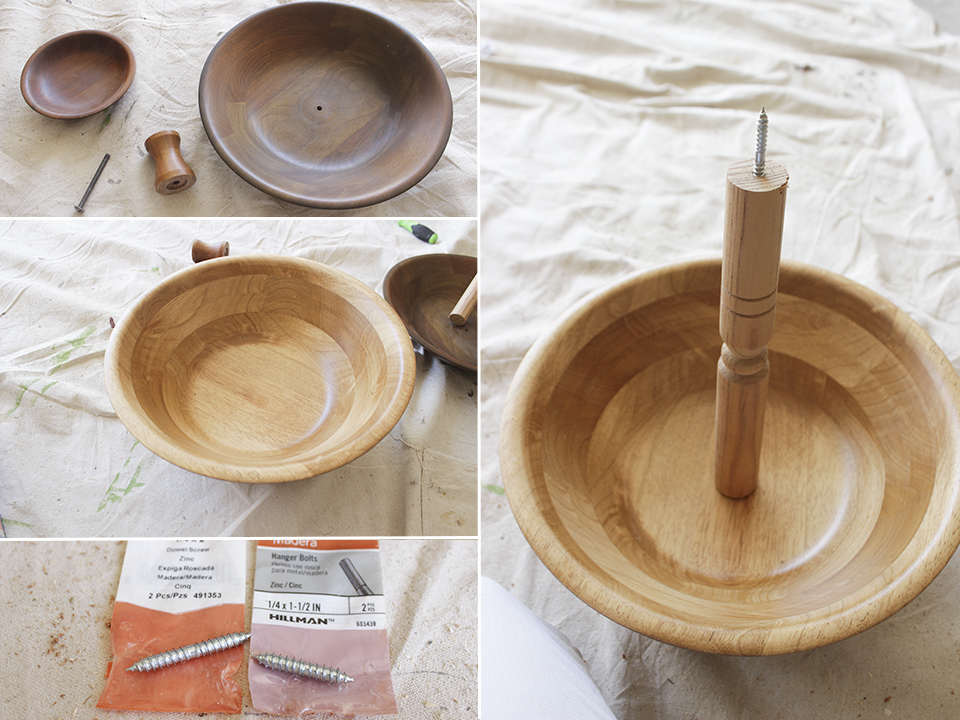
Step 5: Fit everything together to check for desired height difference between bowls.
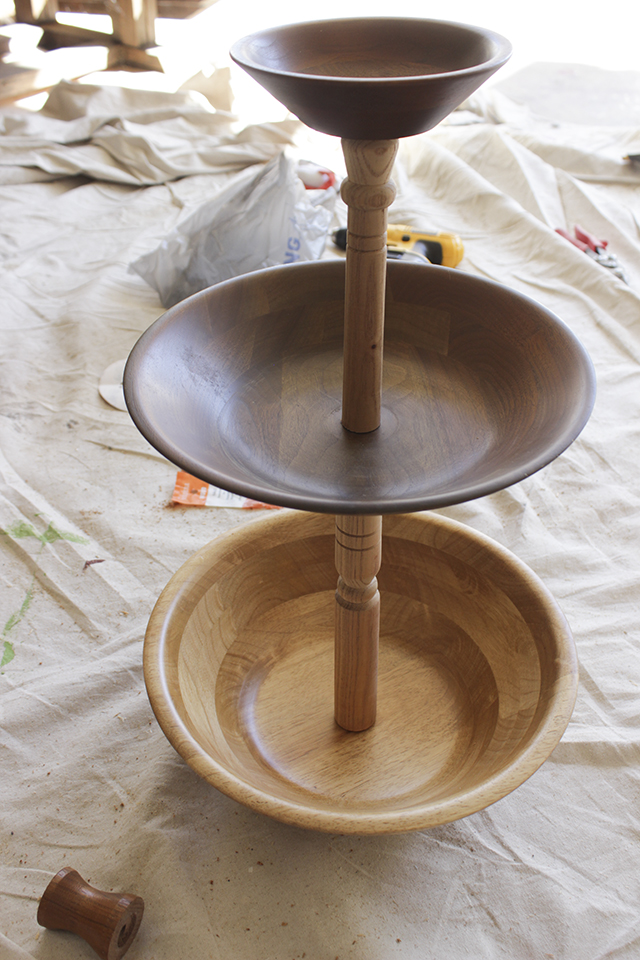
Step 6: Take apart stand and sand bowls to remove shiny finish, then stain so all have the same tone. I used a dark walnut stain for the lighter pine bowl and a transparent oil for the darker wood walnut bowls from the coin tray. I then used a white wash to give them a weathered-look finish and to hide imperfections in the wood/my sanding job ;).
Step 7: Put it all back together, but use wood glue between the cut pieces of table leg and the bowls. Let dry for 24 hours.
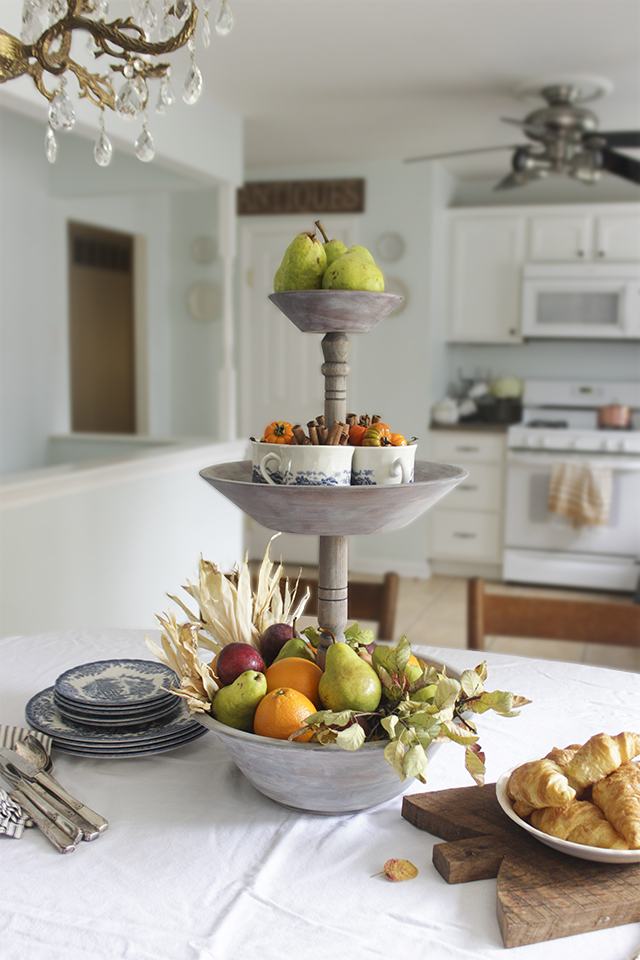
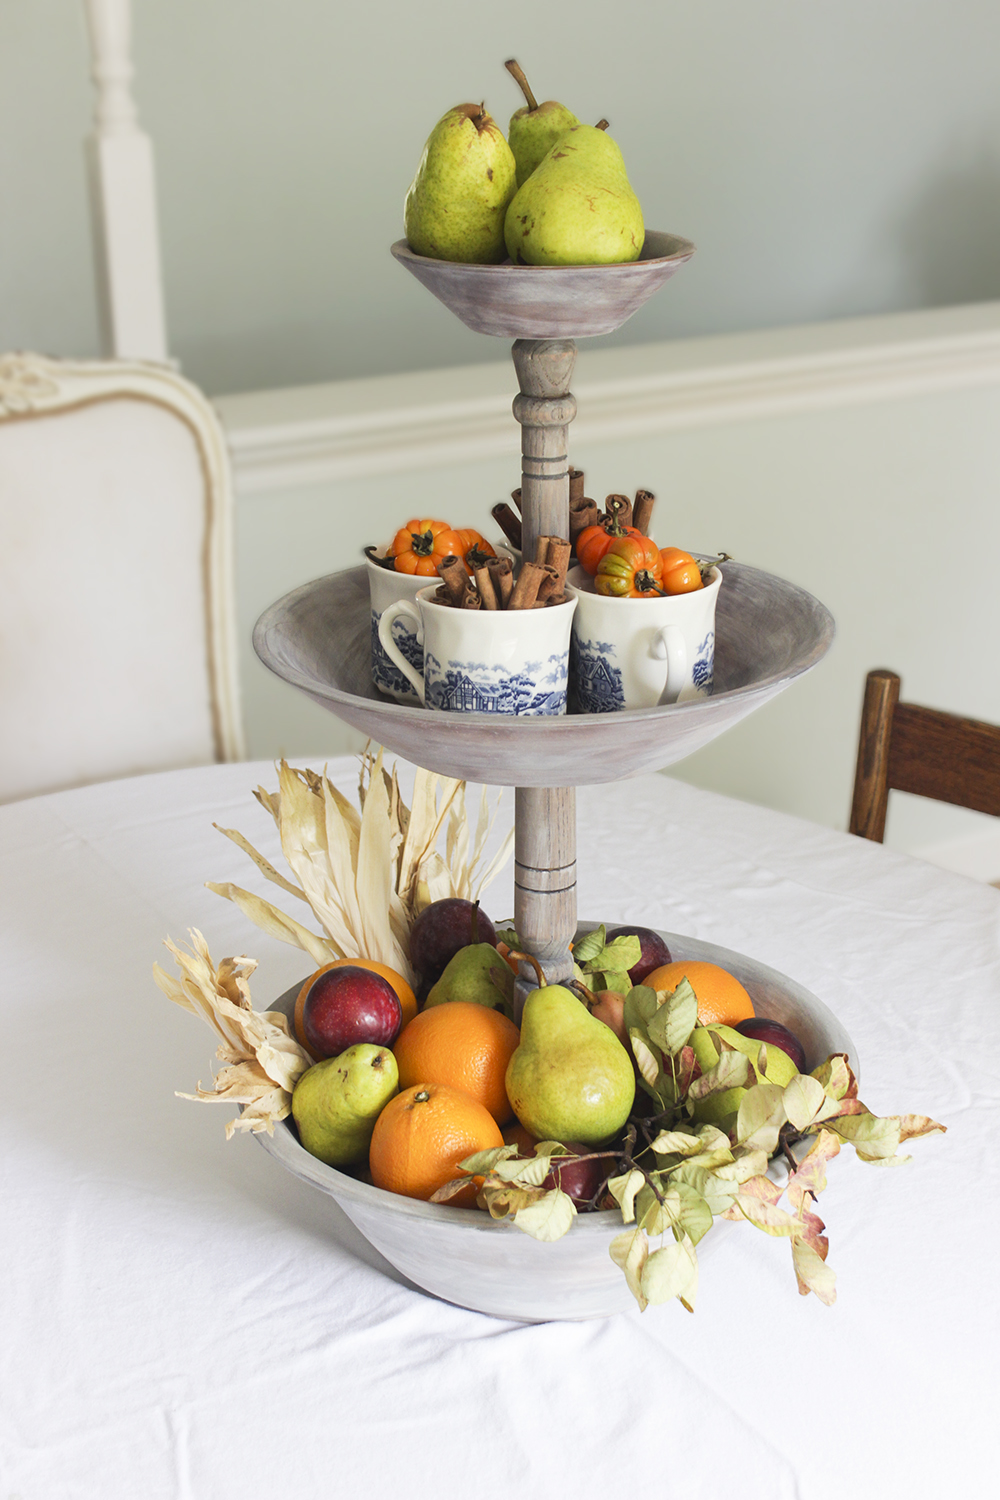
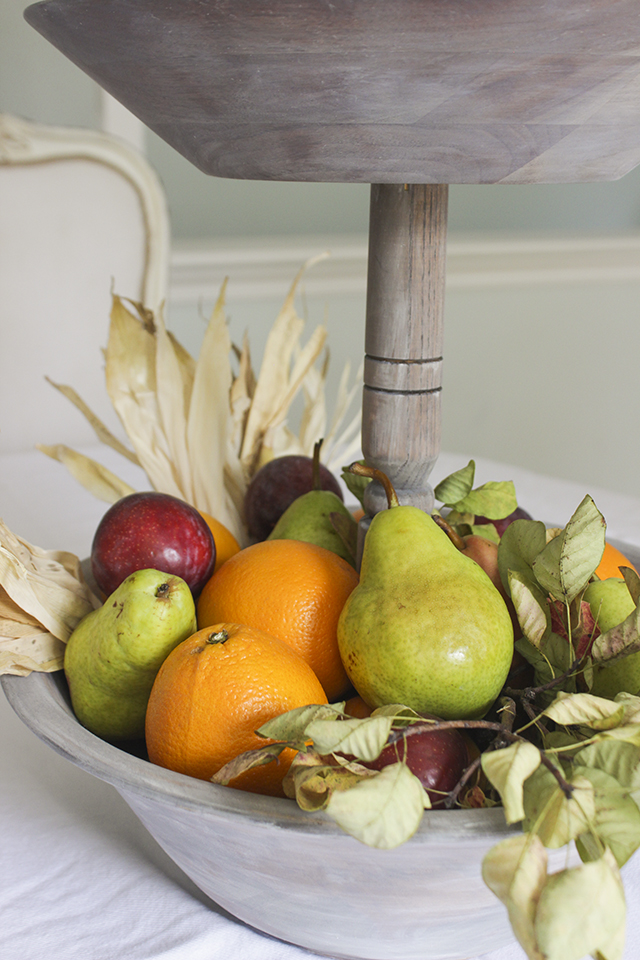
This tiered stand is about 2 feet in total height and it is perfect to display various fruits and seasonal items.
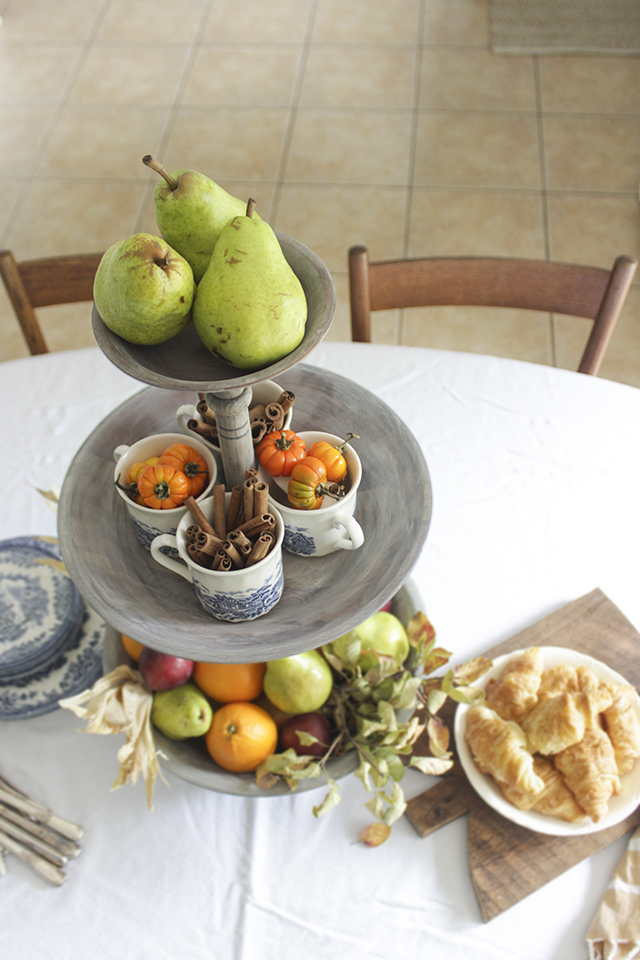
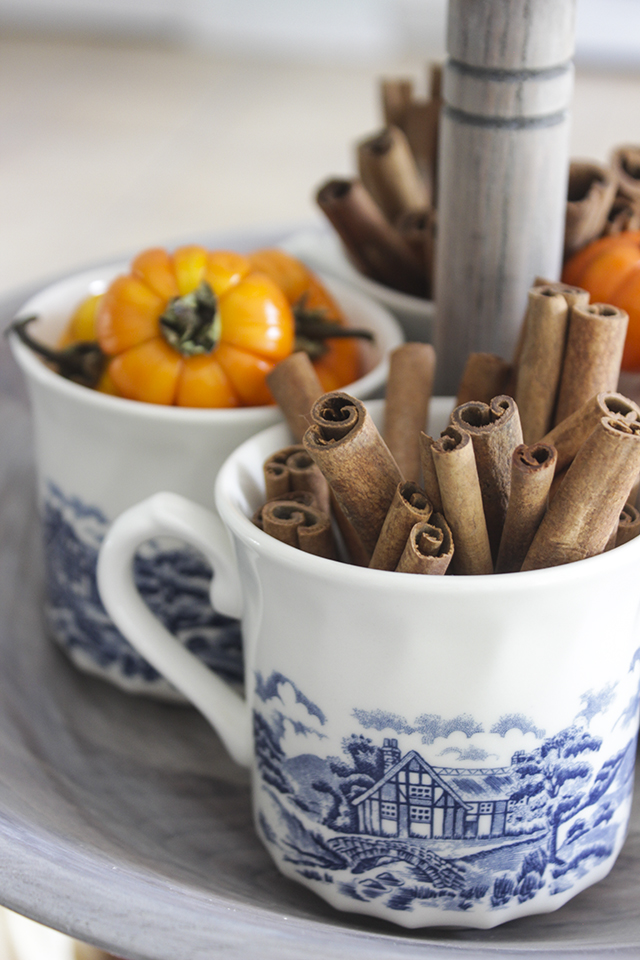
I filled mine with teacups, cinnamon sticks, and these funny little pumpkins from what they call a “pumpkin tree” at Trader Joe’s.

So, what do you think? Pretty good transformation, no?
You might also like these previous #SwapItLikeItsHot thrift store transformations I did:

I sent a pulley and a couple other things to Ashley from Simply Designing… Go check out what she did HERE.
Tune in all week to see the crazy items this talented group of bloggers has been making over! Search the hashtag #swapitlikeitshot on social media to follow along with all the fun or check out our Pinterest Board.
MONDAY
That’s My Letter / DIY On the Cheap / Run To Radiance / The Gathered Home
Two Thirty Five Designs / Chaotically Creative / Decor Adventures / Homemade By Carmona
TUESDAY
Thoughts From Alice / Reinvented / Confessions Of A Serial Do-It-Yourselfer / Restoration Redoux
Always Never Done / I Am a Homemaker / Black and White Obsession / Windgate Lane
WEDNESDAY
Town and Country Living / brepurposed / The Charming Farmer / 58 Water Street
Designer Trapped In A Lawyer’s Body / Year of Serendipity / White House Black Shutters / Desert Domicile
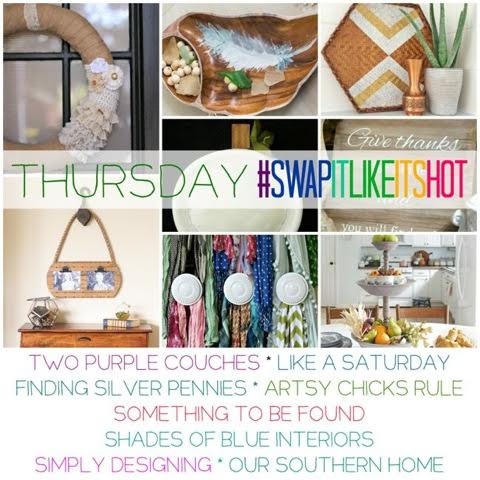
THURSDAY
Two Purple Couches / Like A Saturday / Finding Silver Pennies / Artsy Chicks Rule
Something to Be Found / Shades of Blue Interiors / Simple Designing / Our Southern Home
FRIDAY
Evey’s Creations / Dragonfly and Lilypads / Weekend Craft / Ciburbanity
A Designer At Home / Polished Habitat / Blue i Style / Addicted 2 DIY
Rachel!!!! This is amazing!! As soon as I saw that bowl I knew it would fit your decor perfectly!! You did an incredible job remaking it! Hopefully your daughter liked that pink sling chair for her dolls 🙂
This is amazing! Seriously looks high end, you wouldn’t even know what it use to be. Love your brain!
You, my beauty, are a marvel! I can’t handle how amazing and legit these look! The white washed finish is gorgeous… Looks like they were made for your able. Mwah! Thanks for joining the #swap fun! xx
Very pretty Rachel and such a versatile decor piece.
Wow! It turned out AMAZING! What a creative and beautiful transformation!
This is gorgeous! Looks so high-end! XO
LOVE, love , love this! What a great job you did and I just adore how you have it filled and styled!
xo
Nancy
Just stop!!! This is gorgeous! It looks so high end, I can’t believe it all started with a thrifted swap!
I love it so much! And those little tea cups in it are so cute!
Beautiful!!! The table leg is so clever – I love the design details it adds to the whole look!
That tray is perfect! It’s so functional too. We have one for fruit and I’ve realized I need more tiered trays in my life. Looks perfect for fall. Glad you had fun on the Swap!