I’m still slightly recovering from a weekend of fun and stress at Haven Conference. I’ve shared my experiences the past two years HERE and HERE, but before I share pictures and things I learned, I wanted to share with you the paint finishes or paint techniques that we (Danielle and I) taught in our class, Advanced Painting. I posted a pic on my Insta last week and got several requests to share the combinations, so I’m going to do that first and get it out of the way. 🙂 Then if you are interested enough to read on about my 3rd year of attending Haven, then it will be at the bottom.
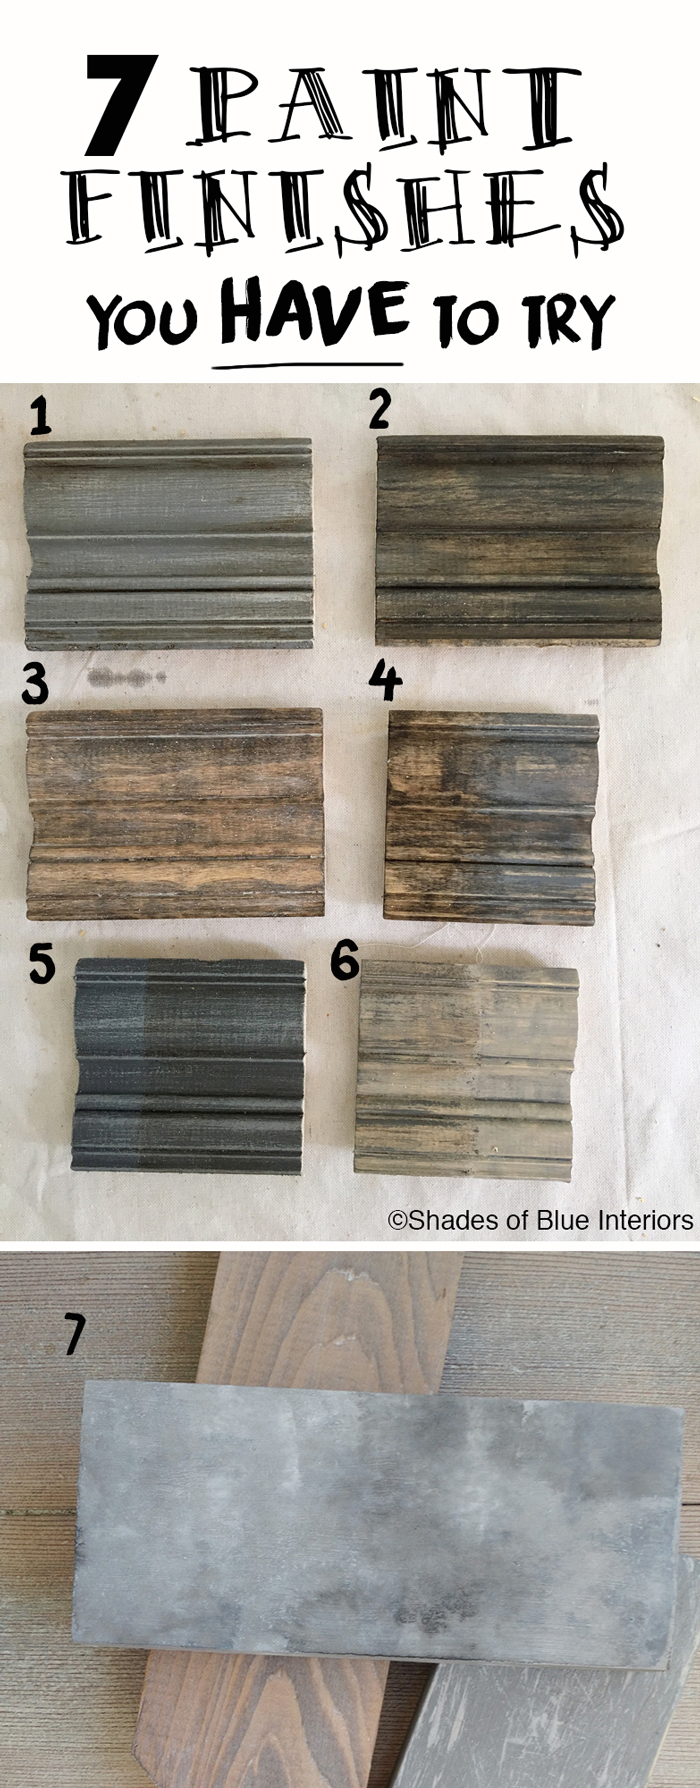
1- TOP LEFT
Step 1- 2 Coats of 1:1 mix of Amy Howard- Luxe Gray & Amy Howard- A Good Man is Hard to Find (you can also use Fusion Soapstone and Fusion Sterling mixed 1:1, or Annie Sloan French Linen)
Step 2- Amy Howard Luxe Gray DRY BRUSHED (if you want to know how to dry brush, watch THIS video tutorial I did last year.
Step 3- MMS Antiquing Wax rubbed in. You can also use Annie Sloan Dark Wax. If you want to know how to properly dark wax, watch THIS video tutorial I did.

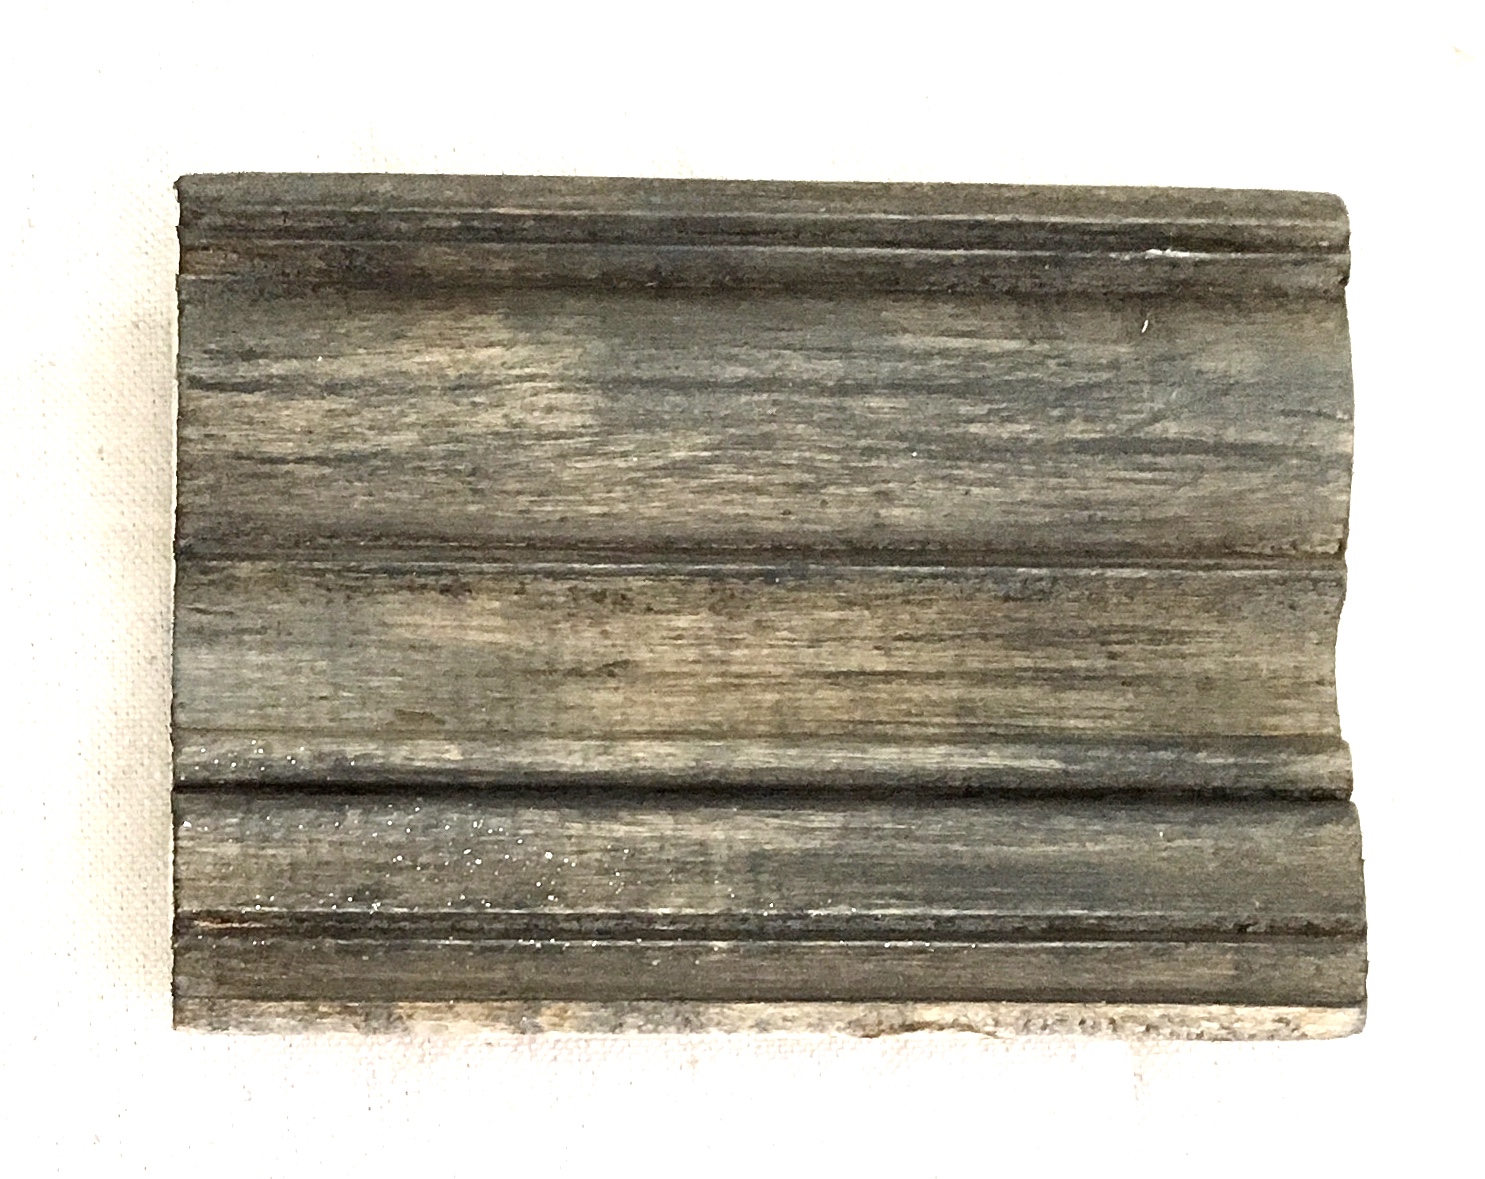
2- TOP RIGHT
Step 1- Stain with Verathane Weathered Gray
Step 2- Annie Sloan Graphite DRY BRUSHED
Step 3- Annie Sloan Dark Wax or MMS Antiquing Wax
3- MIDDLE LEFT
Step 1- Minwax Special Walnut
Step 2- Zinsser Clear Shellac brushed on- 1 coat
Step 3- Gray tinted wax rubbed into crevices and onto grain. To make gray tinted wax, mix 1 /8-1/4 teaspoon light gray paint (can be any type, including latex) with 1 Tablespoon clear wax– CAN BE ANY BRAND BUT MUST HAVE CONSISTENCY OF MARGARINE (like Annie Sloan Clear Wax or MMS Furniture Wax). Rub it on with a cloth and wipe back until the desired amount of gray wax is left on the surface. This technique is the same as demonstrated in my video tutorial on how to achieve a White-Washed Weathered Oak Finish. Let the wax dry for about 10 minutes before buffing to a sheen.

4- MIDDLE RIGHT, right side
Step 1- Minwax Special Walnut stain
Step 2- Zinsser Clear Shellac- 1 coat
Step 3- 1:1 mix of Amy Howard-A Good Man is Hard to Find and Luxe Gray (or a medium gray like Annie Sloan French Linen)) DRY BRUSHED
Step 4- Gray wax or White wax rubbed on top
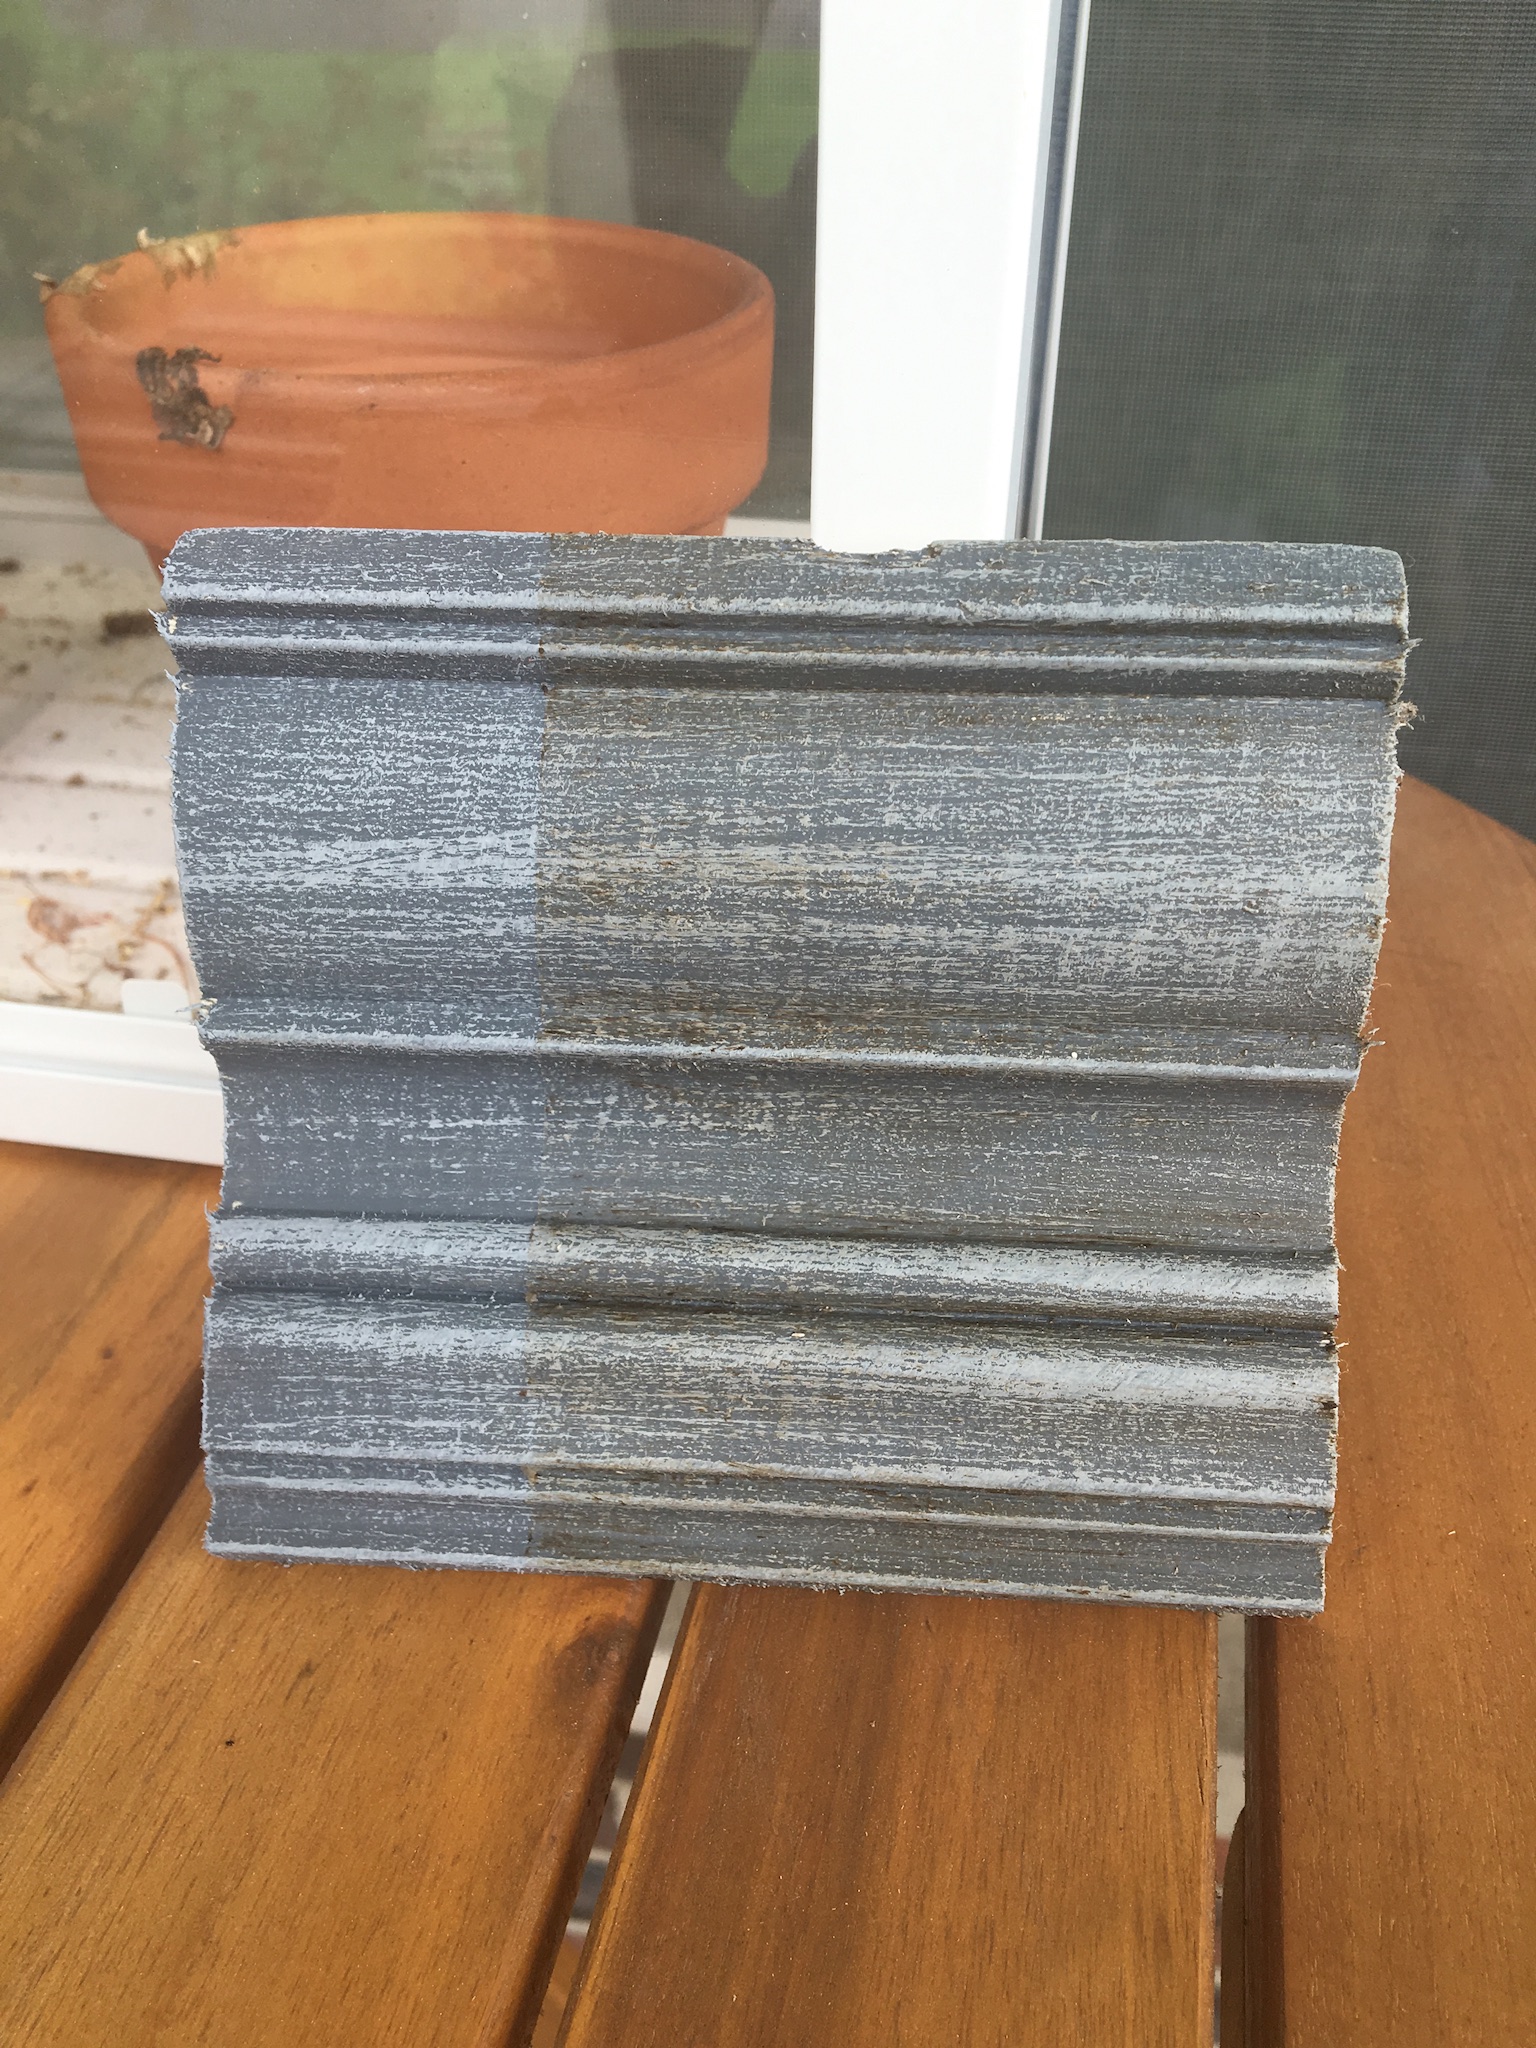
5- BOTTOM LEFT, right side
Step 1- 2 coats Amy Howard- A Good Man is Hard To Find
Step 2- 1:1 mix of Amy Howard- A Good Man is Hard to Find and Luxe Gray (or a medium gray like Annie Sloan French Linen) DRY BRUSHED
Step 3- Annie Sloan Dark Wax or MMS Antiquing Wax
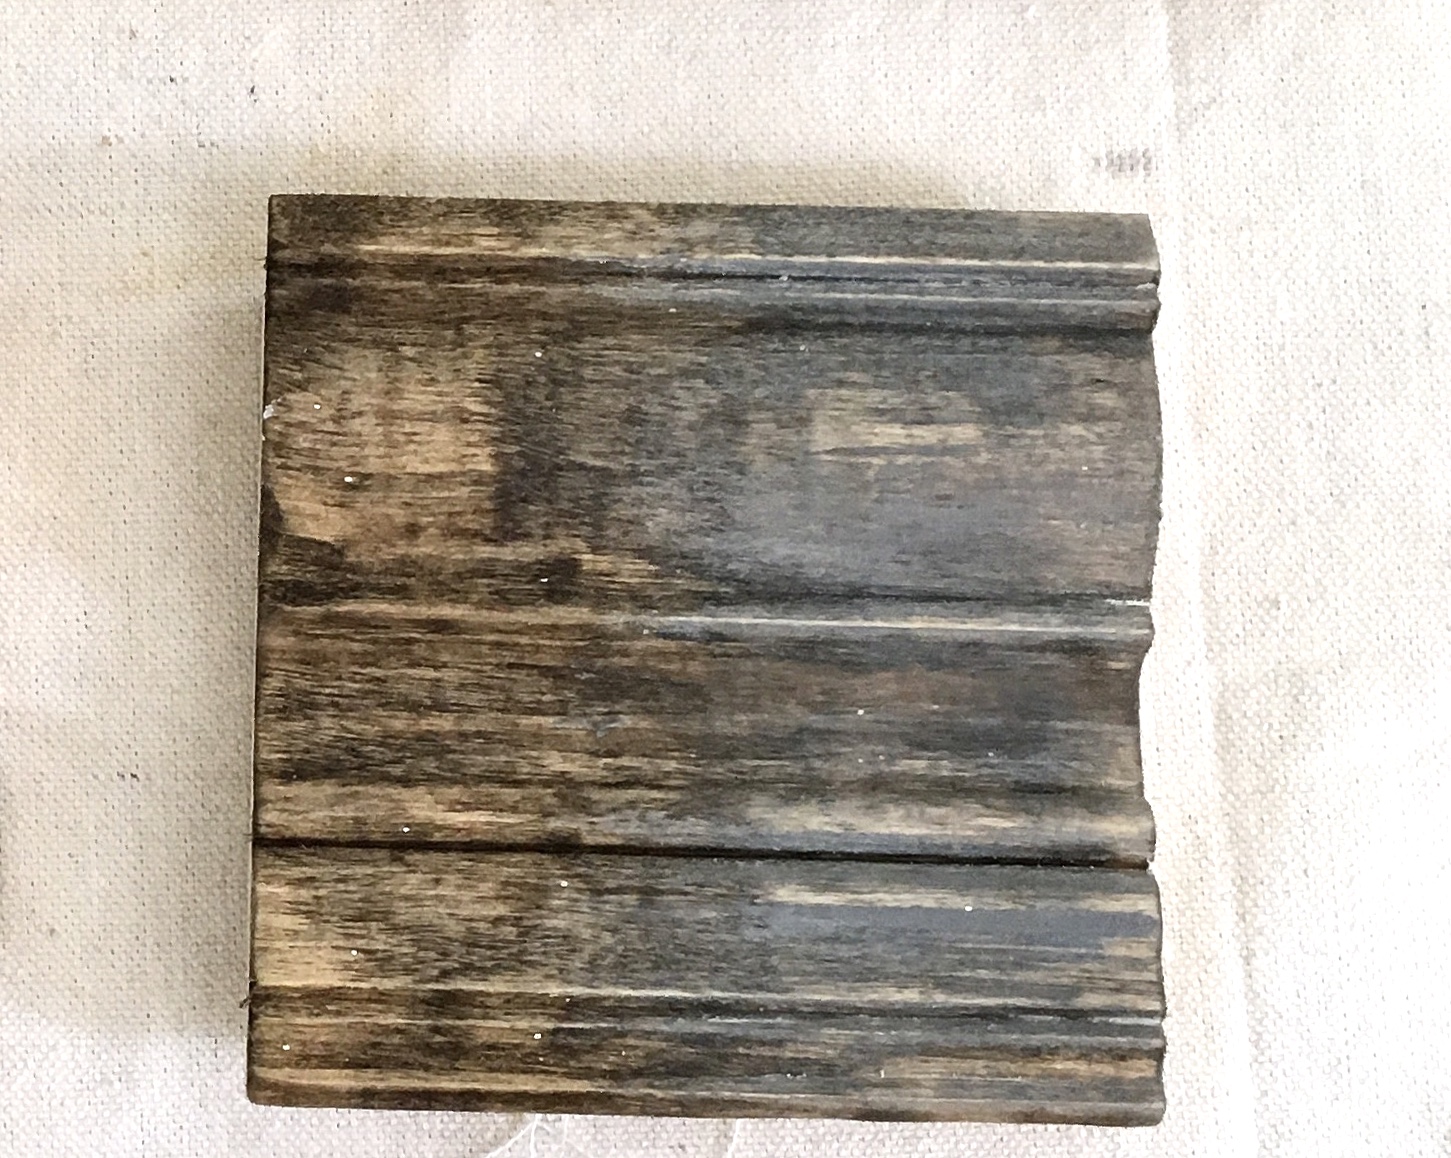
6- BOTTOM RIGHT
Step 1- Verathane Sunbleached stain
Step 2 (Left Side)- Amy Howard- A Good Man is Hard to Find DRY BRUSHED
Step 2 (Right Side)- Zinsser Clear Shellac – 1 coat
Step 3 (Left Side)- MMS Antiquing Wax or Annie Sloan Dark Wax
Step 3 (Right Side)- Dark gray wax made by using Amy Howard- A Good Man is Hard to Find and mixing it with clear wax.
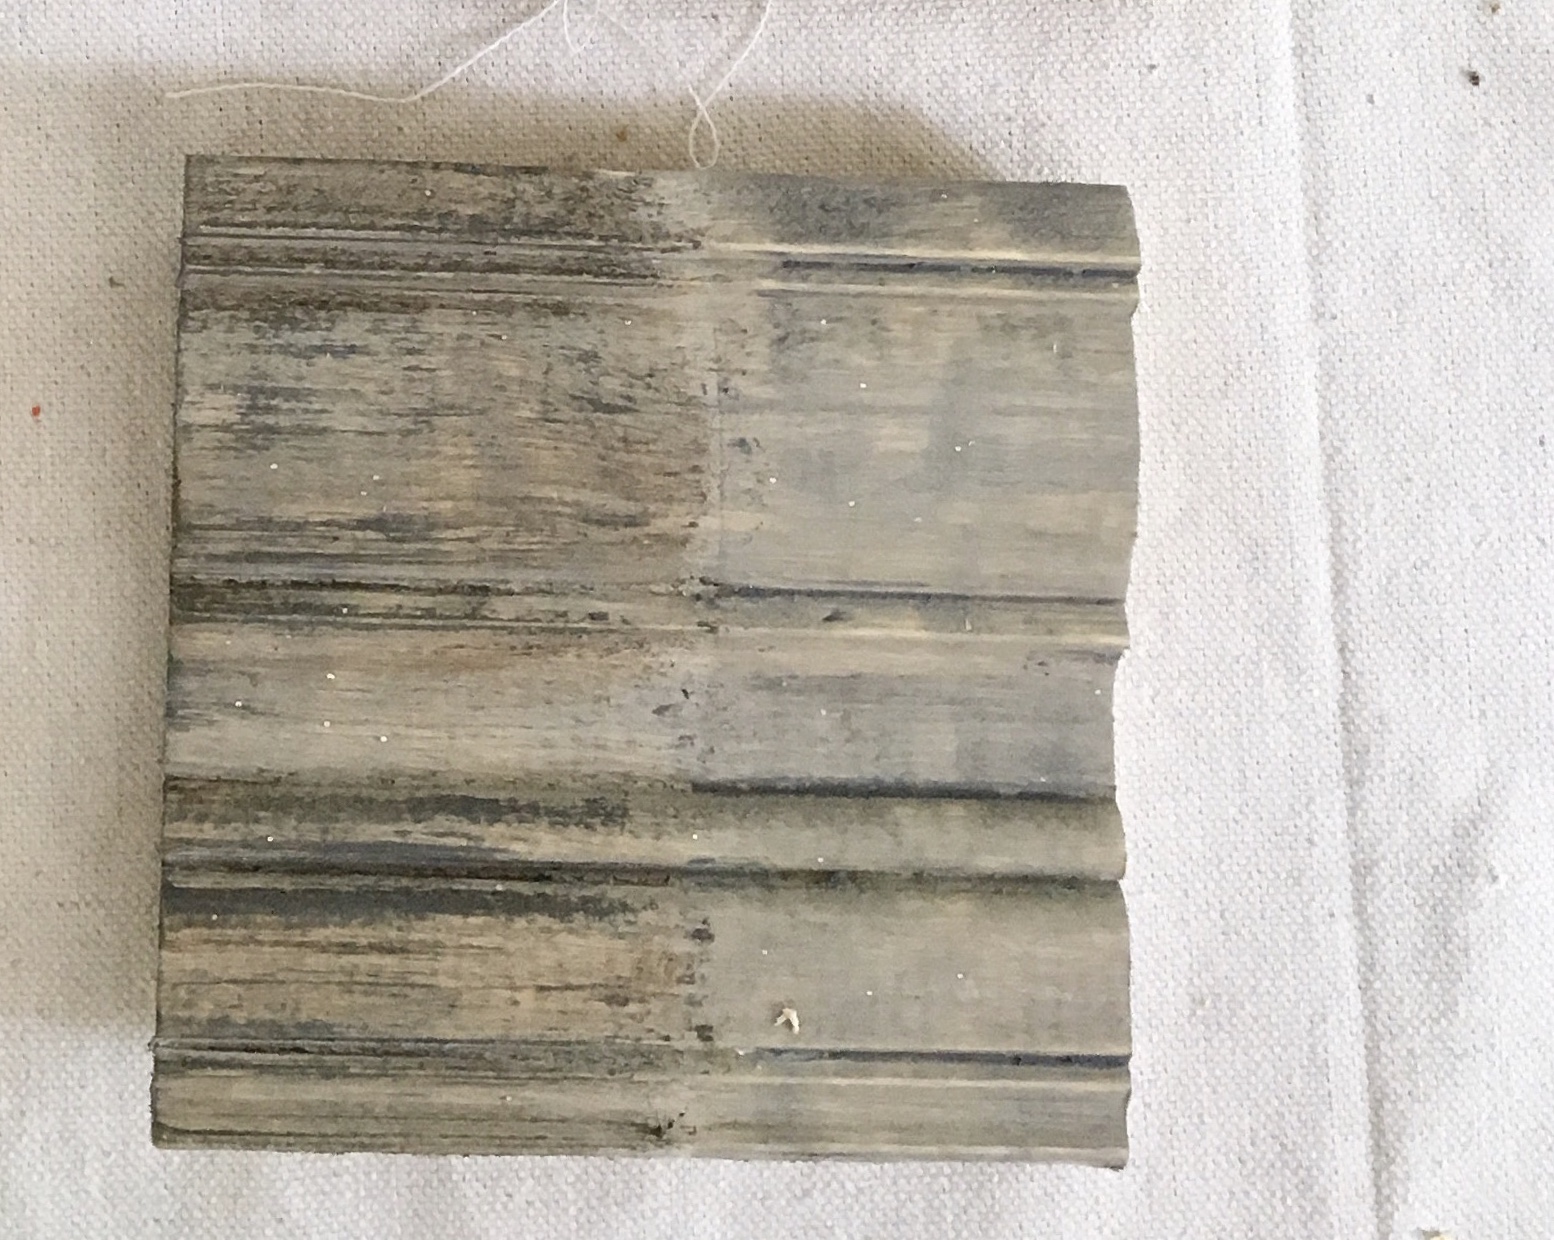
7- BOTTOM- TOP BOARD
Step 1- 1:1 mix of Fusion Soapstone and Fusion Sterling, 2 coats
Step 2- Randomly brush on a small areas with Soapstone and other areas with Sterling.
Step 3- Spritz with spray water bottle
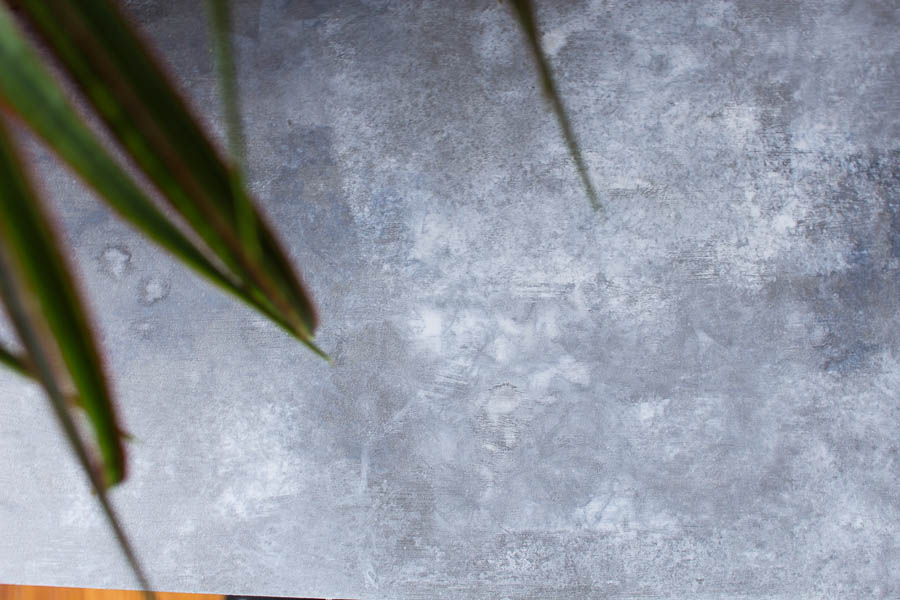
Step 4- Blot in a haphazard way with a paper towel to make the surface appear like galvanized metal. Let the water pool and bleed in some areas. To see more detailed instructions on this look, go check out Danielle from Finding Silver Pennies’ tutorial HERE. This look is incredibly brilliant and this is what it looks like on a large surface:
Danielle has an excellent e-book out called Painted Furniture Techniques and I highly recommend it. There is no one I know who is more qualified to teach on the subject and she put so much work into it– there are 150 pages of material for only $15.
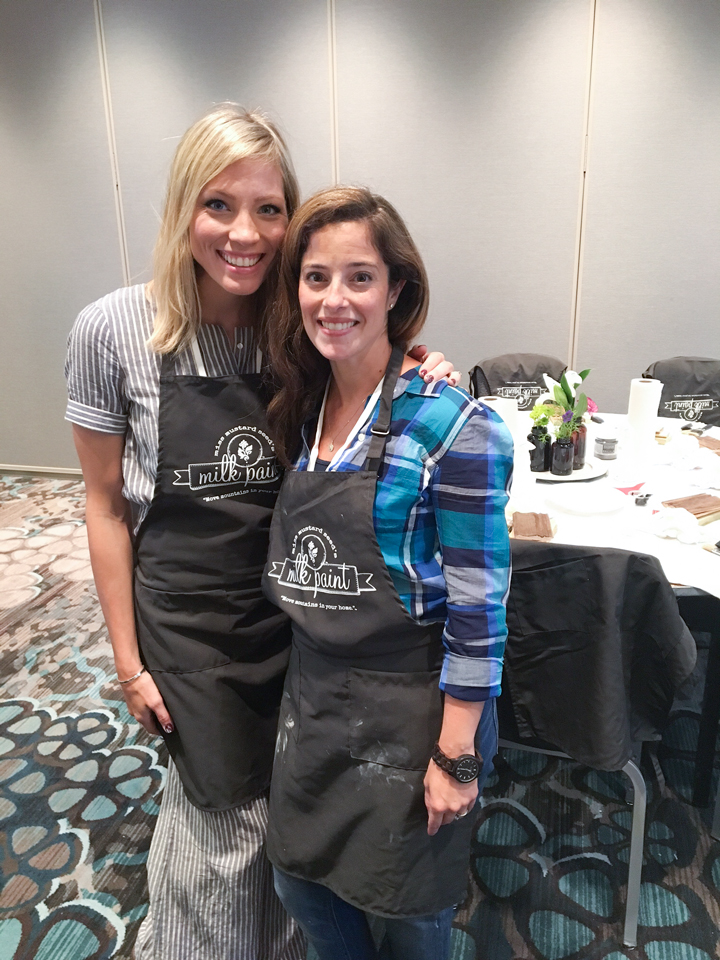
Here is Danielle and I on our second day of teaching. The first day we were too frantic and didn’t get a shot before the class started. The first day I think it went pretty well, but we both learned some things to make the class go smoother and on the second day I thought it went great. Isn’t Danielle adorable? We roomed together again and I just love her so much. She is one of the nicest people you will ever meet and is so fun.
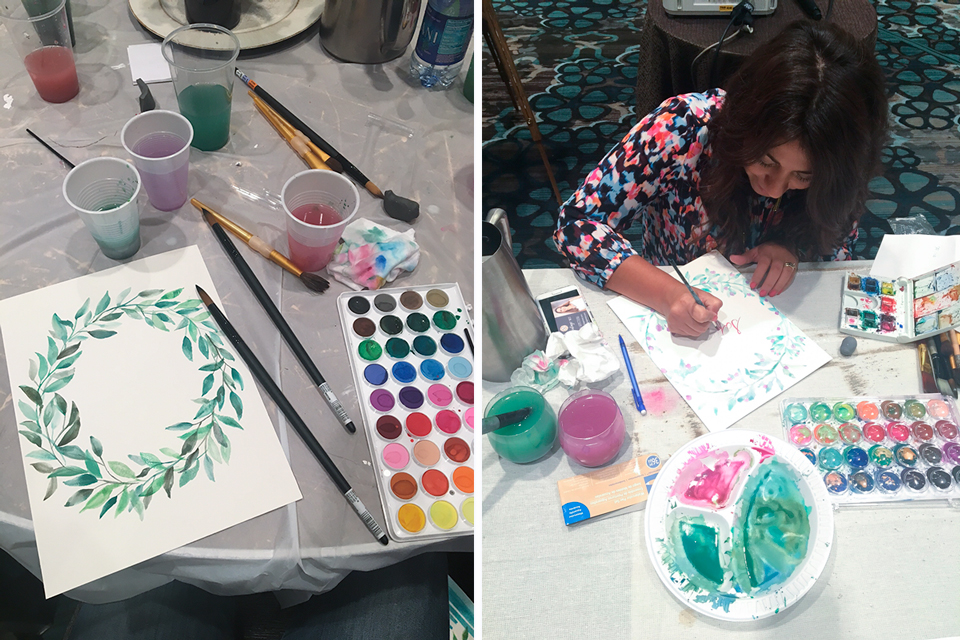
Because Lucy’s Watercolor Class was that morning before us, we were lucky enough to have flowers on our tables. Each person who attended also got one of Miss Mustard Seed’s Milk Paint Aprons which were generously donated by Homestead House Paint Co.
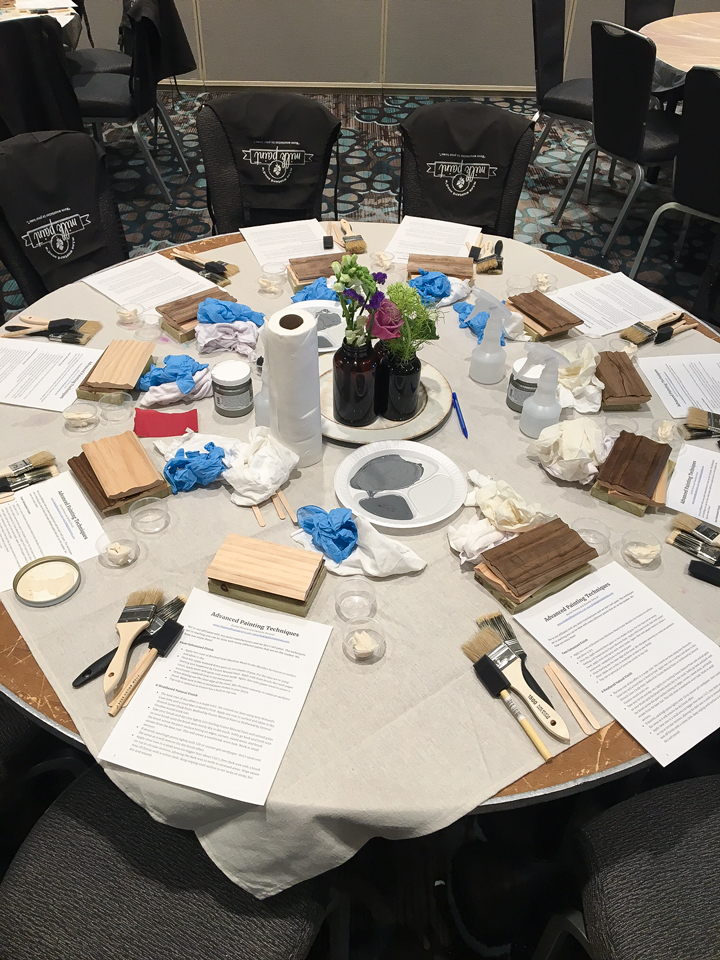
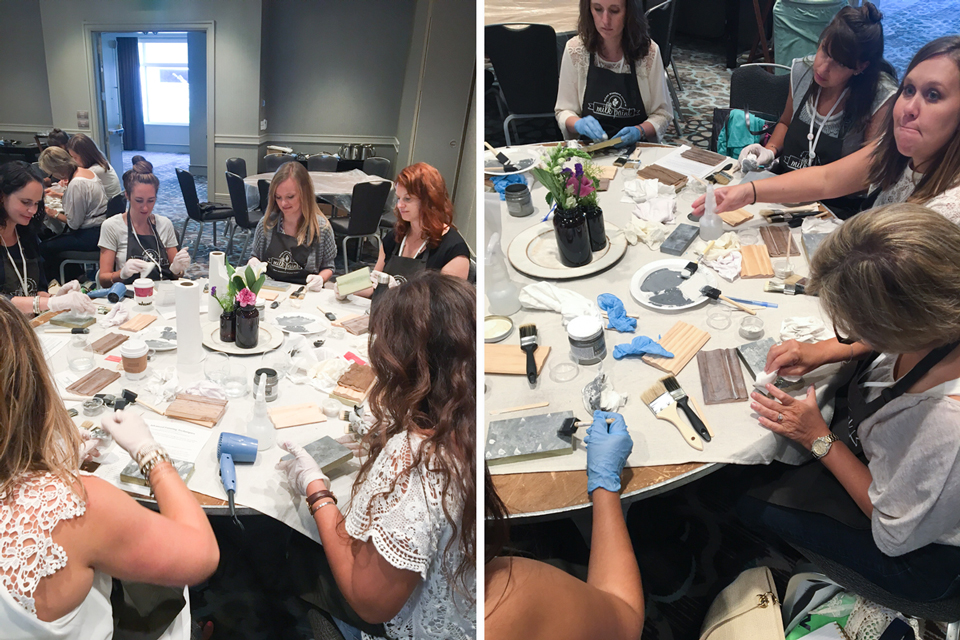
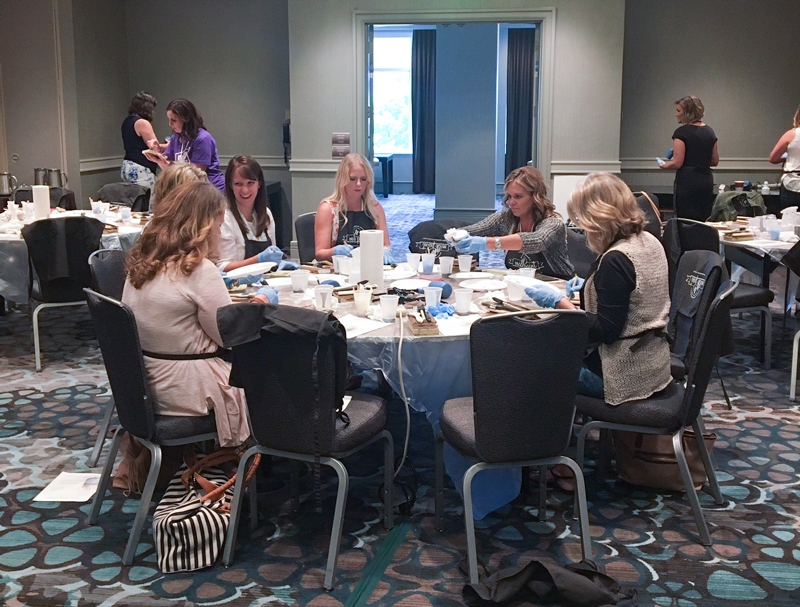
I think the most fun part of the class was allowing people to create their own unique take on what we were teaching. I love when that creative side comes out in people and hands-on workshops do just that.
Because we were teaching this year my experience was more focused on helping others rather than helping myself. I think if you have been doing something well for several years you have something valuable to offer to others. However inadequate you feel, pushing yourself out of that comfort zone and exposing some vulnerability helps them learn and helps you grow.
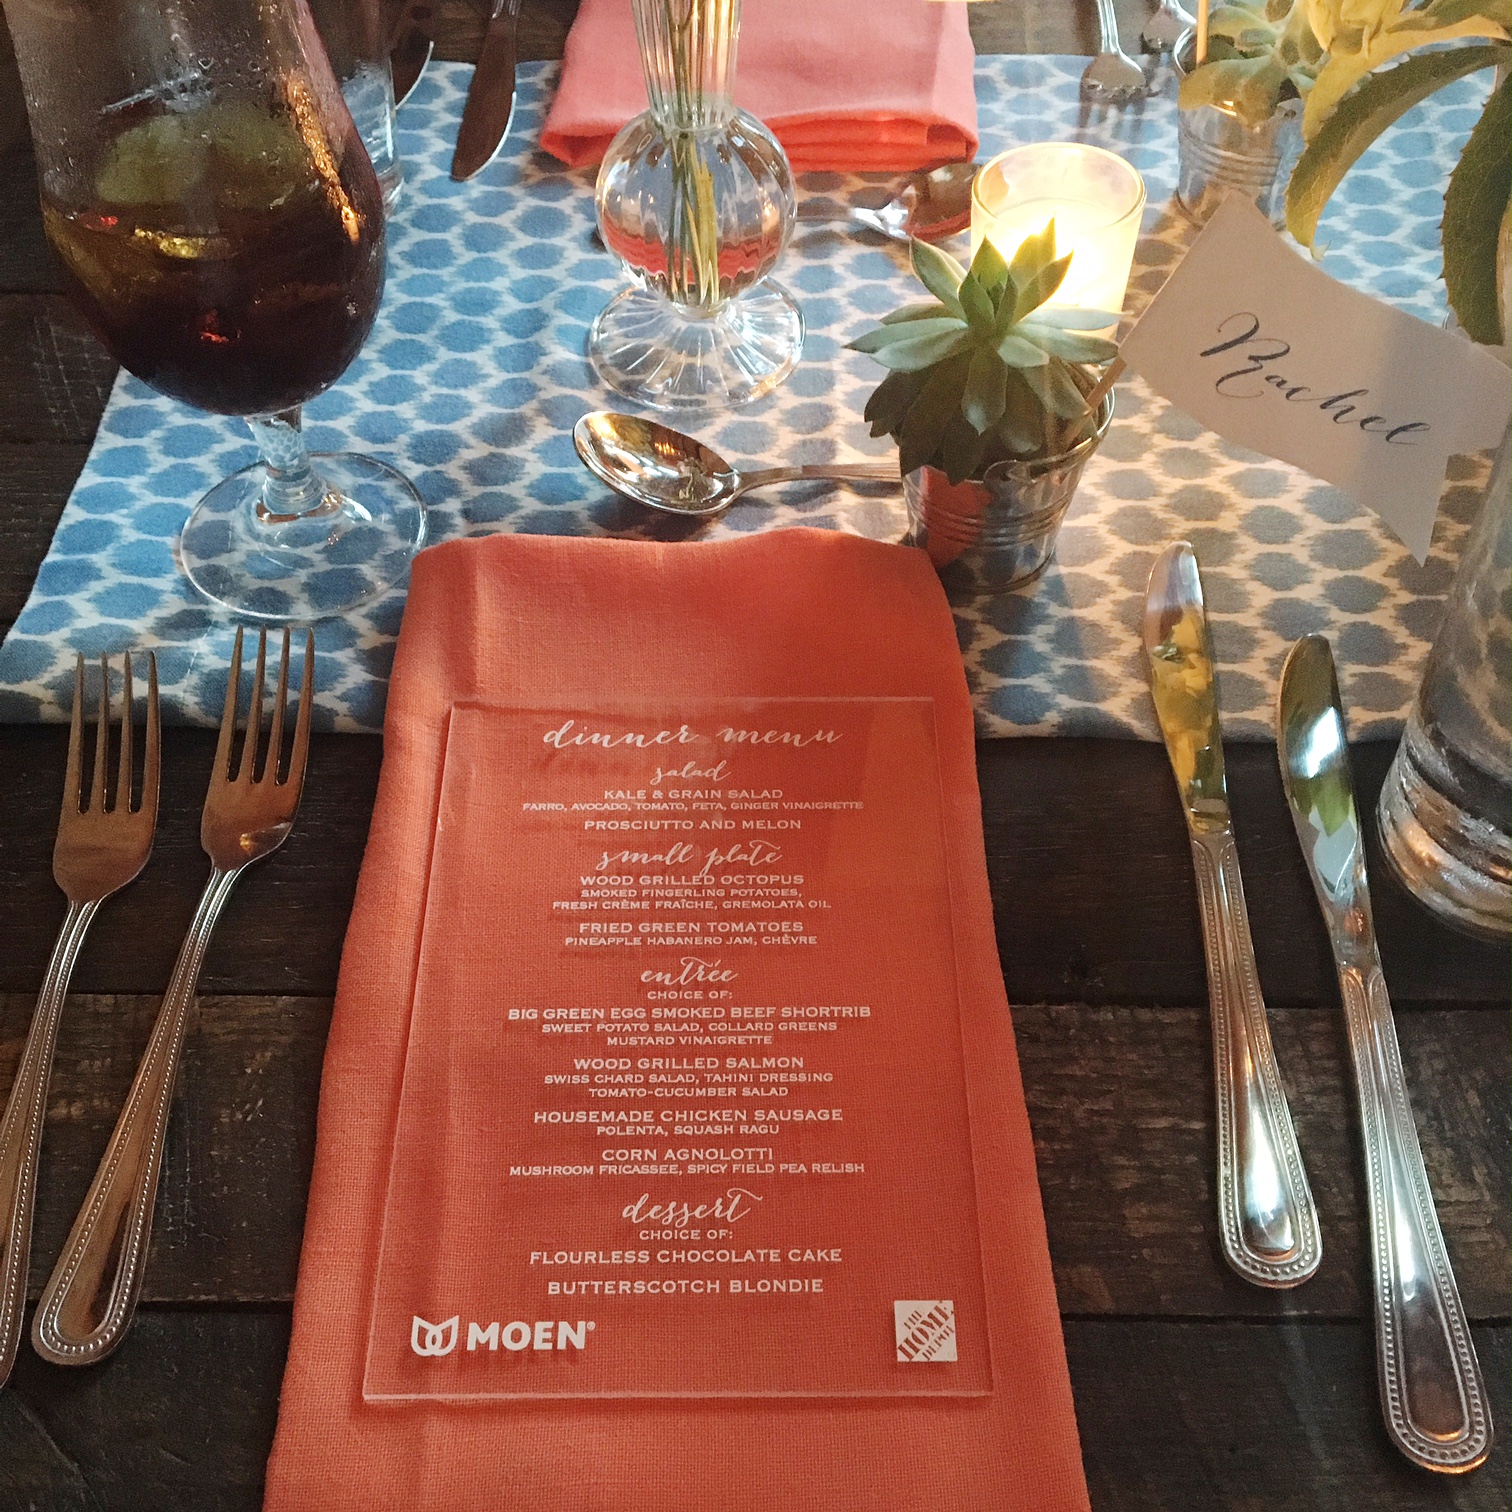
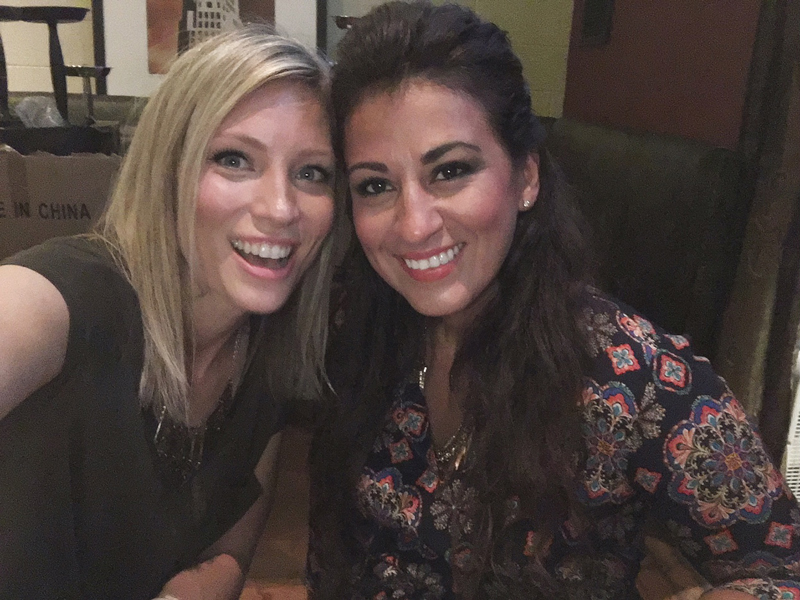
Friday night I was invited, along with several other bloggers, to a dinner hosted by Home Depot and Moen. They bussed us over to a wicked cool restaurant called Southbound, where we were wined and dined (minus the wine for me). I was one of the Home Depot Ambassadors this year and it was fun getting spoiled for the evening.

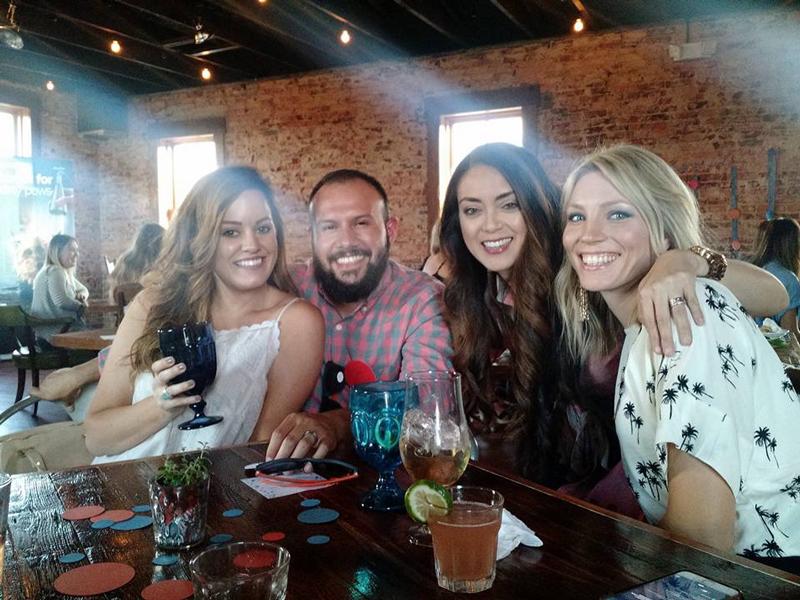
I’m going to be really honest with you guys here. I have a hard time tolerating people who aren’t authentic. You know the types. They bug. And I am one of those people who can’t really fake being nice. It’s hard to tell sometimes through someone’s blog, how honest they are. Or how truly nice they are. If they can carry on a conversation without looking around the room for someone else more interesting… so the friendships I have formed through the blogging community are very real and enduring. Because for almost every single one of them, I’ve met them in real life and they confirmed their authenticity.
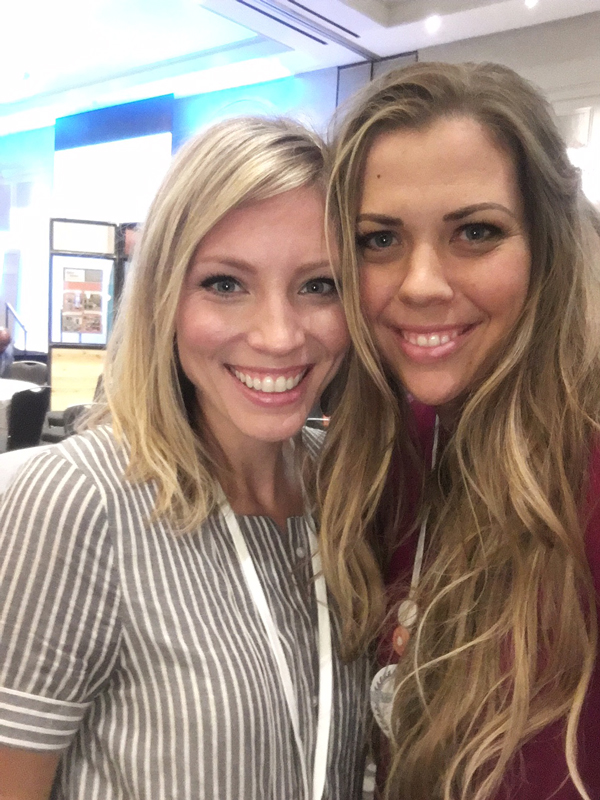
Liz Marie and Jose, and Jen Woodhouse are most definitely real and every bit as awesome as they appear on their blogs.
On Saturday I took an EXCELLENT class on Copyright, Trademark and FTC rules for blogging. I think every blogger should have taken that one– it was so good. Breighanne from Average But Inspired taught it and she is a Copyright and Trademark lawyer in Chicago. She went over so many things that we all should know, so we don’t get into trouble and also how to protect our work. Did you know you can do reverse searches on your images and anyone using your work without permission should be issued a cease and desist letter? She shared steps you can take to best protect your work and if you want to trademark something, she shared the steps to take to do so, either on a local or national level. She wrote an e-book which I plan on buying because her class was so valuable. Check it out HERE.
Saturday after our class, I walked around and spoke with some vendors and ran into this goof:

Brad from Fix This Build That is a seriously talented woodworker and builder and I always make fun of him and his perfectionist ways. He’s a good sport, but woooweee does he have a solid fan base to come to his rescue haha!
Then I ran into Mandi from Vintage Revivals, who I adore. But who doesn’t, let’s be honest. Her closing speech last year at Haven couldn’t be topped this year. She had the whole room in tears and then laughing, and then cheering. She’s that great and inspiring.
Friday evening I took the Cutting Edge class taught by Jeanne Oliver and my mind was blown. I wasn’t even really thinking about launching a product, which was the title of her class, but she knows how to speak in such a powerful and honest way, speaking words of truth, that you feel God’s love. It was pretty magical. There is so much I could say on her class, but some things she said that have been mulling around in my thoughts since I left was, if you aren’t obsessed with something and having a fiery passion about it, STOP DOING IT. STOP doing things that are just “meh” for the money. Money will come, but sometimes you have to do what you love for free or for very little at first. I love this that she said, “If what you give away for free is good, then what costs money must be exceptional.” The woman practicing what she preaches too. She opened my mind to all the facets of what a brand can represent. Instead of pinning yourself down to a couple of things you think fit within your brand… THINK BIGGER. Think about partnerships that fit perfectly within your brand’s ideals but that extend beyond what you are best at. You can’t be the best at everything, and you end up offering the best product possible when you allow the gifts of others to shine as well.
She also talked about family. As much as I love my family, I’d sort of compartmentalized them, separate from my blogging business. She shared how important it is to let family in on our decisions, since they are affected by our business decisions and goals. Her class made me really step back and look at my life and my business and think about where I wanted it to go. That kind of perspective is both exciting and terrifying.
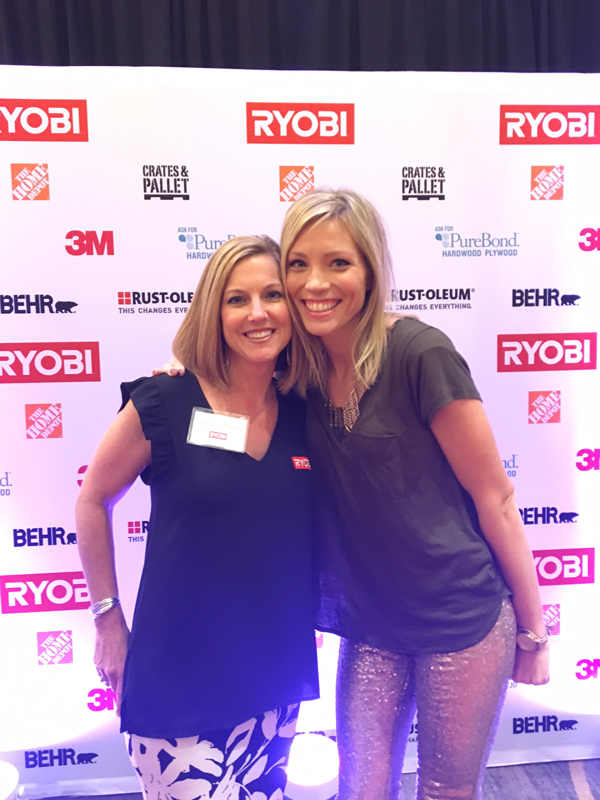
Saturday evening was the Ryobi party and boy do they know how to throw one! The room was packed, food and drinks along the perimeter, and bumpin music. I was so glad I snagged Stephanie, from Ryobi and got a pic with her. Stephanie is a big reason I started building. She introduced me to tools I really wanted to get my hands on 2 years ago at my first Haven. She encouraged me to apply for a contest, which I ended up winning and receiving a bunch of tools. That started me building and I haven’t looked back. I’ve learned so much about myself and what I’m capable of. Building furniture is a passion now, and I wouldn’t have ever known it probably if I hadn’t met Stephanie.
I’m missing a couple of my favorites in this pic, but it was too pretty not to share. Danielle from Finding Silver Pennies, Liz from Liz Marie Blog, and Bre from Rooms for Rent.

I feel so lucky for the friendships I’ve made at Haven. I met Lucy from Craftberry Bush 2 years ago when I offered to split a cab from the airport with her. Now, she’s my best friend, and it feels like we’ve been friends our whole life. So many people look up to her and want to learn from her, I don’t know how I got so lucky that I get to talk to her every day. Most people know Lucy as an incredibly gifted artist, but I think one of her greatest gifts is making every person she speaks to feel special and that they are important to her.
This year Haven extended into Sunday. I was happy about that because I got to take Lucy’s Watercolor Class. I’ve never learned watercolor and she’s the best watercolorist I know. We painted these pretty laurel wreaths and she taught some basic strokes. Because we were the last class, we got to take all of our supplies home! Little known fact about Lucy that she shared with me… her favorite medium isn’t even watercolor… it’s clay! Take a look at these Minion pencil toppers she created a few years ago. Her artistic talent has no end!
So that is pretty much it. It was an exhausting weekend but I feel so filled up. This week has been a hard adjustment back to the grind, but I’m surviving. I hope I offered something here that you might have found interesting or helpful.
Thanks for reading my blog. It means a lot that so many of you care about projects I work on, however big or small, and cheer me on as I try new and exciting things. I hope there will be lots more to come, and I’m glad I have a support group in you all.
Have a great weekend!
Rachel
Rachel, I have tears streaming down my face (happy tears, or course). You captured this weekend and our class so brilliantly. I love all the photos you captured. I wish my phone was better. Spot on with Jeanne Oliver’s class and Lucy and all our genuine friends. LOVE you and so very honored to teach with you. xx
Oh how I loved reading this post! Your perspective and what you learned in the classes was fantastic. Really wishing I had made it to the copyright one now. And seriously, did you wait until I looked like a total dork in the painting class to take a picture 😉 It was so great meeting you, and wished I would have had more opportunities to chat. Maybe next year! You are amazing!
I am such a big fan of yours. Thanks for sharing your experience and talent. What a beautiful group of women.
Hi,
Can any of these stains be used on builder grade oak? Or are they all intended to be used on raw wood?
Thanks, Deanna
Such a great recap, Rachel! I’m so sad I missed your painting class but there were sooooo many classes on at the same time it was hard to get to all of them. I agree, I can’t stand phoney relationships and it’s amazing how real us bloggers are! And you are definitely one amazing person. I wish I could have spent some more time with you too. But I know you are genuine and I’m glad we’re in the same group 😉
Hugs, Jamie
Love your smiles and encouragement to learn new techniques. Great work!
Thanks for sharing everything.
The link to see the wax application technique just takes you to the dry brushing tutorial…..
Thanks for catching that! I updated it! 🙂
Can you cover builders grade oak that looks like 1982 with this technique?
Hi!!! Question, if you dont mind. I live in an old house with white painted woodwork. Would absolutely love having a darker wood, but no way can i strip all! To achieve look #2 in your article, top right corner, can i do this over white painted woodwork without sanding, etc? Need help and suggestions please!
Thanks so much!
What a fun post! It’s such great encouragement for a newbie blogger like myself.
I would like to use one of these paint treatments for new pine ceiling beams in my cottage. Going to experiment with #3 and #6 after distressing the board. We have a lot of beams and I am concerned having worked with wax before that this will be very labor intensive and no one will be able to touch the boards to feel the finish.
Do you have any suggestions on how to get the same look with a combination of stains and light low sheen finish of polyurethane?
Fantastic! #6 right is exactly what I want for my coffee table top. ThanksSue
Hi Rachel!
I watched your number 3 tutorial.
I am doing my pine stairs and following ur tutorial, I wanted to know if I should leave the stain 2hrs or up to 8 before the next step?
Also? Any coating that would protect because they are stairs?
Thanks!
Hi ladies Cheryl here. I have NEVER EVER done any DIY projects but would love to start. So, if you have a subscription that I can add my name to receive all of your intriguing how-to’s would love to join. Thanks
I love your painting very nice job !
I just discovered your blog and am loving the content. Can you tell me how to achieve a dark blue stain (not green) on a pine barn door? thank you.
Rustoleum has a beautiful dark blue stain! It’s called worn navy and I used it for this project: https://www.shadesofblueinteriors.com/weathered-plank-stained-word-sign/
Hello! I’m curious why you apply shellac between the stain and paint? I’m updating a piece and didn’t have that on my list of steps. Don’t want to miss something and regret it later! Thank you!
The shellac seals the stain so it doesn’t muddy with the paint.