If you have a piece of painted furniture that you have been wanted to refinish to it’s natural wood state, today’s post is for you! I’m going to explain and show the materials needed and the step by step instructions on how to strip paint from a piece of furniture.
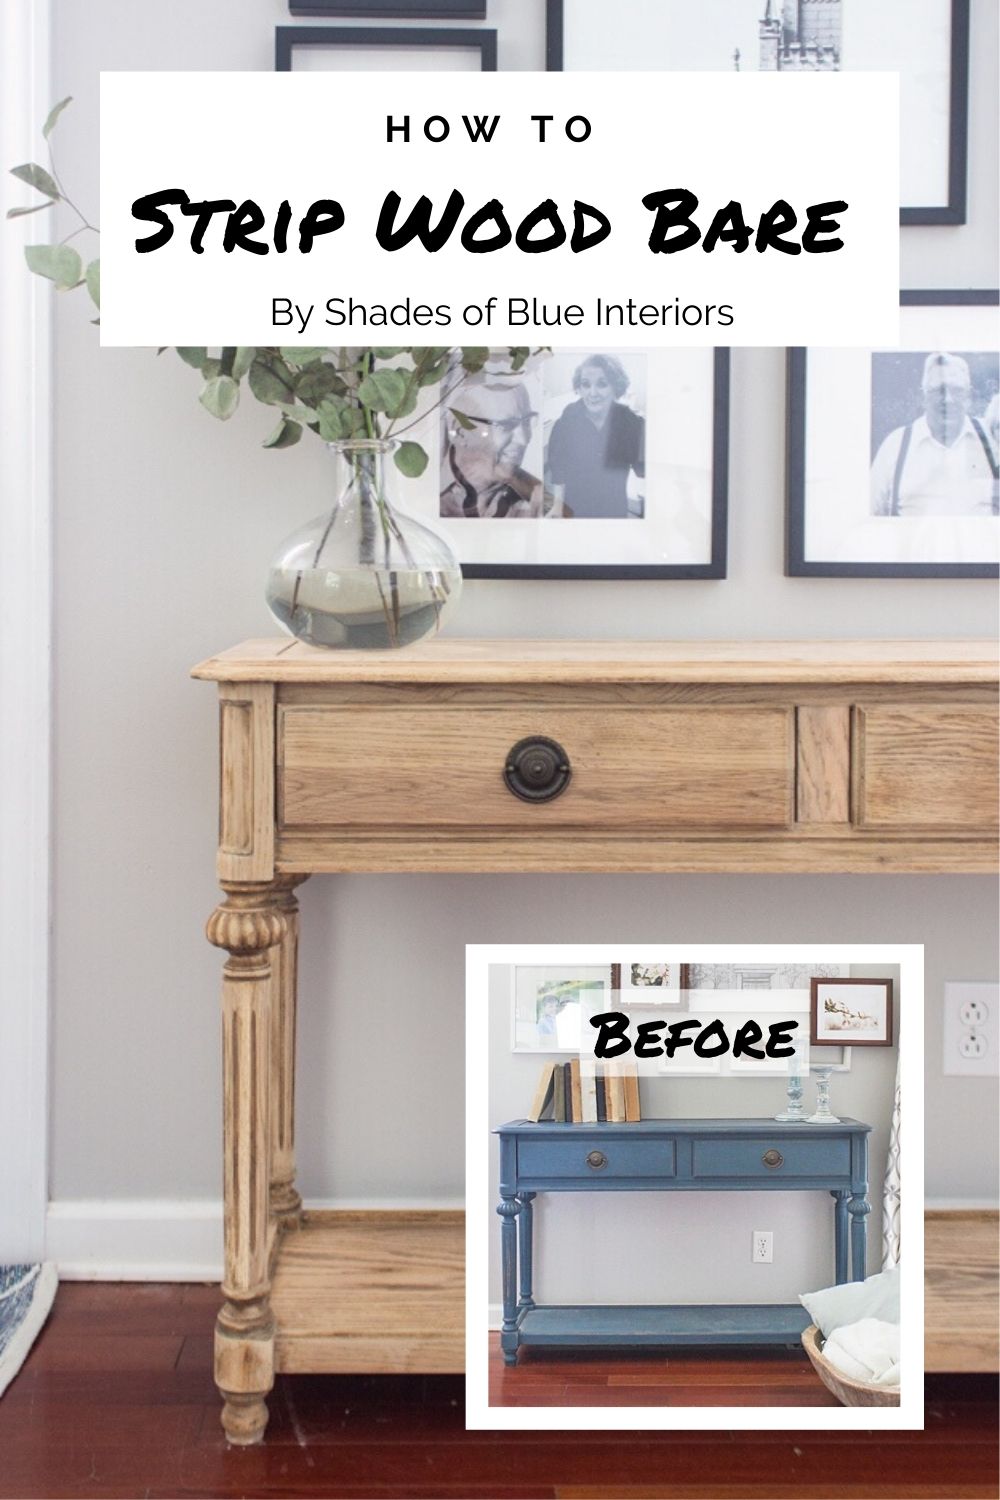
Several years ago I bought an oak console table off of craigslist and I immediately painted it blue. This was when I was deep in the throws of painting furniture and selling it. I’ve loved it blue for years, but earlier this year I started wishing it was a lighter natural wood tone. I kept putting off tackling it because I looked at those turned legs and thought, “That’s going to take me forever to strip!” Well a couple weeks ago I figured I better do it soon, otherwise I wouldn’t have time for the rest of the year!
Here is what it looked like before. It did not look bad, I just was over it.
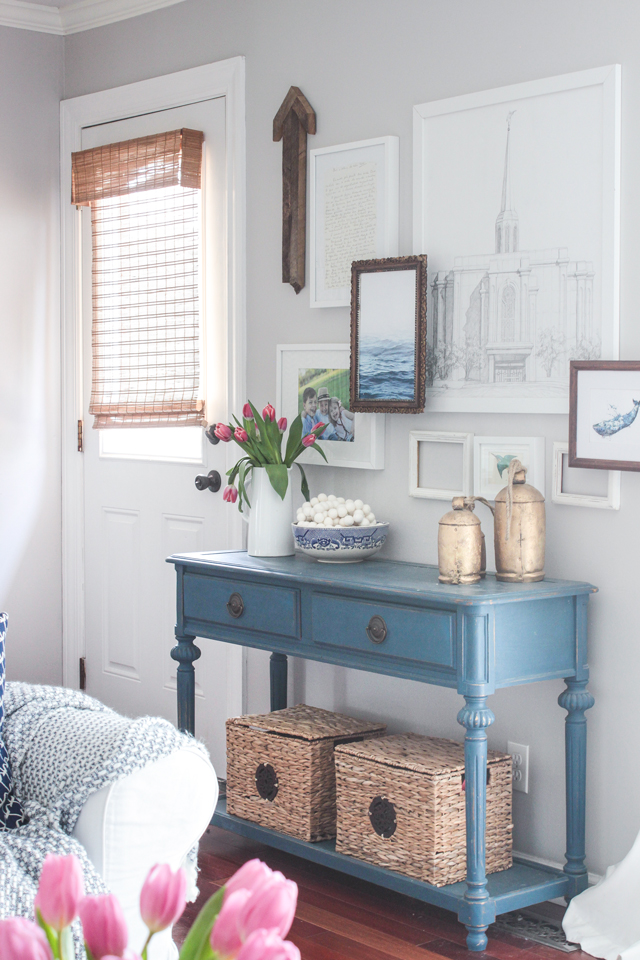
These pics are from this Spring Home Tour.

So I pulled it into my garage at night, took out all my stripping tools, and got to work. Within 24 hours I was completely done and most of that time was waiting for the mineral spirits to dry!
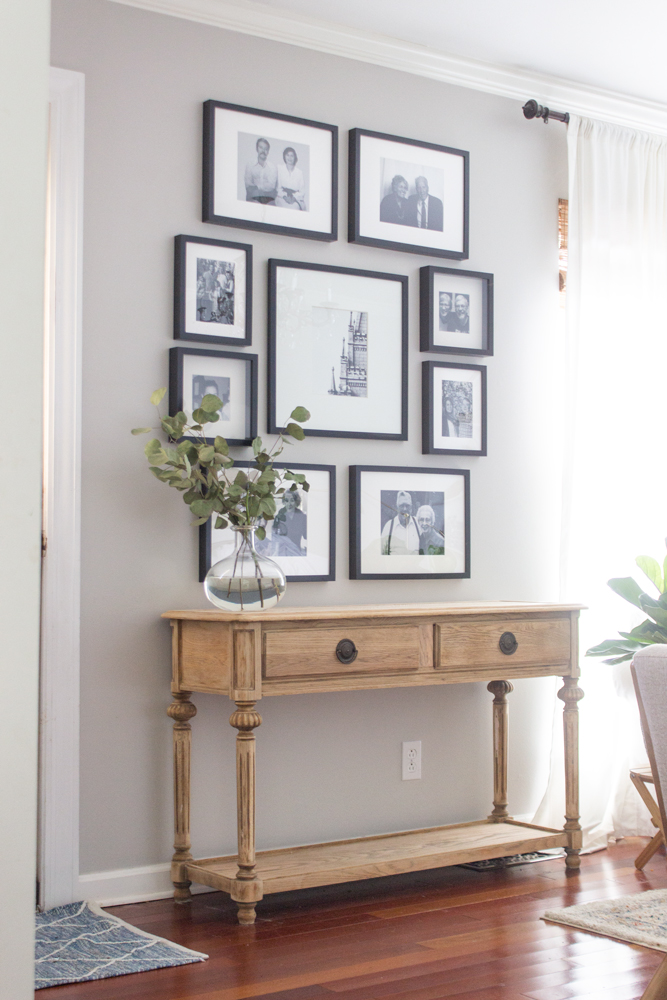
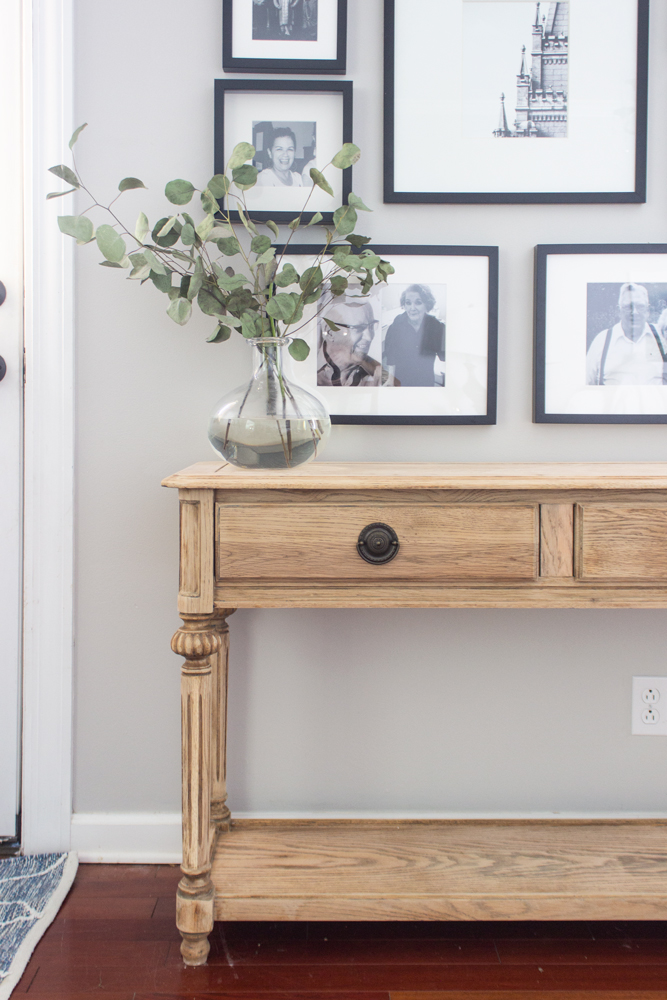
Here is what it looks like now!
Ok, so since I started this project and did the majority of it in a dark, dimly lit garage, I have no in-process pictures. However, I can show you the tools I used and share the process.
How to Strip Paint off Furniture
Supplies:

Drop cloth
Citrustrip Stripping Gel
Plastic container (for easy access of the gel)
Paint brush (cheap is best)
Rubber gloves
2″ plastic putty knife and/or metal putty knife
Small wire brushes
Paper towels
Mineral spirits
Cotton rag
120 grit sandpaper discs
Sanding sponge
Orbital sander
Corner sander
Step 1: Apply Stripping Gel To Flat Surfaces
With your piece of furniture sitting on the drop cloth, ‘paint’ the stripping gel on the flat surfaces, covering the areas generously. Too thin of a coat will cause the stripping gel to dry out before it has a chance to penetrate the layers of top coat and paint down to the wood. Let the stripping gel sit for 30 minutes at least.
Step 2: Remove Stripping Gel from Flat Surfaces
Using the plastic putty knife, scrape off the stripping gel and wipe onto a paper towel. Keep scraping and wiping off the ‘gunk’ (that’s the technical term) onto paper towels, until most of the paint on the flat surfaces is removed. If some paint remains, reapply the stripping gel in those areas and wait.
Step 3: Apply Stripping Gel to Edges, Legs, Curved areas, Etc.
Apply a generous amount of stripping gel to the rest of the piece of furniture, focusing on areas that have smaller details or curved edges/surfaces. Wait at least 30-45 minutes.
Step 4: Scrub Edges, Legs, Curved Areas, Etc with Wire Brushes
Using the wire brushes, scrub the curved and detail areas like you would if it was super dirty. Periodically, wipe off the gel mixed with the paint on areas that you can see the wood using paper towels. This will give you a better visual on what areas you need to scrub more and/or apply more stripping gel. You may need to rinse the wire brushes with water sometimes to keep them from clogging up too much with the gel/paint mixture.
Step 5: Clean Stripping Gel Residue with Mineral Spirits
Using a cotton rag (the older and rougher the better), scrub off the residue of the stripping gel with mineral spirits. It is best to pour the mineral spirits onto a rag and not directly onto the wood. This may require 2-3 rags for a medium size piece of furniture, as the rag will get dirty with the residue removal. You maybe notice a few small areas that the paint was stubborn- don’t worry about that, it can be removed with the next sanding step. Once the piece is clean from stripping gel, let it dry for 8 hours.
Step 6: Sand Entire Surface
Using an orbital sander and a corner sander, sand the surface using 120 grit sandpaper. On curved or small detail areas that can’t be sanded using the corner or orbital sander, use the sanding sponge or folded sanding discs.

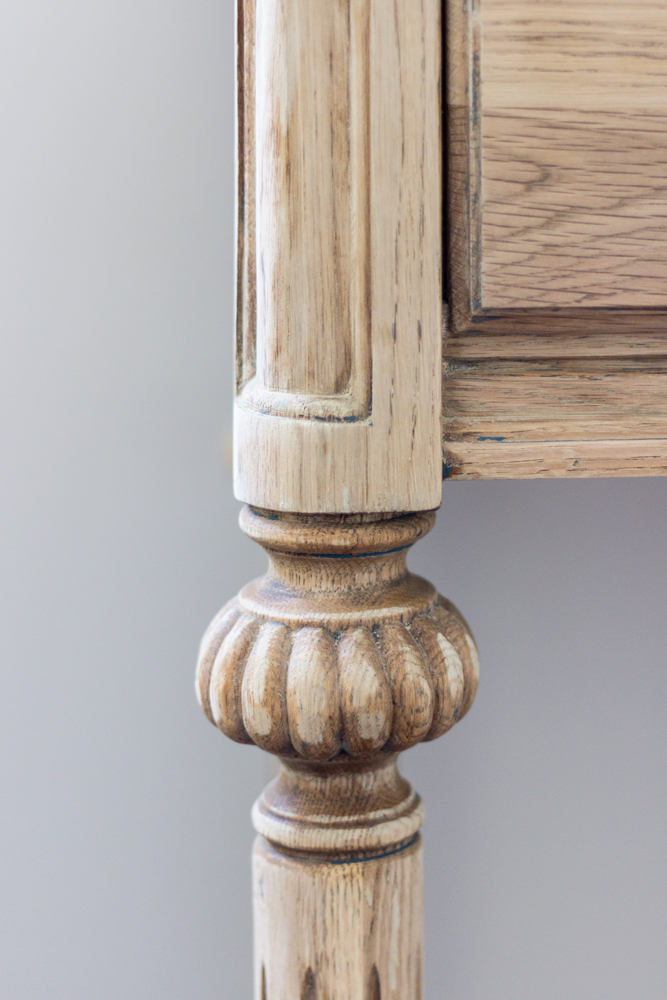
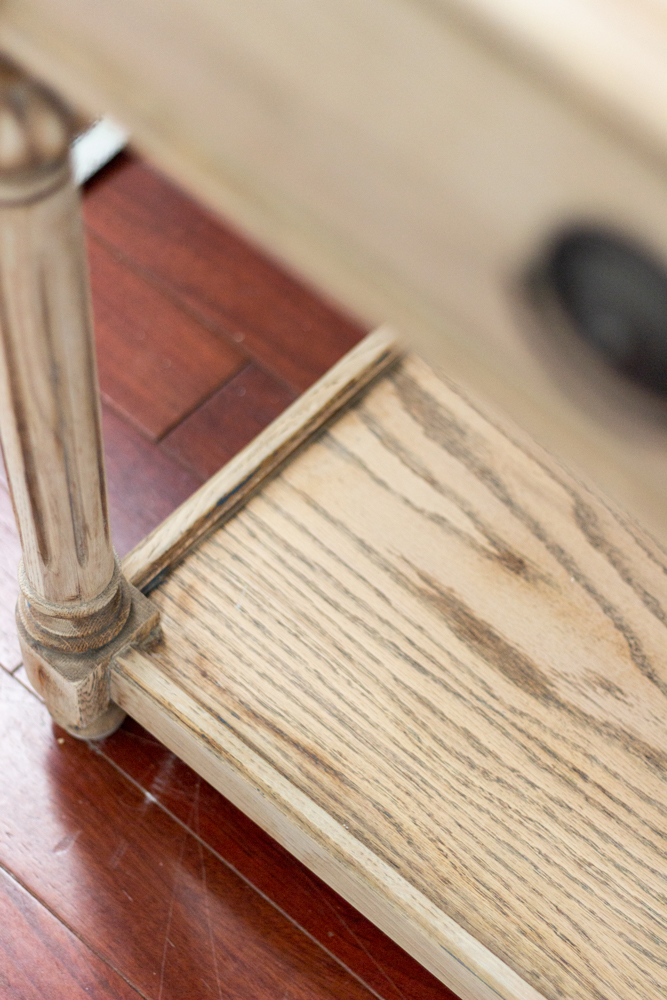
You might noticed I didn’t nothing sanding into every curved detail. I actually didn’t mind the slight variation in wood tone (the lightest areas are where I sanded and the darker recessed areas on the legs and in some crevices are un-sanded).
I also decided I didn’t mind the small bits of blue paint that remained in the routed grooves of the drawers or the tiny lips of the turned legs. It wasn’t super noticeable so I decided to leave it.
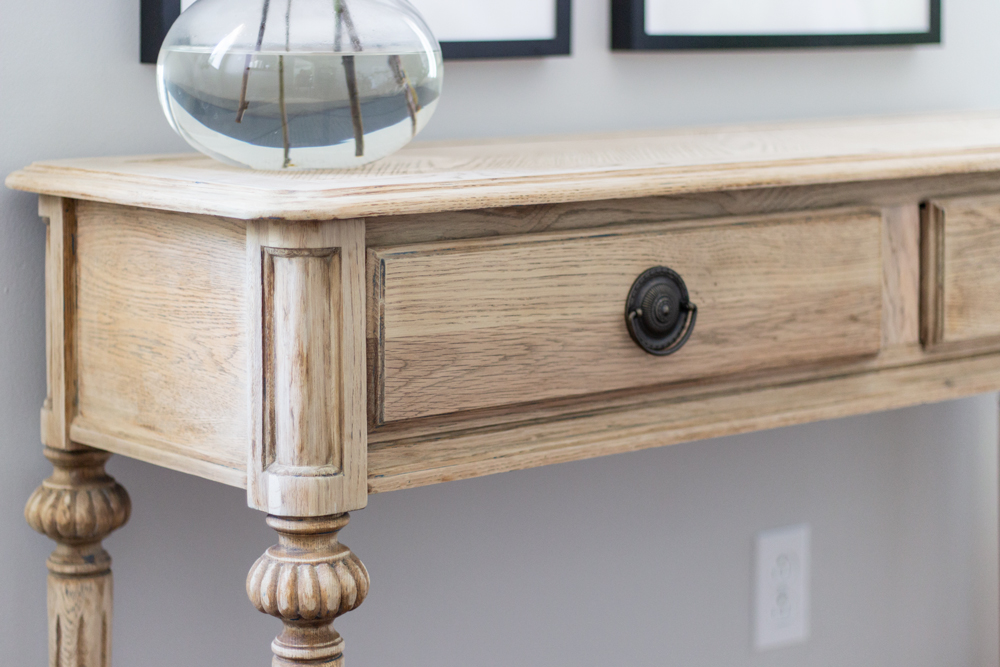
I haven’t sealed this piece yet. It is completely raw oak and oak veneer (the veneer is on the table top and bottom shelf).

I plan on living with it, unsealed for a few weeks at least and experimenting with different top coat finishes to see which one I like best and that doesn’t change the texture too much, nor the look of the wood too much. I’m LOVING this light blonde wood color!
As you can see, I also re-did the gallery wall above this console table. Besides the center square from from HomeGoods, I got the rest of them from Ikea– they are all from the Ribba Series. I used 4- 12×16 frames (with 8×10 pictures), 2- 8×10 frames (with 5×7 pictures, and 2- 9×9 frames (with 5×5 pictures).
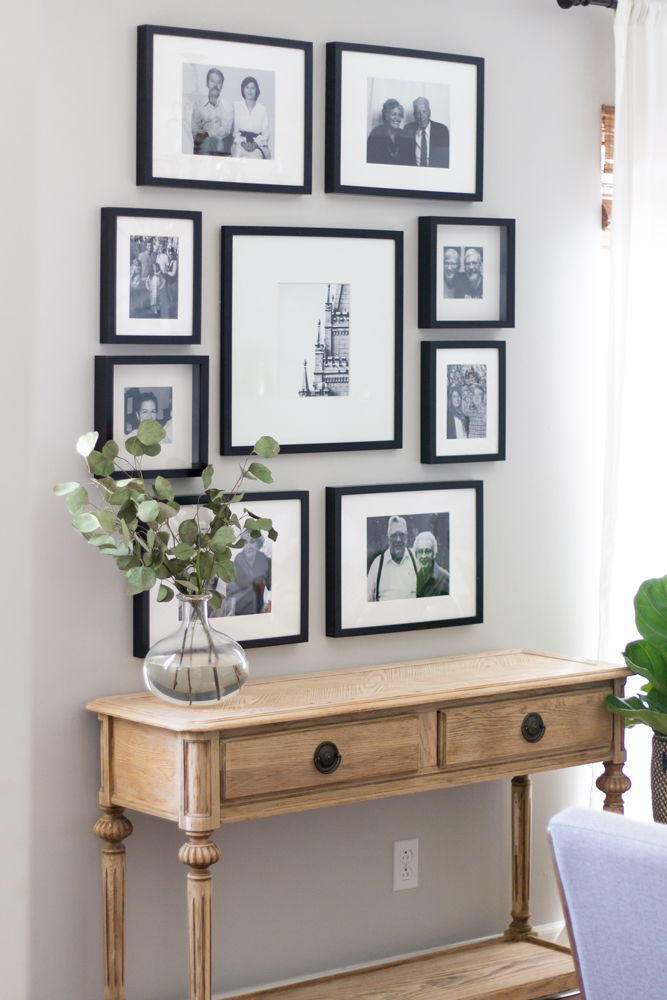
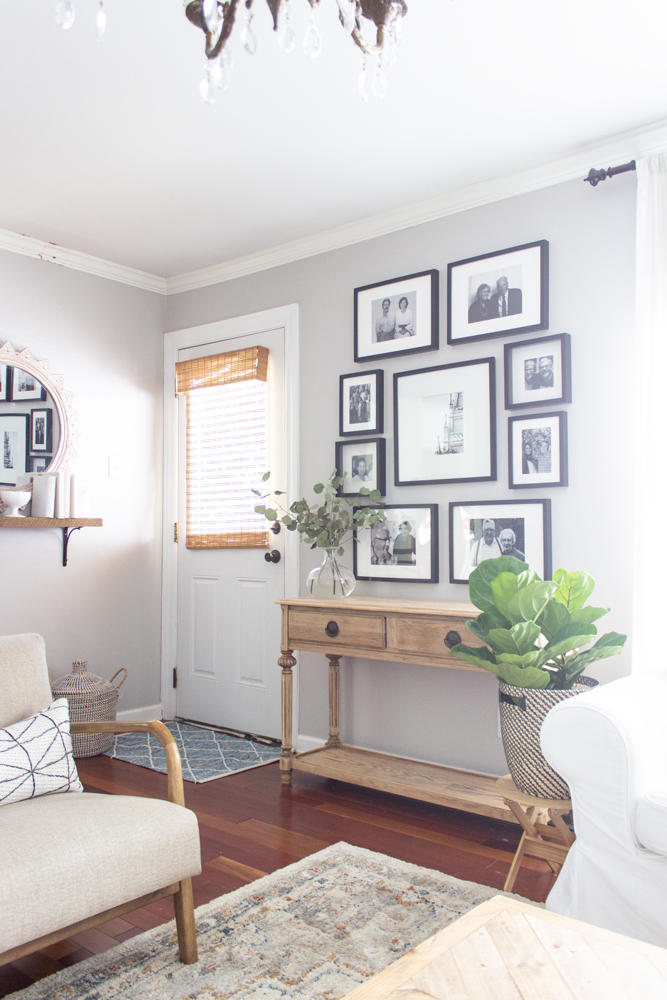
Some leaders in our church suggested the idea of displaying photos of grandparents and great-grandparents in our home for our children to see and for our family to feel more unified. While both sets of my husband’s and my parents are alive, some of our grandparents are gone now, and they each played an important role in our up-bringing.
I know displaying family pictures in a main living area is not popular in the design world. Many suggest displaying them in a hallway, which I think is a great idea. However, I also felt that it would be valuable to have a place where they could see their great grandparents and grandparents in prominent display in our home, so I decided to unify them in the form of a gallery wall, in black frames, thicker mats, and cohesive black and white photos. The center photo is the corner of the Salt Lake Temple where Bruno and I were married.

I actually love the statement of this gallery wall and how it looks with the natural wood of this console table. As you can see from last week’s post, I’m digging simple styling, so I put a single clear vase with eucalyptus on top.
If you enjoyed this post, you might also enjoy…
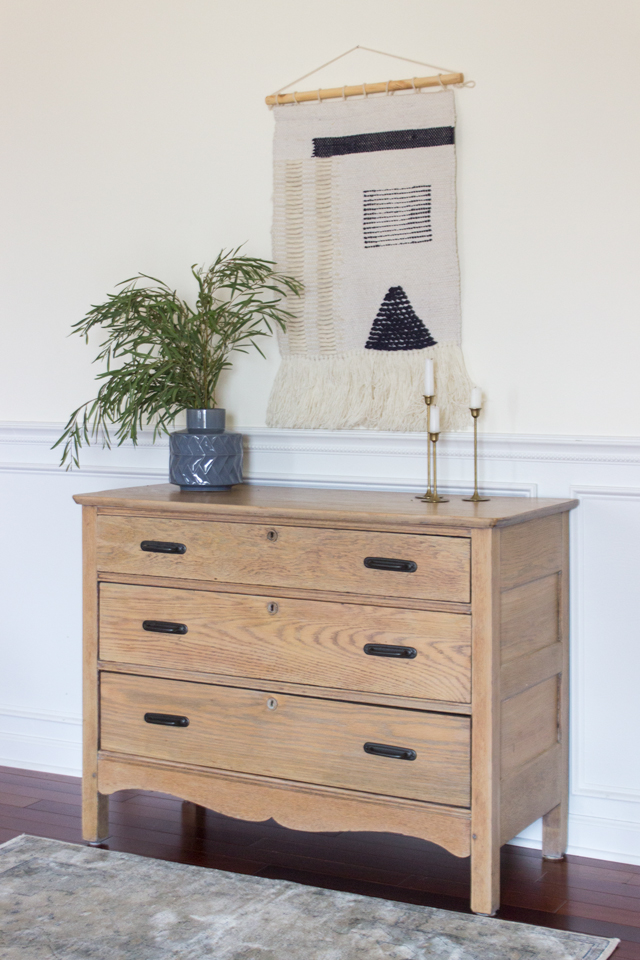
This Oak Dresser Makeover where I stripped the orangey finish and stained it this light weather oak color:
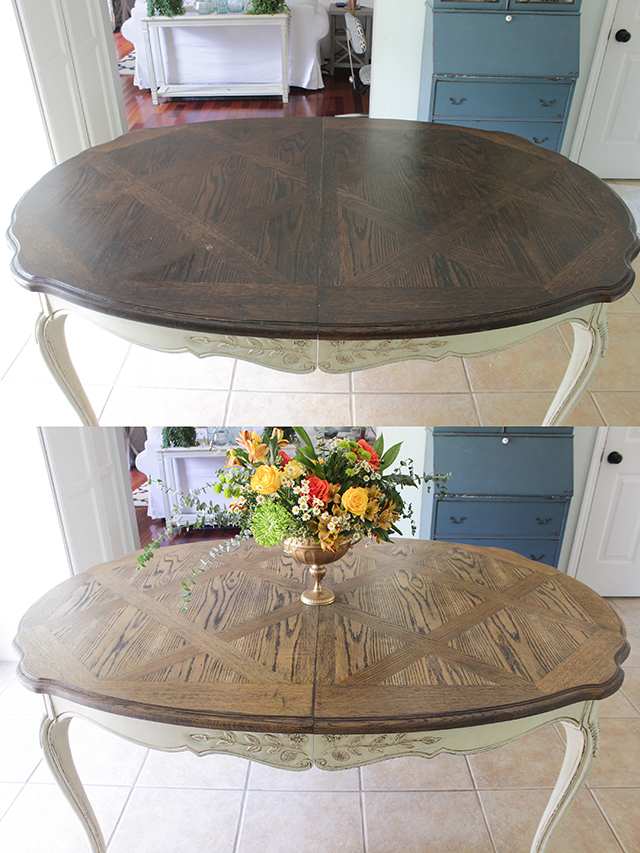
Or this post on How to Refinish a Dining Table:
I would love for you to pin and save this post for later! Let me know if it’s helpful!
I’m glad we’re getting past the painted furniture craze. I have always thought natural wood was more beautiful. Your pieces look terrific.
I have a console table similar to yours that I’ve enjoyed in natural light wood for several years– but honestly your gallery wall was really what peaked my interest– well done!
You somehow read my mind…I so needed this information for a project I’ve been wanting to do. Thank you so much 😊
I really love this simple look! Your gallery gives the eyes an easy place to rest. On another note, where did you get your shade for the door? I’ve been looking for something for our kitchen door and I like how simple, and pretty your shade looks.
It’s from selectblinds.com and they are cordless!
Do be careful of antique pieces with dark stain.
If you check the website, it even says to neutralize with water, NOT mineral spirits.
Plus, if there’s any residue, you can just 220 grit it off while smoothing the grain, since Citristrip doesn’t require sanding.
Back to the mineral spirits. I’ve stripped 15 antique doors and am working on some cherry furniture. A 2nd coat of Citristrip will suck the stain out of the wood, so you can get back to this beautiful raw wood look. That said, don’t get all happy with mineral spirits with pieces such as I’m describing, because any residual stain will be reactivated into the wood. Possibly with a beautiful magenta color. You can ask me how I know. It’s horrifying. That said, another coat of Citristrip sucks that stain out, which is how I learned about the 2nd coat thing.
Citristrip can be neutralized with water, and it doesn’t need a lot. A wet rag will do it. Why put 20th century chemicals on 21st century products that don’t need it?
Did you ever seal this piece ? I am looking for something to seal some end tables that do not change the appearance of the raw wood look, have not found anything yet…
LOVE the after look of your table !!
Thanks
Alice
I’m also curious to know if and how you sealed this to maintain the raw wood look. Thank you