If you are looking for a way to repurpose vintage lace, or simply create some unique art in your home, this post will show how you can mount vintage lace on a dark background to make focal point art.
This post is the 4th installment of the Simply Home Series, and we are talking all about art. If you missed the first three…
In January I talked about how I organize and store all my home decor,
In February I talked about 3 textures I love in every room,
And in March I talked about a spring floral arrangement in my bedroom.
I love looking for unique, one-of-a-kind art to give my home a collected, not cookie-cutter look. Some of the most interesting and beautiful art can be pieces that are not a drawing or painting.
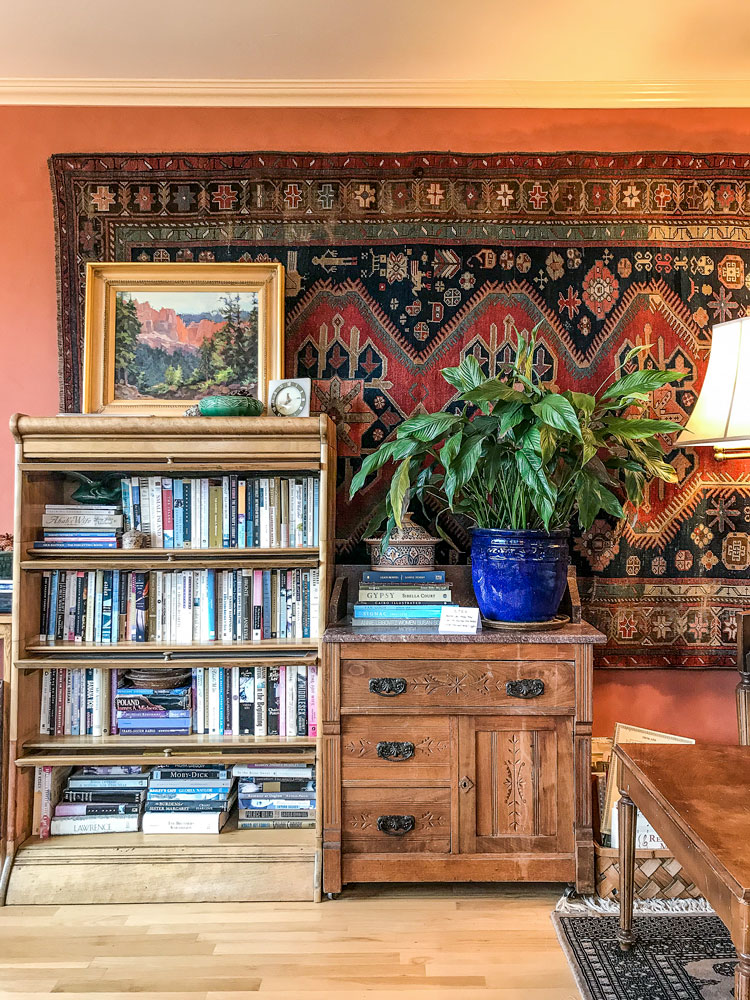
Here is an example of a vintage rug hung in my aunt’s house that acts as large scale art and a backdrop to this vibrant, collected room:
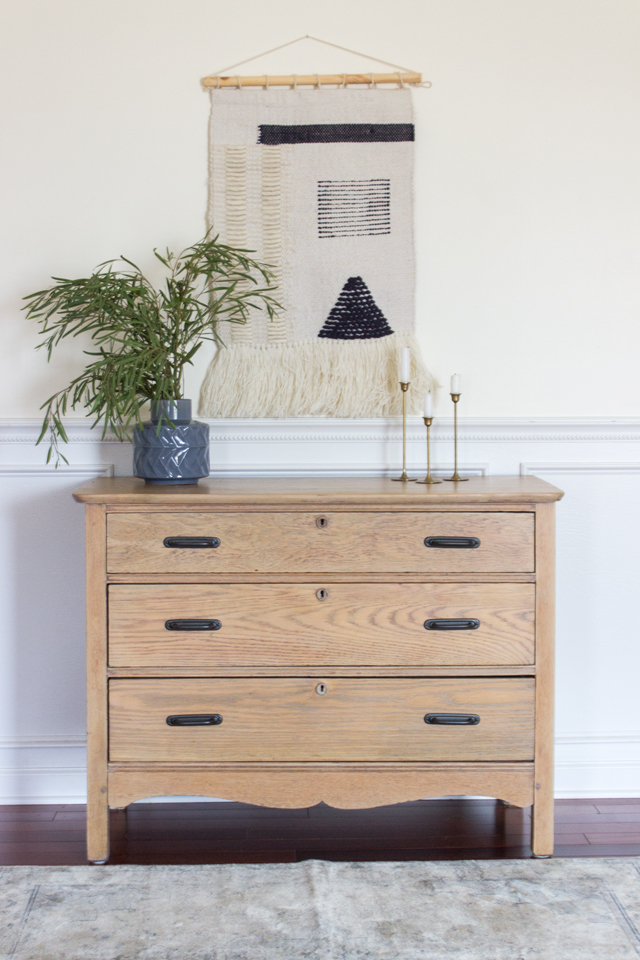
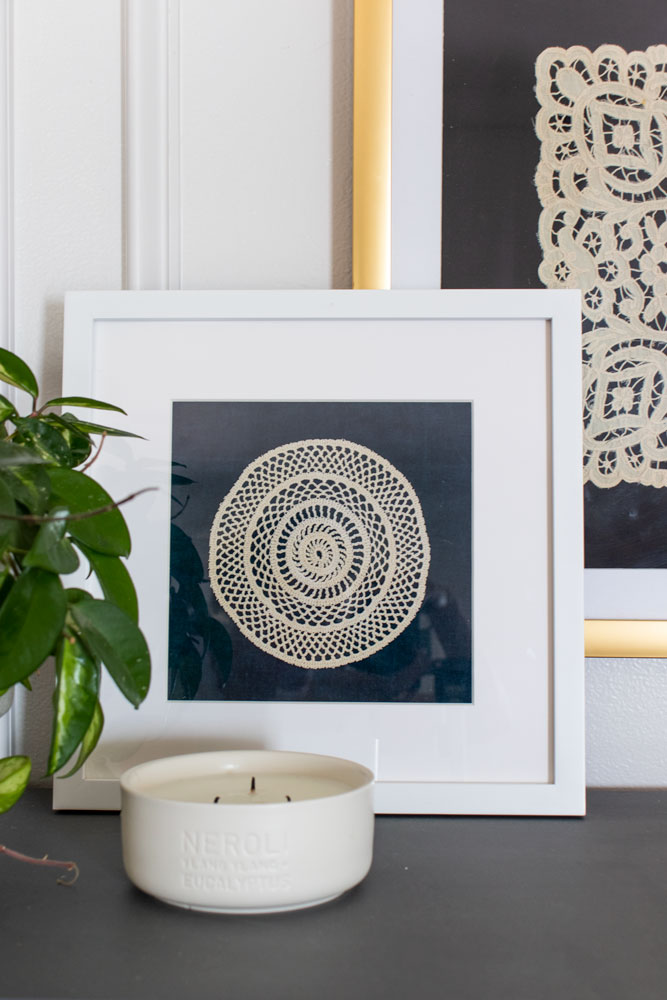
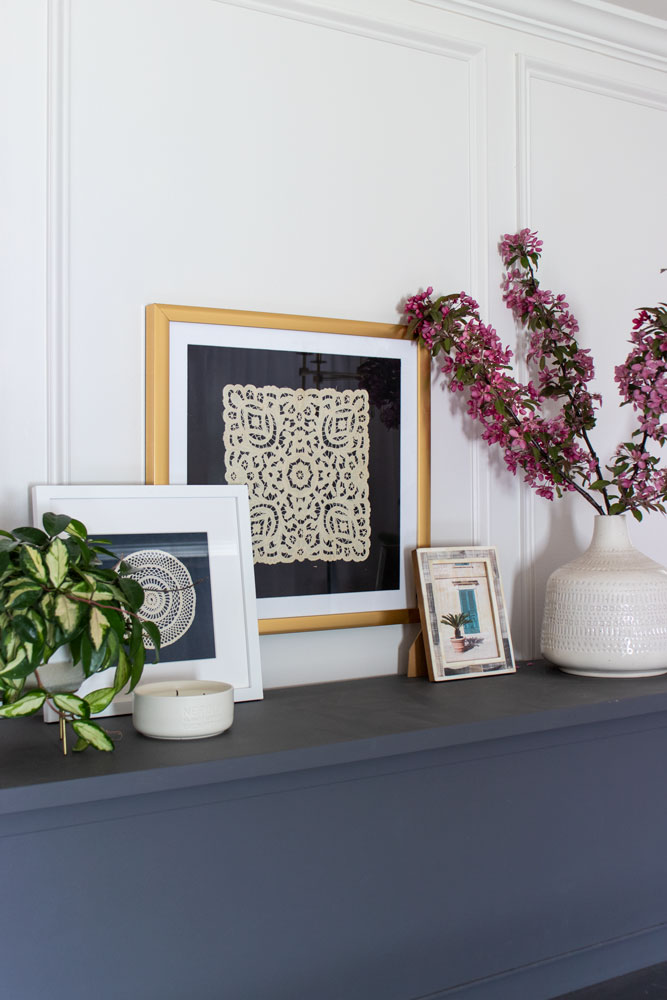
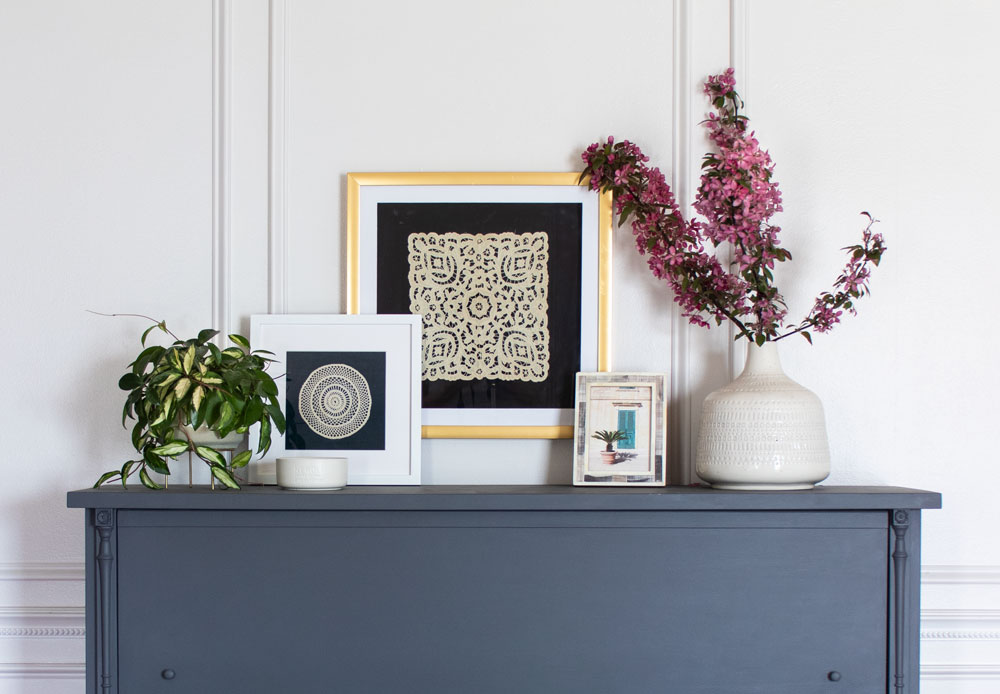
I love the texture that a hanging textile can add to a grouping like this one I did above a dresser makeover:
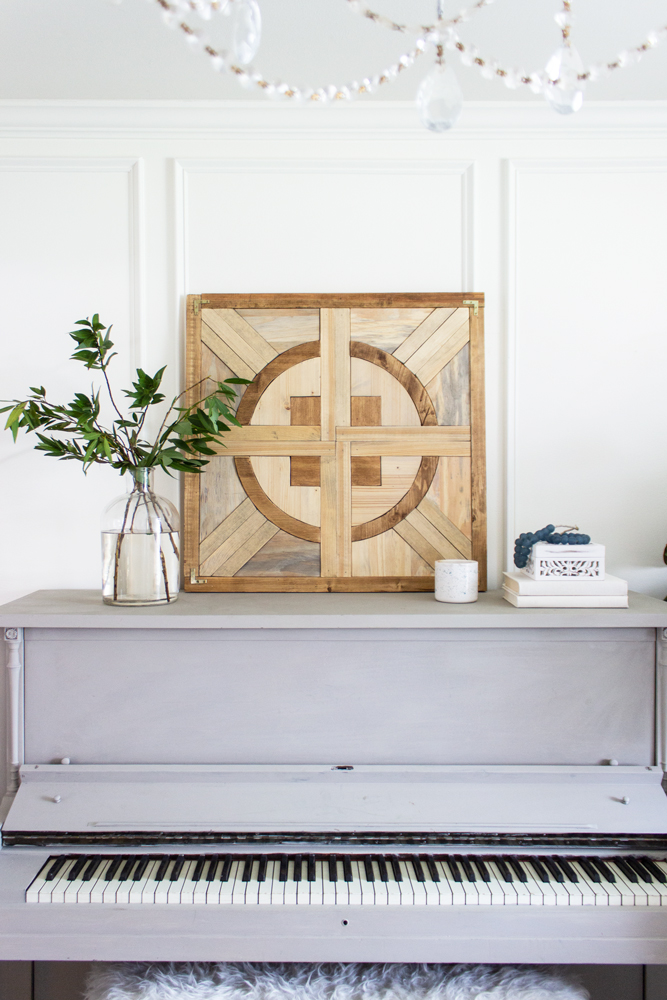
Here is another example of unique art, wood art that I designed and created a couple years ago:
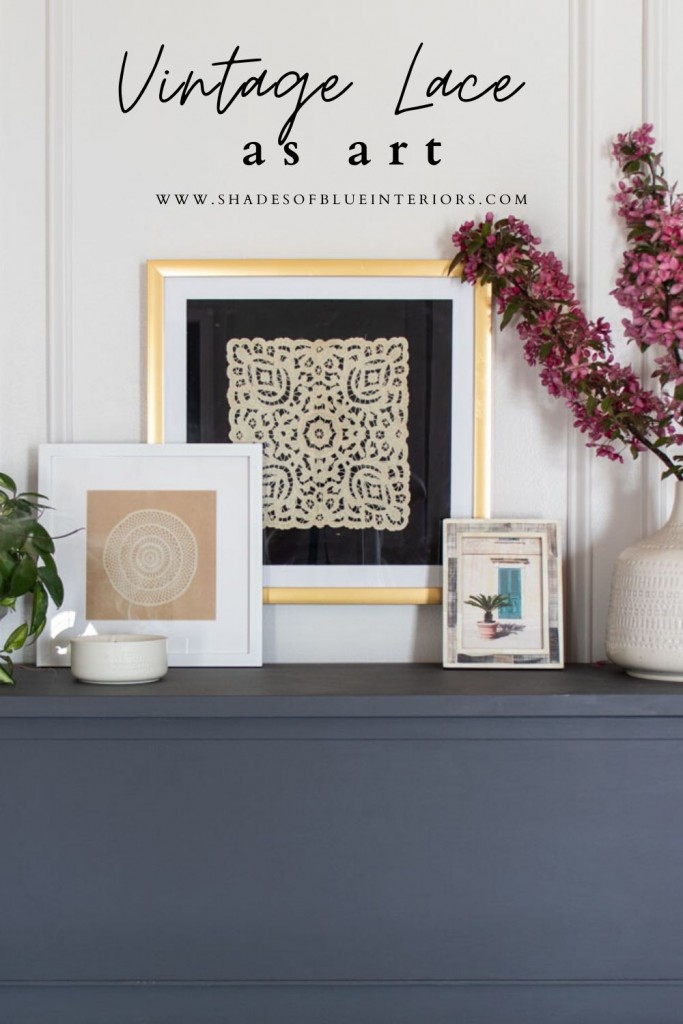
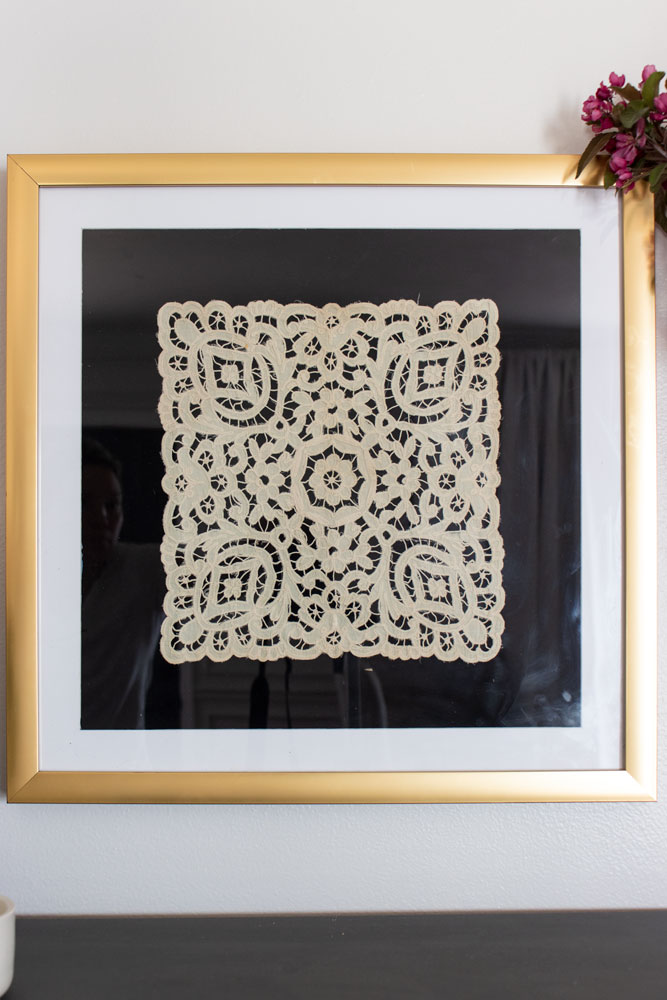
Today I’m sharing how you can take some vintage lace and repurpose it to create a modern framed piece of art that can be a focal point in any room. I got this idea years ago when I visited my cousin, Sara, and she had a lace doily framed like this on her wall, a keepsake from her husband’s grandma.
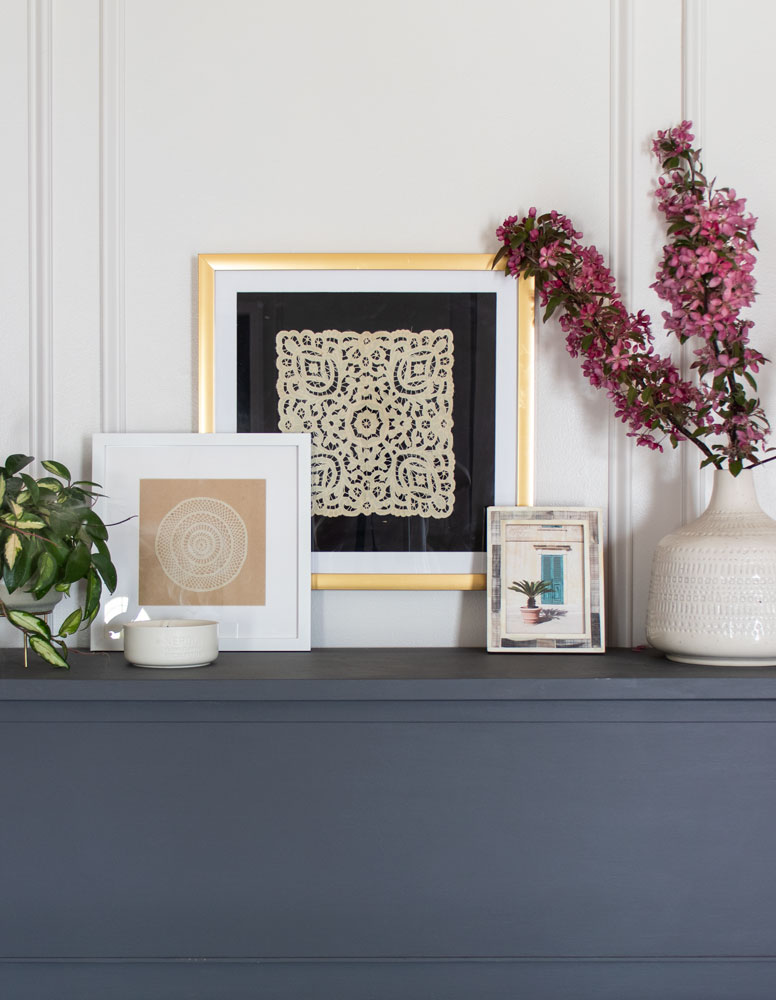
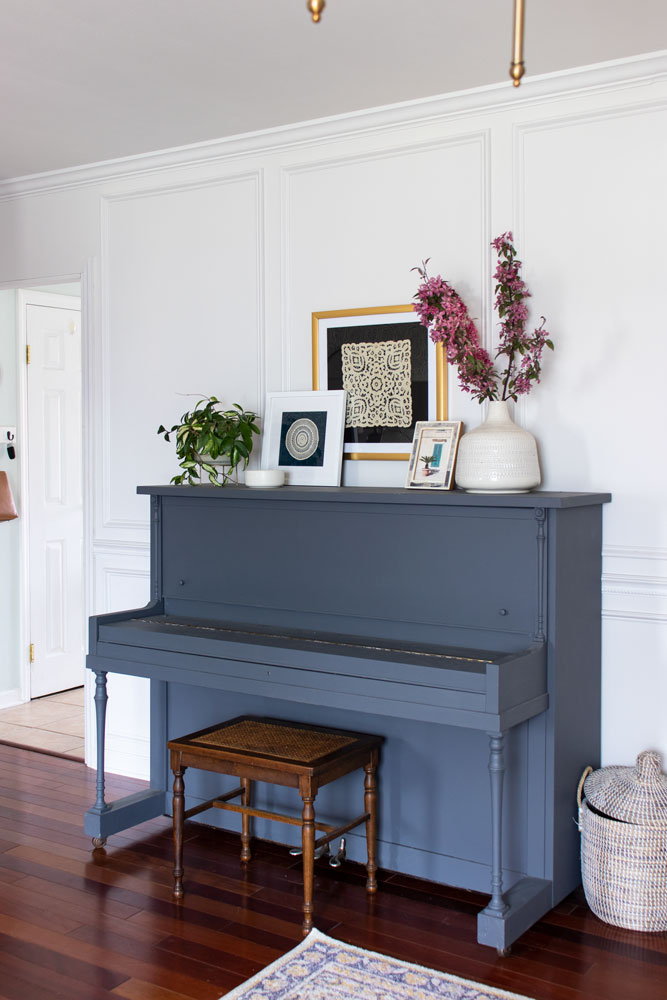
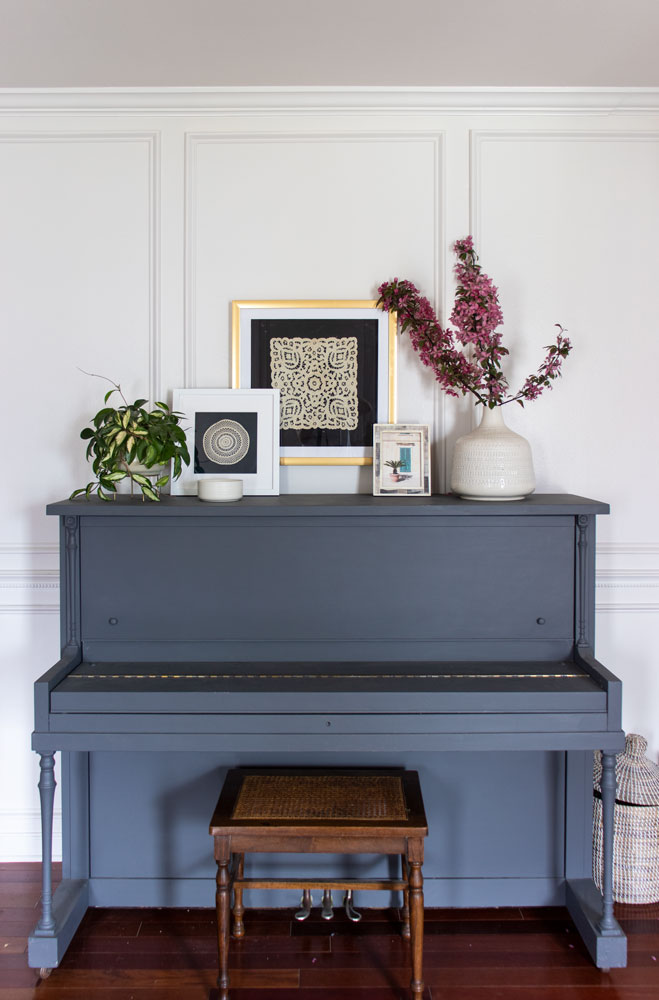
You can use several lace doilies to group together, on a table or piano, like I did, or in a gallery wall.
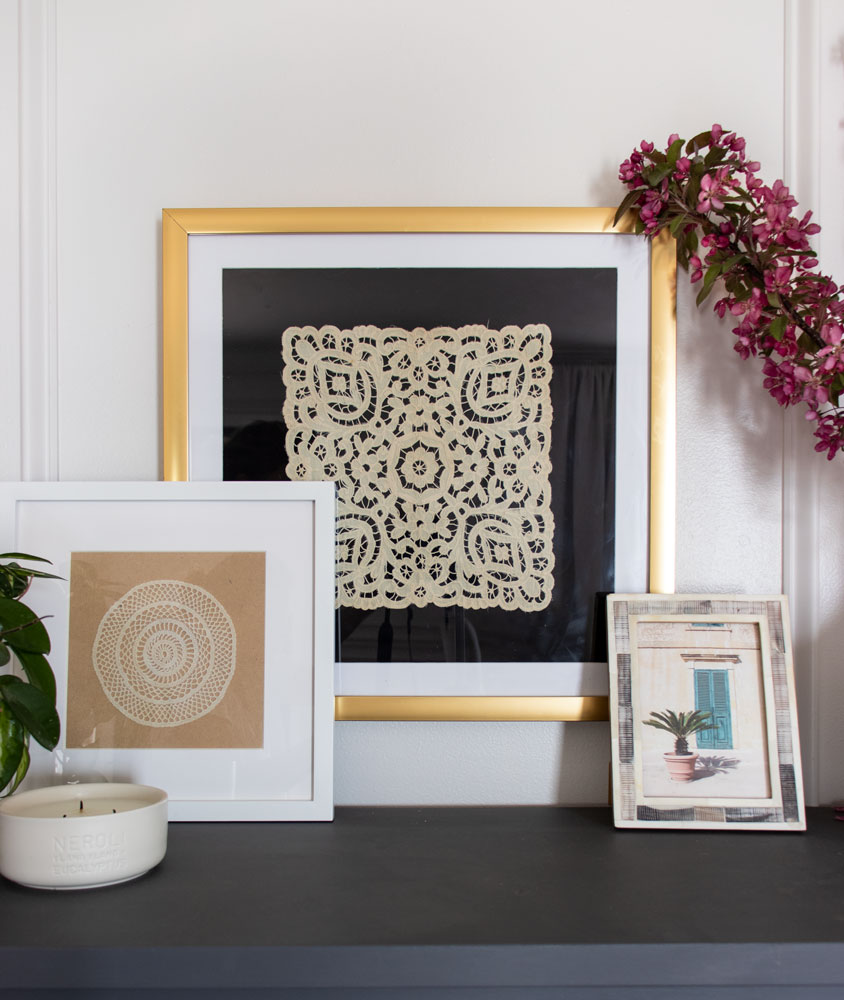
The dark background, together with a thicker matted frame really elevates the look of the lace, showcasing the handiwork and beautiful design.
See more about this painted piano here.
Step 1: Find a Frame with Mat
The first step to creating this vintage lace as art, is to find the right size frame. I wanted some ‘breathing room’ around the perimeter of the lace, so I chose a large square frame that included a mat. Square frames that include a mat are harder to find at stores, so I opted for one that already had mass-produced art in it. $35 for a frame and mat is a great price, still!
Step 2: Remove Mat & Cardboard Back
Second step, is to take out the art and mat. You will need a flat-blade screw driver to bend back the staples that keep the cardboard in place. You don’t want to remove them, as the staples will be used to keep things in place later when you put the cardboard back in the frame.
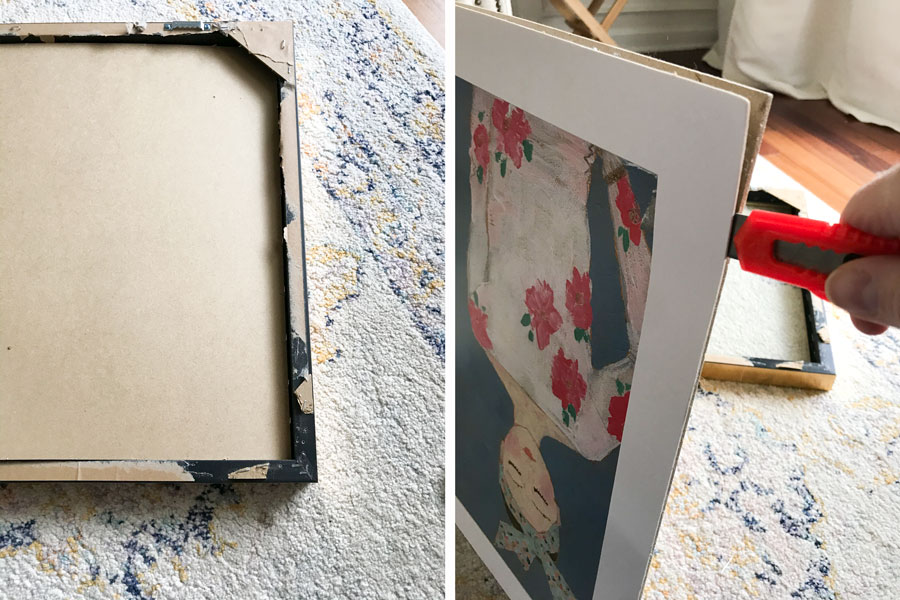
Separate the two, using a utility knife if necessary. This particular one had rubber cement gluing the mat to the art, so I had to work slowly and carefully to separate them.
Step 3: Cover Cardboard with Dark Fabric
The third step is to use the cardboard backing and cover it with dark fabric. The reason I use fabric and not paper, is the dark fabric absorbs light, so it looks darker, has a better contrast, and there won’t be a sheen reflected in the light. Additionally, the lace adheres better to the fabric.
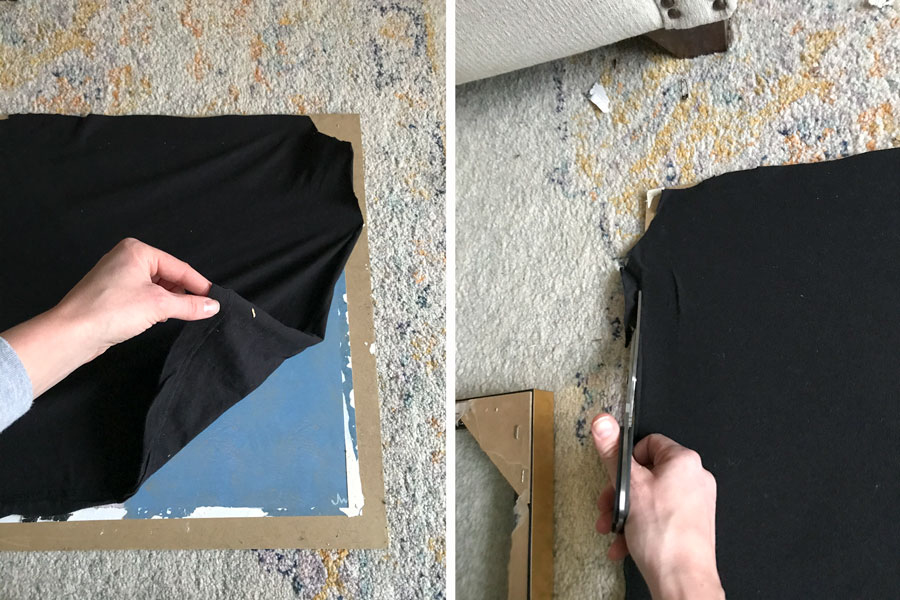
The cardboard back still had the adhesive residue so I stretched a very black cotton jersey shirt (that I cut up) over the edges and trimmed excess.
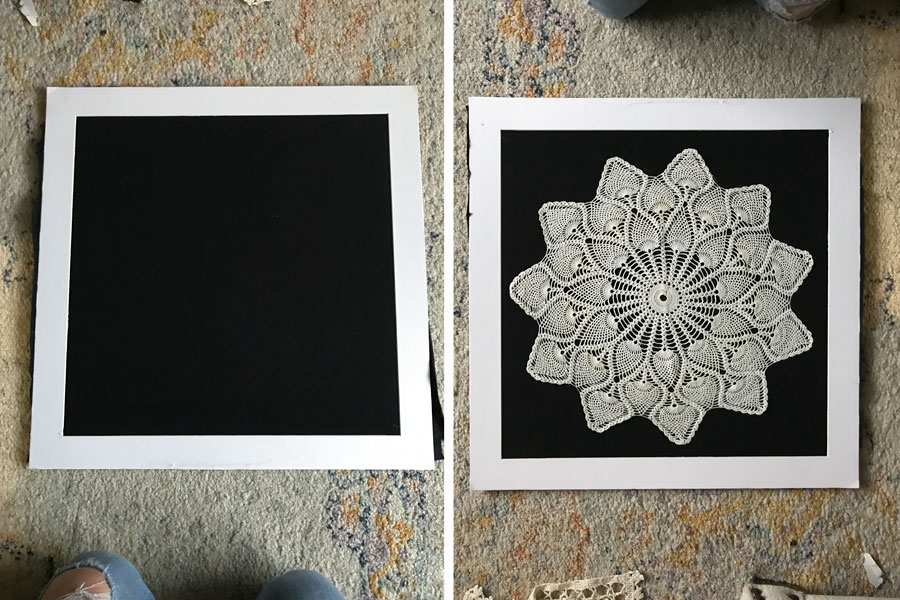
Step 4: Replace Mat and Position Lace
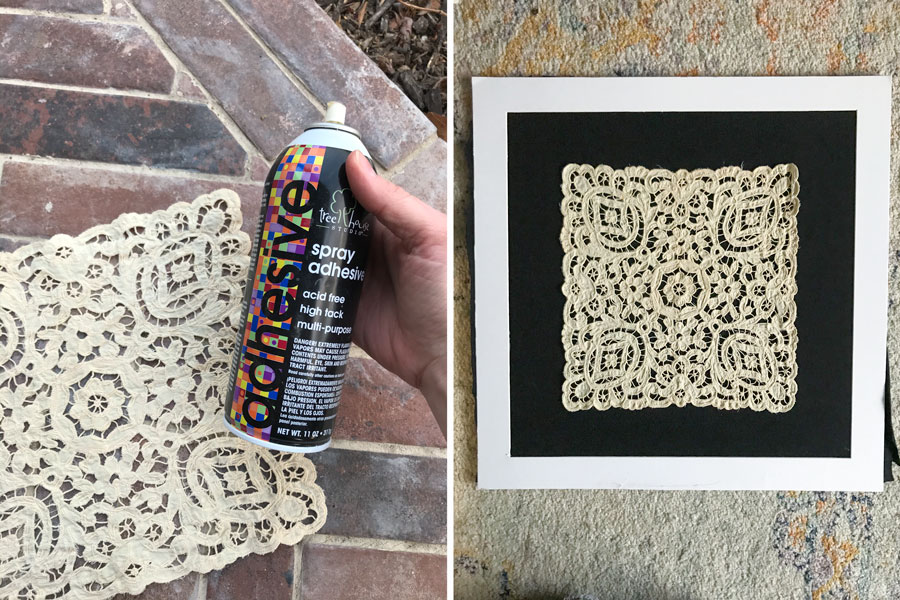
The fourth step is to place the mat back on the fabric-covered cardboard backing, and decide the position and placement of the lace. I had this star lace doily below, but instead opted for a darker tinged Battenberg lace.
Battenberg lace is a hand-stitched lace edging on thin fabric tape that creates a more sturdy and flatter lace. Here are some lace doilies I found on Etsy:

Then you want to lightly spray one side of the lace with spray adhesive. This will allow you to center it on the dark fabric and will prevent it from folding or moving when you put it back into the frame.
Step 5: Put Mounted Lace and Mat Back into Frame
The fifth and final step is to put the cardboard with mat and lace back into the frame, carefully as to not damage the mat. My frame was slightly flexible so I was able to gently pull the sides out as I put the vintage lace art in the frame. Push the staples back down, securing the art.

Now you can admire your work!
White square frame with mat found here, and smaller bone inlay frame found here.
I hope you enjoyed this tutorial and will try this project next time you see vintage lace in an antique store or estate sale!
Now it’s time to check out my friends’ posts and see how they use art in their homes!


So Much Better with Age: Decorating with Vintage Engravings

Thistlewood Farms: Simple Decorating Ideas for Art

Tidbits: 7 Online Sources to Find Affordable Vintage Artwork

Maison de Cinq: Five Tips for Decorating with Art

Seeking Lavender Lane: Decorating with Vintage Prints

Shades of Blue: Vintage Lace as Art
Rachel these are soooo pretty! I love the lace art idea and that vintage rug in your aunt house is jaw dropping!
Such a wonderful idea Rachel! You’ve got such amazing pieces and I love that all of them are so creative and original! 🙂
Sheila
xo
Oh I love the fabric idea, Rachel! I’ve often used watercolor or similar thick paper for a backing but sometimes the size doesn’t work. I’m definitely going to try this!
Hugs, Jamie