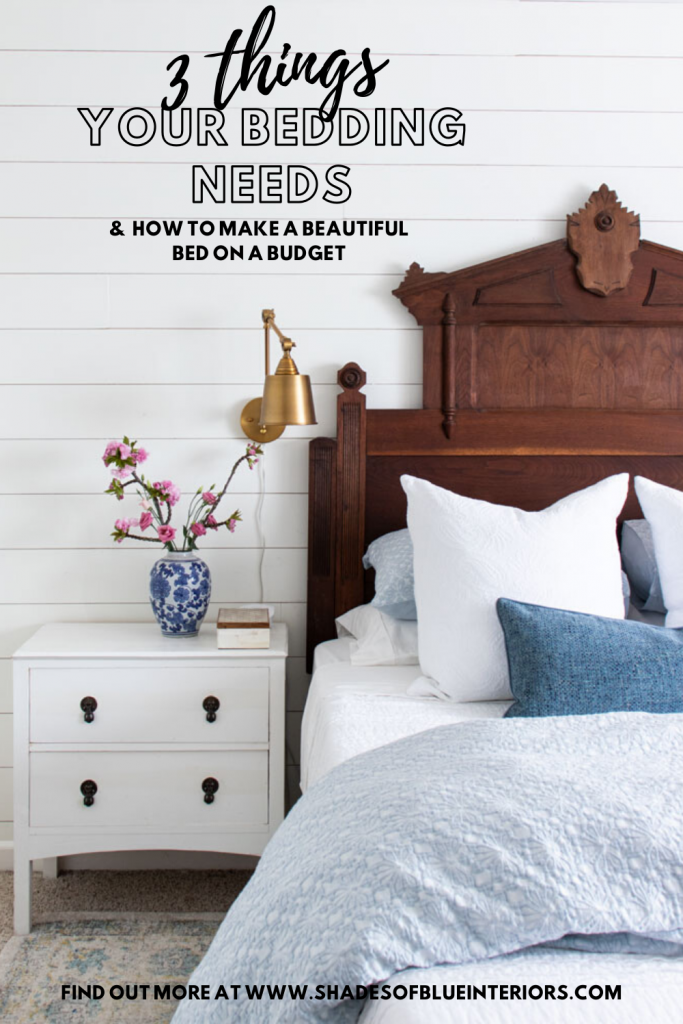
When making a bed, no matter the size, there are 3 things your bedding needs. Today I’m sharing these three bedding elements you can add and how it will take your bed from ‘blah’ to luxurious, even with a tight budget!
First things first, I want to mention, these are MY OPINIONS on what makes a beautiful bed. I have been pinning beautiful bedding I run across for years on my Pinterest board, and just paying attention to things I love that are popular and well-designed. It turns out I love simplicity, which is great because it is easy on my bank account as well!
Lots of people and designers can say you should use this or that, and different combinations of pillows and what-not, but ultimately it comes down to YOUR preference, what works for your life, and what is best for your budget.
I asked a few weeks ago on Instagram, “what is your biggest challenge when it comes to…” interior decorating or home improvement or woodworking… and the most common response I got was “budget”. Most people in my corner of the internet care about budget-friendly design, how to make their home beautiful without spending a lot of money. I am right there with you– 100%! I’m passionate about this and that’s why today I’m going to share why you only need 3 things to elevate your bedding game. 😉
Affiliate links are used in this post.
Starting with the Basics
Most people start with solid sheets, a couple pillows, and a quilt on their bed. Where it can get overwhelming is knowing how many pillows to add, what extra blankets, how to drape them, etc.
So let’s assume your bed starts out like this:
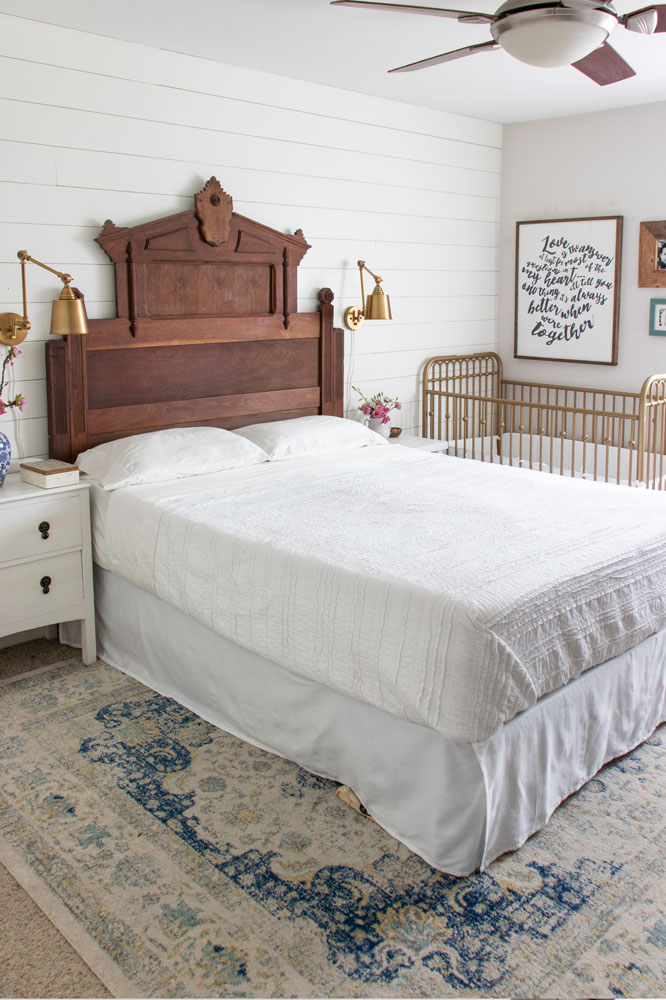
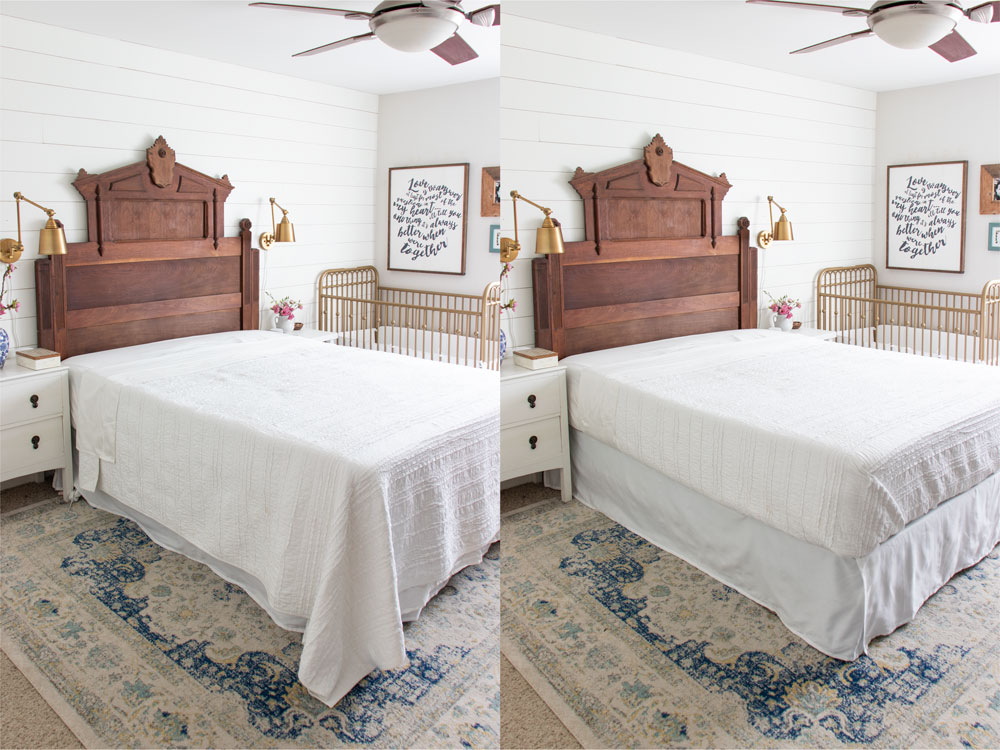
A couple things to point out: while it isn’t required or necessary, I love white sheets and a basic white quilt because it goes with SO many different color combinations and can be used year-round. They also can be bleached to remove dirt or stains. If you have a bedskirt, I recommend tucking in your quilt– it just gives the bed a more polished look. However, untucked is pretty too, just more casual.
1- Duvet Cover
Every bed needs a duvet, not a blanket comforter! Stop buying those huge comforters in the ‘bed in a bag’! Duvets are easier to wash, easier to switch out with different duvets, and they store neatly and compactly. The trick here is to stuff them with 2 down/down alternative comforters inserts— you know the kind that are white and inexpensive? That’s the ones! You probably already own something that will work! They will give your duvet a very full and luxurious look. You can always remove one comforter in the summer or if you keep your home warmer at night.
Price Point: I already had 2 king size comforter inserts, and found this pretty blue duvet cover for $50 at HomeGoods. They had several for $40 which is a great price for online as well! Shop clearance and sales for an even better price, but really, around $50 for a duvet is a very good price and will last you for years.
To keep the comforter inserts from shifting around in your duvet cover, most duvet covers have little strings on the inside corners to tie to the comforter corners, or if they don’t, you can buy duvet clips! They are very easy to install– just turn the duvet inside out, lay the comforter on top, clip the corners together and turn the duvet right-side out again!
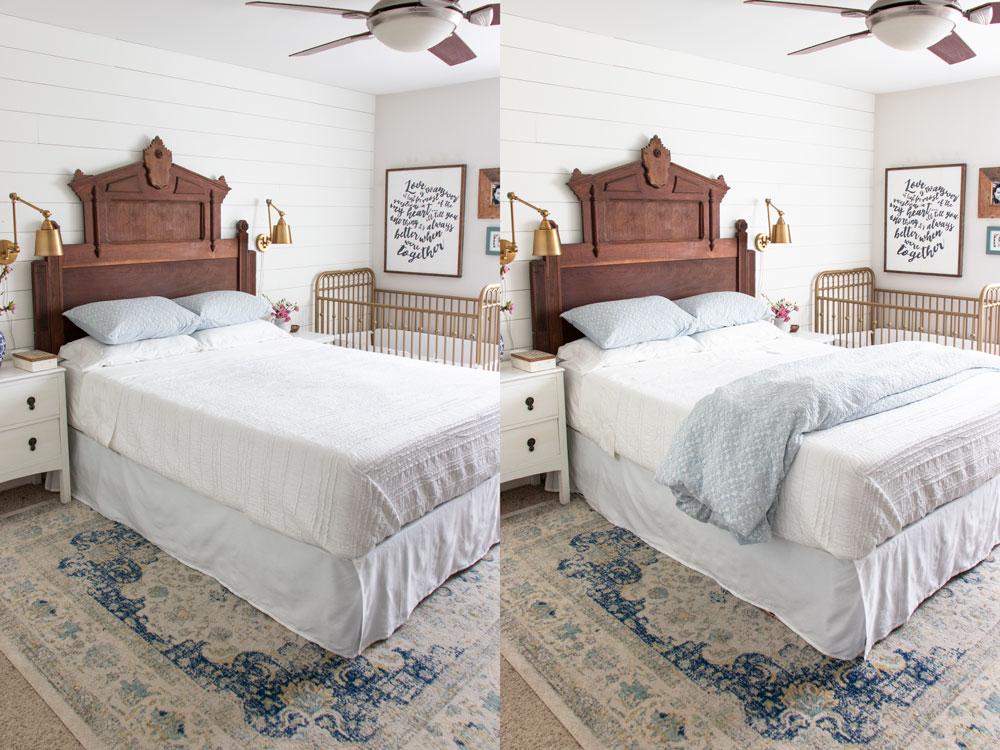
Duvet covers usually come with matching shams, so go ahead and put those on another pair of pillows and stack them on top of the pillows you sleep with. If your duvet cover doesn’t come with shams, don’t worry, just use white pillow covers. Then, I’ve found the best way to display a duvet is folded, about a foot from the end of the bed.
Folding a duvet at the foot of the bed: Pull the duvet all the way up over the pillows, and where the bottom edge is a foot from the end of the bed. Then, pinch about a third of the way up and fold it back on top, so that the fold meets the end of the duvet. The top of the duvet will naturally hit the fold on the edge closest to the pillows, so the whole thing is basically folded into thirds. Then I fluff it and bunch it together a bit so it isn’t too flat or perfect. This method is great because you can easily pull the duvet up and use it while you are lying down.
2- Euro Pillows
Get two large, down-filled euro pillows to prop in front of the stacked sleeping pillows. If you have a king size bed, use three, and obviously with a twin you’d use one. Pass on the poly-fill euro pillows you will see in the bedding aisle and find the largest size (24″) down throw pillows. The reason why you want them to be down-filled is for 2 main reasons. The first is down pillows stand up better than poly-fill. They have a heavier weight and can be shaped, so they sit there looking beautiful and expensive (when they are really not). The second reason is they last longer. The down can be fluffed and fluffed for years and still look great, whereas poly-fill will break down over time and look lumpy and sad. I recommend getting a larger size insert than pillow cover for a full look.

Price Point: Down inserts with a 26″ size can be found at Ikea for $10 if you already have the covers. I found both of my white euro pillow covers with down inserts for $30 each at HomeGoods, but I found them in the throw pillow aisle not the bedding aisle. Amazon has a great price on down inserts also!
3- Lumbar Pillow
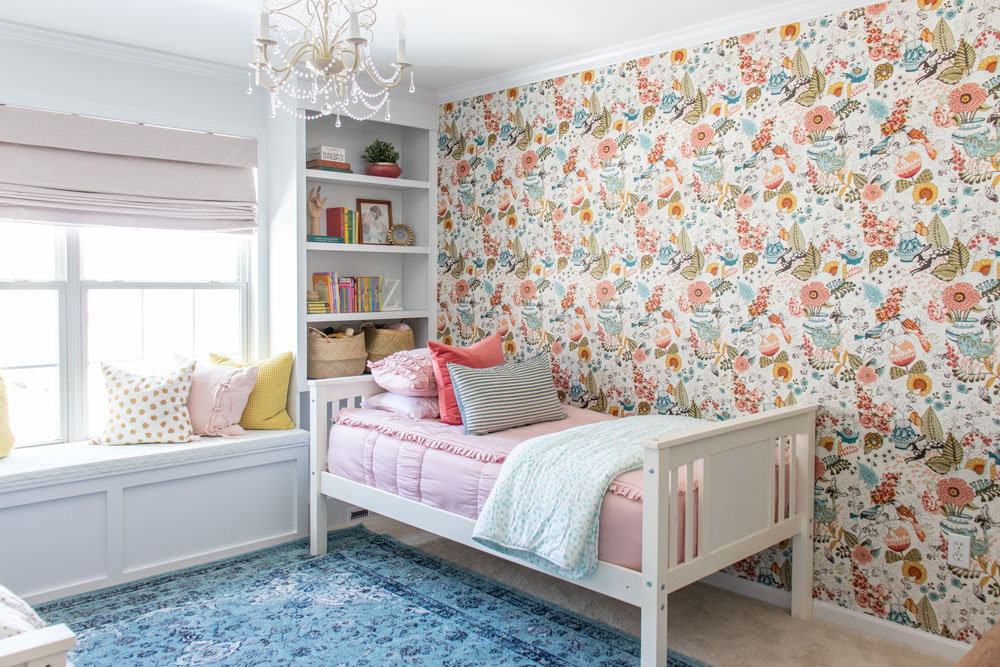
The finishing touch that really pulls together whatever colors you are using, is the lumbar pillow placed in front of the euro pillows. A longer lumbar pillow tends to look the best for queen or king size beds. This is a great time to use a pretty pattern with repeating colors from your duvet cover, or shams or from somewhere in the room (like the rug or wallpaper like I did below).
Price Point: A quality lumbar pillow with a down insert is going to cost at least $20. I got mine at HomeGoods for $25, but saw longer ones for $30. I will always love a down insert, but with a lumbar pillow you can get away with a poly-fill insert, just because it is less noticeable and the lumbar shape is harder to ‘fluff’ to begin with.
That’s it! A duvet, 2 euro pillows, and a lumbar pillow is all you need to add to your basic bedding for a no-fail combination that will make your bed look luxurious and inviting! With smart shopping and using what you have, you won’t need to spend any more than $150 to give your bed a whole new look.
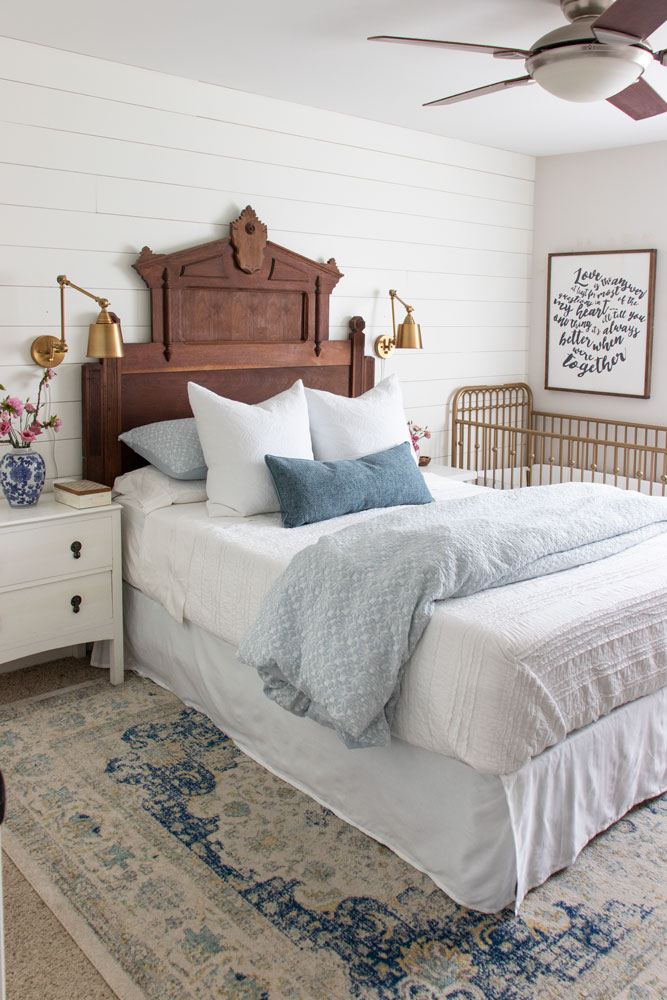
*One thing to keep in mind when selecting bedding, if the headboard is dark and bold like mine, keep the bedding colors lighter and patterns quieter— think more tone-on-tone. This approach allows the headboard to be the focal point.
*For lighter-colored/neutral headboards, you can go with a bit more color and pattern if that is your preference. If you struggle putting together patterns, try to keep the quilt, sheets, and euro pillows with a smaller pattern or solids and subdued colors, and then duvet, shams, and lumbar pillow with a bolder color or pattern.
Of course you can play around with combinations, choose whatever you love and throw suggestions or ‘rules’ out the window! 😉
To see a bit more of this room and the spring flowering branches I added check out this post.
Here are some duvet covers under $100 (and many under $60) that I love, and thought you might too!

Okay, I feel silly asking this, but where do you put all the extra pillows and duvet when you’re sleeping (if you don’t use them)? 💡 Is that what the crib is for? 😅
Haha! The baby sleeps in the crib. 🙂 We just put the extra pillows (3) on the floor and the duvet we put on our dresser which is opposite the bed.