A blank wall can be the perfect place to create a home office or homeschool desk, whether it’s in your basement or an open living area. Today I’m sharing how we installed a long desk top attached to some Ikea drawer units to create a functional study space for our high schooler as we begin our school year virtually.
Cost Breakdown for Home Office
This project was pretty budget friendly compared to ready-made desk units that were smaller. I love how much space there is here to work and the storage in all the drawers and upper shelf. Here is what I spent:
3 Ikea Alex drawer units (navy): $80 x 3 = $240
Lumber for desk top + stain/top coat: $120
2 Ikea Eldberget/Malskar Swivel chairs: $35 x 2 = $70
2 Ikea Nymane sconce lights: $30 x 2 = $60
2 Ikea Ramshult shelf brackets: $5 x 2 = $10
1×8 pine board @ 6′: I took from my scrap wood stash, but this costs ~ $7
Magnetic dry erase board: $20
Books, frames, decor for shelf: I used what I had
Total: $520
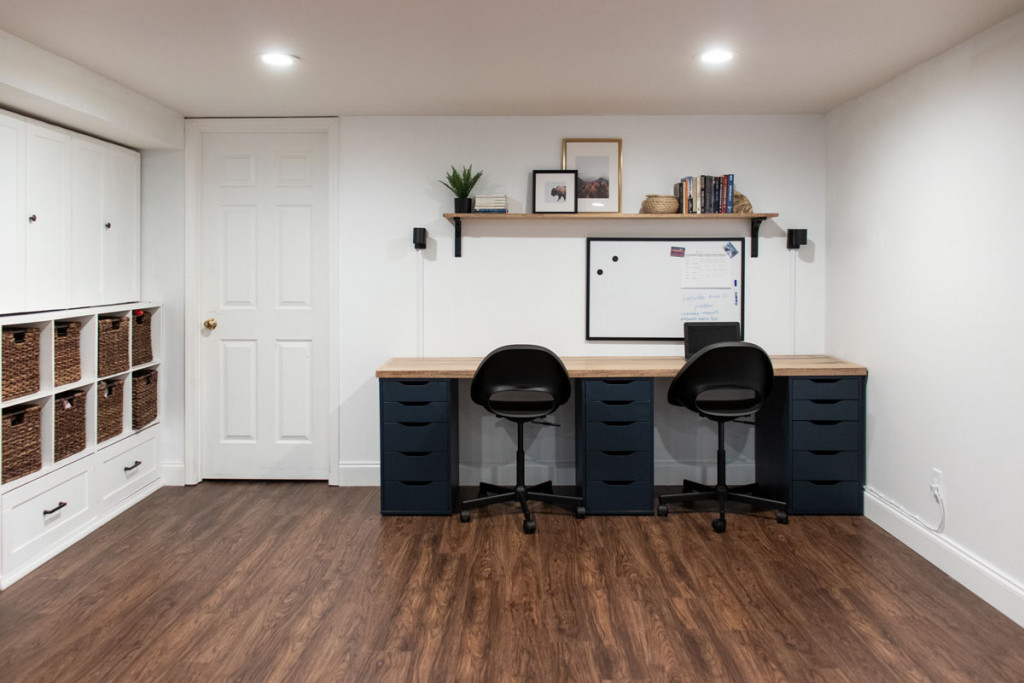
The Before
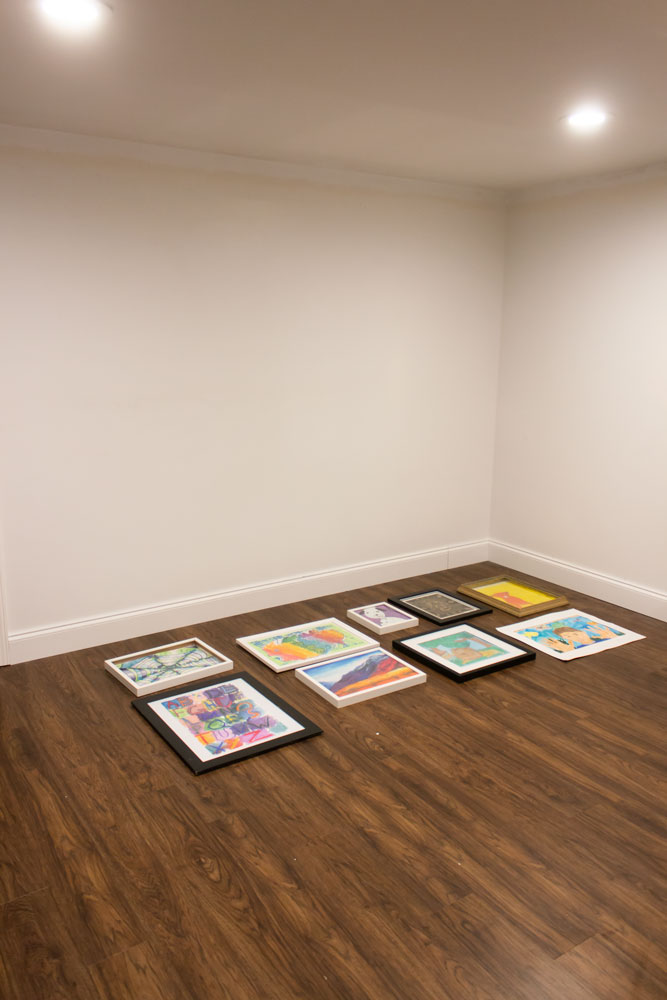
This is what this area of our basement looked like before I added the home office desk area. The door leads into a short hallway where a walk in closet is on the right and the guest bedroom is on the left. To see details on the floors we had installed go here. To check out the progress we’ve made on the other side of this room, go here.
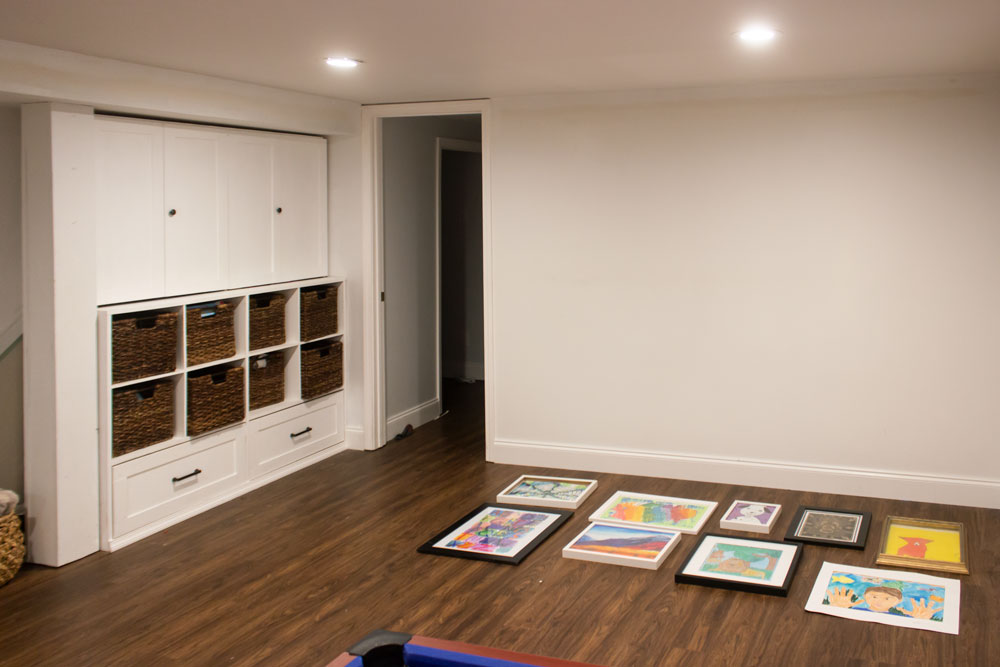
I added that organizational unit of custom-built cupboards and cubbies a couple years ago to hold toys, crafts, and games. I had hung up the kids artwork on that wall for awhile, but decided a home office or desk area for my high schooler would be a better use of space right now.
Tools Needed and Cut List
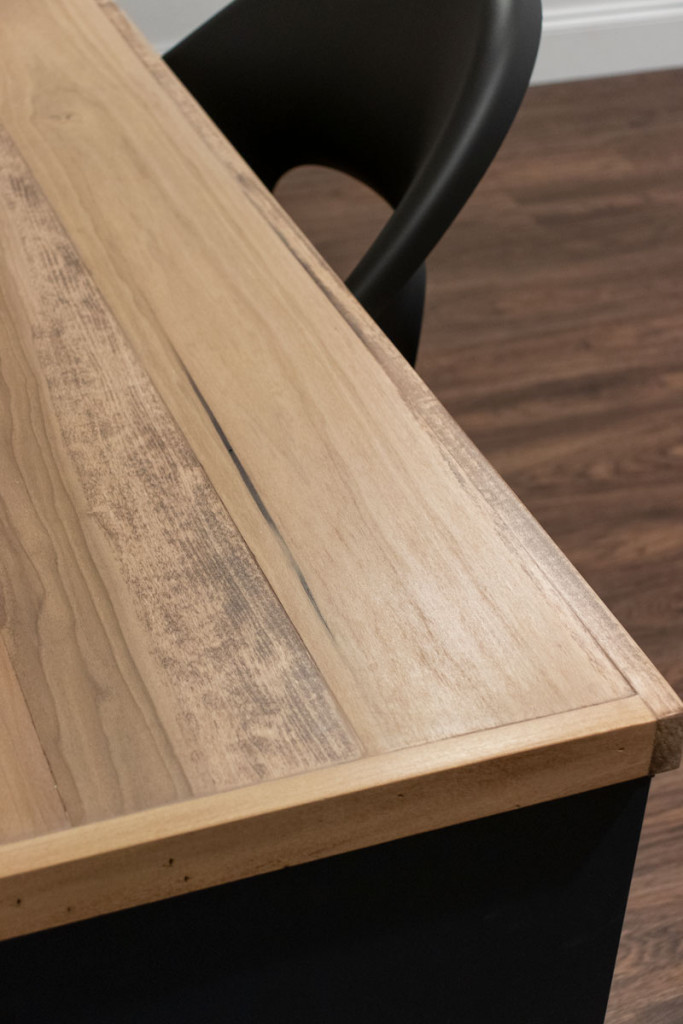
This desk top is 8′ long and 2′ deep. I chose to use poplar because I wanted a hardwood for the work surface. I’ve see how pine (a soft wood that is cheaper) will indent and get marked/gauged easily over time and I wanted something more durable.
Tools & Supplies Needed:
Measuring tape
1 1/4″ nails (18 gauge for brad nailer)
Cut List:
3- 1×4 @ 22 1/2″ common pine – short supports
2- 1×4 @ 42″ common pine – long supports
4- 1×6 @ 94 1/2″ poplar (select them as straight as possible for desk top)
2- 1×2 @ 22 1/2″ poplar (desk top sides)
1- 1×2 @ 96″ poplar (desk top front)
Building the Desk Top
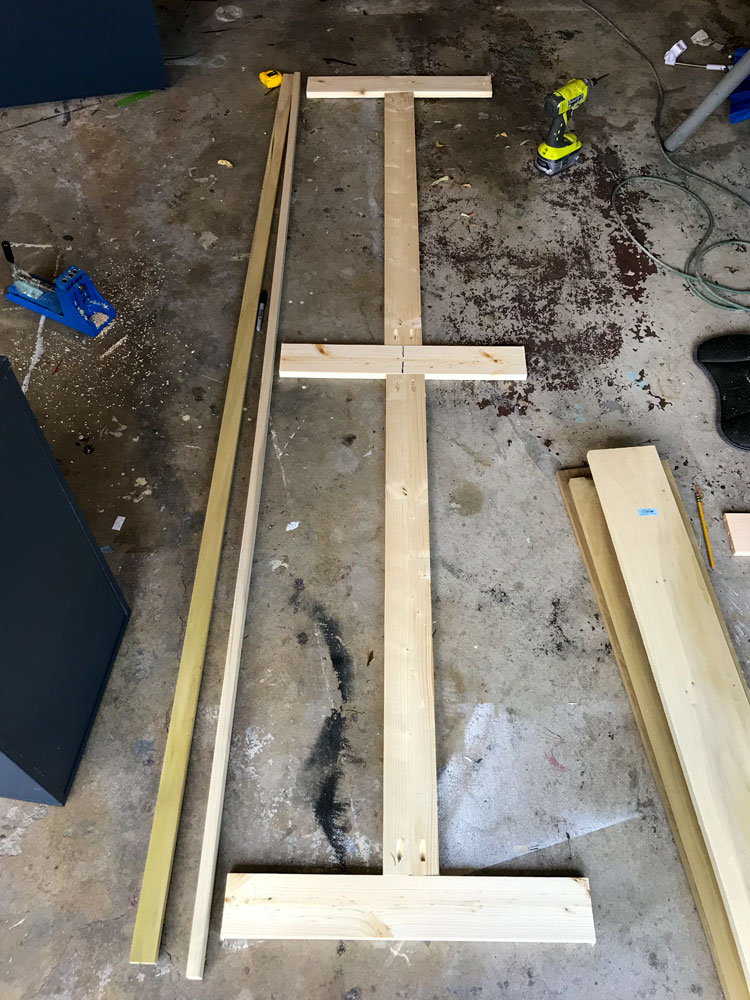
Step 1: Build the Support Frame
Drill 2- 3/4″ pocket holes on either end of the 2 long supports (1x4s). Attach them at the exact center of the short supports using 1 1/4″ pocket hole screws, so it looks like this:
Step 2: Attach the Desk Top Boards Together
Drill 3/4″ pocket holes (about 7 spaced 18″ apart) along one long edge of 3 of the 1×6 poplar boards. Carefully line up two of them together so the ends are flush even. Then, glue and gently clamp them together and attach the boards using 1 1/4″ pocket hole screws. Note: make sure your surface is very flat to ensure you seams are flush and even. If not, you can place the boards on top of scrap wood of the same thickness as you attach them together. Clamp, glue and attach the third board using the same size screws, and repeat for the last board. Each seam should only have screws driving in from one direction, except for the last board which won’t have any pocket holes.
Step 2: Attach the Support Frame to the Desk Top
Place the frame on the underside of the desk top and nail into place using 1 1/4″ long nails.

Step 3: Finish Desk Top Edges with 1x2s
Place the long 1×2 along the front of the desk top. Glue and attach it using 1 1/4″ long nails. Attach the short 1×2 boards to the sides, making sure the seams are tight and even.

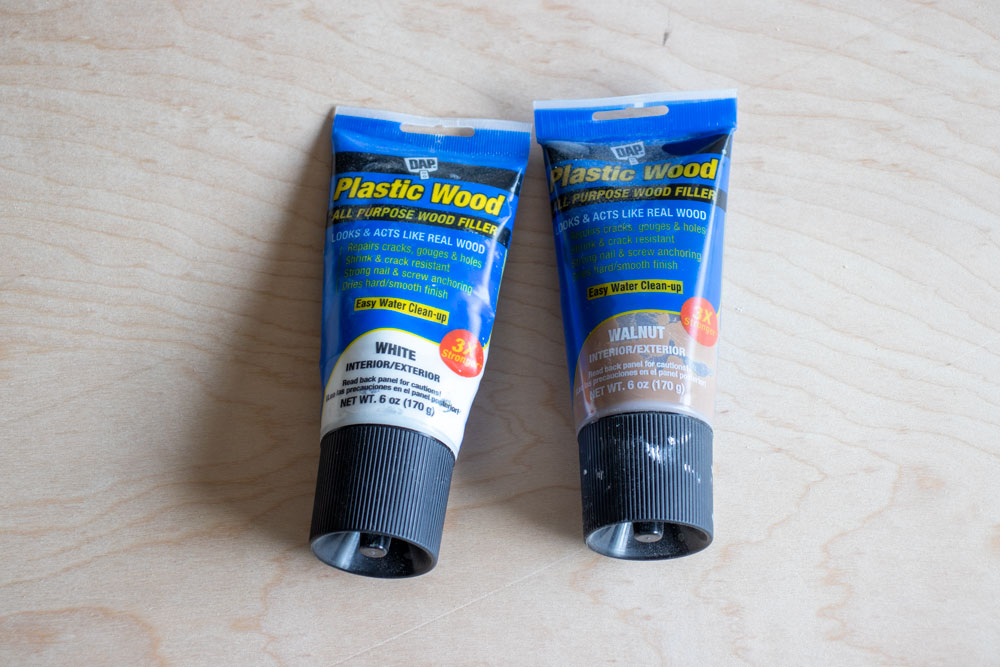
Step 4: Fill Holes and Seams with Wood Filler
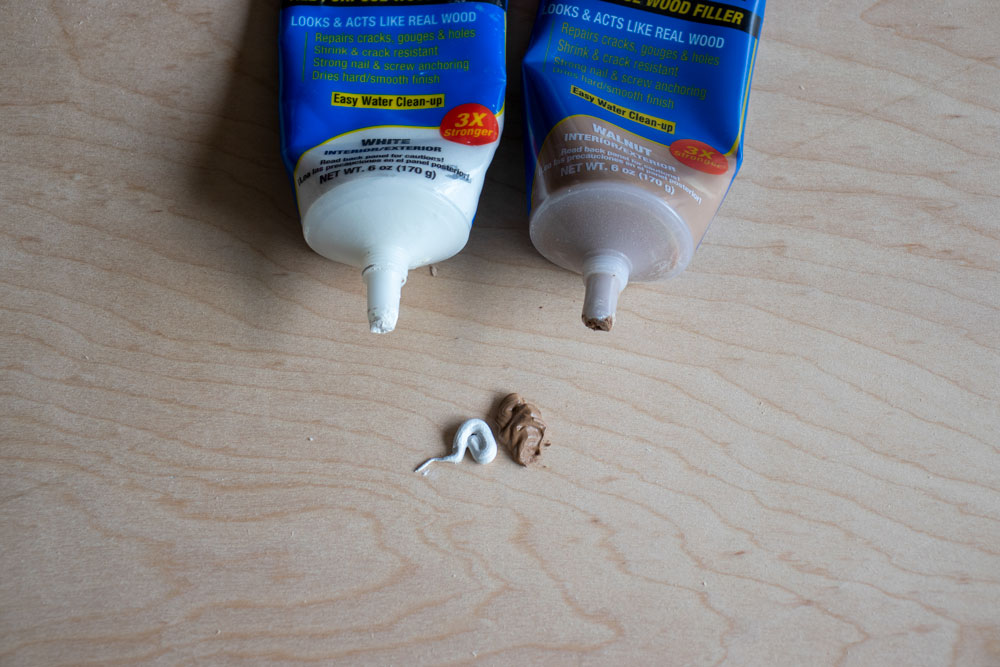
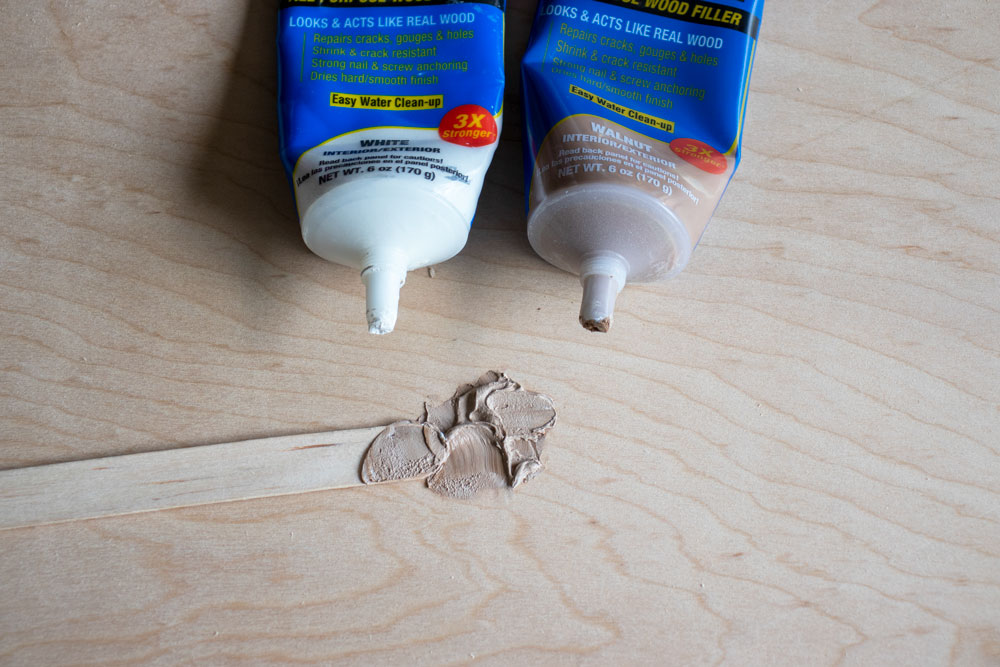
To create a more color-matched wood filler, since we will be staining the desk top, mix walnut-colored wood filler and white wood filler together to get a light brown color. Rub the wood filler into nail holes and all the seams that have minor gapping.
Let the wood filler dry and sand the entire desk top smooth using an orbital sander, starting first with 120 grit (working extra on any areas where the seams are uneven) and then switching to 220 to get an extra smooth finish.
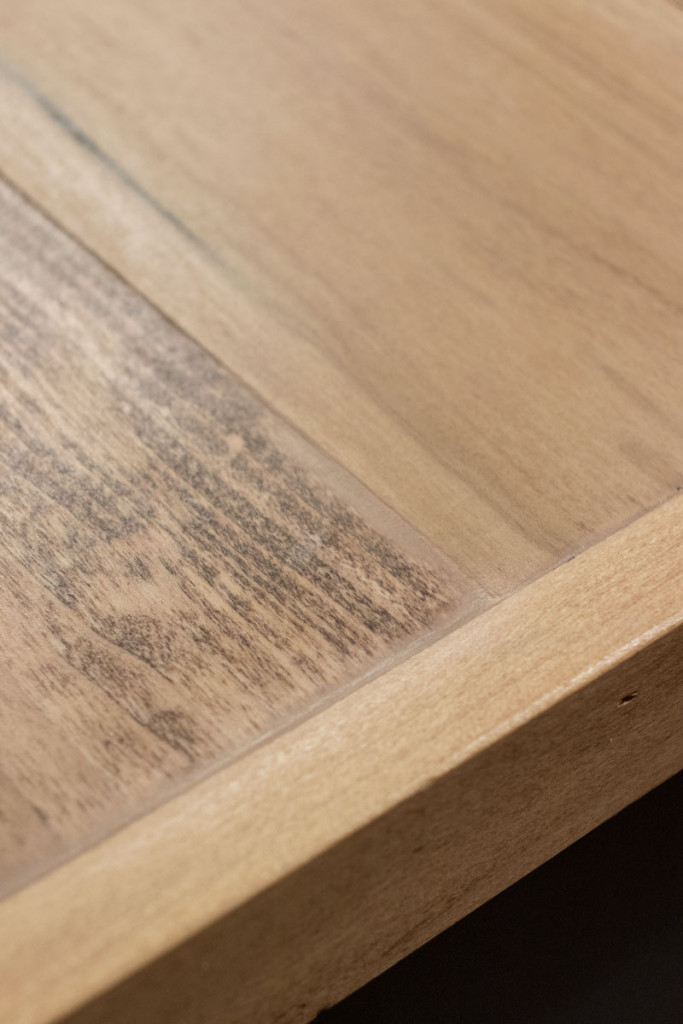
Step 5: Stain the Desk Top & Protect
To achieve a medium brown stain that subdues the greenish huge of poplar, I used Minwax Early American oil-based stain layered beneath Minwax Pickled Oak oil-based stain. Apply the first stain (Early American) with a cloth, and immediately wipe off the excess. Then, without waiting for it to dry completely, wipe on the Pickled Oak stain (mixed well beforehand), and wipe off excess. Let dry for 12 hours at least before applying top coat.

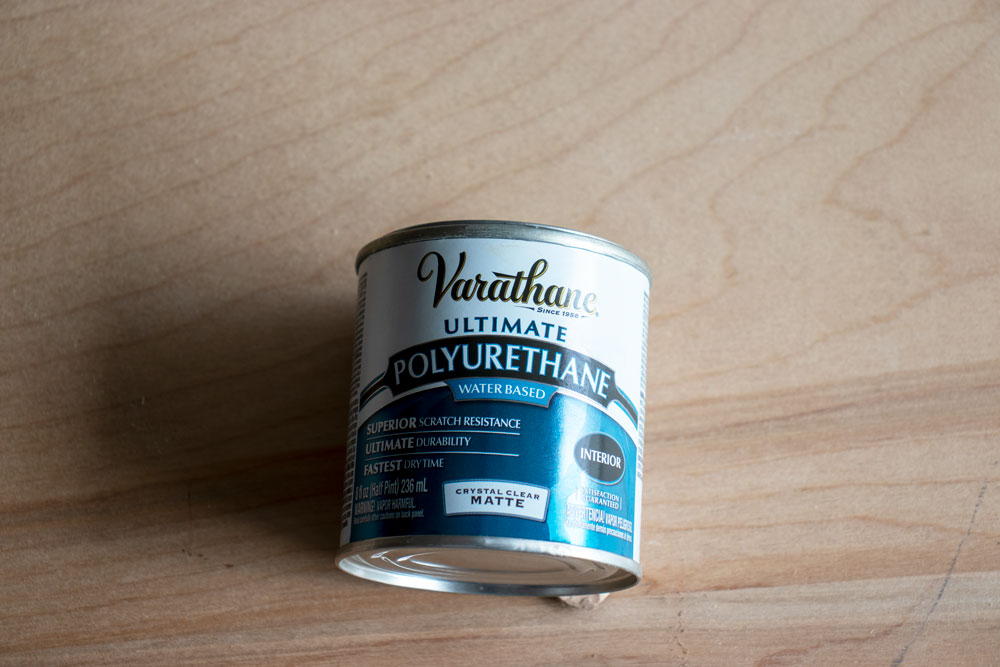
To achieve a nice protected finish that still felt like wood, I used Varathane Water-Based Ultimate Polyurethane in a matte finish. I applied 3 coats with a 2″ sash brush, sanding lightly with a 220 grit sanding sponge between coats.
Attaching the Desk Top to Drawer Units
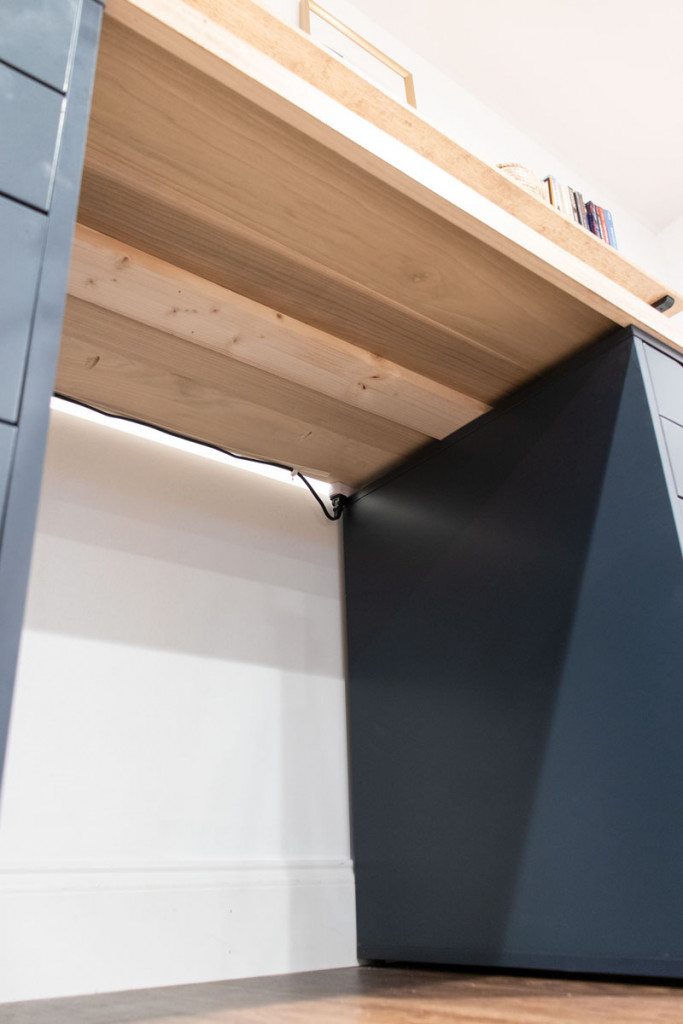
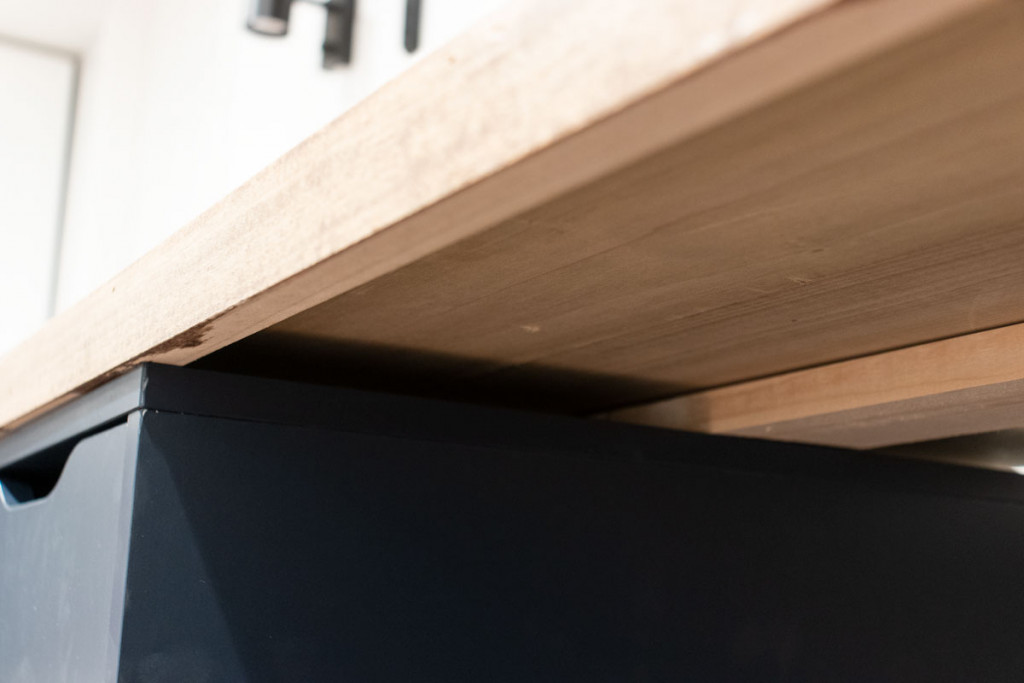
Position the desk top on top of two of the drawer units on either end, allowing a 1″ overhang on either end. The front of the desk top will only have a centimeter or two overhang. Remove the top 3 drawers and drive 2 or 3 1 1/4″ in wood screws from the inside of the drawer unit into the short support frame on either end.
Then, remove the top three drawers of the center drawer unit and position it exactly centered under the desk top. Drive screws in from the inside in the same manner that was done on the other two drawer units.
If you are installing sconce lights, like I did, secure the wiring to the underside of the desk top using plastic cable clips.
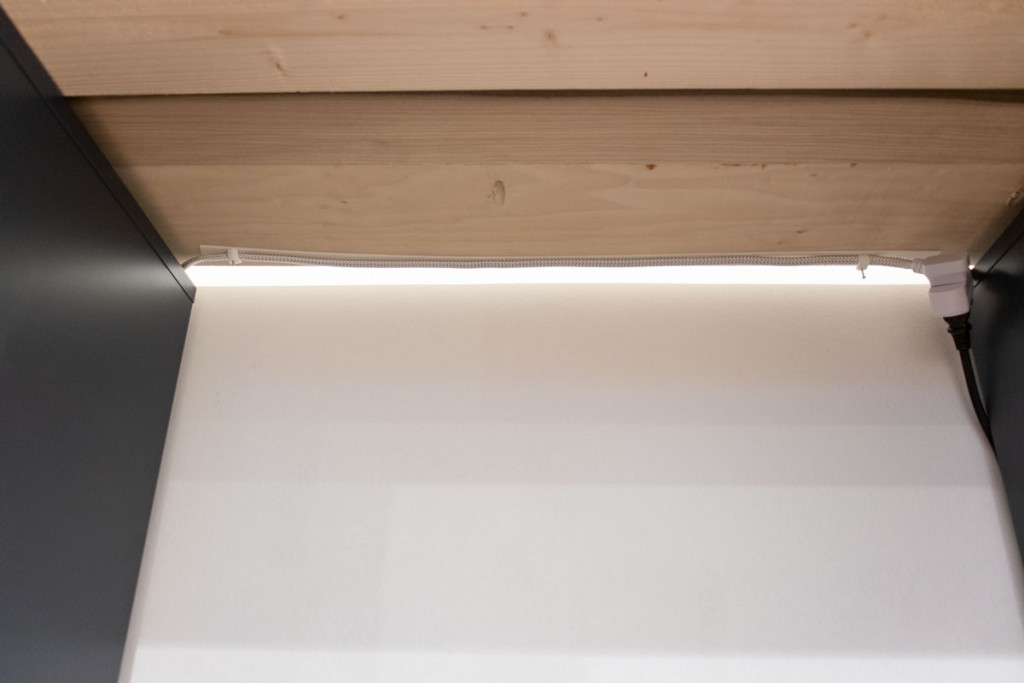
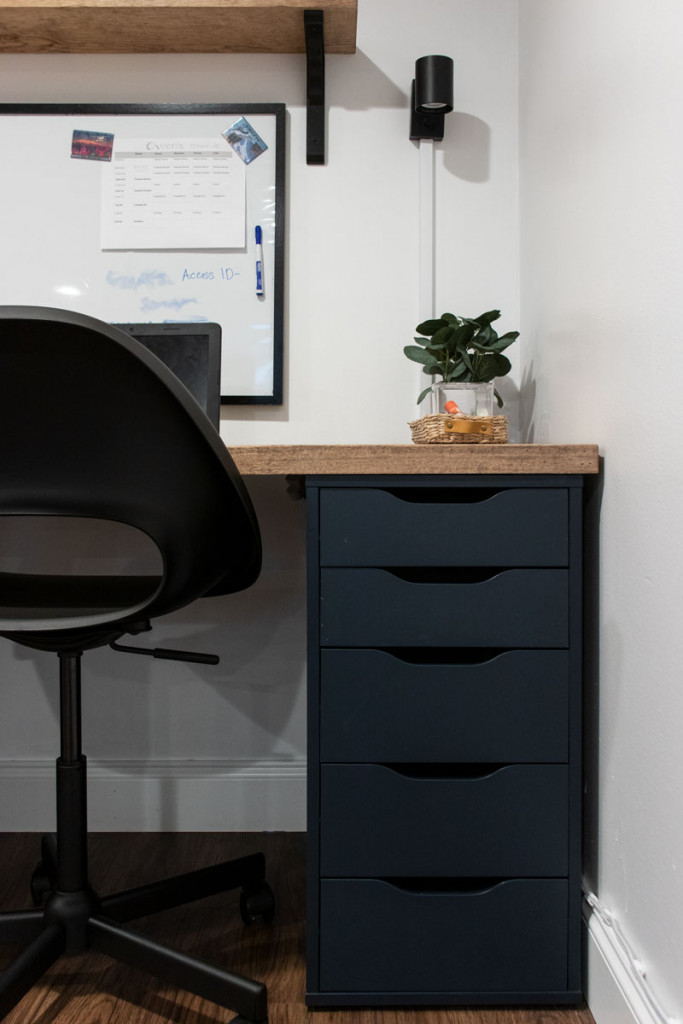
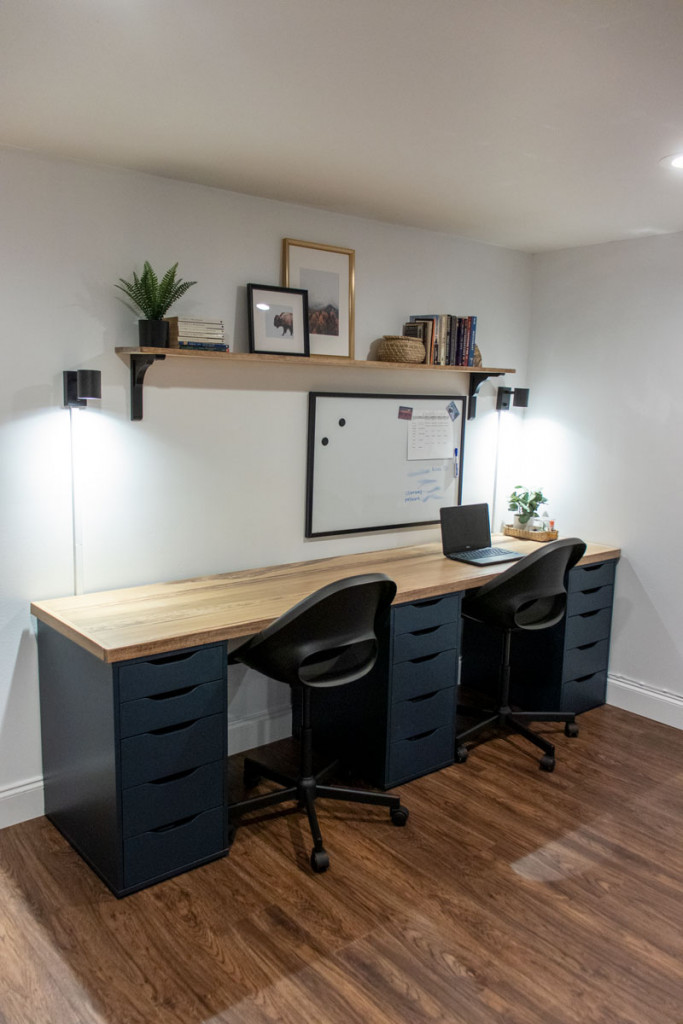
I installed the LED sconce lights just below the shelf, and about halfway up the shelf bracket (24″ from the top of the desk to the bottom of the light), used cord concealers and painted them the same color as the wall.
Installing the Shelf on Brackets
Measuring 31″ from the desk top, mark and center the placement of the 1×8 shelf. Attach the brackets first (making sure to screw them into studs or using heavy duty wall anchors), then attach the shelf to the brackets. I pre-stained the shelf with the same stain combo as the desk top.
The magnetic dry erase board was attached to the wall about 4″ from the bottom of the shelf and 3″ from the desk top.
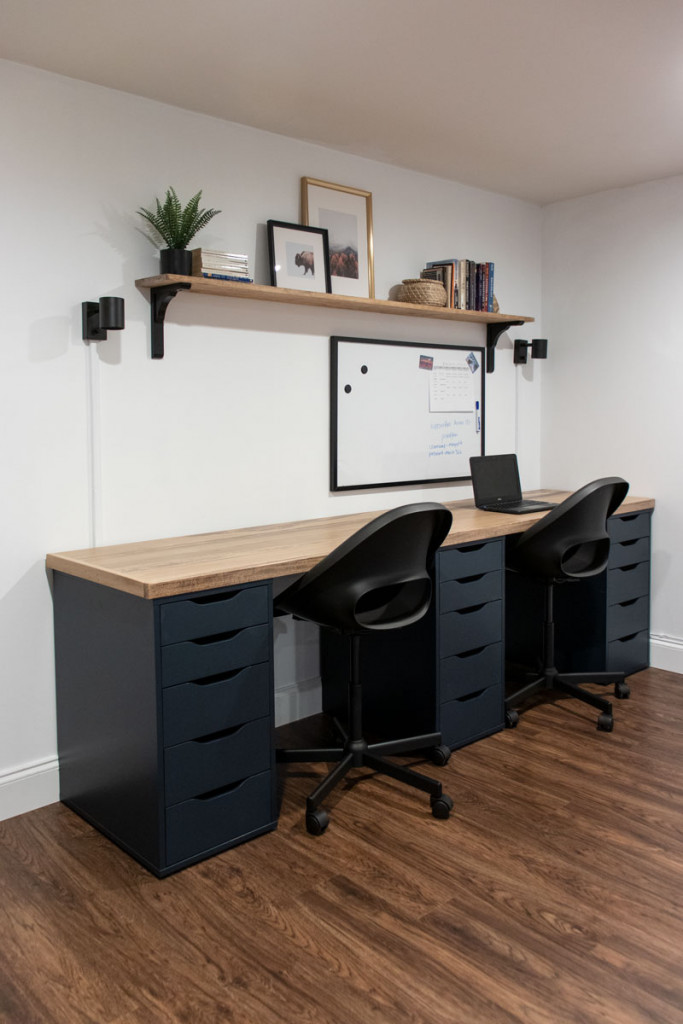
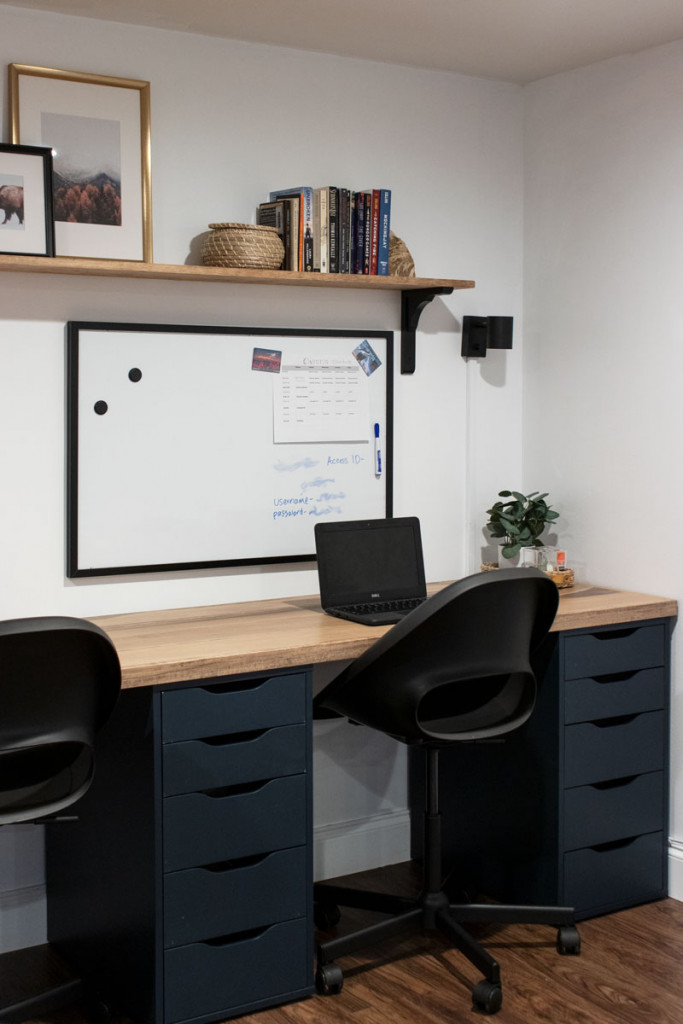
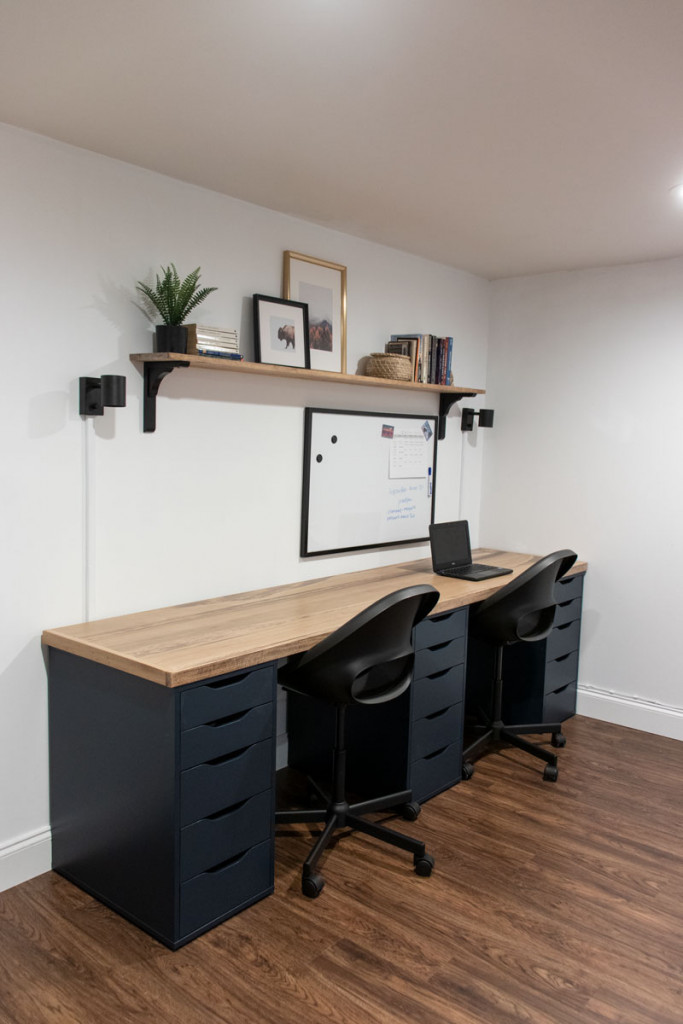
I was able to start and finish this space in a weekend! My son has appreciated how much surface area he has to spread out his work and the drawers provide more than enough space to keep all his books and supplies. On the top shelf I placed several classic books including some of the one’s he’s been assigned to read this year. The buffalo art and mountain art in the frames were digital downloads I got off Etsy.
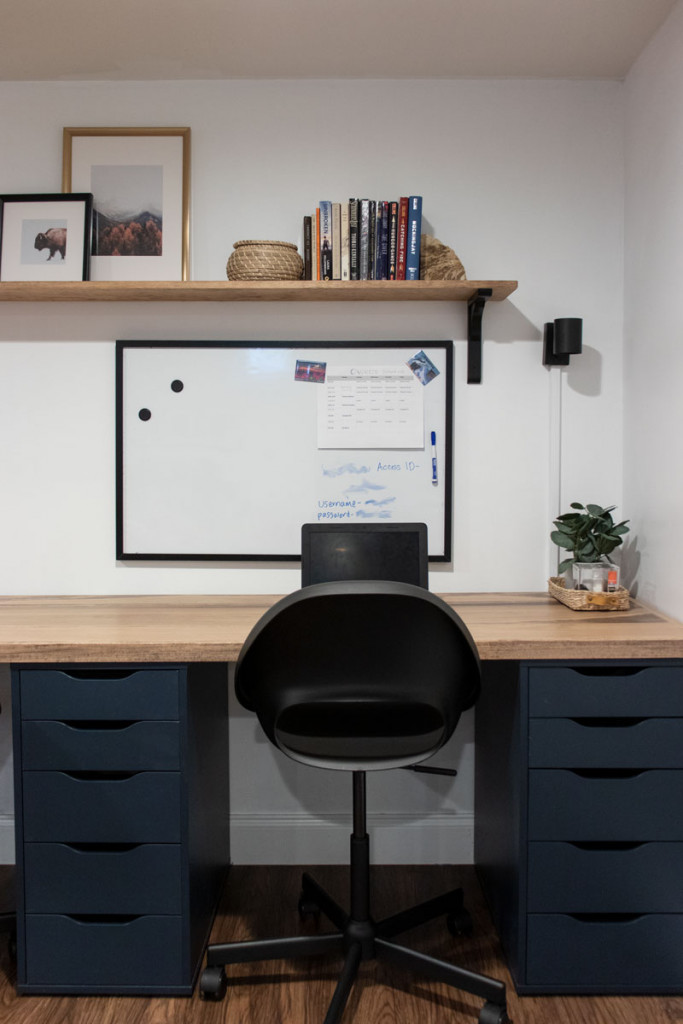
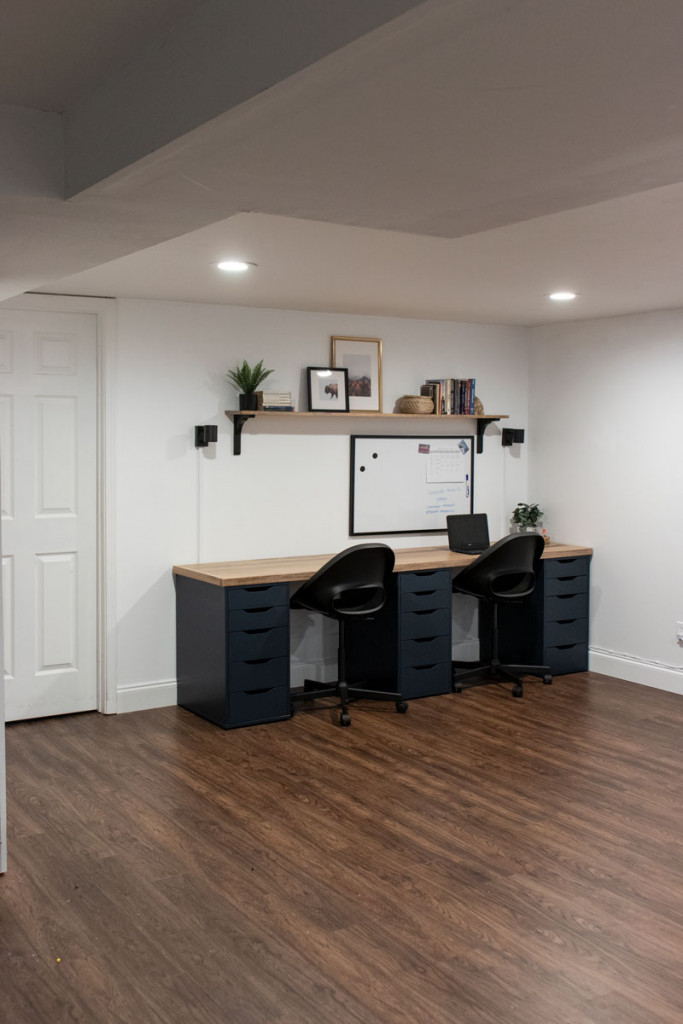
The Finished Home Office
Here is another look at the before:
And after:
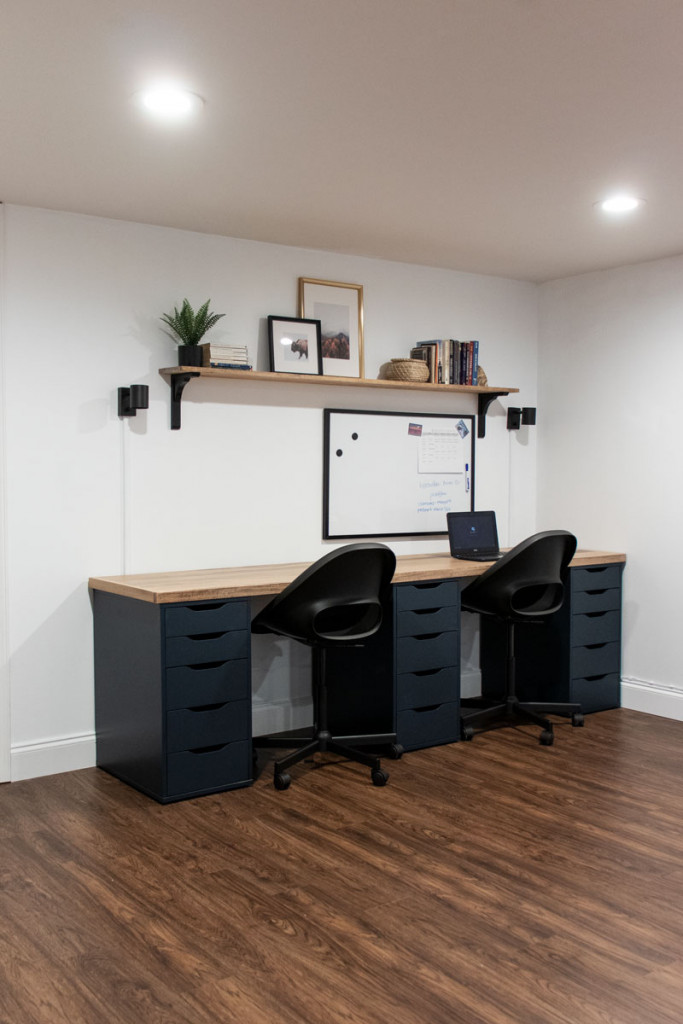
I was surprised with how much light the sconces provide– they have been the perfect task lights.
The wall color is Pure White by Magnolia.
This was one of the fastest and most satisfying DIYs I’ve done in awhile. I’m not sure I would have spent less to build my own drawer units and this method is what I consider semi-DIY: customizing some store bought pieces to get exactly what you want.
I hope you enjoyed this tutorial– let me know if you have any questions!
I love it!! We are going to remodel our kitchen and I can repurpose our butcher block counter to use for the desk top. Thank you for the idea!!
Wow! This turned out really nice! I’m considering doing this to our basement.
Hello,
Quick question! The 1 x 6 x 96 is not a true 6″ but rather 5 1/2 due to drying and it doesnt cover the ikea shelves completely leaving a small gap of 3/4 of an inch is this ok? Will the edge cover this?
Thanks!
Yes, I believe mine has a small overlap as well on the front and back (centered so its even overlap on both)