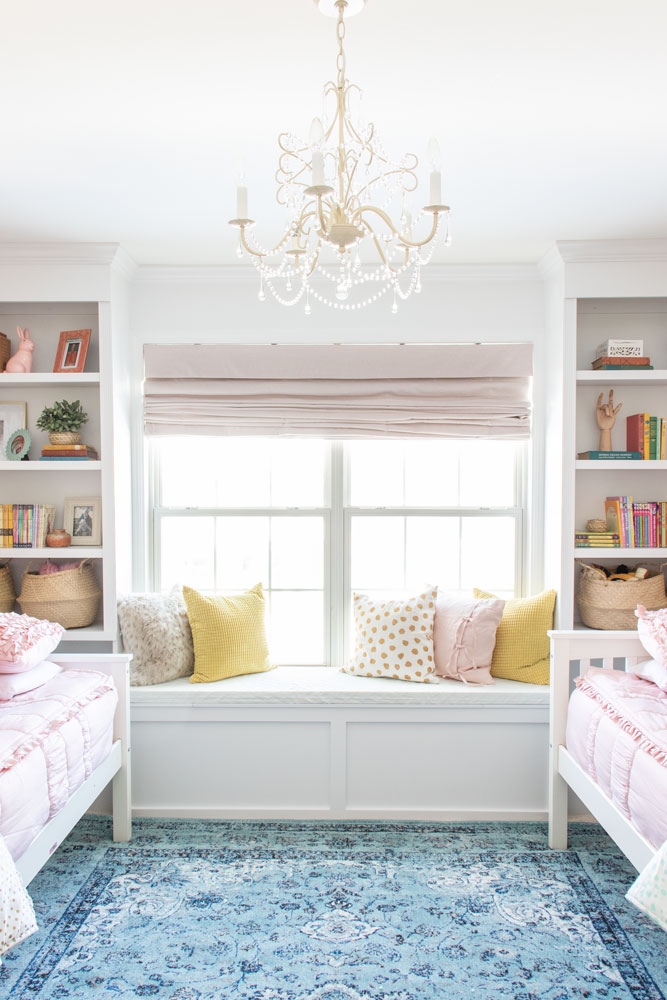
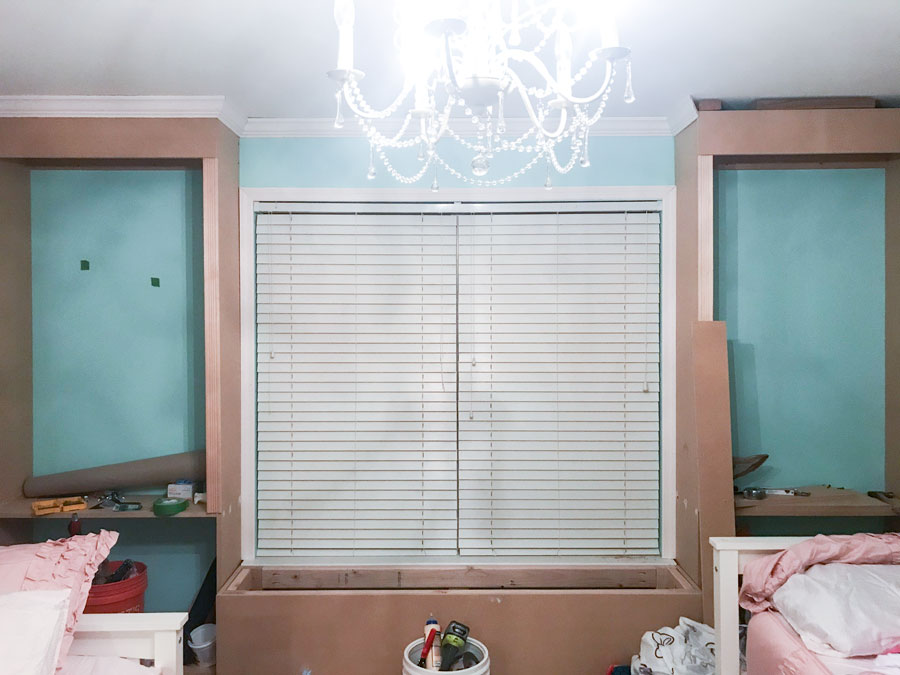
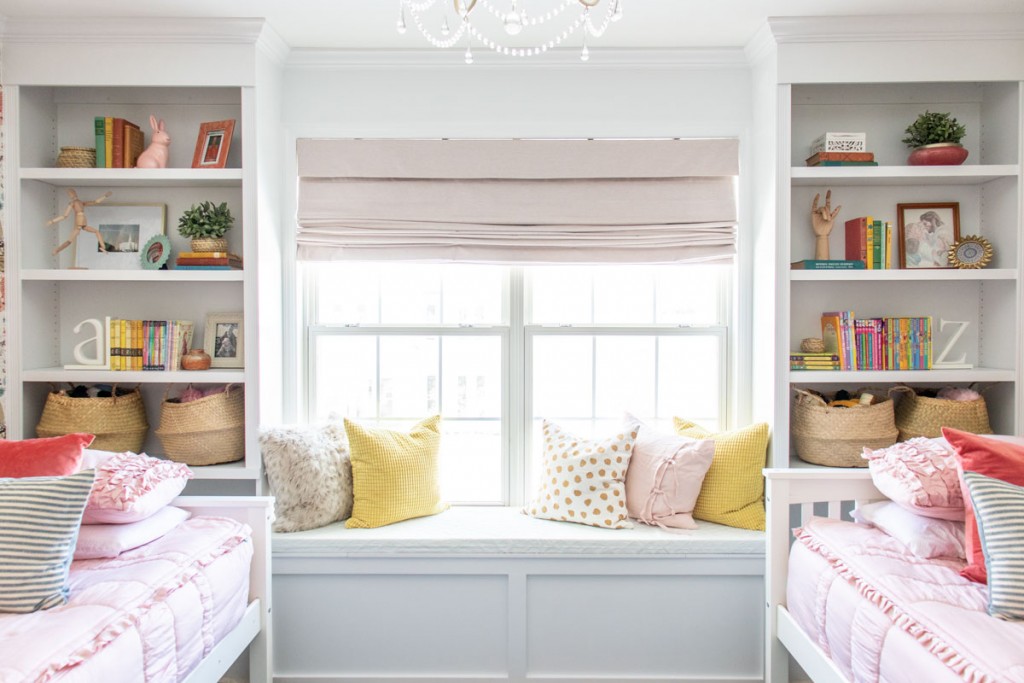
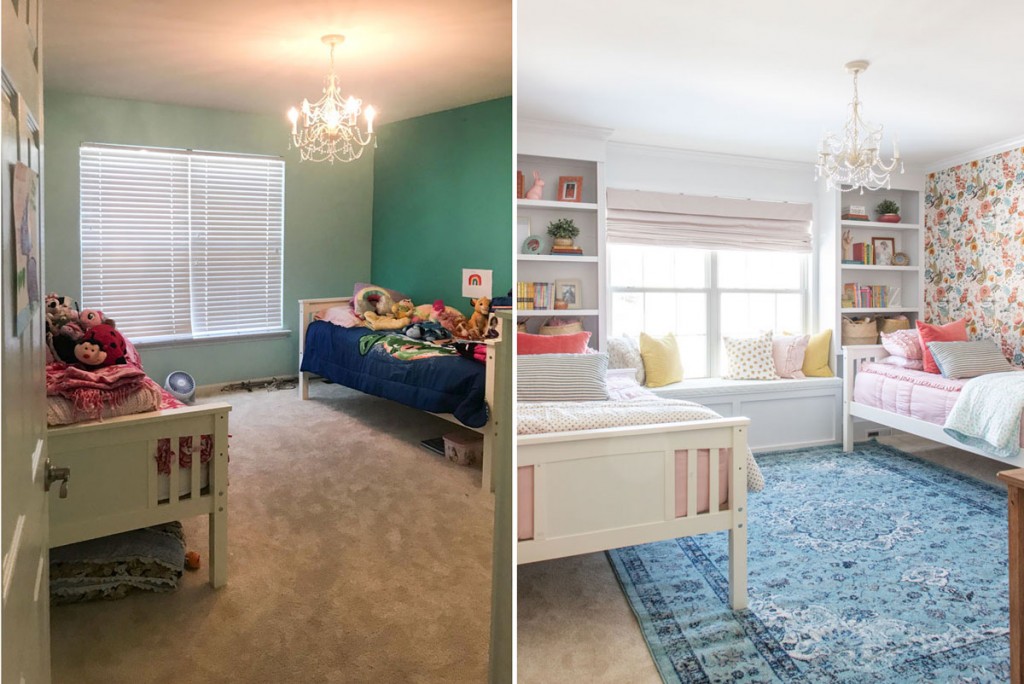
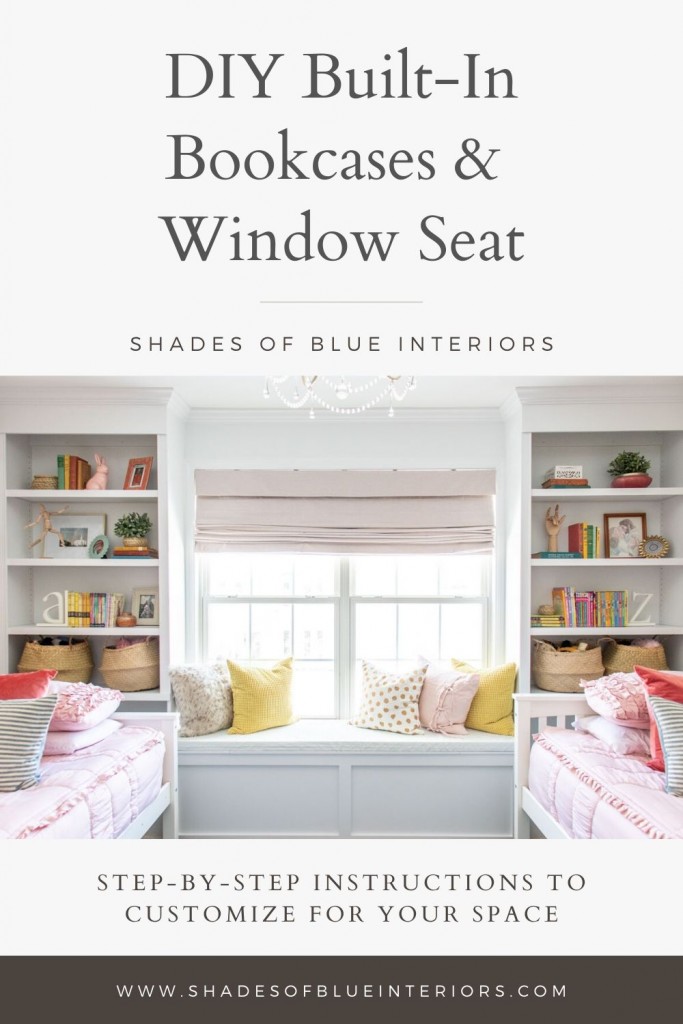
Today I’m sharing details on how to build built-in bookcases and a window seat. I recently built them for a deserving local family whom I gifted a couple room makeovers. The girls’ room was lacking some storage and a focal point, so we added these built-ins which provided both plus a ton of character!
I built them from MDF, which makes them very affordable! I got the idea from Brooke, Nesting with Grace, when she shared how she created built-ins for a nursery makeover. However, I will add, a little extra care has to be made when constructing them– pre-drilling holes is essential to keep MDF from splitting.
I’m going to show you some photos of some of the steps along the way, and share what I did, but I created a build guide (with how to figure out your own cut list so you can customize to your space) as well with digital renderings available as a printable at the end of this post.
Bookcase Installation
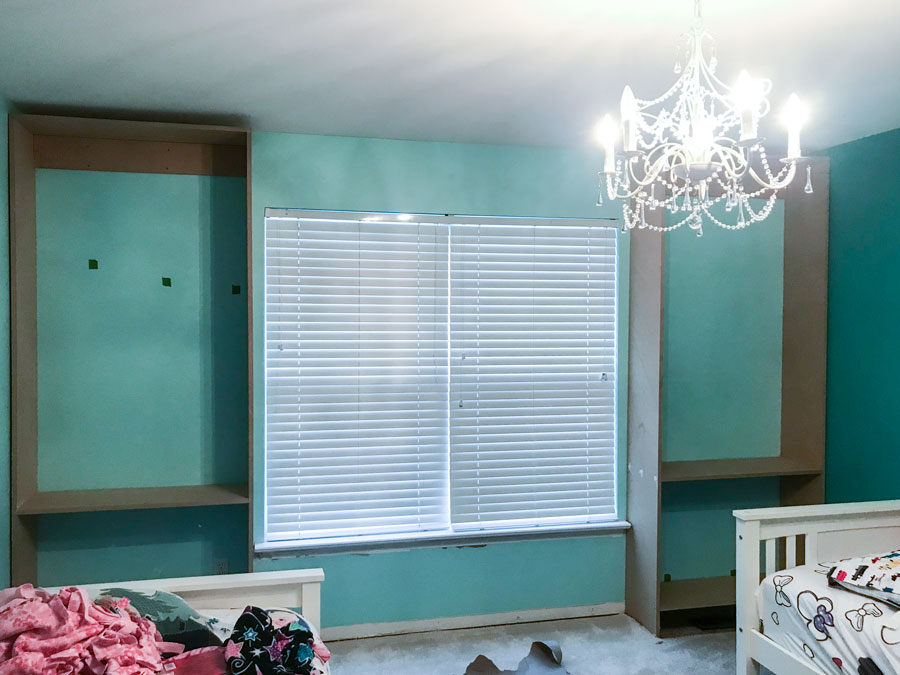
The first step is to construct the bookcase frames ahead of time. Transporting them can be tricky as MDF isn’t as strong as plywood, so you have to be careful, but once they are in place, you can attach them to the studs in the wall and they are very sturdy and strong.
Once the bookcases are in, then you can start trimming them out. You can’t attach the top and bottom aprons to the bookcase until the bookcase frames are screwed into the studs, but it all goes pretty quickly!
After the top and bottom aprons are nailed on, then you can attach the fluted door molding (or 1x3s if you prefer) that runs down each side of the bookcase and hides the MDF edge, and also the gap between the wall.
**Important** This is a good time to attach some scrap wood pieces on top of the bookcase. You need something to nail the crown molding into, so attaching some wood between the ceiling and the top of the bookcase is pretty easy. Just drive a screw upwards from the inside of the top of the bookcase, going into the scrap wood space fillers. You don’t need them everywhere, just corners and the middle of the bookcase edge.
Window Seat Construction
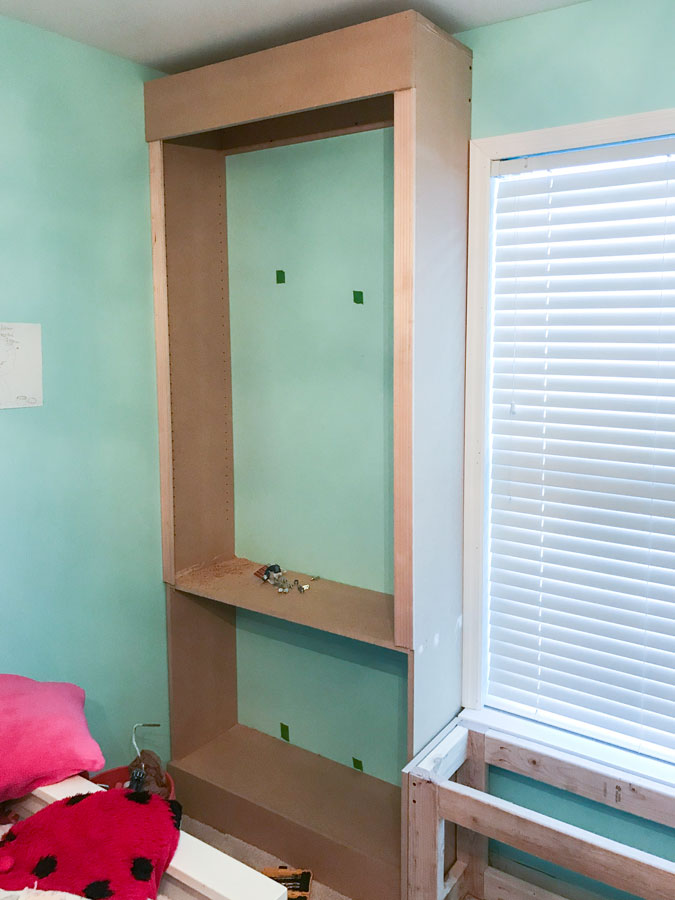
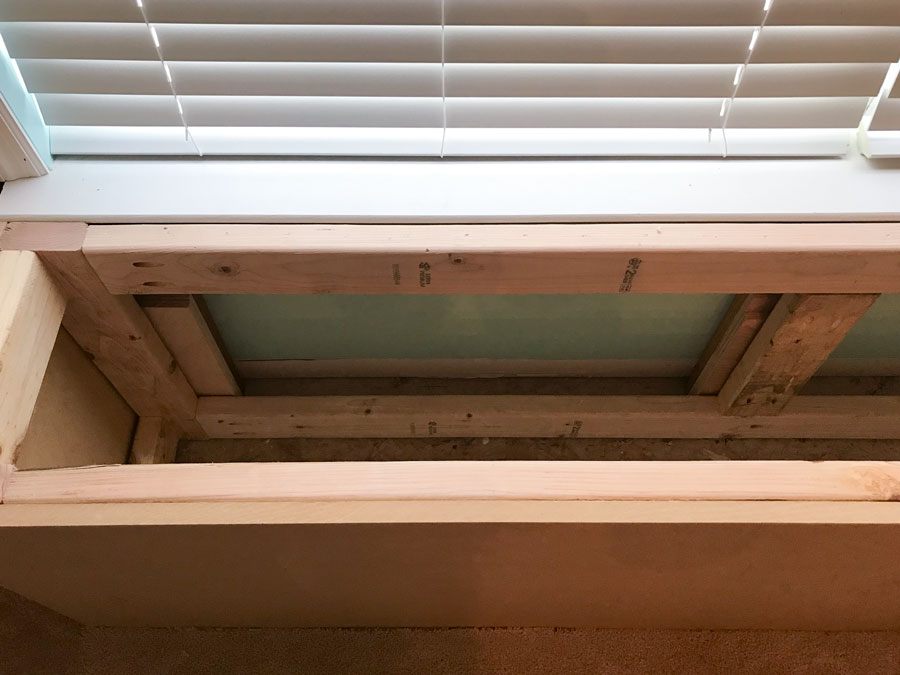
It is best to build your window seat after you have installed the bookcases. The reason is, it allows you to double and triple check your measurements so you know you have a perfect fit. Once you have the measurement between both bookcases, you want to build the frame from 2x4s. I used pocket hole joinery to attach the boards together and with the smaller Kreg Jig 320, you can drill these pocket holes quickly with a simple drill and clamp attachment! The result is a super strong joint that will easily withstand body weight.
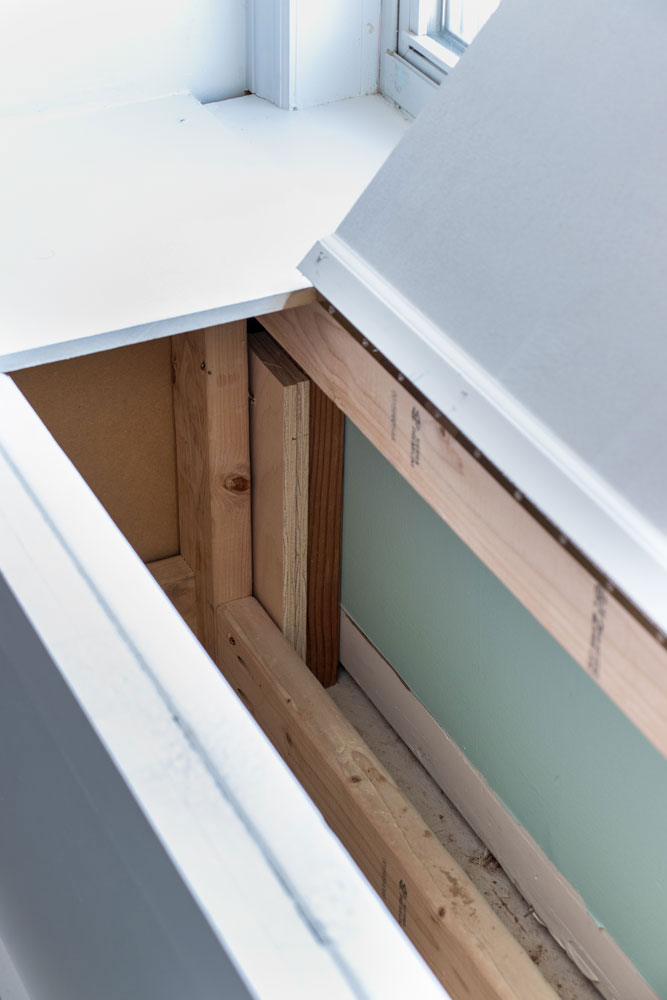
Because I didn’t want to remove the window sill trim all the way (I ended up using it as part of the seat), I had to dry-fit my window seat frame so I could measure how thick my ‘cleats’ needed to be. A cleat is a piece of wood that fills a gap between the wall (positioned where the stud is) and what you are screwing into the wall, in this case the window seat frame.

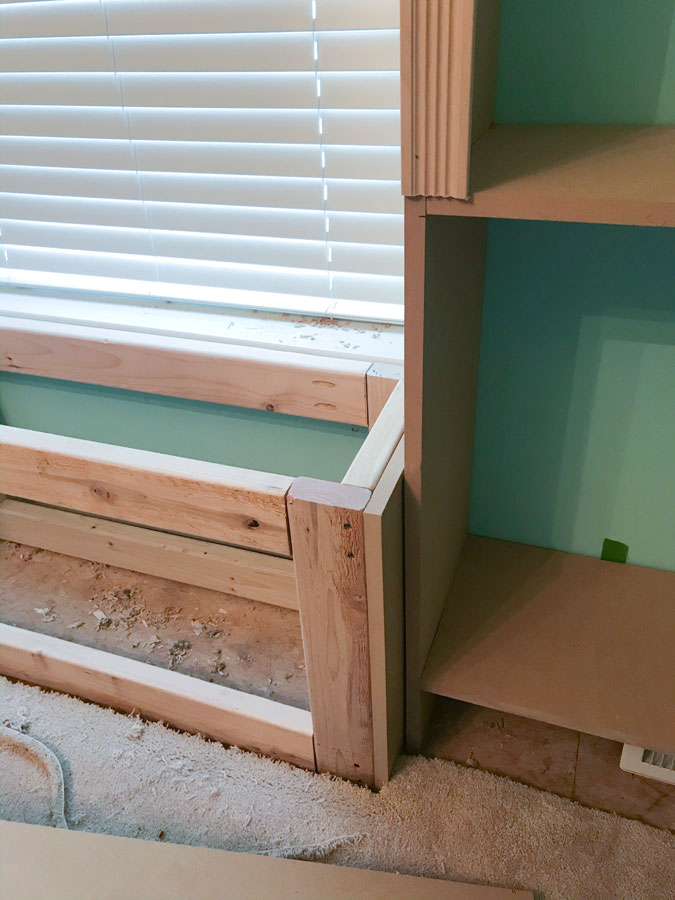
Below, you can see me using scrap wood as my cleats and positioning them where the studs are. Once those cleats are attached to the studs, I can slide the window seat frame back into place and screw the frame into the cleats.
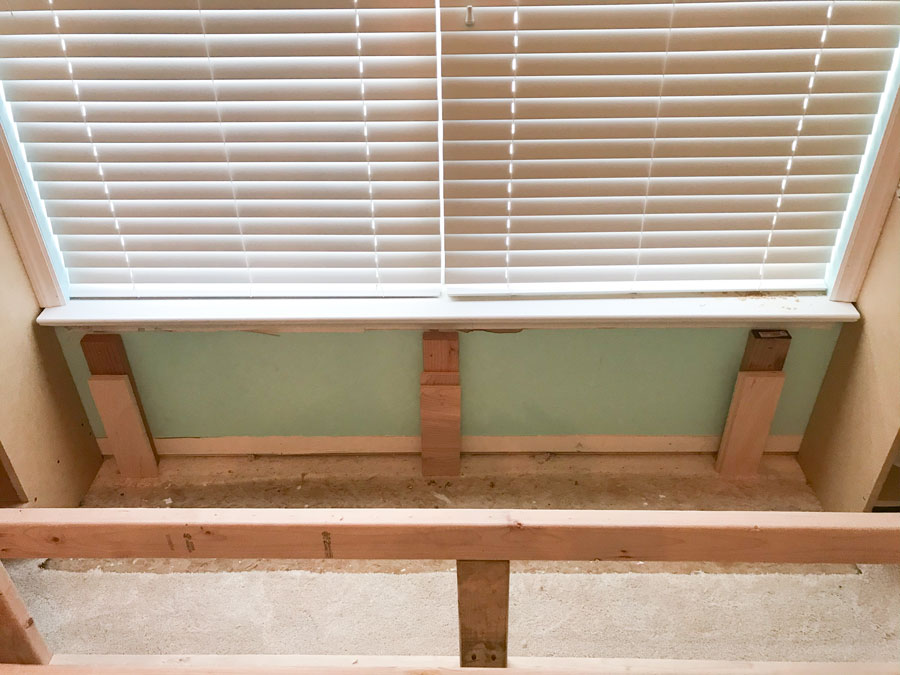
The window seat frame lined up pretty close to my cleats, but wherever I didn’t have enough space, I drove a screw in from the long, horizontal boards into the cleats.
I chose a more traditional design, using crown molding at the top, and fluted casing on the sides. You can always opt for a more craftsman style or modern look by using straight boards instead of molding.
It is important to fill all nail holes with wood filler instead of caulk, as caulk shrinks when it is dry and will still show nail holes. Wood filler doesn’t shrink, and you can sand it smooth when you are finished. You DO want to use caulk along any seams however, so I used it between the bookcase and the wall, along any trim or moulding, so that when it was painted, the seams would virtually disappear.

I ended up not attaching the cabinet doors on the bottom for now (I will later), because the beds were pushed against the bookcases. However, if you want to add cabinet doors, check out my video tutorial here.
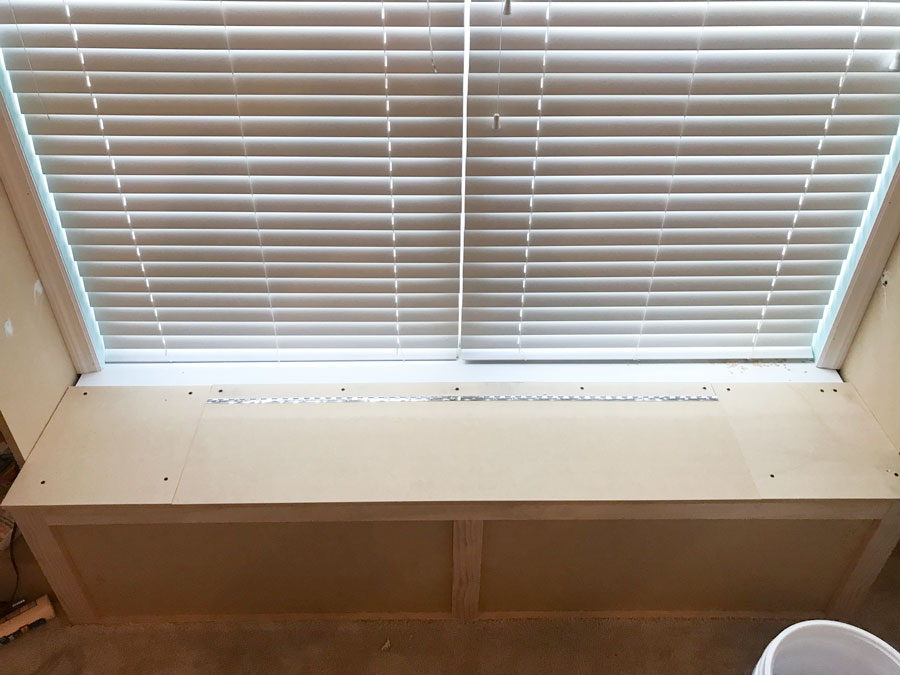
Creating a Lid in the Window Seat
Because my window seat is quite long, and the longest piano hinge I could find was 48″, I made my lid exactly 48″, and attached two end pieces to cover the entire top.
I also used 1/2″ MDF which I later regretted, so in the printable instructions, I said to use 3/4″ MDF, the same material used for the rest of the bookcases and window seat.
There are a couple different ways you can attach the hinge but we ended up doing it this way and it works great.
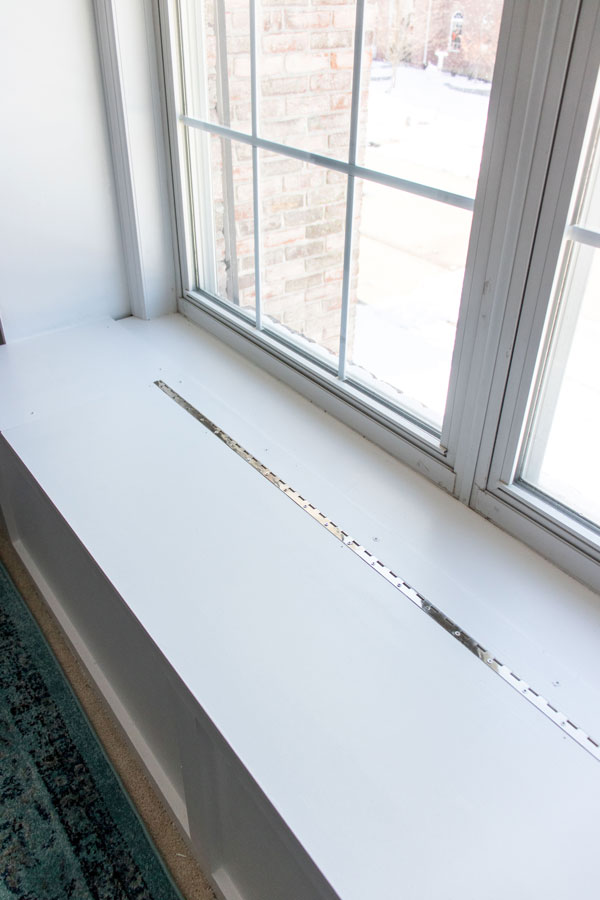
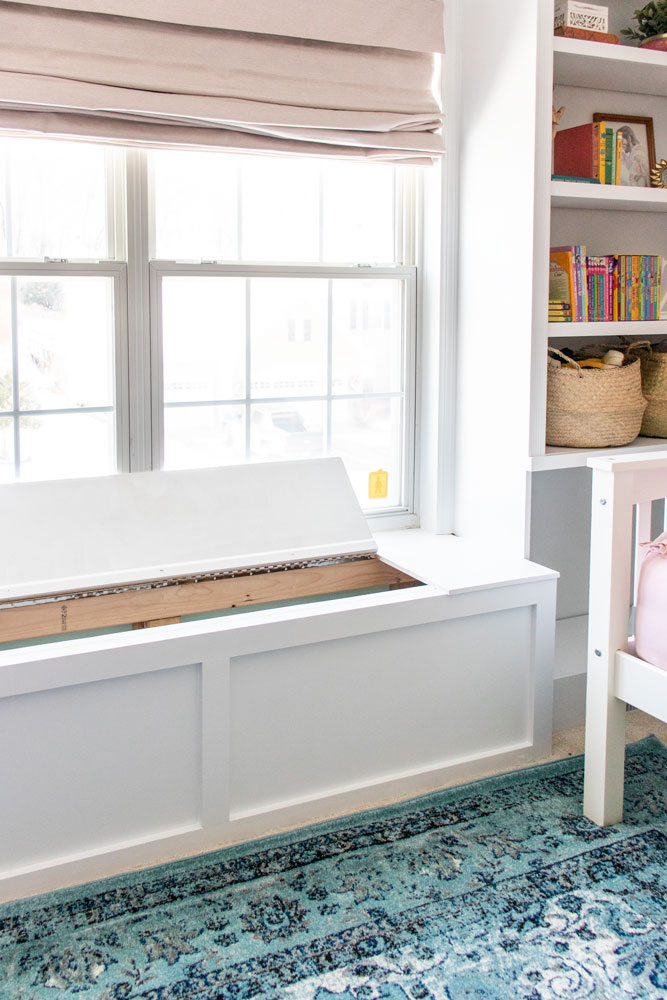
The downside to using 1/2″ MDF is the screws to the piano hinge go all the way through, so I had to attach this piece of molding I had on hand to cover the screw tips peeking through the MDF. A bit of glue and nails and it doesn’t look too bad! You an also see cleats a little better here.
I like having the lid be only 48″ long because it keeps it from being too heavy and cumbersome to open. This way, young children can store stuffed animals, toys or games in here and easily open it as needed.
Painting the Built-Ins
**IMPORTANT** Once everything is attached, sanded and ready for paint, it is very important to prime everything using a high quality primer! A paint-and-primer-in-one really won’t cut it! MDF absorbs lots of paint, expands a little and leaves a rough texture after that first coat.
You need to:
1) paint everything with a primer (I recommend KILZ water-based),
2) sand all the surfaces with 150 grit sandpaper until it feels smooth to the touch, and
3) paint an additional 2 coats of a high quality paint-and-primer-in-one in a semi-gloss (more durable) using a paintbrush on trim and edges, and a small smooth-nap roller on the flat areas.

Allow everything to dry at least 24 hours before setting anything on the shelves. Paint takes a full 21 days to cure 100% hard, so be gentle with it until then.
I added a piece of foam that I pinned fabric to and used that as my window seat cushion. The foam is 2″ thick and I got from Joann with a coupon (came out to be about $50).
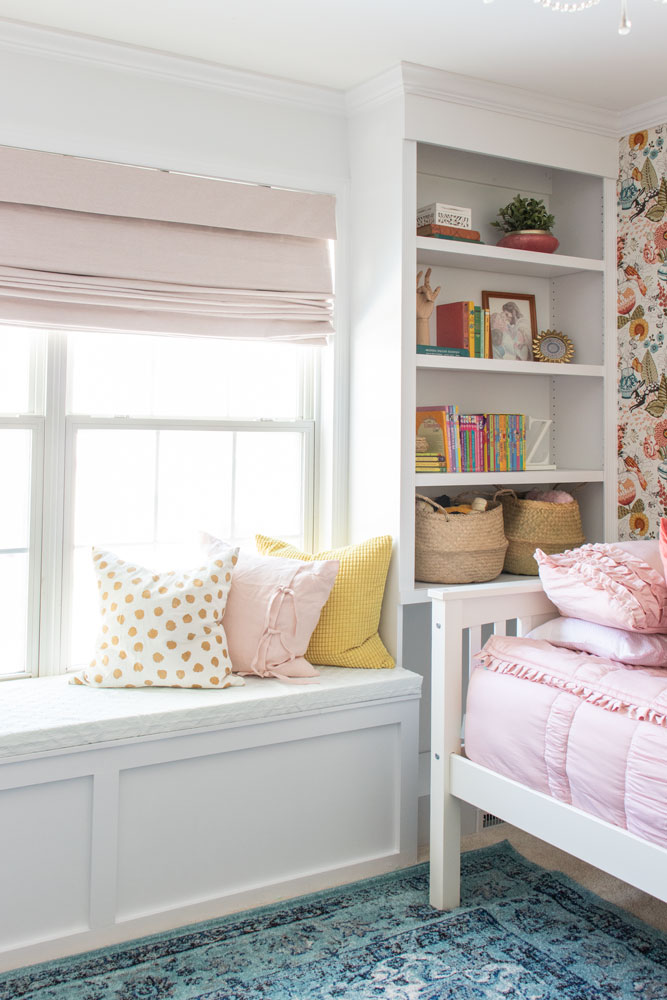
The end results is studding and something that will be enjoyed for years to come!
Click here to get the downloadable build guide
For a video tutorial on adding cabinet doors to the base of these bookcases, go here.
Go here for the room design plans
Go here to see the progress and break-down of the 6 week timeline
Go here to see the full girls’ shared room reveal
Go here to see the full boys’ shared room reveal
To see the boys’ room reveal go here.
Source list:
(Affiliate links used)
Beds (bunk beds separated): similar here
Chandelier: similar here
Roman shade: SelectBlinds, Classic Roman Shade, color: Himalayan Salt, Inside mount, Flat fold, Cordless lift, Black-out liner, 6″ Valance
Bookcases: DIY
Window seat: DIY
Coral velvet throw pillow: Ikea
Blue stripe lumbar pillow: Ikea
Yellow throw pillow: Ikea
Pink linen tie pillow: Ikea
Gold dot pillow: Ikea
Faux fur pillow: Ikea
Stone bowl: similar here
Wooden hand: Ikea
Wooden figure: Ikea
Woven baskets, large and small: Ikea
A, Z Bookends: Ikea
I absolutely love your project, and the reason for doing it as well! I know its been a year, I found you by searching for “DIY built ins” on Pinterest. I’m currently working on a similar project for my son’s room, and would love if you could shared the plans/printable material you mentioned in the beginning of the post. Thank you so much!
It’s in the post– linked to in large bold letters.