Today I’m sharing my DIY Journey– how I started, my successes, failures, and what I’ve learned along the way. I’m joining a small group of talented and diverse women (linked at the bottom of this post) also in the DIY home blogging niche, who are all sharing their stories.
Our hope is that these stories might be
encouraging or helpful to you–
wherever you are along your own journey!
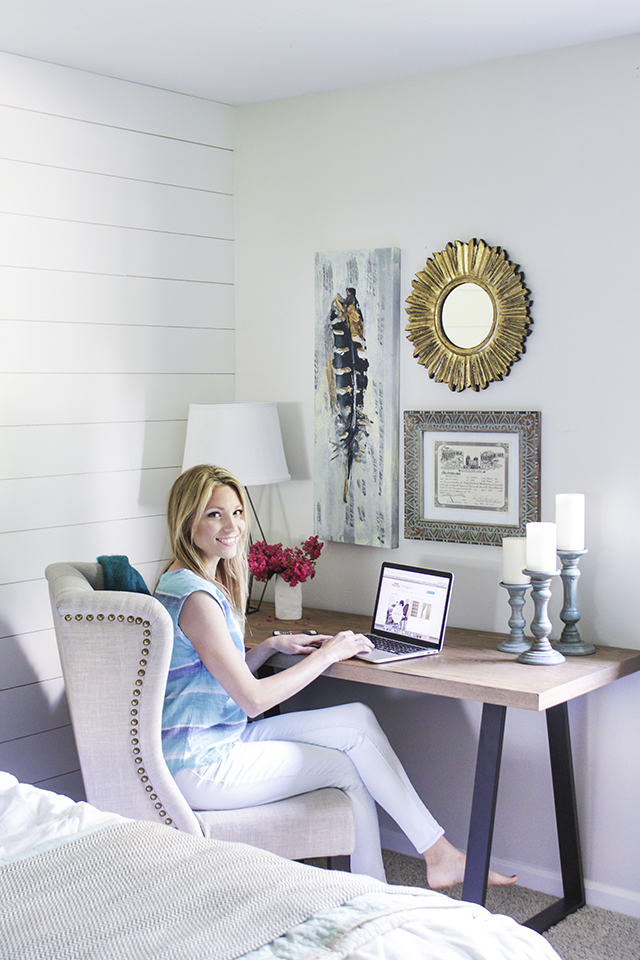
By way of introduction, my name is Rachel, I’m in my mid-30s and I have 4 children. We live in a 60s brick ranch home in the midwest, that we have been fixing up for the past 6 years. If you are new here, welcome! Thanks for taking the time to visit my blog! I hope you find something interesting to stick around for!

I started learning DIY as a child. I grew up in a large family with 5 siblings and we weren’t very well off. Because of that, I can’t remember our family ever hiring work out. The budget constraints also became a great motivator when we wanted something new or different– we had to figure out how to do it or make it ourselves! I remember my parents would call a friend over who had experience with a project, and help/learn while the job was done. This is before the days of online learning and YouTube. 🙂 Several times I remember my grandpa would come to Alaska to visit and he would take walls down, and fix or install all kinds of things (he had built a dozen or so homes in his lifetime). My parents learned a lot from him, as well as us grandkids. It seemed our house was perpetually being ‘remodeled’.
Obviously the upside to that is we learned how to do lots of things. The downside was that more often than not, projects wouldn’t get finished. They would be half-done or almost done before something else came up. It made me committed, as an adult, to finish a space or a room before moving on to the next thing. I think DIY burnout can happen when you leave projects half-done or partially done for too long.
In our home, everyone pitches in, in some way, until it’s done.
Projects that are messy and disruptive to our main living space, usually don’t last much longer than a week. We don’t let them.
In our marriage I really started to get serious with DIY once we bought our first home, 6 years ago. We rented for 10 years prior, but I didn’t do much besides refinishing furniture to sell.

Once we bought our home, I felt I had more freedom to create spaces that reflected our style and taste and could make improvements without violating a contract.
One of the first big DIY projects we tackled in our home and that ended up being a huge success and my favorite, is in our living room featuring built-in bookcases and a pallet accent wall.
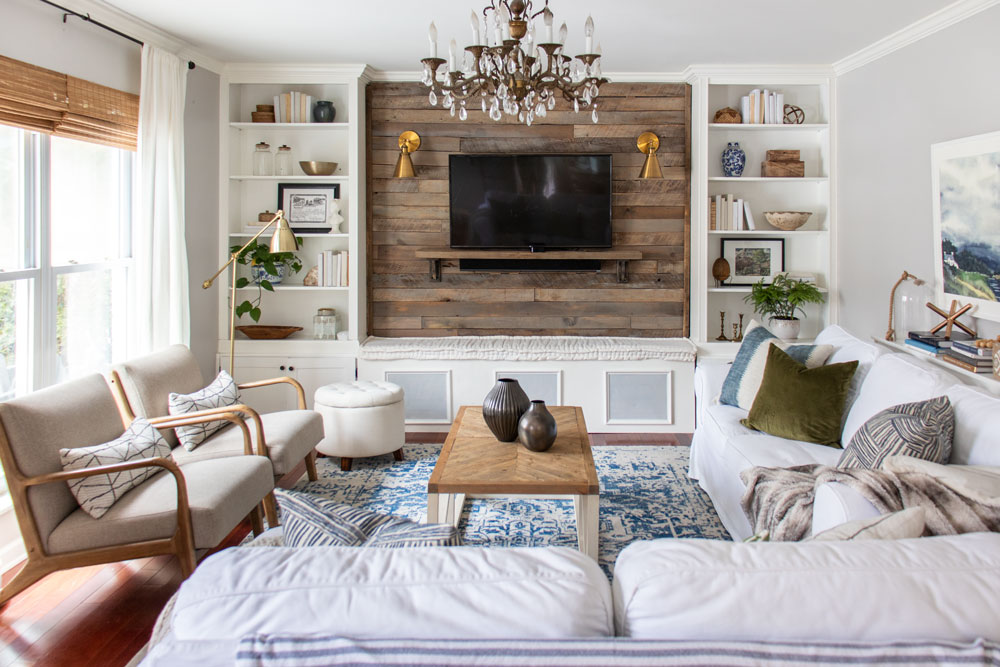
We did this in increments. This was great because we didn’t get overwhelmed and it allowed us to be more intentional/careful about each aspect.
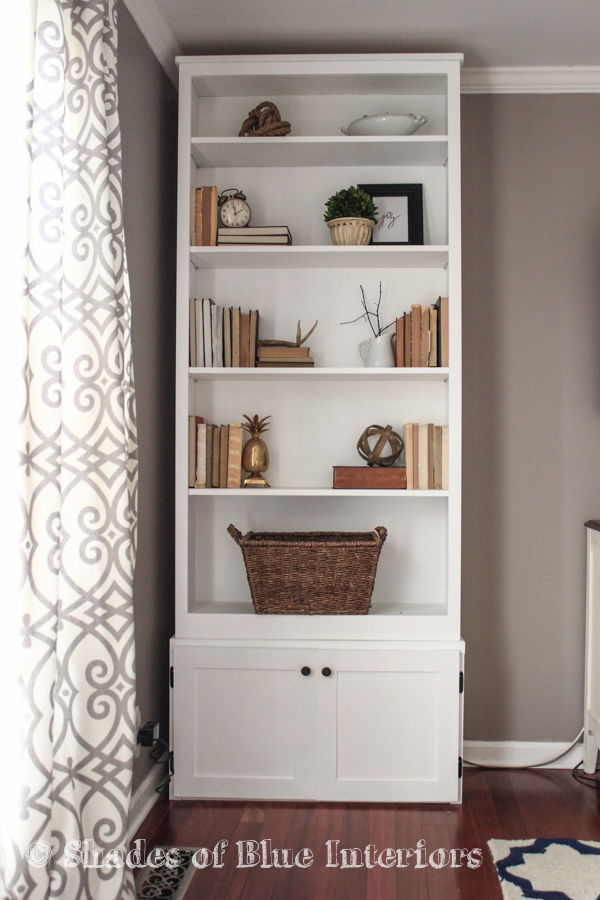
We started with 2 store-bought bookcases. First we built cabinet bases for each of them, so the top of the bookcases went almost to the ceiling.
Then a few months later we built the pallet accent wall. It actually goes all the way to the floor because at the time I wasn’t sure about putting a bench there.
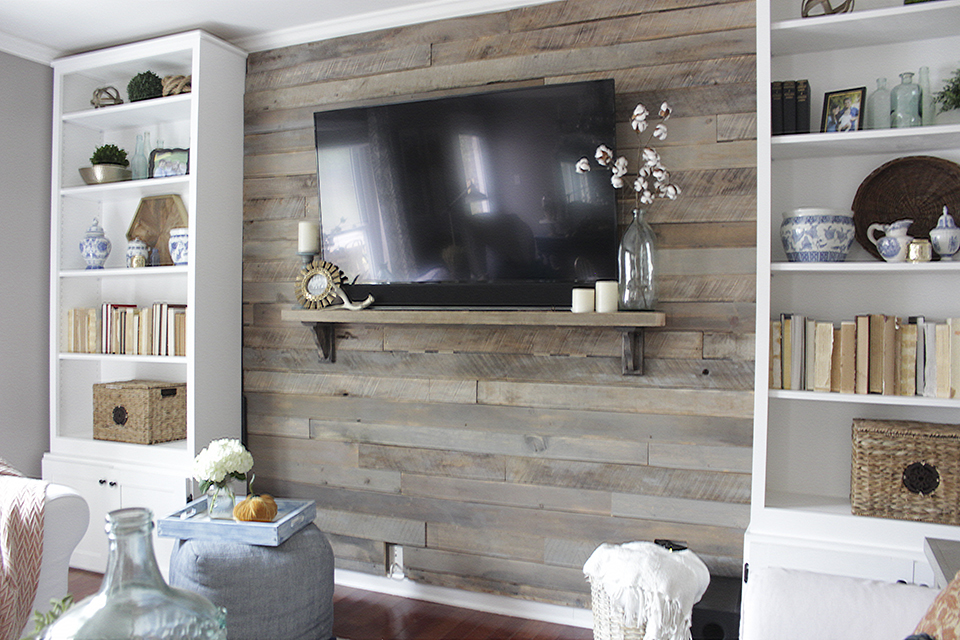
Then a few months later, we made the bookcases into built-ins by adding trim, crown molding, and securing them to the wall.

Another few months after that, we finally added a storage bench, and I made the cushion that sits on top.
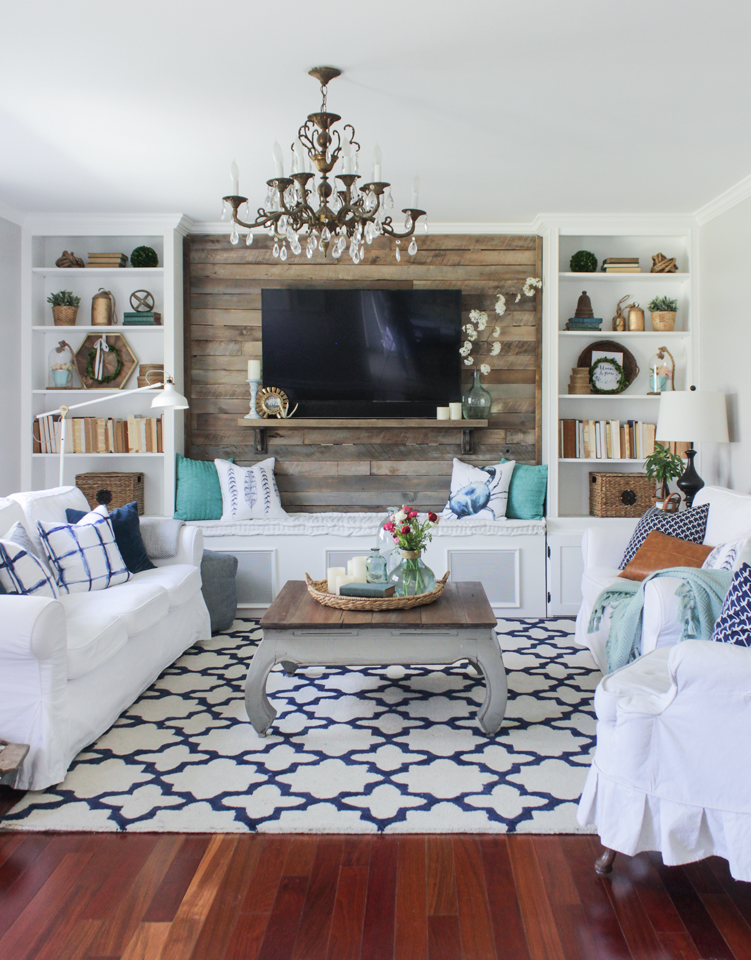
The result really makes this room have so much character and provides loads of storage without taking up a bunch of square footage.
Now let’s talk about some failures and frustrations. The most recent one that comes to mind happened last fall when we did the Behr Box Challenge and made over our front room.
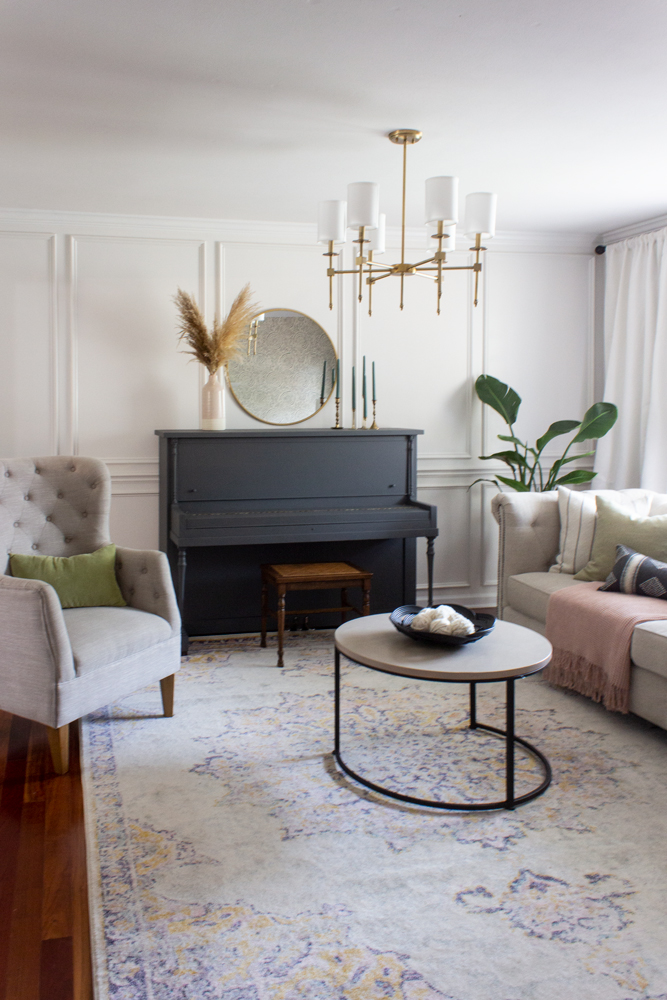
The plan was to put up picture molding around the whole room. I had done just one wall a few years ago, but I wanted to do the two adjacent walls as well. As I was working on the largest portion of the wall between the entrance to the kitchen and entrance to the dining room, I realized after I had installed 2 upper rectangles that I hadn’t measured as carefully as I thought. The uppers weren’t matching the spacing of the lower rectangles.

I was only off by 1/4″ on the first section, but the next one was even more and it would have been obvious if I didn’t fix it. So I pulled off hours of work (I had already glued and nailed them down, and caulked/wood puttied all the seams/holes), and re-cut the molding. When pulling off some sections of molding, some of the wall came with it, so I had to patch those parts, wait for it to dry, and sand it smooth before reapplying the molding.
I cried. I don’t think I’ve ever felt so defeated by DIY as I did in that moment.
I learned some good lessons though. It taught me to not only measure the wood, but to measure and check my work carefully as I go along. It wasn’t like I hadn’t done this before, I had plenty of experience on the other wall! But my complacency made me not double check spacing before I attached the molding and I paid for it. I also re-learned that it’s important to fix a mistake as soon as you notice it, and to not push through, hoping it won’t be noticed. I know I would have been disappointed in the long run had I made the choice to keep going and not fix it.
I think in every one of my DIYs, I have encountered an obstacle, a ‘failure’, or a mistake at some point. Never to the point where I scrap the entire thing and start over, but I definitely have had to re-do a step or two. That’s not a fail, that’s a learning opportunity.
Maybe it’s my stubborn nature or my tenacity, but I won’t let a project defeat me. I will find a way to make it work! Through it all, I am happy to say I can look around my home and see successes, not failures.
From over 6 years of DIY in my current home, and smaller DIY furniture makeovers before that, I have learned some tried and true tips that I want to share.
7 Things I Do to Prevent DIY ‘Fails’
1. Research
I talk to someone who has done something similar, read blog tutorials, watch videos… research the materials I need and all the steps I will take, to try to learn the best way to do it.
2. Develop a plan
I always go and buy ALL the materials I need for the project ahead of time (so I’m not running back and forth or have to stop when I’m on a roll), and print the instructions if I am using someone’s tutorial, or write out step-by-step what I am going to do. Having a well-laid-out plan is imperative!

3. Visualize all the steps
Touching all the materials I am going to use is so important! I get my hands on everything as I visualize each step I will take, and what I am going to do with each item. This is often where I think of potential problems, or I find I need to run get a few more things from the store! 😉
4. When I encounter a problem, PAUSE and think about solutions
After I get started, unless I am quite lucky/careful, I will often encounter some challenge, obstacle, or mistake. Don’t keep on working through it. PAUSE! Then think about how to creatively fix it. I come up with all the possible solutions and decide which one will deliver the best outcome.
5. Ask myself, “Can I fix/salvage it?”
95% of the time the answer to this question is yes. Now, sometimes I can’t salvage a too-short piece of wood or something that’s been cut. But it doesn’t mean I scrap the whole entire project, I just have to re-do that one step. Don’t be wasteful, even if it takes longer, challenge yourself to answer ‘yes’ to this question.
6. Fix the problem
Just as I explained in my story about the picture-frame molding, when I don’t push through, hoping that it will be ‘good enough’ in the end, or ‘no one will notice’, I am happiest with the end result. If I don’t want to remain an amateur at whatever the task is, I have to fix the problems to develop an eye for quality. Take the extra time and give it your best effort.

7. ‘Done’ is better than perfect
There is a reason this one is the last ‘tip’ or ‘step’ and not the first! haha! After all I have done, after giving my best effort to do it right, to fix my mistakes, I don’t stress if it’s not 100% perfect. Perfection takes lots of repetition and lots of time. If I were to obsess about perfection I would never finish, or at best take forever to finish, which would be quite disheartening.
‘Done’ is better than perfect, and you will find as I have found, that ‘done’ also gives a satisfying feeling of accomplishment to fuel the next DIY project!
Be sure to check out my friends below and read about their DIY Journeys. Some have only been doing it for a couple years, others much longer. All of them are inspiring!


Leave a Reply