The long-awaited day has come! Today I’m finally sharing the reveal of our small bathroom makeover! Since my first post sharing the design plans back in January, the process getting to the finish line was long, dirty, and sometimes painful. We had some set-backs to our timeline, unexpected obstacles and expenses, but I’m happy to say we still came in just under $3k for the entire renovation.
This renovation was made possible by the sponsorship of Delta Faucet. I reached out to them initially because I have partnered with them in the past (several times) and genuinely love and stand by the quality of everything I have shared. They have been endlessly supportive and patient, and I am thrilled with the result of our bathroom thanks, in part, to their products.
The Before

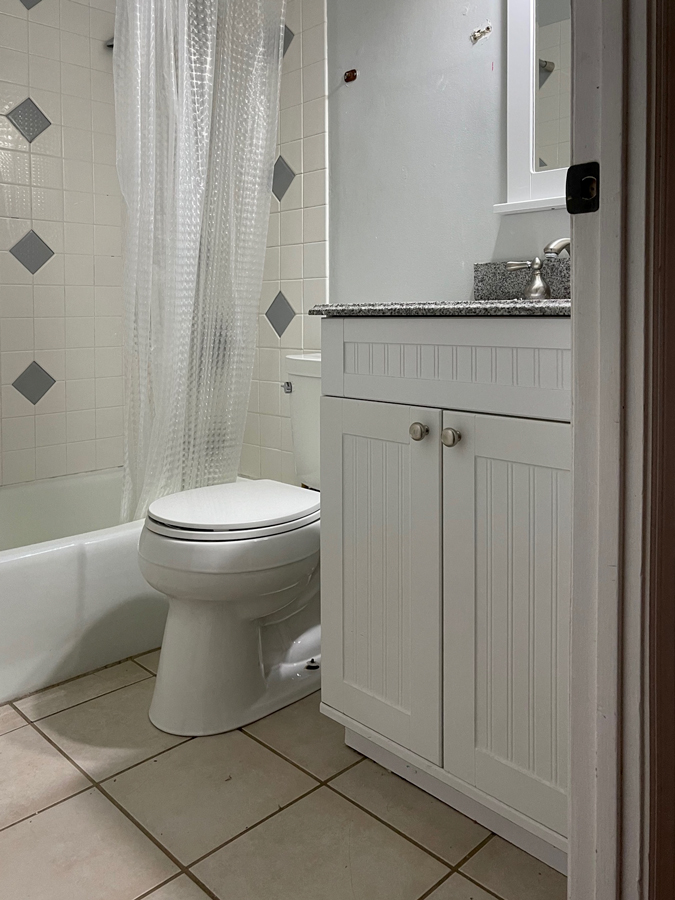

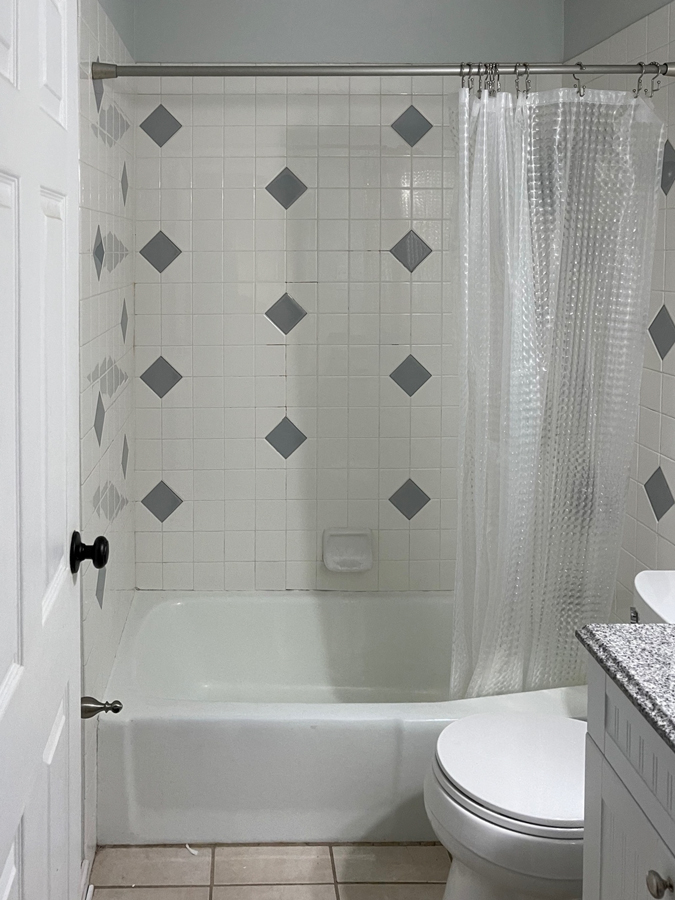
As I mentioned in my design plan post, it wasn’t a terrible ‘before’, just dated and had poor storage. We tore it all out, and donated what was in good condition to Habitat For Humanity (vanity, sink, mirror).
Project Break-Down
If you want to see more photos of the process it took to get to this point, check out my Bathroom Progress post.
This is what we kept from the original bathroom:
The bathtub
The toilet (it was only a couple years old)
The drywall ceiling
The ceiling fan
Here is a run-down of what we did for the renovation:
-Tear out all dry wall and all old fixtures
-Contract to move shower height and valve heights (certified plumber did this)
-Contract to repair the lead joint of the trap adapter under the sink (certified plumber did this)
-Reinforce some studs and add additional supports above toilet and sink (making room for medicine cabinet and
raising height of light fixture)
-Replace damaged subfloor around toilet
-Level floor with cement-based floor leveler
-Install cement-board on walls and floor
-Install subway tile on all walls
-Grout all tile on the walls
-Install hex tile on floor
-Grout (using custom-mixed grout) the floor tile
-Install baseboards and PVC crown moulding
-Build floating shelves for above toilet, install and seal with waterproof sealer
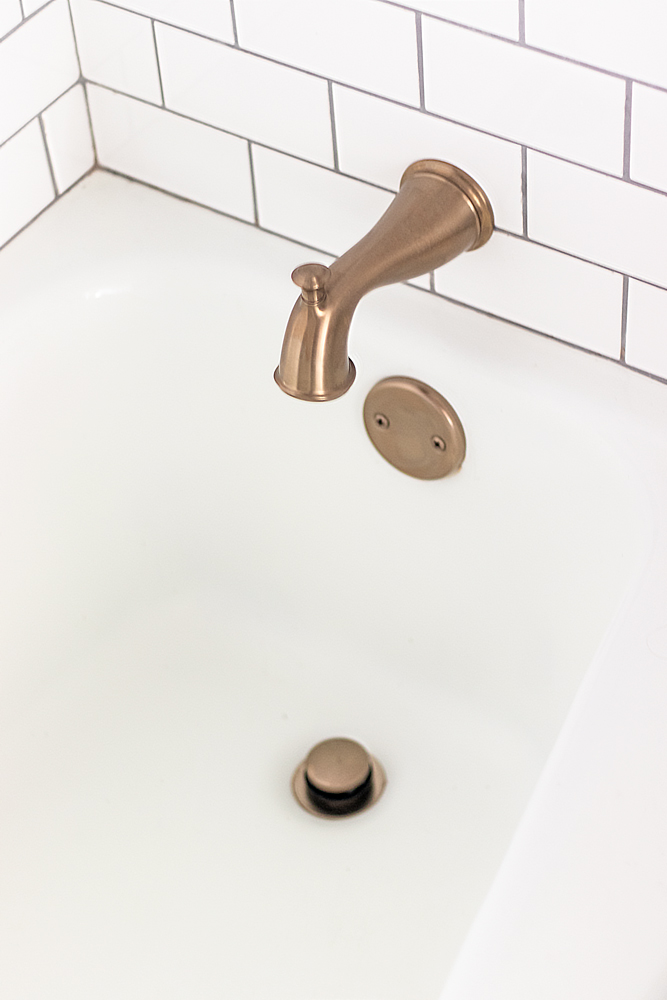
-Install new drain, overflow plate, tub spout, valve, and shower head in bath area
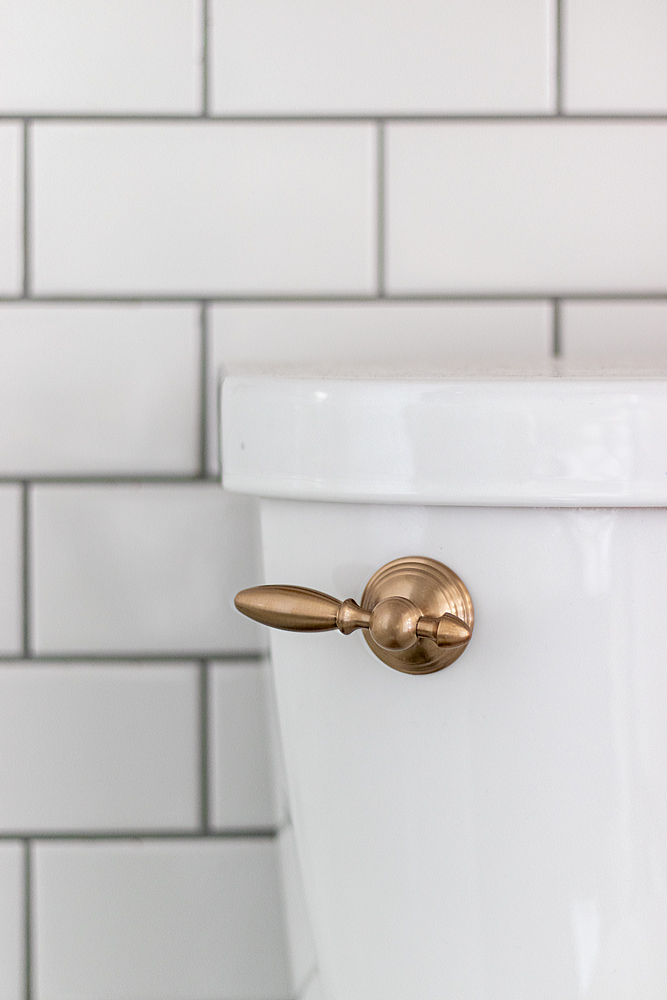
-Re-install toilet with new lever
-Build custom vanity and seal with waterproof sealer
-Contract for quartz counter to be fabricated for vanity with under-mount sink
-Install counter on vanity
-Install new faucet
-Install medicine cabinet mirror
-Install new light fixture
-Install wrought-iron hook rack
Please excuse me while I gush over the finished product:
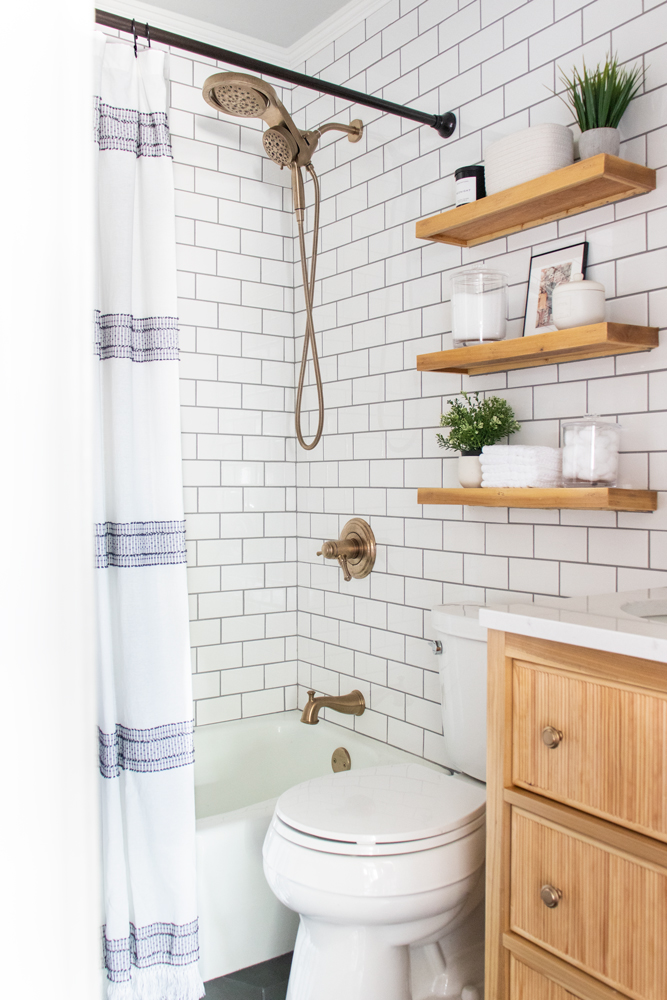
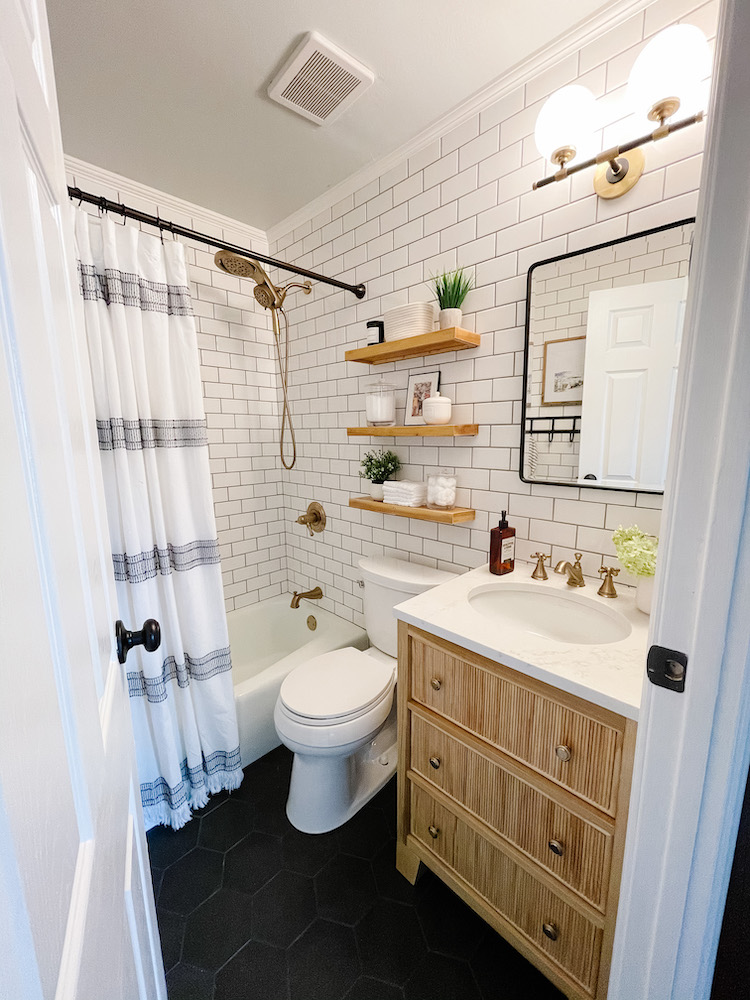
The After
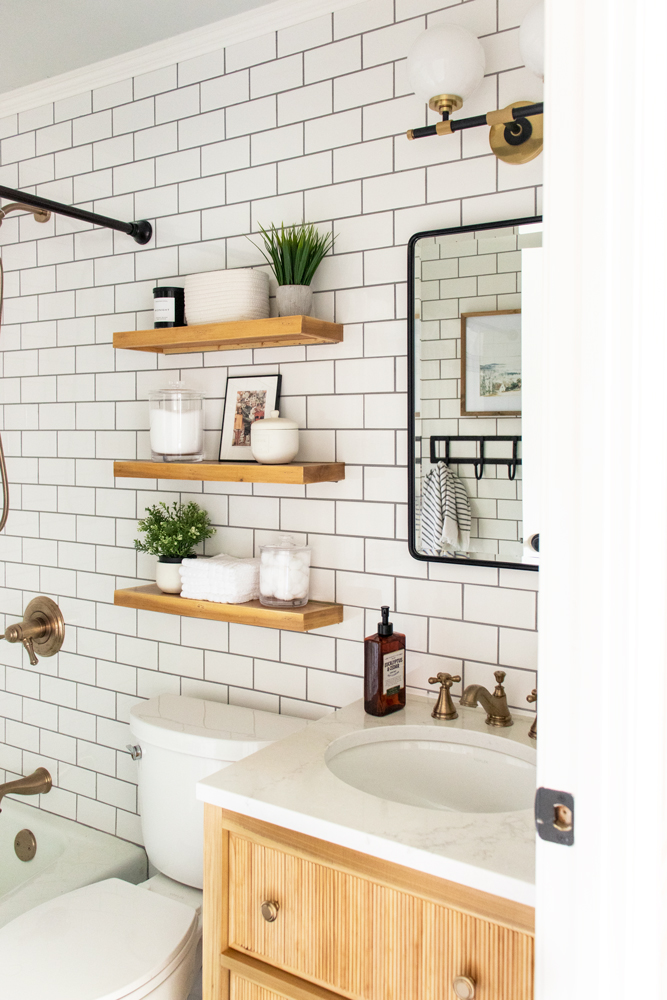
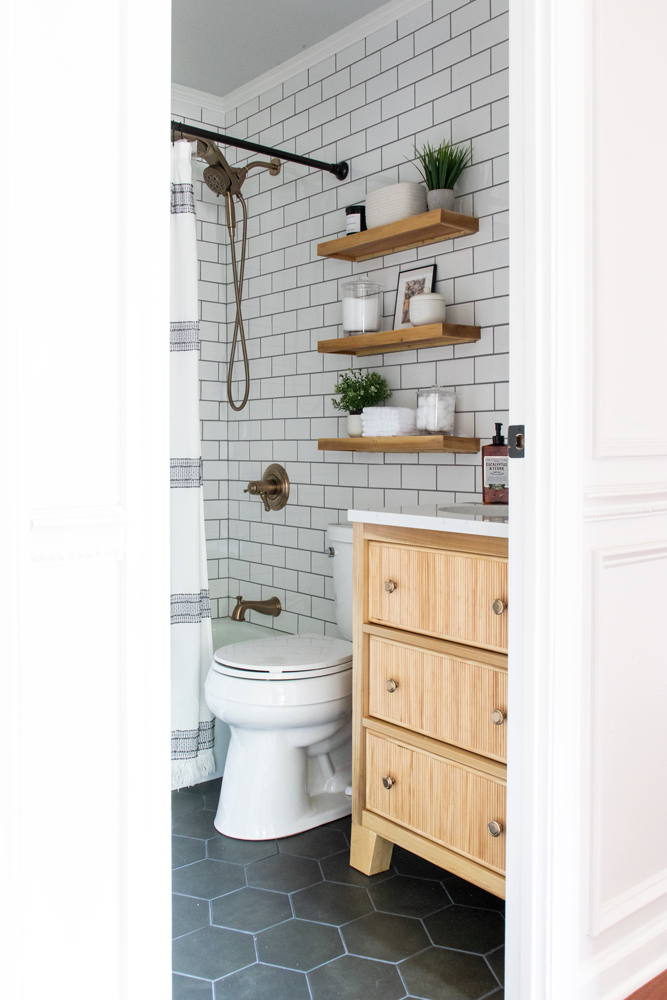


Can you even handle the vanity? I’m chuffed with how perfect the reeded drawer fronts turned out. It was a tedious process but so worth it.
As I mentioned before, this bathroom makeover took much longer than anticipated for a variety of reasons. There were construction obstacles that arose (and are fairly typical for older homes), time obstacles (doing a DIY renovation with a toddler and 3 big kids requires flexibility and time to heal — my body is not as resilient as it once was), there were budget issues (sometimes we had to wait a month to fund the next step in the progress), and there were family and personal issues that side-tracked progress. I’ve been struggling with a mental health issue all year and finally am feeling like I’m making some headway.
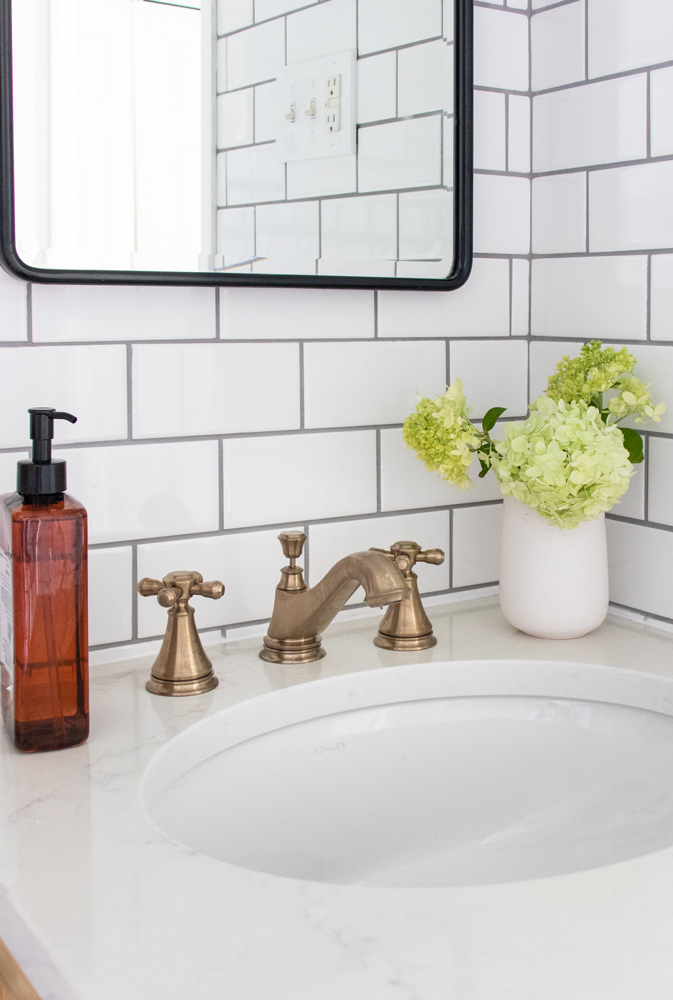
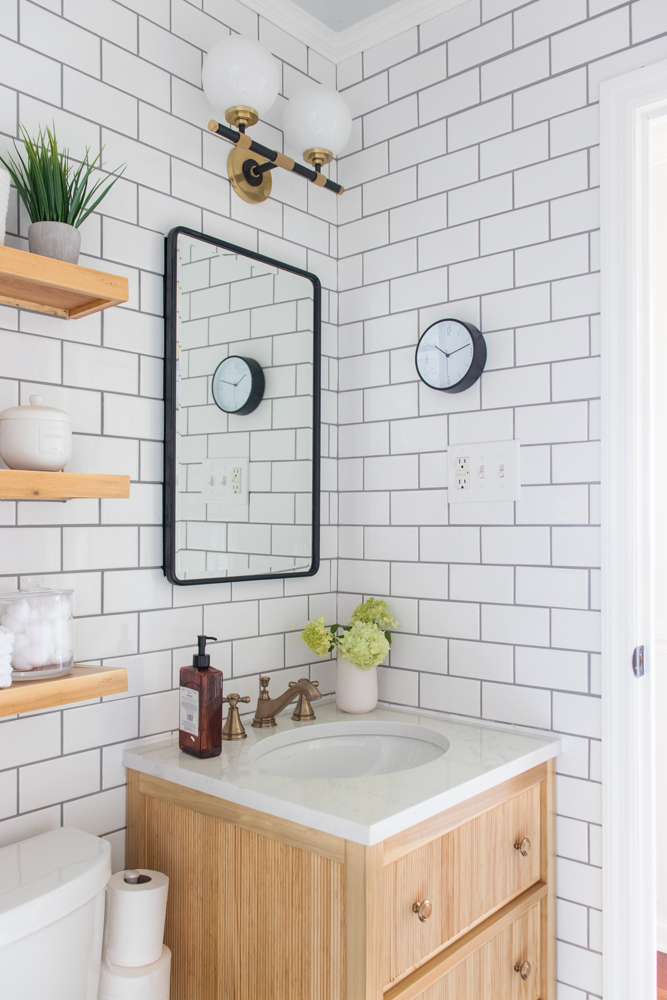
This Delta® Cassidy™ Bathroom Faucet has classic silhouette, charming cross handles and a warm gold finish. 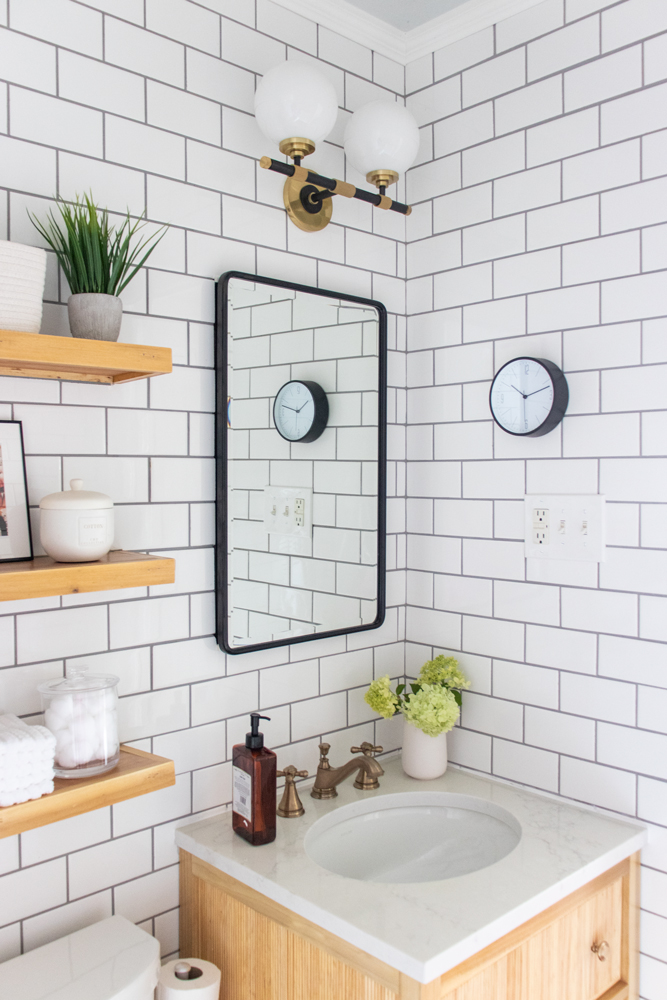
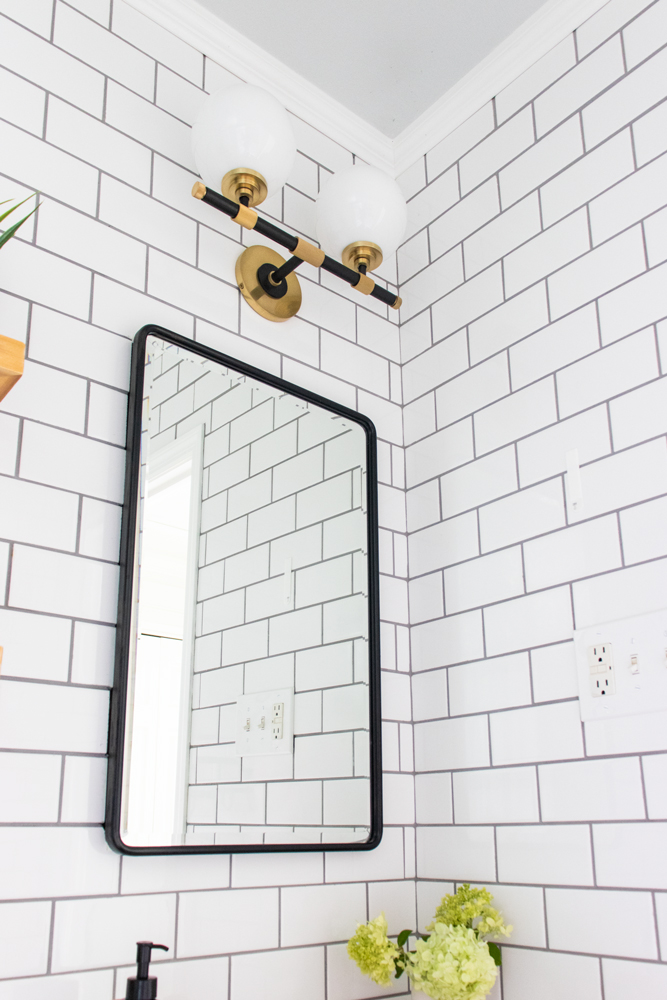
Finding the right fixture for this tight spot was trial and error but this mixed-metals mid-century-inspired one was the winner from Lamps Plus!
One positive outcome from not rushing the process was that each decision was very intentional and I allowed myself to not settle on ‘good enough’ for the sake of a deadline. I delegated parts of the process that in previous years I would have tried to do all myself. I bought and returned some items, I carefully selected materials, and I created custom details. It took 6 months and some pivots, but I brought my vision to life and it was better than my original design.
Adding Storage
An important element that made a huge difference for storage was installing an inset medicine cabinet.

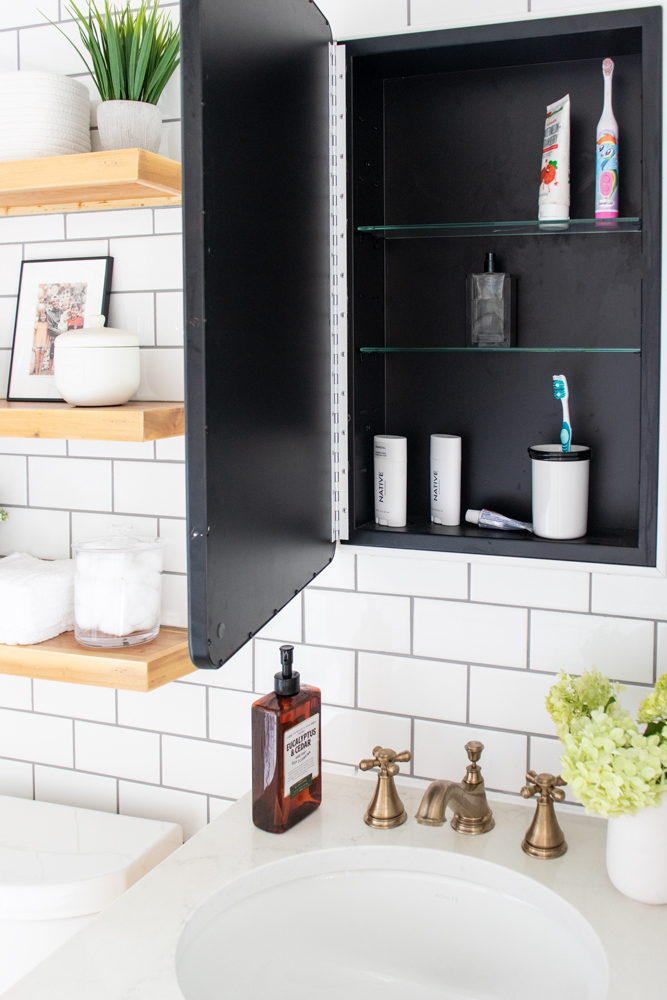
The medicine cabinet mirror was one of the best decisions we made for this small bathroom. This allows so much storage and ensures counters with limited space, can be kept clear. There is more than enough space in there for all the toothbrushes, toothpaste, and other personal items that are used daily.
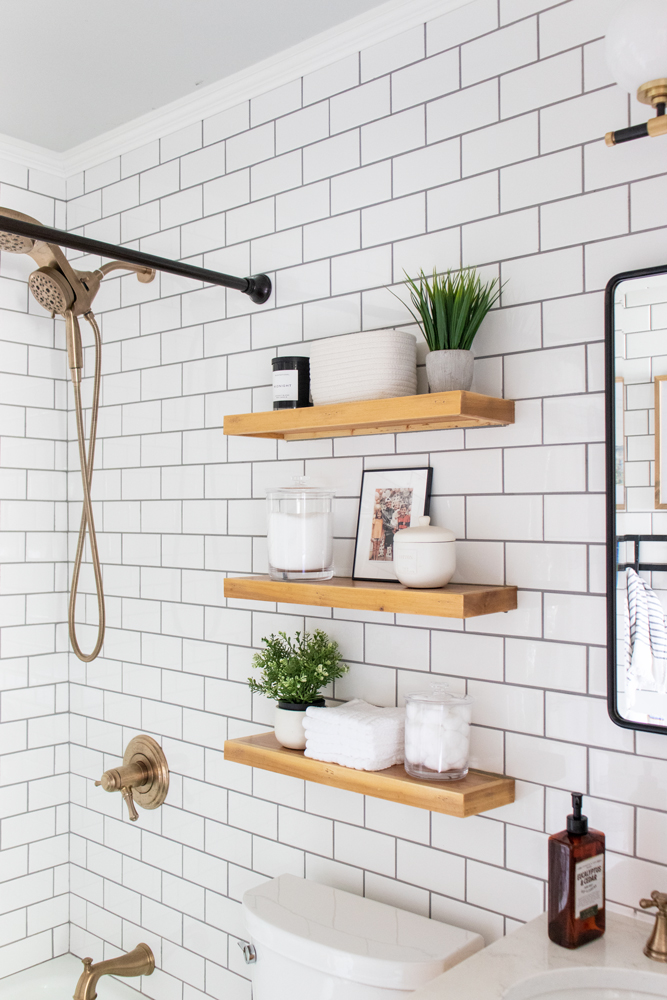
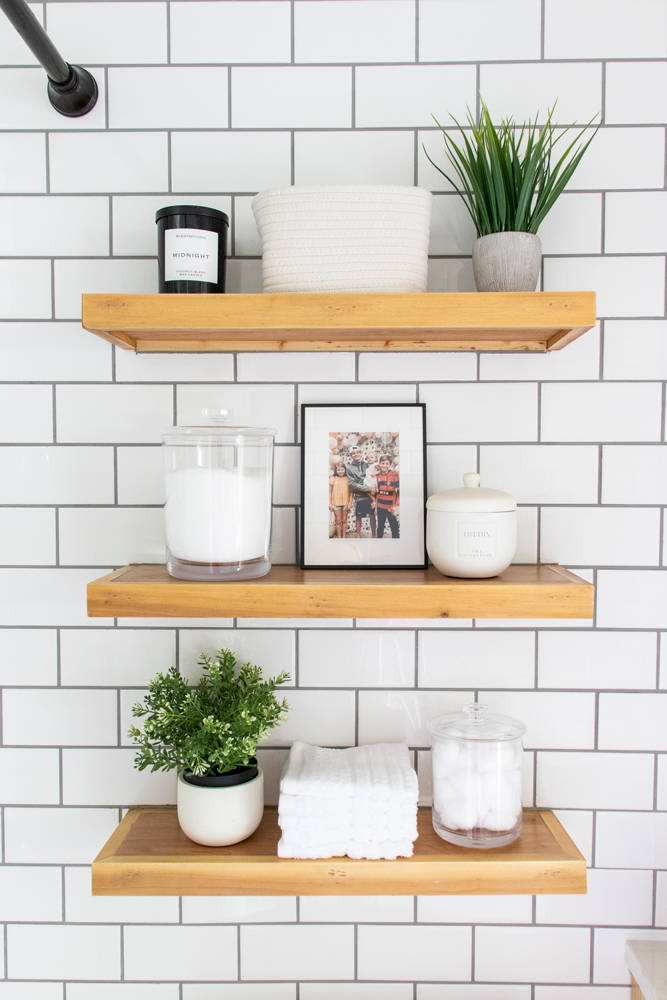
This is the third time I’ve built my DIY Floating Bathroom Shelves but the first time I’ve left them natural wood. I used poplar for the front and side pieces and sealed the entire thing with 3 coats of a waterproof satin finish (details at the bottom of this post). I used the same finish on the vanity. These shelves do not project very far, but have adequate space to store toiletry items like cotton balls, bath salts, a candle, and a few decorative items to add some life to the space.
I actually chose to incorporate natural wood finishes because I wanted a repetition of the warm tones found in the Champagne Bronze™ finish for our Delta Faucet and shower fixtures.

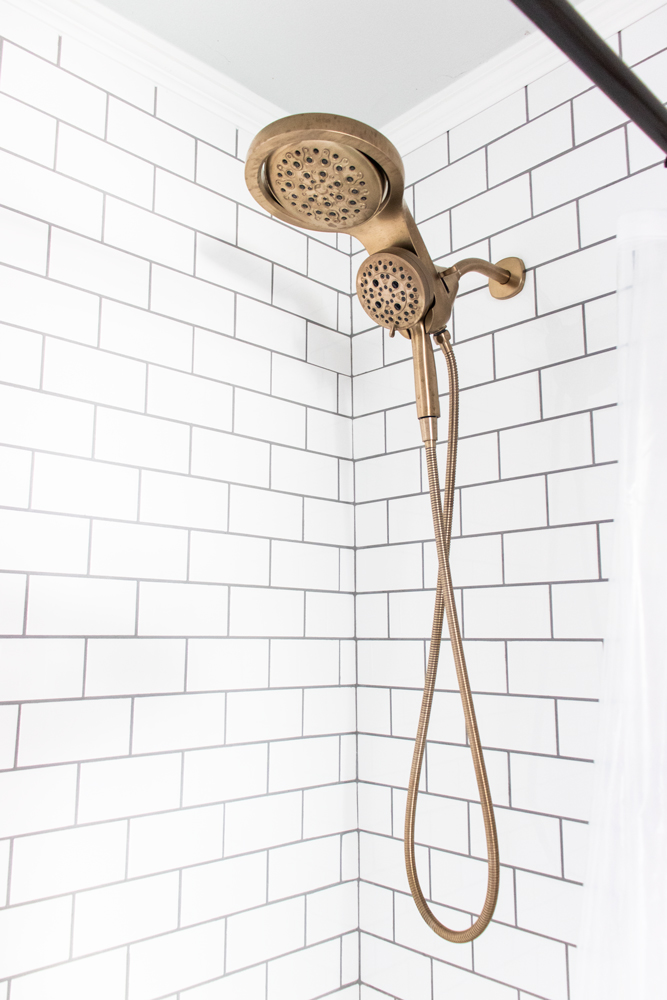
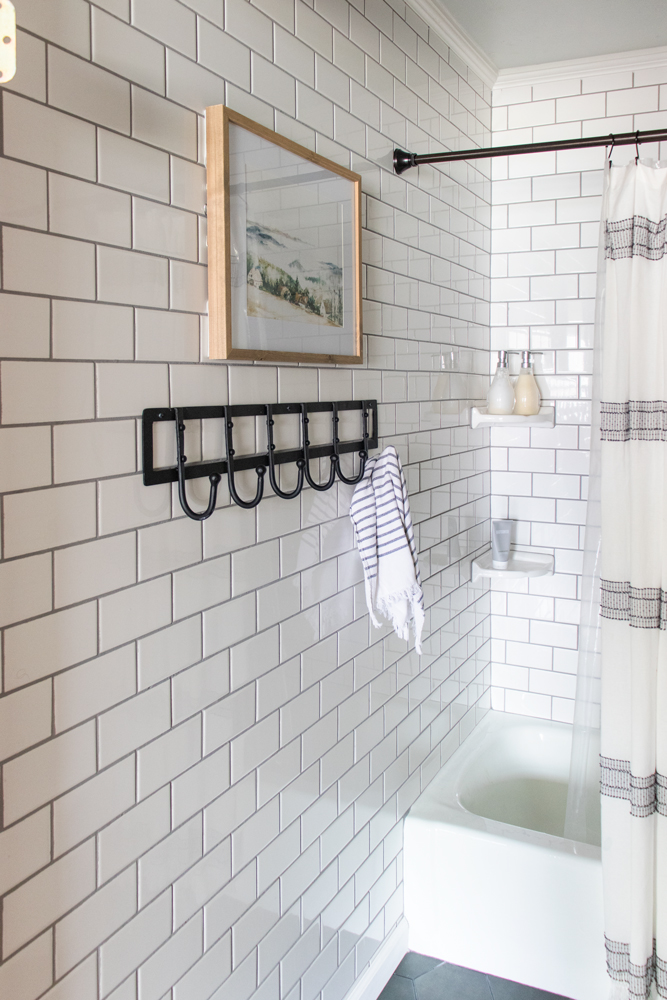
The Shower
I originally thought I wanted an overhead rain-can shower head and separate hand shower, but after finding out the time and cost for the additional plumbing needed for the hand shower, I pivoted.
Instead, I opted for a Delta® Two-in-One shower head, specifically the HydroRain® 5-Setting shower head by Delta Faucet. This really gives me the same spa-like features I was wanting before, but for a more affordable price.
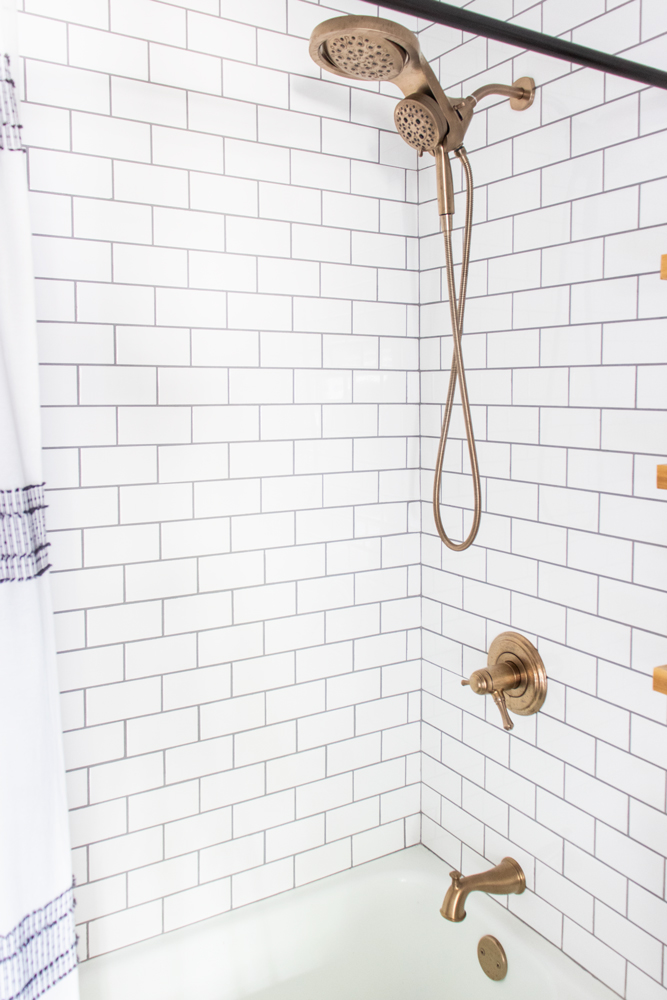
The H2Okinetic PowerDrench technology on this shower head has a unique water spray pattern so you feel like you are getting more water, more pressure and more coverage than a traditional
two-in-one. However, it doesn’t use any more water than normal– in fact this particular shower head is WaterSense labeled which means it uses 20% less water than industry standard shower heads!
How they made a shower head feel like you are getting drenched from multiple angles while using less water is some kind of magic that I don’t understand but am grateful for.
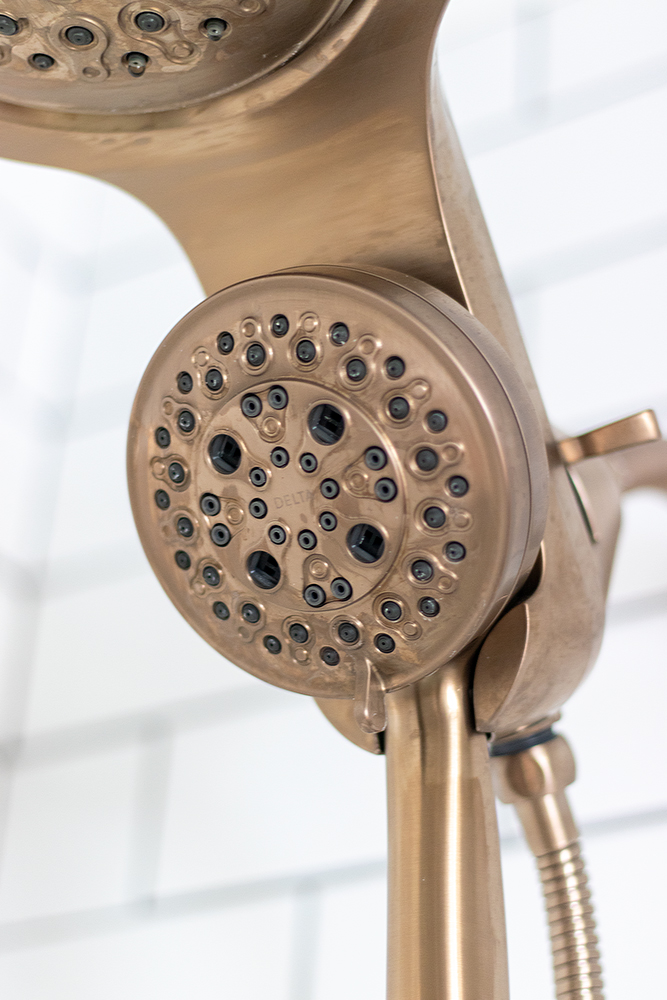
Another cool feature of both shower heads on this two-in-one is the rubber Touch-Clean® spray holes. I didn’t notice this feature before we got it, but since we have been using it for a few months, I’ve noticed this significantly improves the ease of cleaning calcium and lime residue. Our water in Missouri is very hard and we have to clean deposits that build-up at least every other month. I literally just wipe it off the rubber spray holes and the mineral residue comes right off. This means the shower head will last longer since the mineral deposits don’t accumulate and will never eventually block the spray holes.
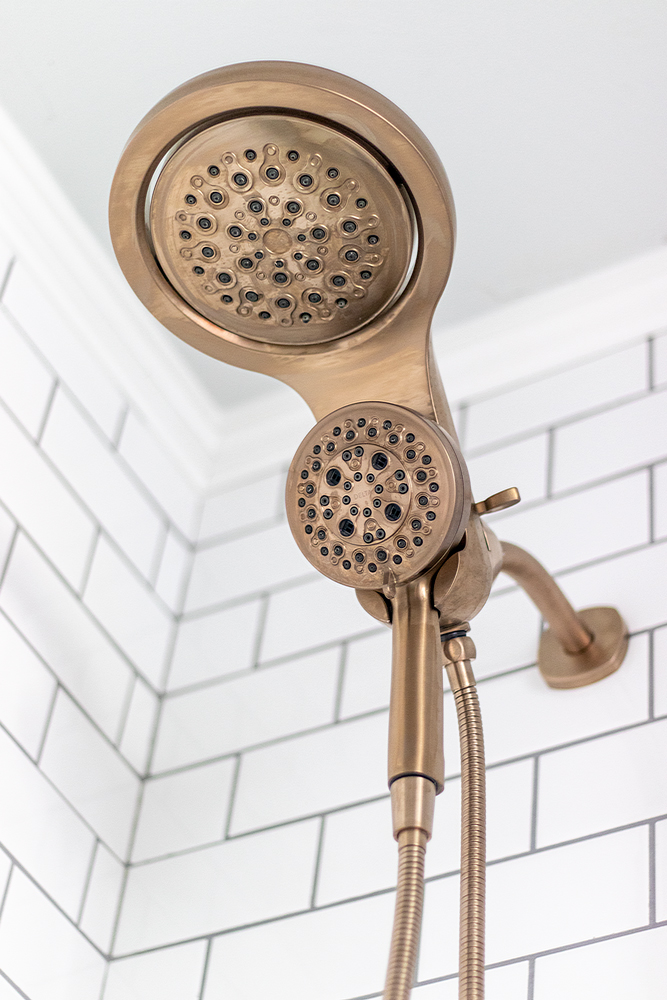
The 5 spray settings are H2Okinetic® PowerDrench spray, Full Body spray, Massaging spray, Shampoo Rinsing spray, and Pause. The Pause setting is nice especially when giving Nina a bath. I can rinse off the shampoo in her hair, quickly pause the water to put conditioner in, and then unpause all without reconfiguring the the other settings.
You can also choose to have any of those 5 settings be in conjunction with the rain can shower head (which pivots both directions)!
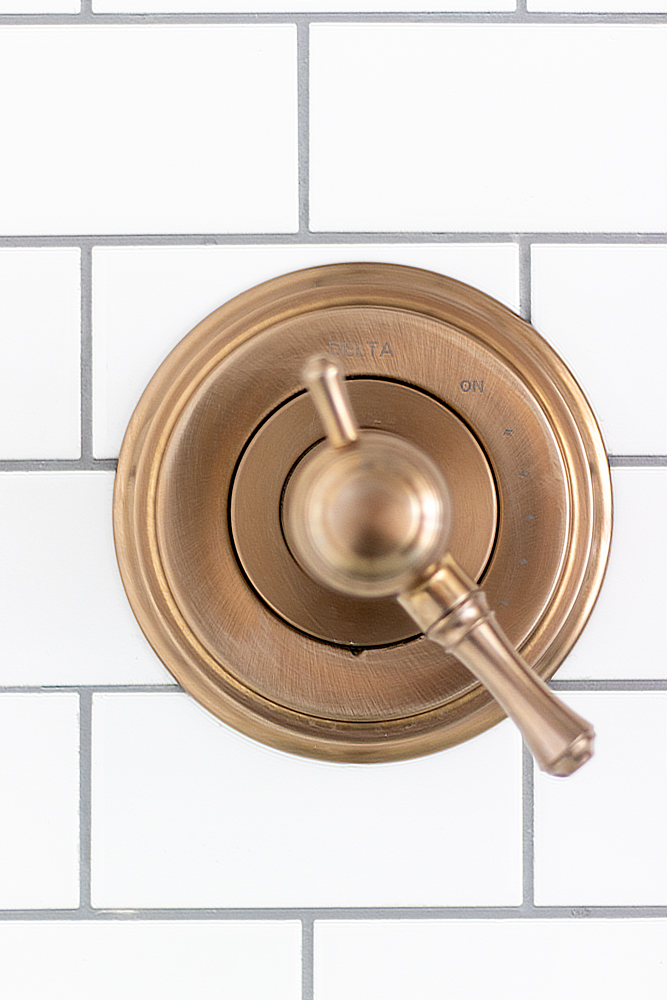
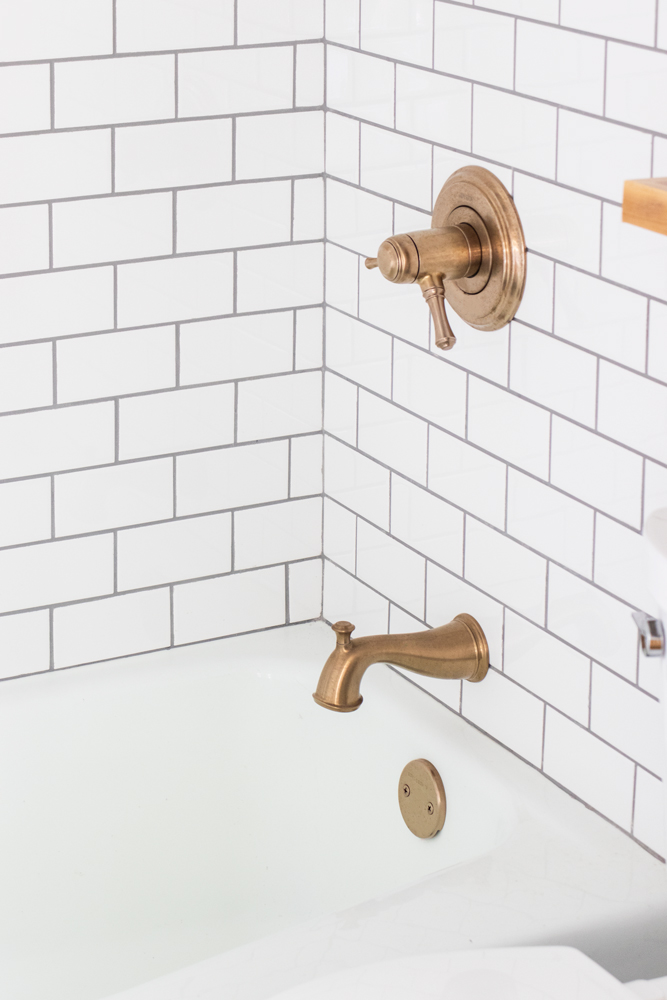

While the Two-in-One HydroRain® shower head is not specific to a design line within Delta Faucet, the valve lever (TempAssure® 17T Series Valve Lever which has a lifetime warranty) and tub faucet are consistent with vanity sink faucet design line: Cassidy™. As I mentioned before, I love the classic silhouette of Cassidy faucets which is why I have this same line in my kitchen and master bathroom.
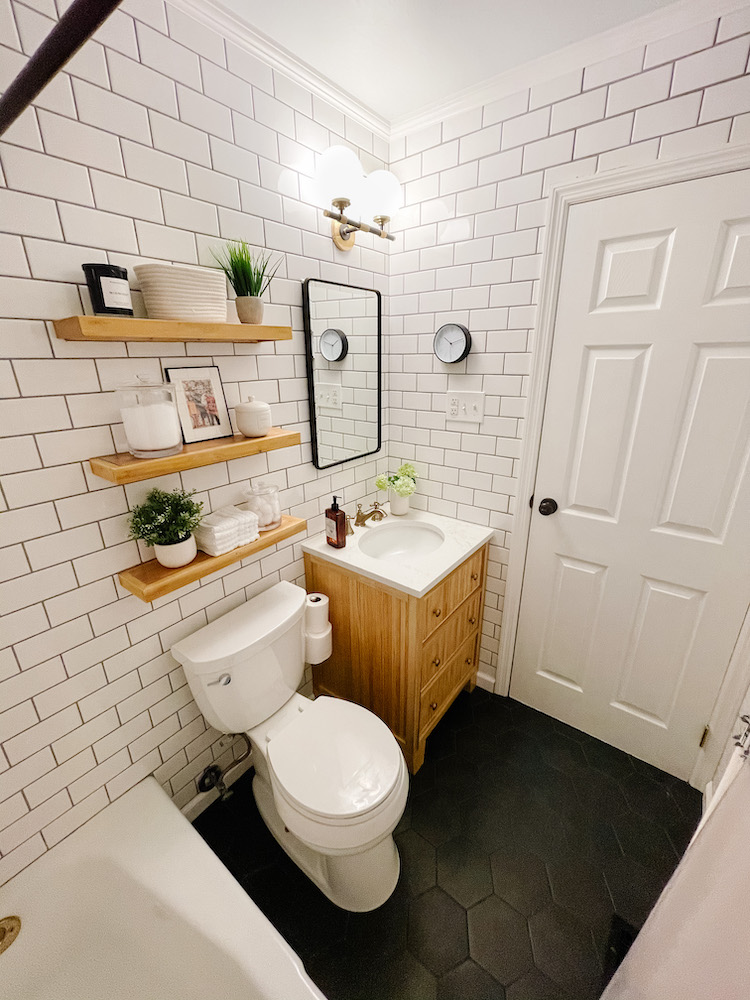
Tight Space Solutions
From this opposite angle facing the sink vanity you can catch a glimpse of the tight-space solution I came up with for the tissue holder. Because there wasn’t enough clearance to adequately attach one to the vanity, I did some research and got this tank-mounted tissue holder. It hooks under the lid and holds a couple rolls, utilizing previously unused space.
While it’s not visible in the picture, I ended up buying a small RV-size trash can that has a pull out toilet brush. It sits between the toilet and the vanity just in front of the toilet paper, and because it’s not very tall, it doesn’t impede the accessibility of the toilet paper.
The wall behind the door got a new wrought-iron hook rack and some art which I carefully mounted using wall anchors for brick/masonry.
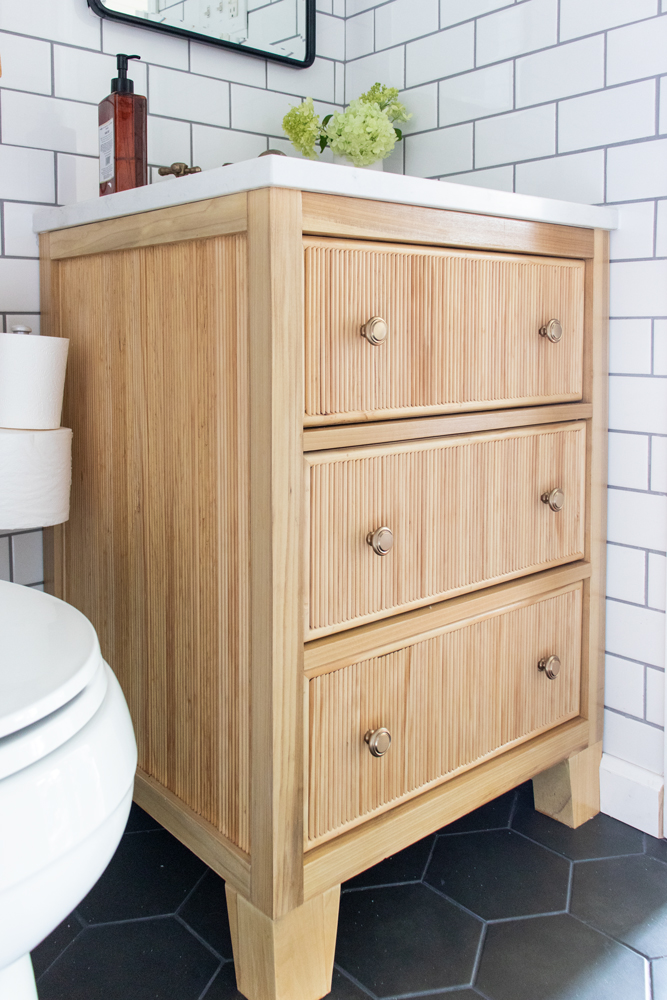
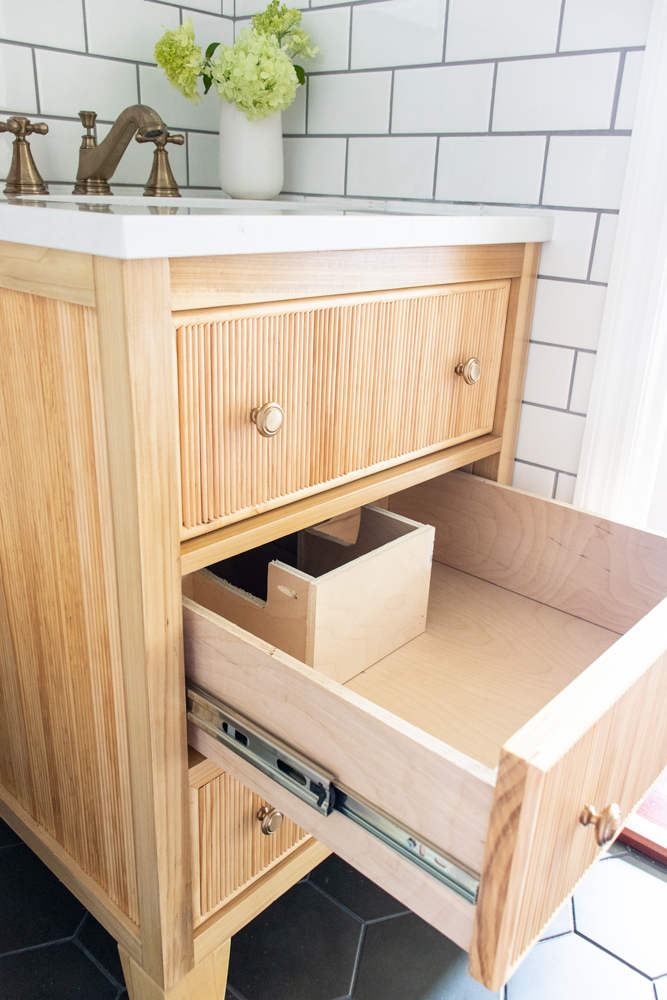
The Custom Vanity
I’ll share more about how I built the vanity in another post, but I wanted to share what the two drawers look like inside. I used ball-bearing drawer slides because they are the strongest, and while the top “drawer” is just a face, the middle and bottom drawers have lots of room, even with the middle cut-out of one.
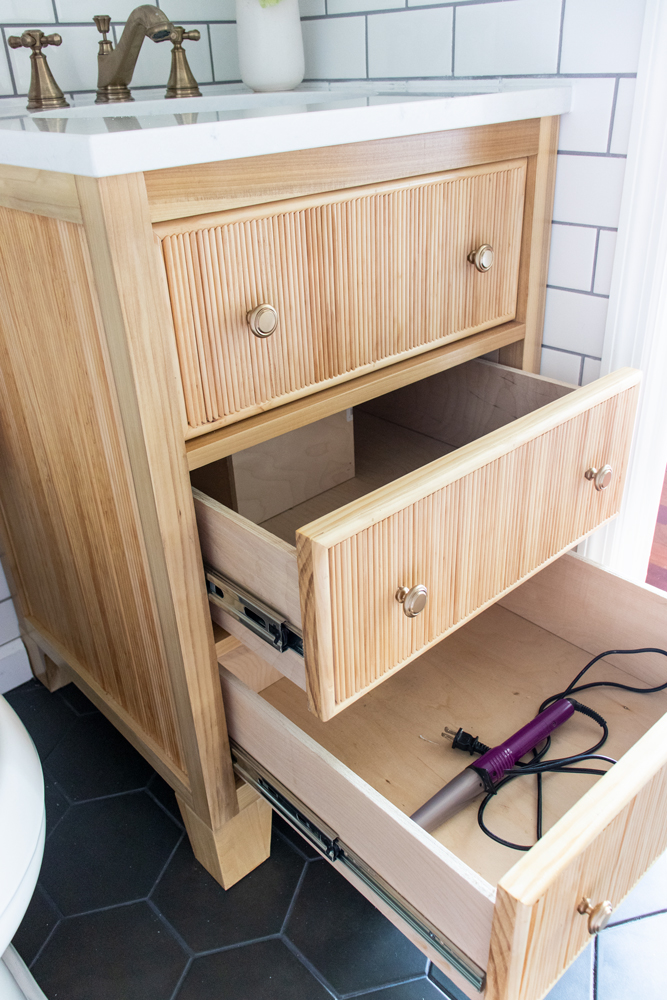
The vanity actually was the most expensive part of the entire bathroom makeover, especially with the cost of lumber this year and the increased cost of labor on the counter fabrication. I spent about $950 on materials for everything (including counter and under-mount sink). However, having something one-of-a-kind that fits the style and space constraints was worth the extra cost, even for a budget makeover. If you aren’t picky for style, you can definitely find less expensive, ready-made options at home improvement stores.
I hope you enjoyed this little tour of our small bathroom makeover and I can hardly believe we stayed within our $3k budget!

Sources (affiliate links used):
Shower Head: Delta® Two-in-One HydroRain H2Okinetic Shower Head in Champagne Bronze
Valve Trim: Delta® Cassidy™ TempAssure 17T Series Valve Only Trim
Valve rough (not pictured): MultiChoice® Universal Tub / Shower Rough – Universal Inlets / Outlets
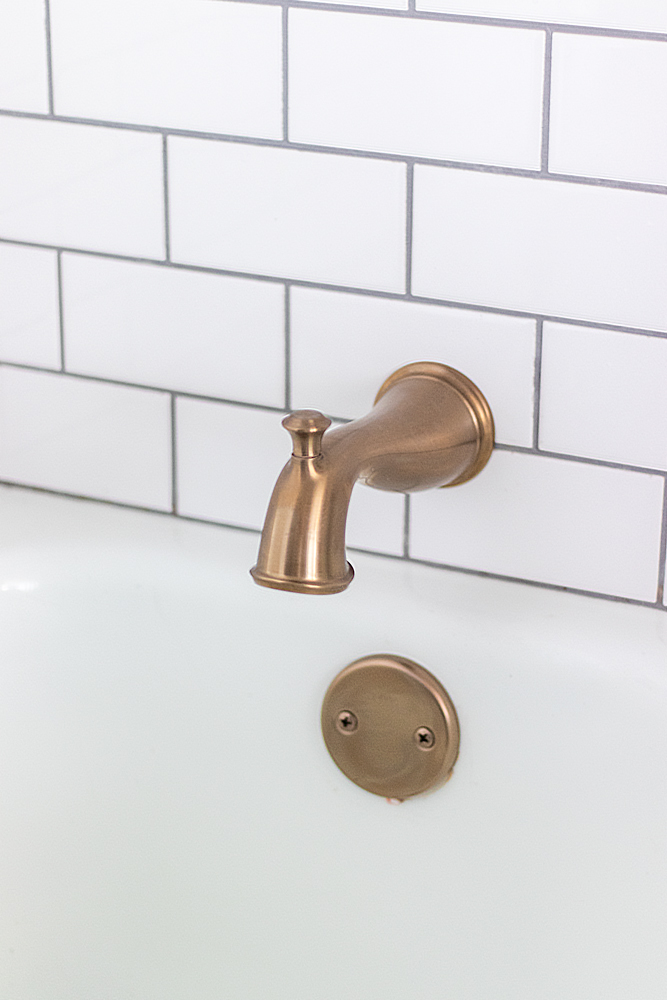
Tub Spout: Delta® Cassidy™ Tub Spout – Pull-Up Diverter in Champagne Bronze
Overflow plate: Delta® Overflow Plate & Screws – No Trip Lever In Champagne Bronze
Tub drain: Delta® Drain – Tub In Champagne Bronze
Shower curtain rod: 72″ Black Shower Curtain Rod from Home Depot
Shower curtain: Textured Dobby Stripe Shower Curtain by Hearth and Hand
Toilet: Kohler Cimarron Elongated Toilet in White
Toilet lever: Delta®Cassidy®Tank Lever In Champagne Bronze
Toilet tissue holder: Over the Tank Tissue Organizer for Bathroom Storage
Wall subway tile: Daltile Restore 3″x6″ Ceramic Bright White Subway Tile
Wall grout: Fusion Pro Single Component Grout in Delorean Gray
Floor tile: Satori Nouveau Nero Hexagon 7-in x 7-in Matte Porcelain Encaustic Floor and Wall Tile from Lowes
Floor grout: 2:1 ratio mix of Fusion Pro Single Component Grout in Charcoal and Delorean Gray
Floating shelves: DIY Floating Bathroom Shelves
Vanity: DIY using poplar and pine
Vanity knobs: Brainerd Classic Contour 1.25-in Champagne Bronze Round Cabinet Knob from Lowes
Vanity and floating shelves wood sealer: Varathane Exterior Spar Urethane Water Based Wood Sealer in Satin finish
Vanity counter: HanStone Quartz in Montauk (same as our kitchen counters)
Undermount sink: Kohler Caxton Vitreous China Undermount Bathroom Sink in White
Sink Faucet: Delta®Cassidy™Two Handle Widespread Bathroom Faucet – Low Arc Spout – with Metal Cross Handle Set in Champagne Bronze
Mirror: PB Matte Black Vintage Rounded Rectangular Recessed Medicine Cabinet, 17×27″
Light fixture: Hudson Valley Bowery 10″ High Aged Old Bronze 2-Light Wall Sconce
Towel hook rack: Rejuvenation Iron Hook Rack (similar)
Looks fabulous….great job!
love it. I would’ve expected the non-white grout to make it feel too “busy” in that small of a room but from pics anyway, it looks great.
Very informative post.Thank you.
The after pic – so, so much better! Everything looks brighter! Well done on your bathroom makeover! Loving the wooden elements also.